When an Excel worksheet is created, the document automatically includes a number of properties. In this article, we will demonstrate 3 simple methods to display document properties in Excel. In addition, we will show the procedure to remove personal information from the document properties.
Types of Document Properties in Excel
An Excel document includes the following categories of properties:
- Standard Properties contain the basic properties of the document such as title, author, subject, and category. You can assign text values for these properties.
- Automatically Updated Properties include the data which is controlled and modified by the system such as the time of the creation of the document, the number of pages in the document, etc.
- Custom Properties are user defined properties, provided by the user.
- Properties for Your Organization are properties specific to the organization.
- Document Library Properties refer to documents in a library on a website or public folder. The creator of a document library can add document library properties, with rules as their values.
How to Display Document Properties in Excel: 3 Simple Methods
Method 1 – Viewing Document Properties from the Document Panel
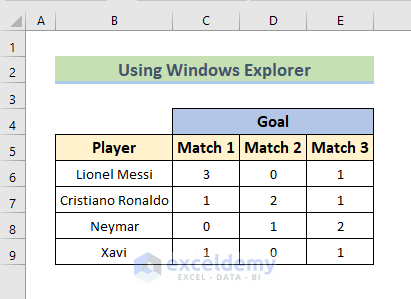
We can easily view the document properties from the Document Panel. For demonstration purposes, we’ll use the dataset below.
Steps:
- Open the Excel document whose properties we want to display.

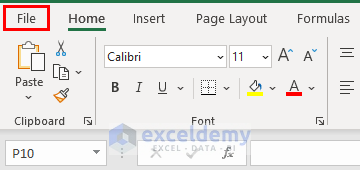
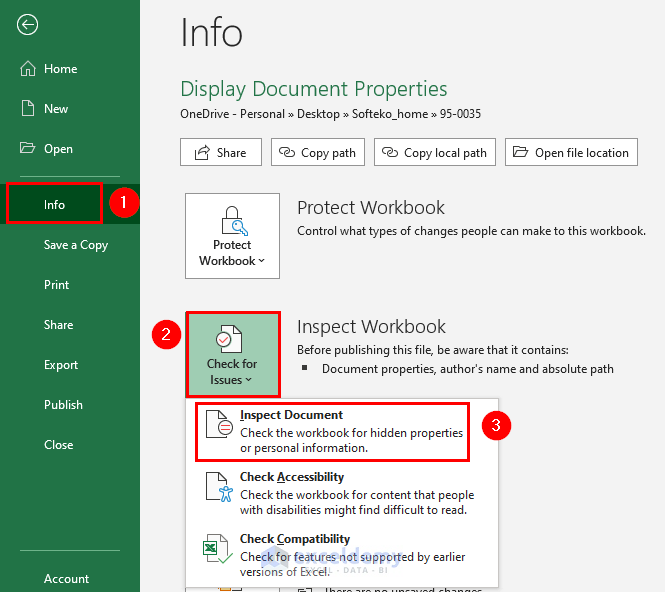
- Go to the Excel ribbon and select the File option in the upper left corner.
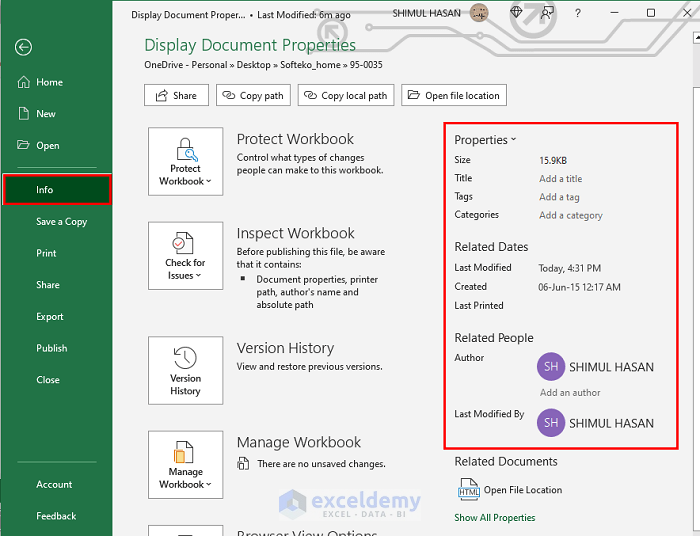
- Select Info.
The document properties are shown on the right side of the pane like in the picture below.
Read More: How to Show Excel Metadata Viewer
Method 2 – Opening the Properties Dialog Box to Display Document Properties
Another way to display document properties is by opening the properties dialog box. The process is similar to the previous method with a few additional steps.
Steps:
- Open the document whose properties we want to display.

- Follow the steps given in Method 1 to show the Standard Properties of the document.
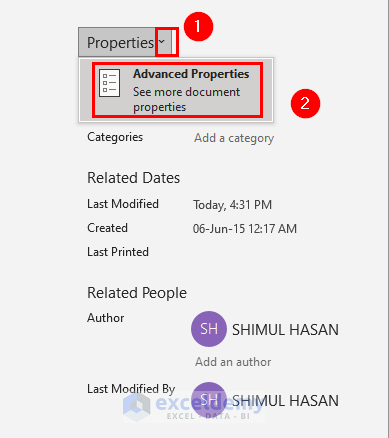
- Click on the small expansion icon beside Properties.
An Advanced Properties window will appear.
- Select the Advanced Properties option.
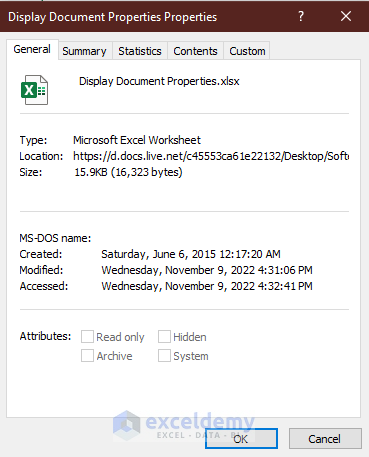
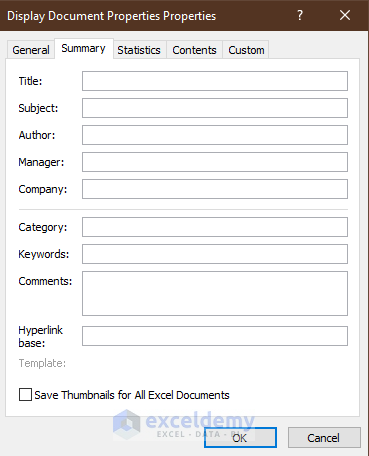
A Display Document Properties window appears. We can navigate different types of properties from here, like General, Summary, Custom, etc.
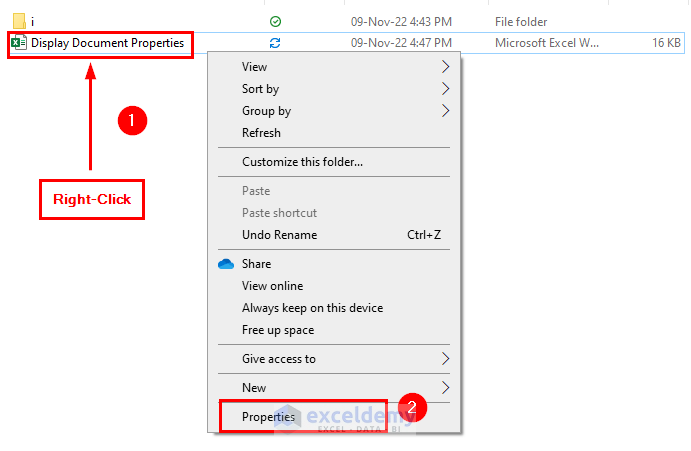
Method 3 – Using Windows Explorer to Show Document Properties
We’ve saved the easiest way to display document properties for last: by using Windows Explorer.
Steps:
- Go to the Excel document location on your computer and select the file.
- Right-click on it.
- Select Properties from the context menu.
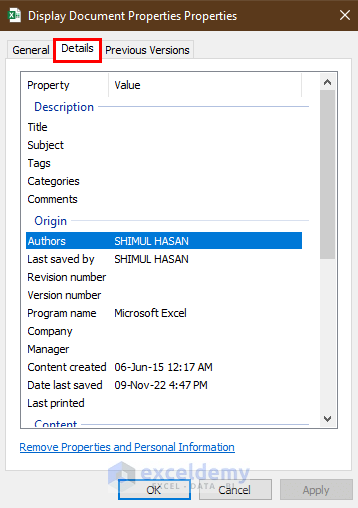
The General document properties are displayed in the Display Document Properties window.

- Click a different tab name to see the properties in that category. For example, click the Details tab.
The Details properties are displayed.
Read More: How to Create Excel File from Metadata with CSV File
How to Remove Document Properties in Excel
When we create an Excel worksheet, the document includes some of our personal data, which in many cases we may want to remove. For example, if we want to share the file with others without letting them know the personal information that is in our document properties, we’ll have to remove this personal information from the document properties. Here’s how to do that.
Steps:
- Open the Excel document whose properties we want to remove.
- Select the File tab in the Excel ribbon.
- Select the Info option.
- From the left side of Inspect workbook, click on Check for Issues.
- Select Inspect Document from the expanded options.
- If a confirmation box pops up, click Yes.

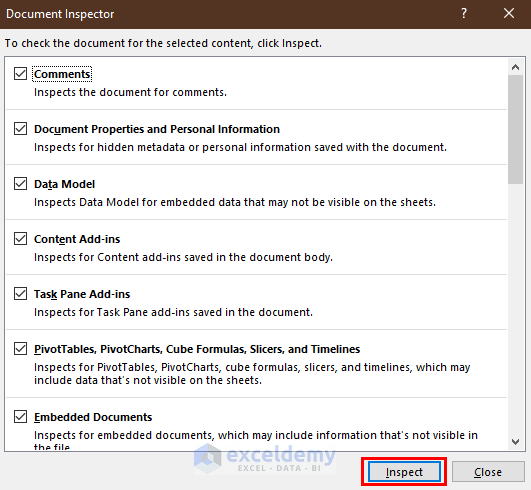
The Document Inspector window will open.
- Tick Document Properties and Personal Information.
- Click on Inspect.
A Remove All option will appear beside Document Properties and Personal Information.
- Select it, then Close the window.

- Now open the document properties using any of the methods described above.
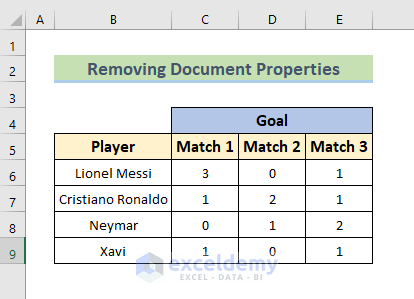
All the personal information has been removed from the document properties.
Read More: How to Remove Last Modified By in Excel
Download Practice Workbook
Related Articles
- What Is Metadata in Excel
- How to Export Image Metadata to Excel
- How to Remove Metadata from Excel File
- How to Export File Metadata to Excel
<< Go Back to Excel Metadata | Workbook in Excel | Learn Excel
Get FREE Advanced Excel Exercises with Solutions!
