Microsoft Excel is a very useful software. We use Excel functions and features for our educational, business, and other daily life purposes. Furthermore, Excel provides some cool features to add margins to our workbooks. This article will show you 7 easy ways to Add Margin in Excel.
How to Add Margin in Excel: 7 Effective Ways
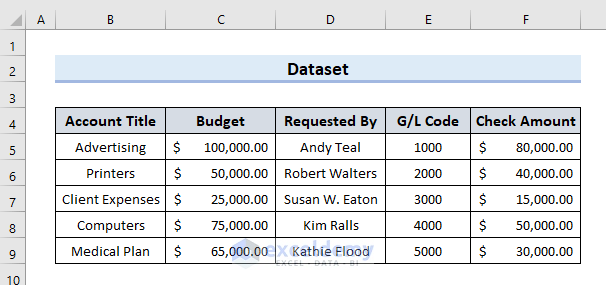
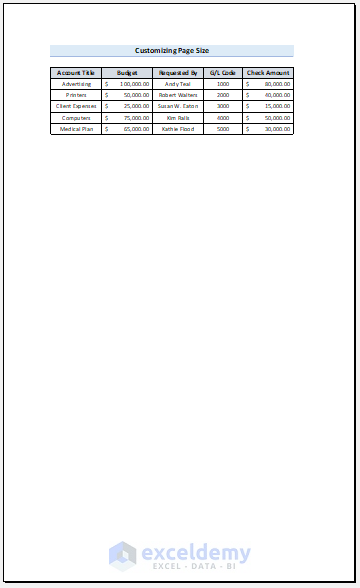
Using Excel we have created a dataset that represents the yearly sales budget and records of salespersons of a company. Let’s say, we want to print it to make a hard copy. Therefore, we need to add margins to bind the Excel documents. Moreover, adding margins is the best way to make Excel workbooks more professional. In this article, I will show you 7 easy ways to add margin in Excel. For instance, we want to create a margin for the dataset below.
1. Add Custom Margin from Page Layout Tab in Excel
In order to add margins before making a hard copy, we can add a custom margin feature from Page Layout. The custom margin feature provides you the flexibility to add space to your workbooks. We can add or remove margins on the left, right, up, and bottom of the sheets. Follow these easy steps on how to add custom margins in Excel.
Steps:
- Firstly, go to the Page Layout tab and click the Margins tab within the page setup ribbon.

- Later, tap Custom Margins to open up the margin dialogue box.
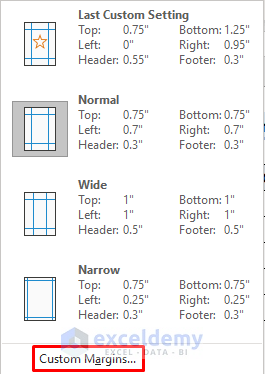
NOTE: You can also open the Custom Margins by clicking the Page Setup icon. As a result, the Custom Margin menu will pop up automatically.
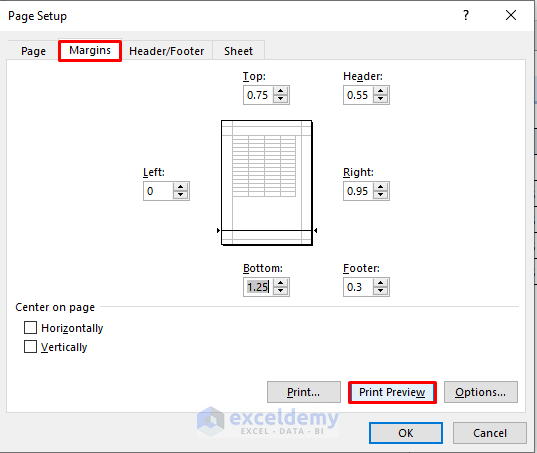
- Now, press Margins in the custom menu.
- Here, you can customize your margins to any format you wish.
- Also, you can tap Print Preview to see how it will look after printing.
- Lastly, to save our format, hit OK.
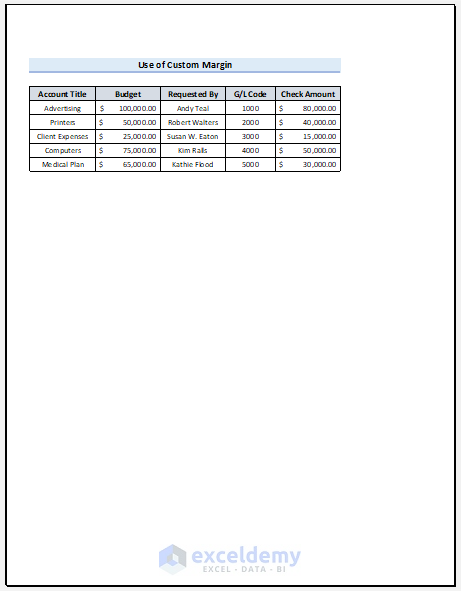
- As a result, the desired custom margin appears.
2. Go to Print Option in File Menu to Insert Predefined Margin
As opposed to the previous method, Excel provides some built-in margin options to add margins. They are less time-consuming and easy to access. Let’s see these procedures to add predefined margins.
Steps:
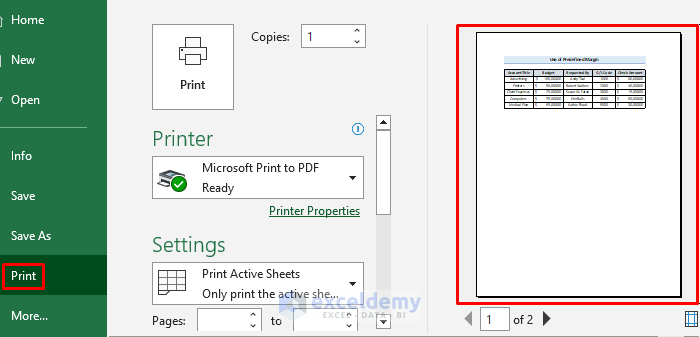
- In the beginning, go to File and tap Print.
- Subsequently, you can see the preview on the right and access it.
- After that, move to Settings options and click Normal Margins.
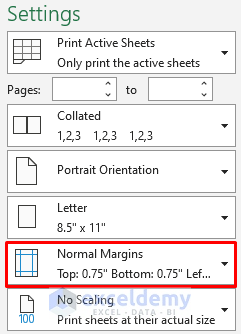
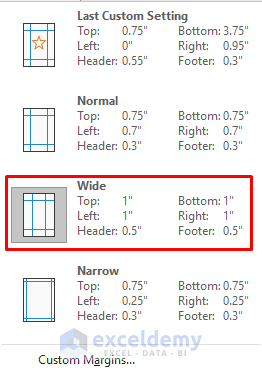
- Consecutively, a Dropbox will appear with some predefined margin options.
- Here, select any options you like.
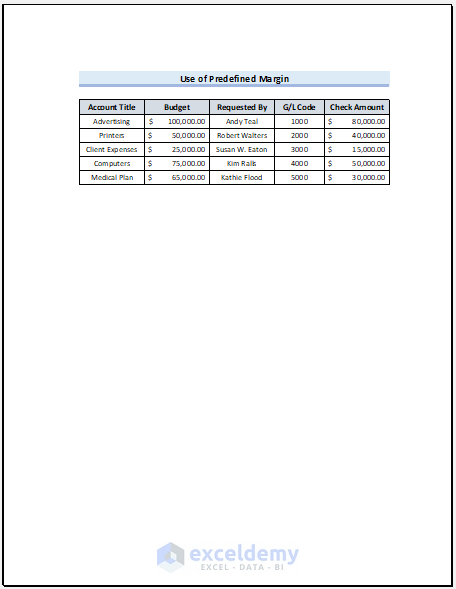
- To illustrate, we select Wide margin as our dataset is not too large.
- Finally, a wide margin appears in the preview pane.
Read More: How to Change Page Margins to Wide in Excel
3. Use Wrap Text Feature to Add Margin
The wrap text feature is a built-in feature in Excel. We can use this feature to add margins around the texts. Wrap text automatically adjusts in the cells when we define a format for adding margins. Let’s follow these steps to understand it.
Steps:
- Firstly, go to the Home tab and click Wrap Text.
- Then, click File then tap Print.

- After that, in the settings options, press Page Setup.
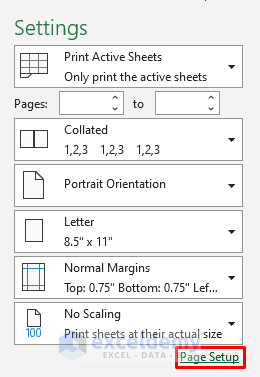
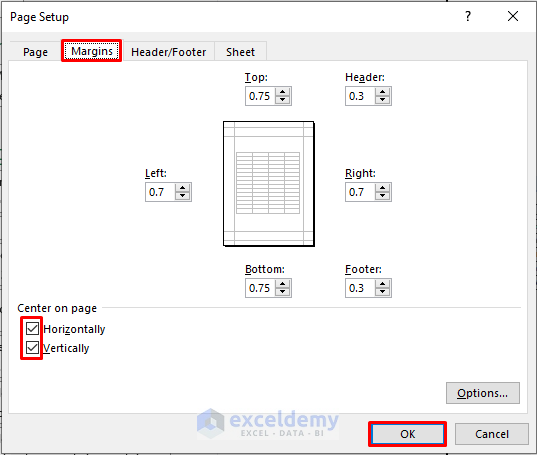
- Eventually, a Page Setup dialogue box will appear.
- Here, select Margins.
- Later, move to Center on page and check Horizontally & Vertically.
- Finally, select Ok.
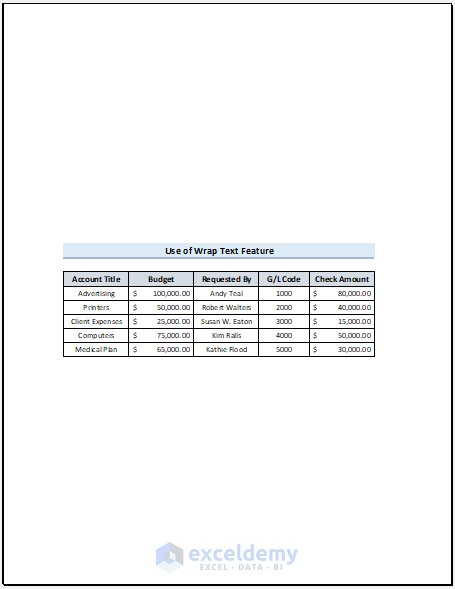
- Thereupon, the dataset appears in the center of the margin.
Read More: How to Apply Margin Setting in Excel
4. Add Margin by Changing Page Orientation
If you want to print your dataset perfectly with added margins around your texts, you can change the page orientation of the workbook. Let’s follow these procedures:
Steps:
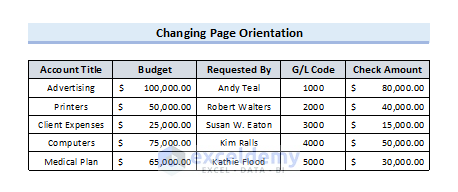
- To begin with, go to Page Layout, and tap Orientation.
- Next, select Landscape.

- Finally, the output appears in Landscape.
5. Customize Page Size for Adding Margins in Excel
Similarly to the previous method, we will use the Size tool in the Page Layout tab for adding margin. Follow these procedures:
Steps:
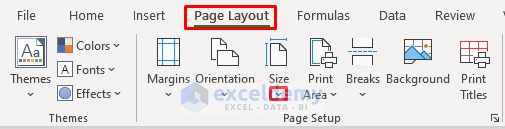
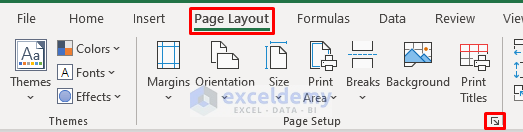
- First, move to the Page Layout and go to Size.
- Subsequently, a dialogue box will appear.
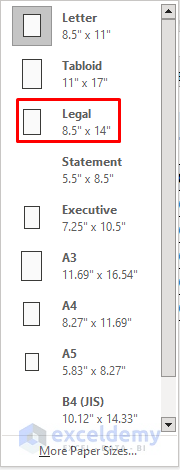
- Now, select any format you like in your dataset.
- For instance, we take Legal.
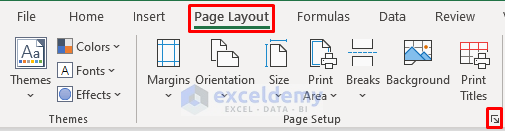
- After that, go to Page Layout and click the Page Setup dropbox.
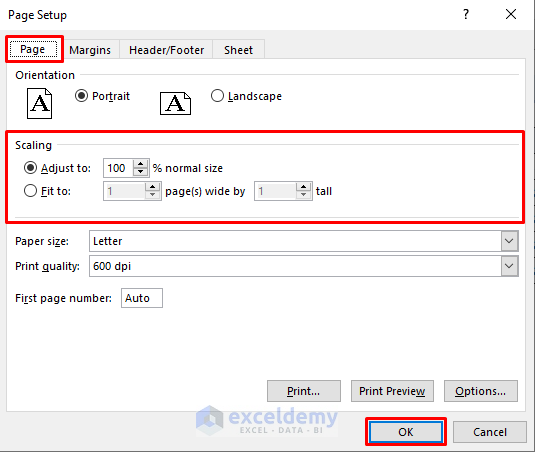
- Now, tap Page in the dialogue box.
- Finally, press OK.
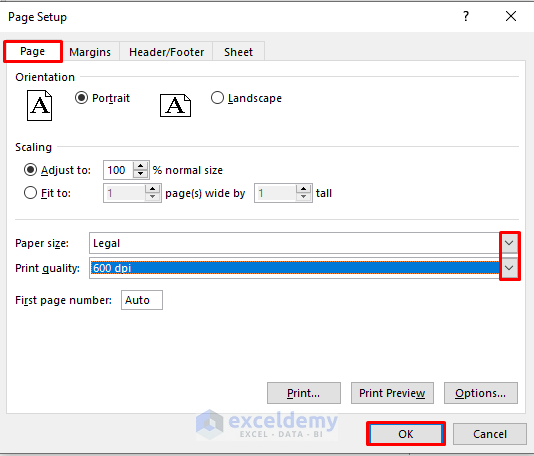
- Therefore, the result will appear.
Read More: [Fixed] Excel Margins Not Printing Correctly
6. Apply Excel Page Scaling Feature to Add Margin
Again, like the previous method, we use a Scaling tool in the Page Layout to add margins in Excel. Follow the steps.
Steps:
- First of all, tap the dropdown icon in the Page layout.
- Later, a dialogue box will appear.
- Next, select Page and go to the Scaling box.
- Here, adjust your dataset margin.
- Lastly, hit OK to get the final result.
7. Define Print Area in Excel to add Margin
In this method, we will add the margin in Excel documents from the Page Layout tab. For this implementation, we follow these steps.
Steps:
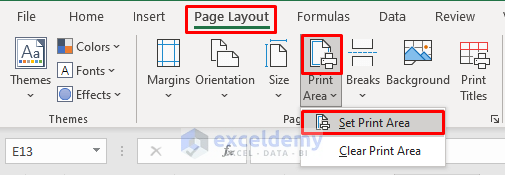
- Select the Print Area in the page layout.
- Then, tap the Set Print Area.
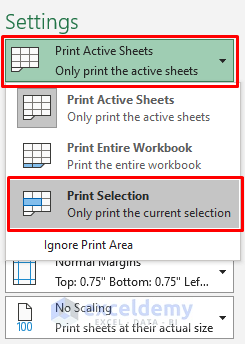
- Eventually, in the Dropbox, tap Print Active Sheets and then Print Selection.
- Hence, the desired result will pop up.

Download Practice Workbook
You can download this workbook to practice yourself.
Conclusion
In conclusion, we have discussed here some easy ways to add margin in Excel. Please leave any further queries or recommendations in the comment box below.
Related Articles
- How to Change Margins in Excel
- Perform Commands to Center the Selected Worksheets in Excel
- How to Remove Print Margins in Excel
- [Fixed!] Excel Margins Disappeared
<< Go Back to Adjust Margin | Page Setup | Print in Excel | Learn Excel
Get FREE Advanced Excel Exercises with Solutions!
