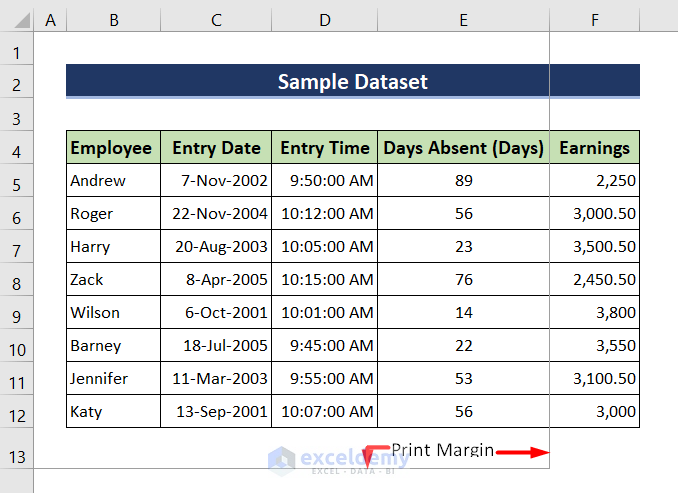
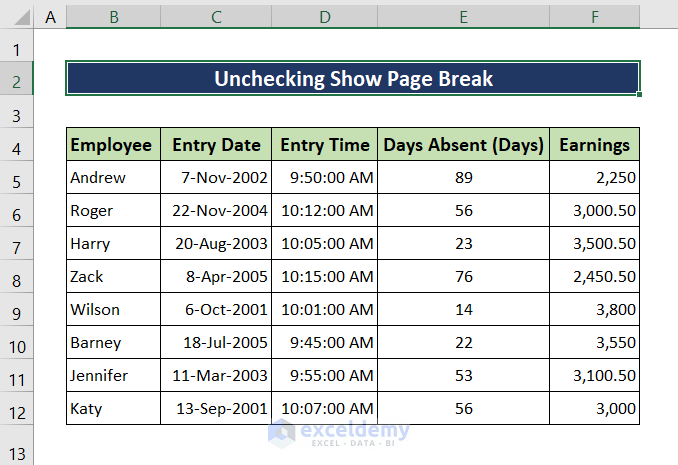
We will use the following dataset to demonstrate removing margins.
Method 1 – Use the Print Area Tool
Steps:
- Go to the Page Layout tab and click Print Area.
- Select Clear Print Area.
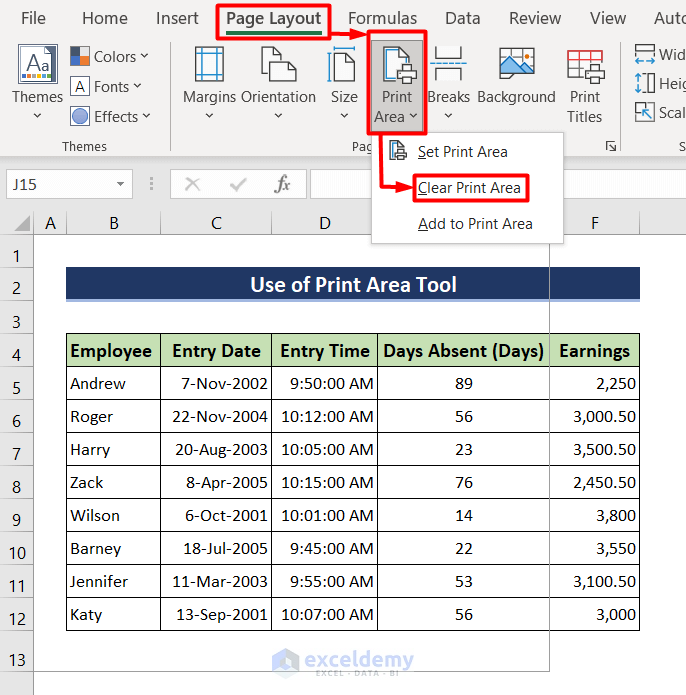
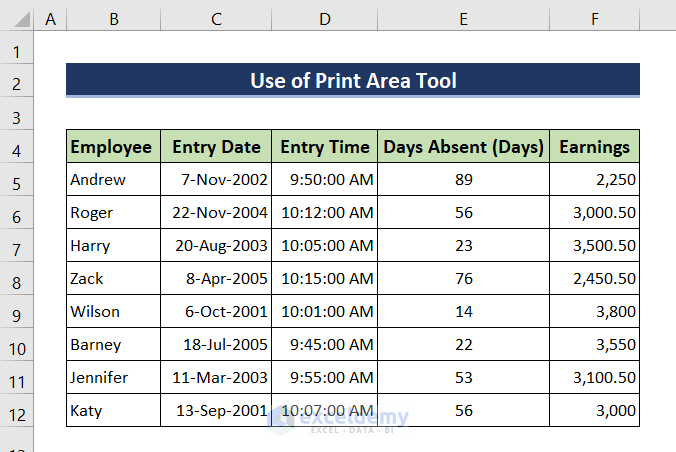
- This will remove the print margins from the Excel sheet.
Read More: How to Change Page Margins to Wide in Excel
Method 2 – Uncheck the Show Page Break Option
Steps:
- Click on the File tab.
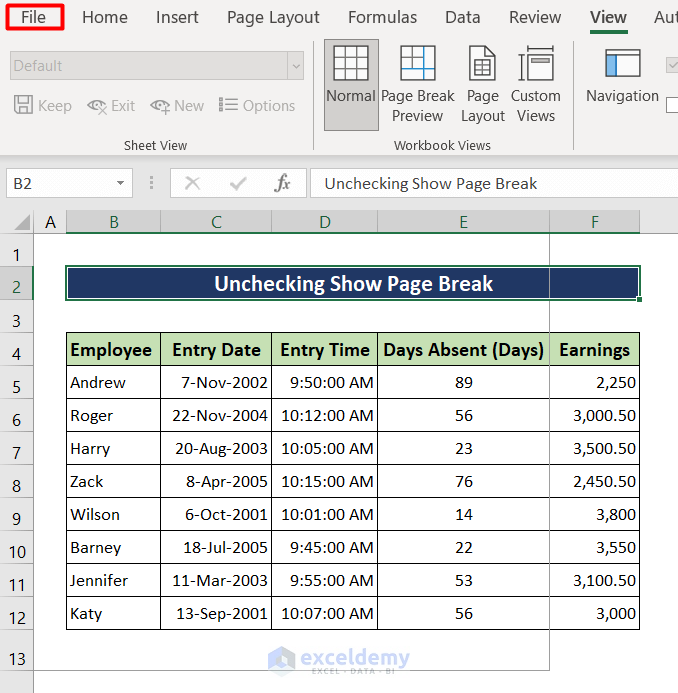
- Select Options.

- Select the Advanced tab.
- Scroll down until you find Display options for this worksheet.

- Uncheck the box for Show Page Break.
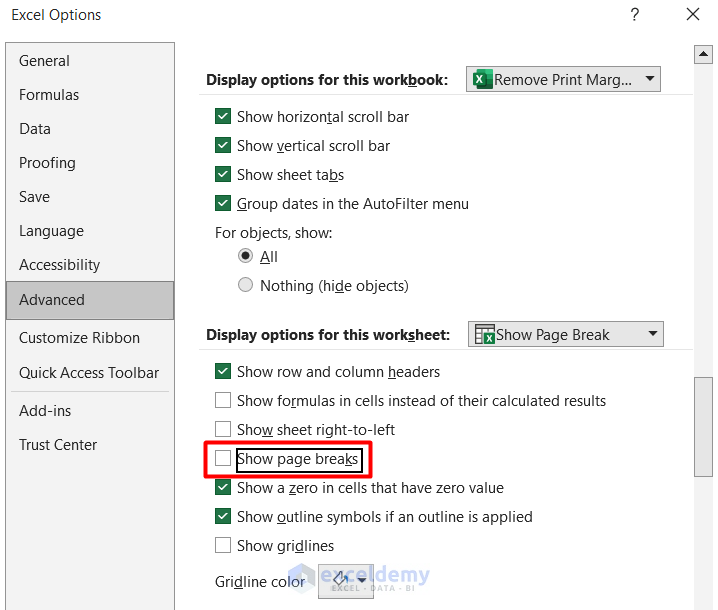
- Go back to the worksheet and you will see that the margins have disappeared.
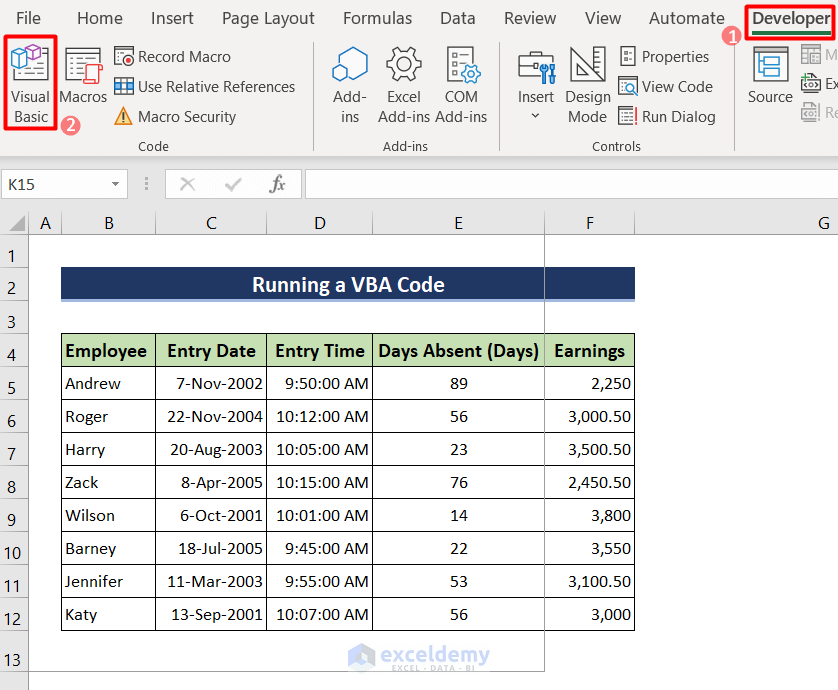
Method 3 – Run VBA Code
Steps:
- Go to the Developer tab and select Visual Basic. The Visual Basic window will pop up. You can also open the Visual Basic window using the keyboard shortcut Alt+F11.
- Click on the Insert tab and then select Module. It will open a window to write VBA code.
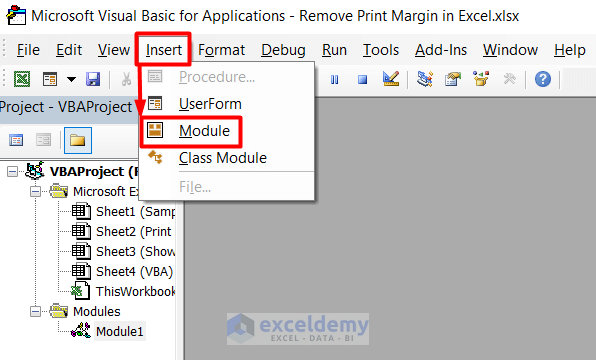
- Copy and paste the following VBA code into the window.
Sub Runme()
ActiveSheet.DisplayPageBreaks = False
End Sub

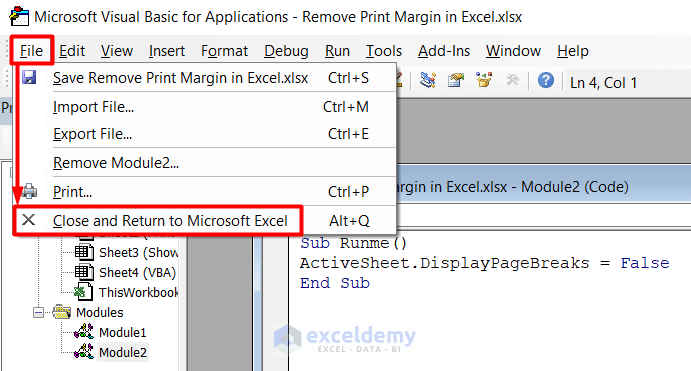
- To get back to the Excel sheet, click on the File tab and then Close and Return to Microsoft Excel.
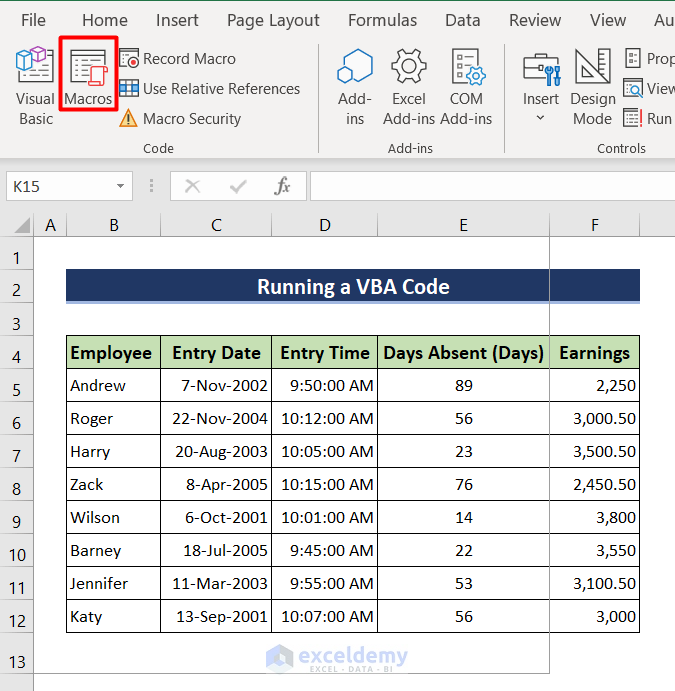
- Go to the Developer tab and select Macros from the ribbon. A pop-up box will appear. You can open the pop-up box by pressing Alt+F8.
- Click on Run.
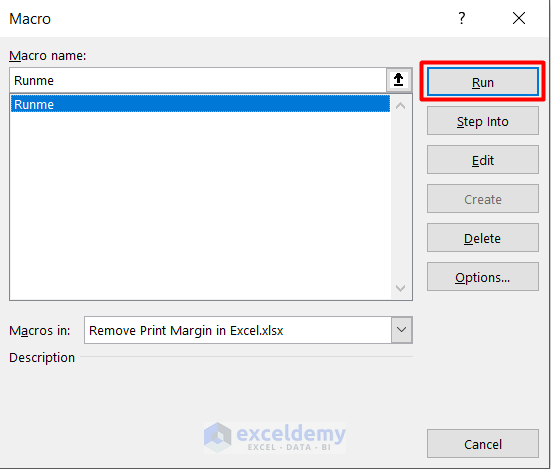
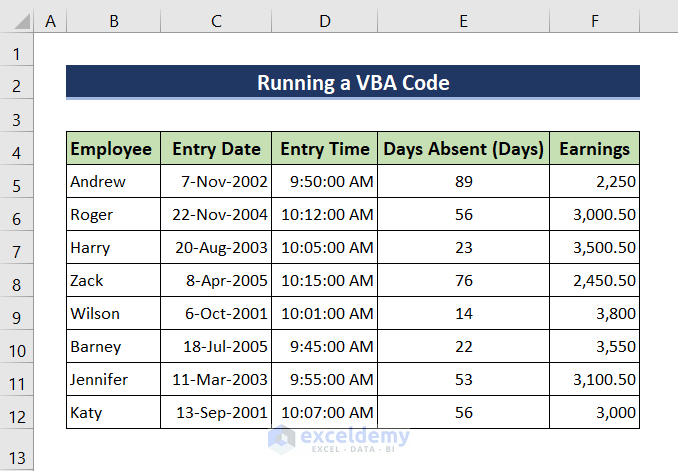
- The code will run and the margins from the Excel sheet will be removed.
Download the Practice Workbook
Related Articles
- How to Add Margin in Excel
- How to Change Margins in Excel
- Perform Commands to Center the Selected Worksheets in Excel
- How to Apply Margin Setting in Excel
- [Fixed] Excel Margins Not Printing Correctly
<< Go Back to Adjust Margin | Page Setup | Print in Excel | Learn Excel
Get FREE Advanced Excel Exercises with Solutions!

I am not sure if this is a margins issue but when I print my excel worksheet it prints the A,B,C,D,E,F and the 1,2,3,4,5,6, on the template of the worksheet. Is there a way to keep these from printing? I have never had this issue in Excel before.
Hello Donna,
This isn’t a margins issue. What you’re seeing happens when Row and Column Headings are enabled for printing. Excel is including the A, B, C… and 1, 2, 3… labels on the printed page.
To fix it:
1. Go to the Page Layout tab.
2. In the Sheet Options group >> find Headings.
3. Uncheck the Print box under Headings.
Alternatively:
Press Ctrl + P >> click Page Setup >> go to the Sheet tab >> uncheck Row and column headings >> click OK.
After this, your worksheet will print without the row and column labels.
Regards,
ExcelDemy