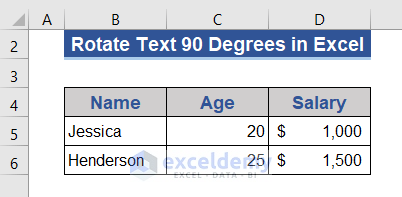
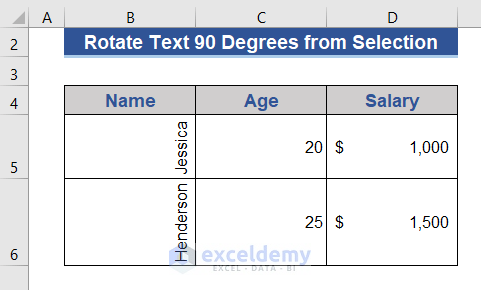
We will show 4 VBA code examples to rotate text to 90 degrees. We will use the following dataset for the examples.
Example 1 – Excel VBA Code to Rotate Text to 90 Degrees in a Fixed Cell
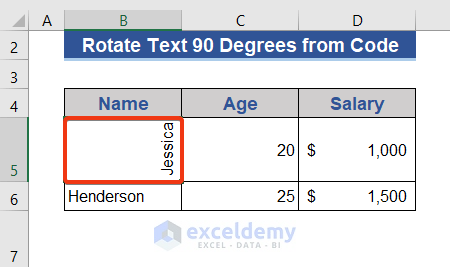
We’ll rotate cell B5.
Steps:
- Go to the Sheet Name section and right-click on the active sheet name.
- Choose the View Code option from the list.
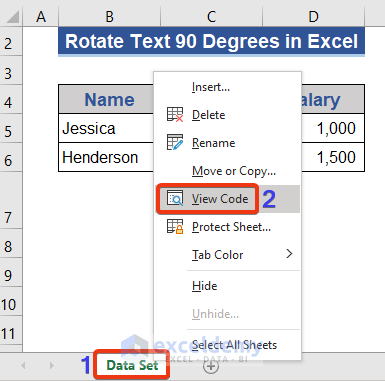
- The VBA window will appear.
- Choose the Module option from the Insert tab.
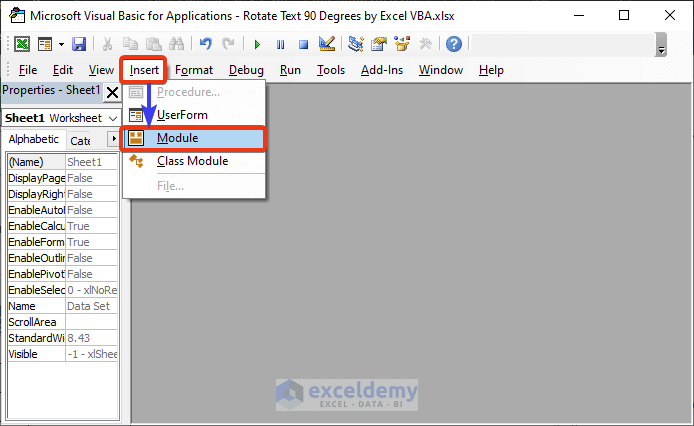
- The VBA command module will appear. We will write VBA code on the module.
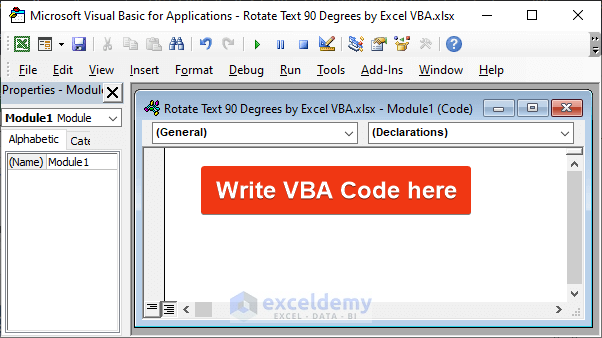
- Copy and paste the following VBA code in the command module.
Sub rotate_text_1()
Dim text_1 As Range
Set text_1 = Range("B5")
With text_1
    .Orientation = 90
End With
End Sub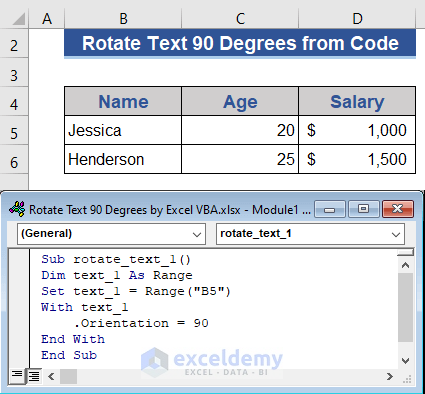
- Run the VBA code by pressing F5.
Example 2 – VBA Code to Turn Text to 90 Degrees from Selection
Steps:
- Press Alt + F11 to enter the VBA window.
- Select Insert and choose Module.
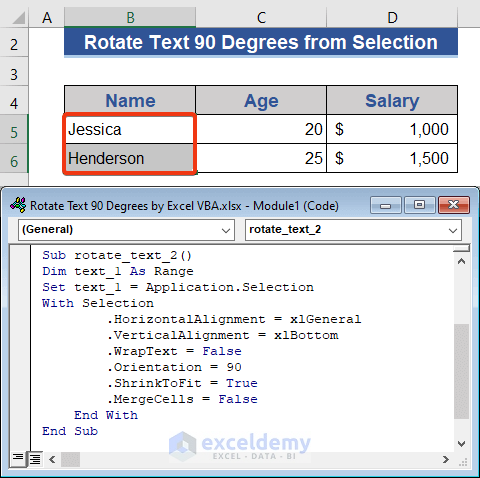
- Put the following VBA code on the command module.
Sub rotate_text_2()
Dim text_1 As Range
Set text_1 = Application.Selection
With Selection
        .HorizontalAlignment = xlGeneral
        .VerticalAlignment = xlBottom
        .WrapText = False
        .Orientation = 90
        .ShrinkToFit = True
        .MergeCells = False
    End With
End Sub- Select the range of cells you want to rotate.
- Run the code with F5.
- Choose the rotated rows.
- Move the cursor between the cells and double-click the mouse button.
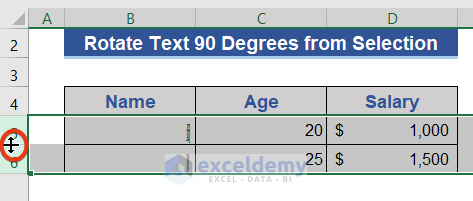
Look at the dataset.
Example 3 – VBA Code to Rotate Text to 90 Degrees from User’s Input
Steps:
- Hit Alt+F11 to enter the VBA window.
- Go to Insert and select Module.
- Copy the following VBA code and paste it onto the module.
Sub rotate_text_3()
Dim text_1 As Range
Set text_1 = Application.InputBox("Range", "Select a range", Type:=8)
With text_1
        .HorizontalAlignment = xlGeneral
        .VerticalAlignment = xlBottom
        .WrapText = False
        .Orientation = 90
        .AddIndent = False
        .IndentLevel = 0
        .ShrinkToFit = False
        .ReadingOrder = xlContext
        .MergeCells = False
    End With
End Sub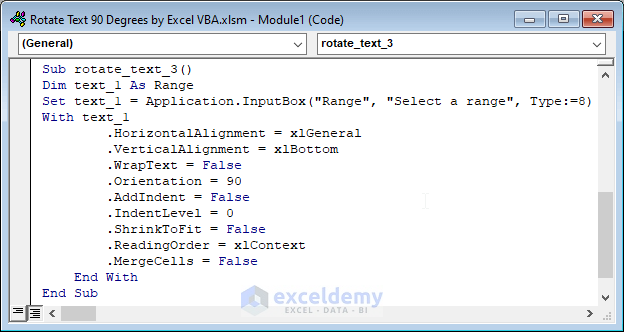
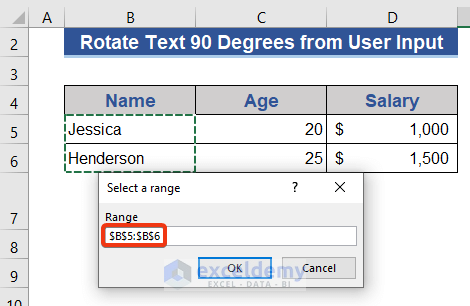
- Press F5 to run the code.
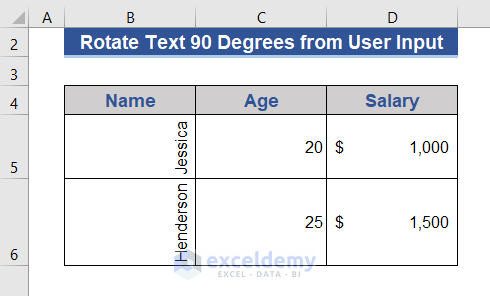
- A dialog box will appear to choose a range. We selected Range B5:B6 here.
- We want to fit texts on the cells. Choose Rows 5 and 6.
- Move the cursor on the selection.
- Double-click.
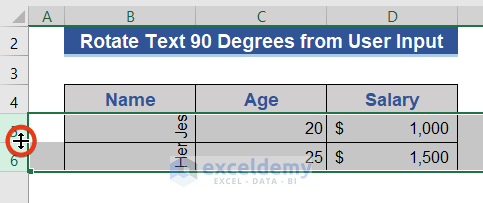
Look at the dataset. Texts of cells are rotated with proper presentation.
Read More: Excel VBA to Set Vertical Alignment
Example 4 – Excel VBA to Autofit Text and Rotate to 90 Degrees
Steps:
- Hit Alt+F11 to enter the VBA window.
- Select Insert and choose Module.
- Put the VBA code below on the command module.
Sub rotate_text_4()
Dim text_1 As Range
Set text_1 = Range("B5:B6")
With text_1
        .HorizontalAlignment = xlGeneral
        .VerticalAlignment = xlBottom
        .WrapText = False
        .Orientation = 90
        .AddIndent = False
        .IndentLevel = 0
        .ShrinkToFit = False
        .ReadingOrder = xlContext
        .MergeCells = False
    End With
  text_1.EntireRow.AutoFit
  text_1.EntireColumn.AutoFit
End Sub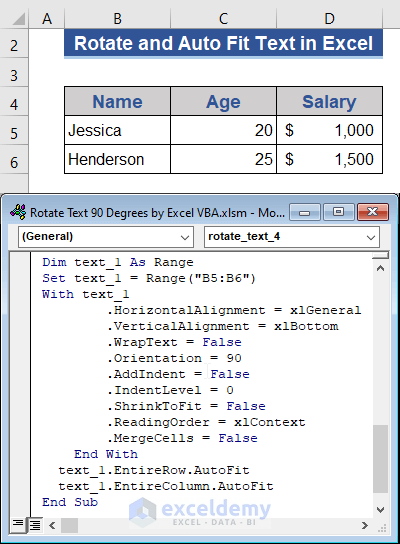
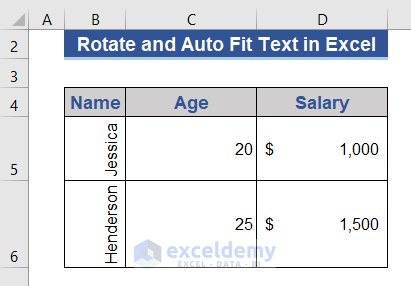
- Press F5 to run the VBA code.
Download the Practice Workbook

