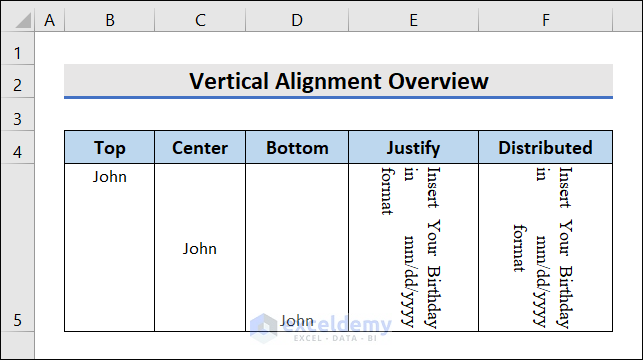
This is an overview.
Syntax:
expression.VerticalAlignmentExpression is a variable that represents a cell-format object.
These are common properties that you can use:
| Name | Value | Function |
|---|---|---|
| xlVAlignTop | -4160 | Align text at the top |
| xlVAlignBottom | -4107 | Align text at the bottom |
| xlVAlignCenter | -4108 | Align text at the center |
| xlVAlignJustify | -4130 | Spreads out text evenly |
| xlVAlignDistributed | -4117 | Aligns text with left and right margins |
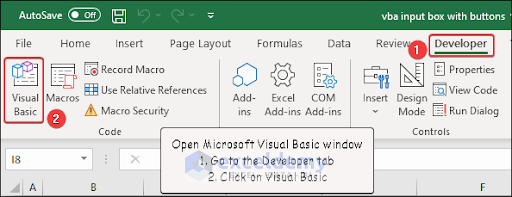
How to Launch the VBA Editor in Excel
To access the Microsoft Visual Basic window, go to the Developer tab and click Visual Basic. You can also open it by pressing Alt+F11.
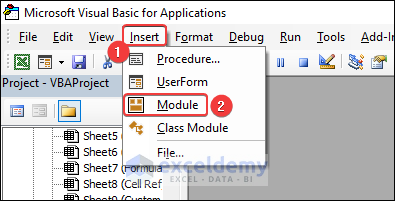
Go to the Insert tab and click Module to open the code Module.
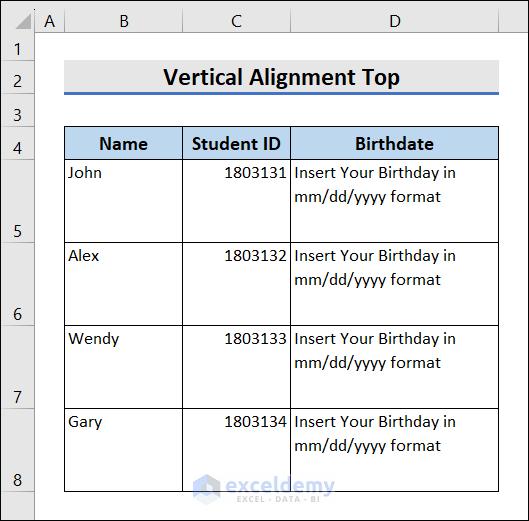
This is the sample dataset.

Method 1 – Vertically Align Cell Content to the Top
- To align the content in B5:D12 vertically to the top, use the following VBA code:
Sub VerticalAlignmentTop()
Range("B5:D12").VerticalAlignment = xlTop
End Sub
Code Breakdown
Range("B5:D12").VerticalAlignment = xlTopxlTop aligns cell content in B5:D12 to the top.
- Press F5 to run the code.
This is the output.
Method 2 – Excel VBA to Set Vertical Alignment to Bottom
- To align content to the bottom in B5:D12, use the code below.
Sub VerticalAlignmentBottom()
Range("B5:D12").VerticalAlignment = xlBottom
End Sub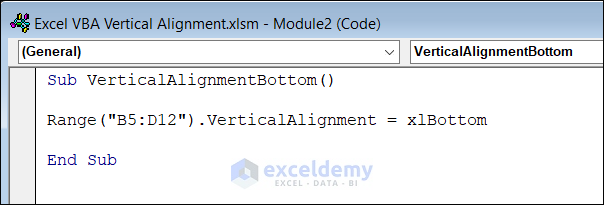
Code Breakdown
Range("B5:D12").VerticalAlignment = xlBottomThis code aligns the cell values to the bottom
- Run the code to see the output.

Method 3 – Using Excel VBA to Set Vertical Alignment to the Center
- To center align content vertically, use the following code:
Sub VerticalAlignmentCenter()
Range("B5:D12").VerticalAlignment = xlCenter
End Sub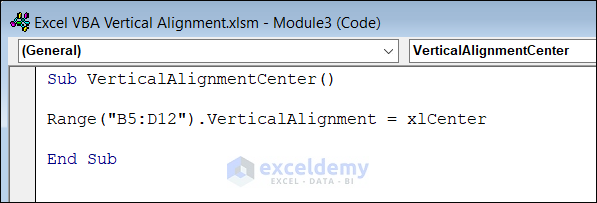
Code Breakdown
Range("B5:D12").VerticalAlignment = xlCenterThis line aligns the cells to the center.
- Run the code to see the output.
Read More: How to Format Cell and Center Text with Excel VBA
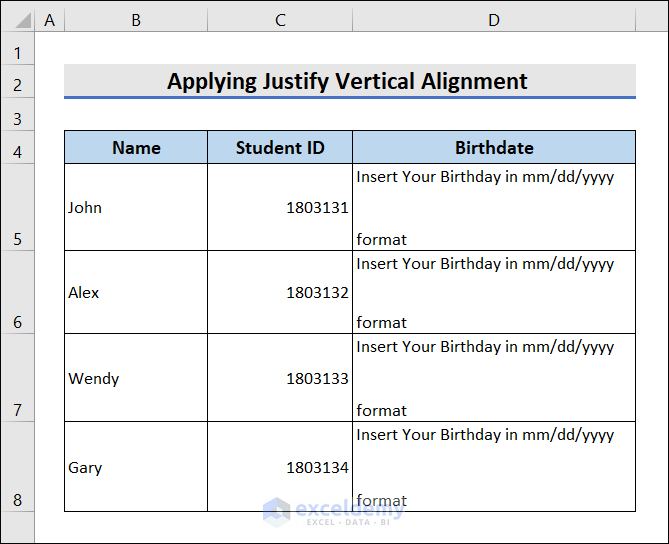
Method 4 – Applying xlJustify for Vertical Alignment
- To spread content evenly from top to bottom in justified alignment, use the following code:
Sub VerticalAlignmentJustify()
Range("B5:D12").VerticalAlignment = xlJustify
End Sub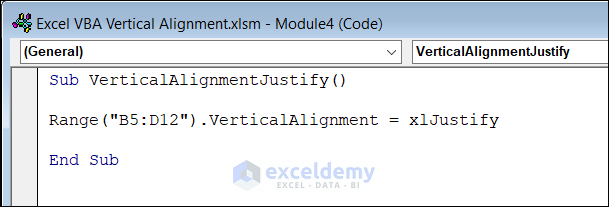
Code Breakdown
Range("B5:D12").VerticalAlignment = xlJustifyxlJustify spreads the cell content evenly from top to bottom.
- Run the code by pressing F5 to see the output.
Method 5 – Applying a Distributed Vertical Alignment
- To apply a Distributed vertical alignment, use the following code:
Sub VerticalAlignmentDistributed()
Range("B5:D12").VerticalAlignment = xlDistributed
End Sub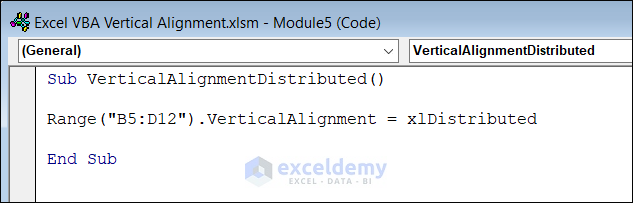
Code Breakdown
Range("B5:D12").VerticalAlignment = xlDistributedThis code aligns the first word of a line with the left margin and the last word of the line with the right margin.
- Run the code to see the output.

Excel VBA to Align Text Vertically and Horizontally
- Apply vertical and horizontal alignment simultaneously using this VBA code:
Range("B5:D12").VerticalAlignment = xlCenter
Range("B5:D12").HorizontalAlignment = xlCenter
End Sub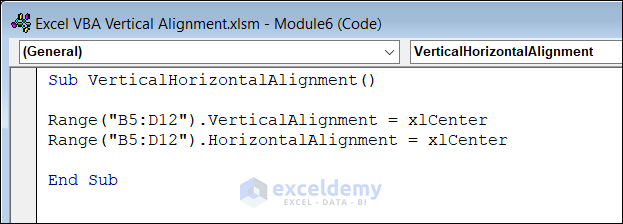
Code Breakdown
Range("B5:D12").VerticalAlignment = xlCenter
Range("B5:D12").HorizontalAlignment = xlCenter
This code aligns the text in the middle horizontally and to the center vertically.
- Run the code to see the output.
Using Excel VBA to Set Horizontal Alignment
i. Excel VBA to Set Horizontal Alignment to the Center
Sub HorizontalAlignmentCenter()
Range("B5:D12").HorizontalAlignment = xlCenter
End Sub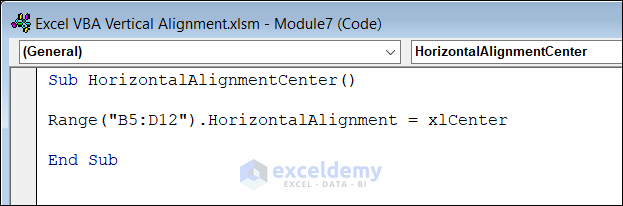
Code Breakdown
Range("B5:D12").HorizontalAlignment = xlCenter- xlCenter center aligns the text.
ii. Excel VBA to Set Horizontal Alignment to the Left
Sub HorizontalAlignmentLeft()
Range("B5:D12").HorizontalAlignment = xlLeft
End Sub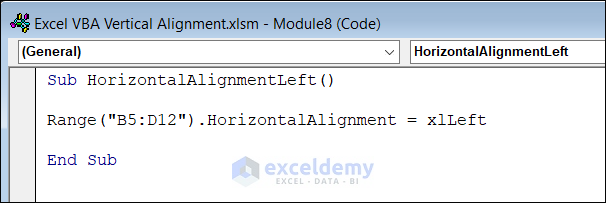
Code Breakdown
Range("B5:D12").HorizontalAlignment = xlLeft- This line aligns cell content to the left.
iii. Excel VBA Horizontal Alignment to the Right
Sub HorizontalAlignmentRight()
Range("B5:D12").HorizontalAlignment = xlRight
End Sub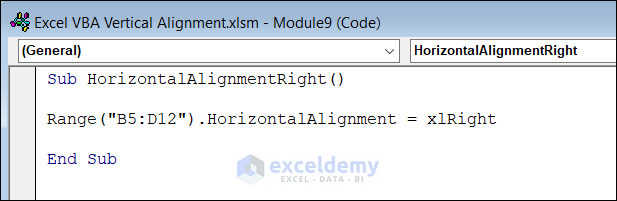
Code Breakdown
Range("B5:D12").HorizontalAlignment = xlRight- This code aligns the text to the right.
Read More: Excel VBA Horizontal Alignment
Excel VBA to Wrap Text
- Use the following VBA code to wrap text in D5:D12.
Sub Wraptext()
  Range("D5:D12").Wraptext = True
End Sub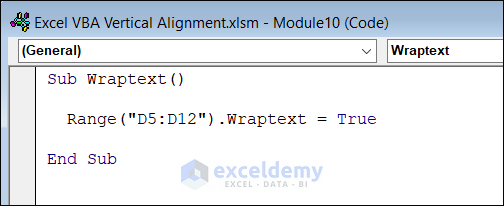
Code Breakdown
Range("D5:D12").Wraptext = TrueThis line wraps text within cells in D5:D12, allowing it to be displayed in multiple lines.
- Press F5 to run the code and get the output.
Frequently Asked Questions
1. How do I change the default vertical alignment in Excel?
Go to the Home tab or use a VBA code. You can also use the Alignment tab in Format Cells.
2. How do I disable wrap text in Excel VBA?
Declare the Wraptext property False (Range.Wraptext = False).
Things to Remember
- You may need to enable the wrap text option before applying vertical alignment to a cell.
- Adjust the cell width and height.
Download Practice Workbook

