In this article, we will learn how to use Excel VBA to copy without a clipboard. Often, users need to copy data from one sheet to another or from one workbook to another. If the data is quite large, copying it to the clipboard and then pasting it to another sheet or workbook will take some time. However, if we copy the data without a clipboard, we can transfer the data faster. Again, when you copy data to the clipboard, it is stored in the computer’s memory, which can be a concern if you are copying large amounts of data or if you have limited memory available. Copying data directly from one cell to another can help reduce memory usage. So, today we will discuss how we can copy without a clipboard with Excel VBA.
How to Launch VBA Macro Editor in Excel
In order to run any VBA code, we first need to write or edit the code in the VBA Macro Editor.
Before that, we must enable the Developer tab, which remains hidden by default. The Developer tab allows users to access the VBA Macro Editor. Do the following tasks.
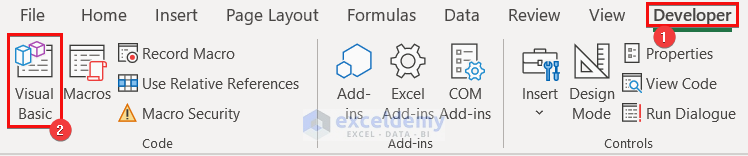
- Go to the Developer Tab >> Visual Basic.
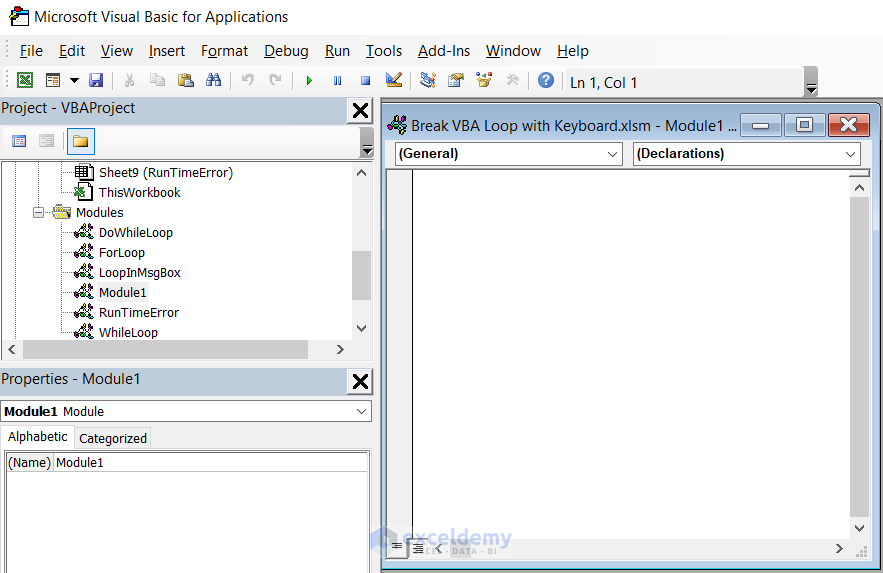
- This will open the Visual Basic window.
- Select Insert >> Module in the macro editor.

- As a result, an empty module will appear on the screen where you can write the code. However, use the Run icon or F5 key to run the code.
Excel VBA to Copy Without Clipboard: 3 Suitable Examples
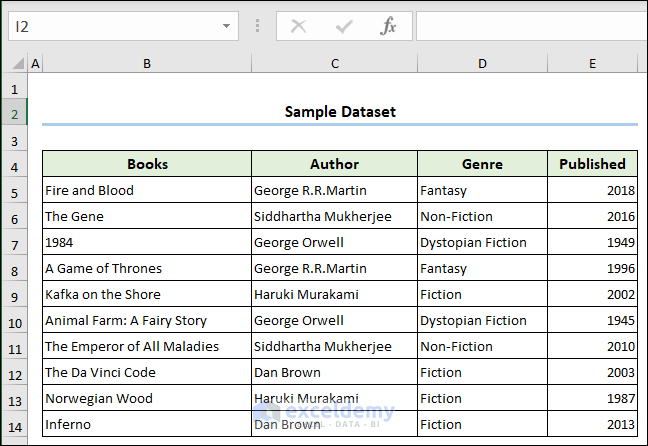
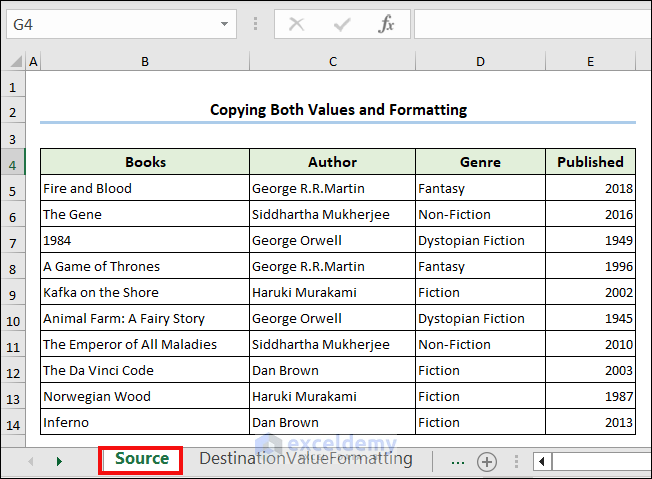
In this article, we will learn how to use Excel VBA to copy data without a clipboard. Here, we have a dataset containing the datasets of some books with their authors’ names, genres, and publication years. We will copy this data without a clipboard by using Excel VBA codes.
1. Using Range.Value Property Copying Values Only
In this section, we will use the Range.Value property to copy only the values from the dataset. This allows users to copy only values from a dataset and then customize the formatting according to their needs. Here, we will copy only the values from the “Source” Sheet.

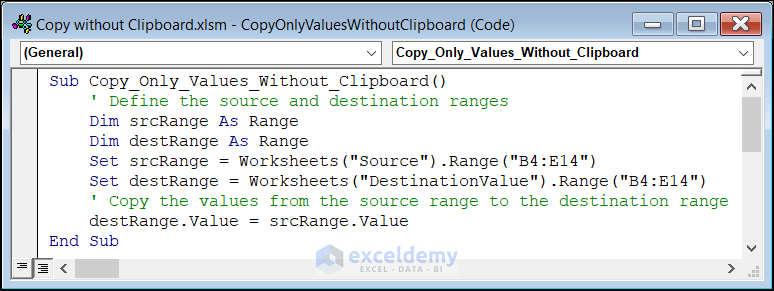
The following code copies a dataset from the “Source” Sheet and then pastes it into the “DestinationValue” Sheet.
Sub Copy_Only_Values_Without_Clipboard()
    ' Define the source and destination ranges
    Dim srcRange As Range
    Dim destRange As Range
    Set srcRange = Worksheets("Source").Range("B4:E14")
    Set destRange = Worksheets("DestinationValue").Range("B4:E14")
    ' Copy the values from the source range to the destination range
    destRange.Value = srcRange.Value
End Sub
VBA Breakdown:
- The code sets two range variables, namely “srcRange” and “destRange” from the “Source” and “DestinationValue” Sheets respectively.
- The destRange.Value = srcRange.Value line of the code sets the value of the “destRange” variable equal to the value of the “srcRange” variable. This copies the values from the cells in the “srcRange” to the corresponding cells in the “destRange” without using the clipboard.
As the image below suggests, the code only copied the values from the “Source” Sheet and pasted them into the “DestinationValue” Sheet. Since the code copied only the values, not the formatting, Excel considered 1984 as a number, not text, and aligned it accordingly.

Read More: Excel VBA: Copy Range to Clipboard
2. Using Range.Copy Property to Copy Both Values and Formatting
In this method, we will use the Range.Copy property of Excel VBA to copy without a clipboard. The property allows users to copy both values and formatting. In this case, we will copy the values along with formatting from the “Source” Sheet.
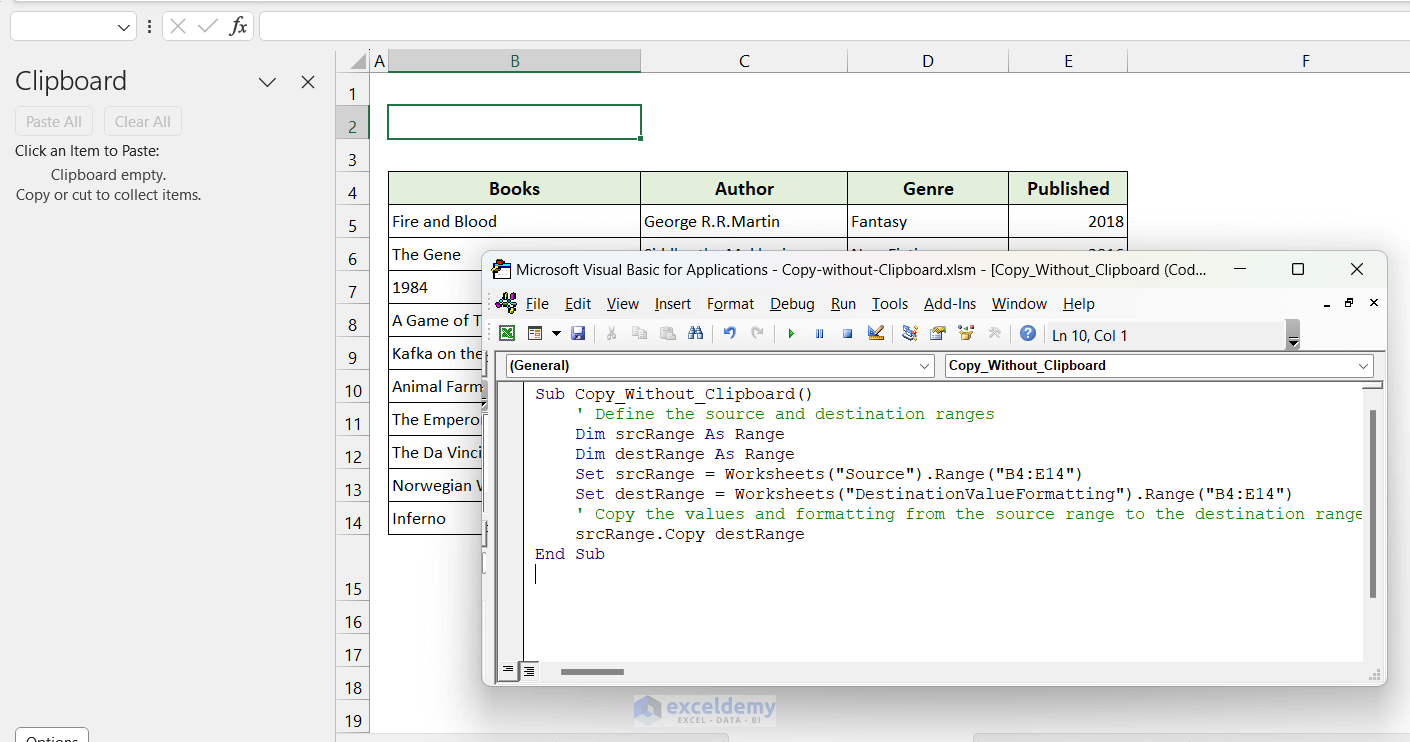
The following code uses the Range.Copy property to copy the values and formatting of a dataset from a Sheet without a clipboard.
Sub Copy_Without_Clipboard()
    ' Define the source and destination ranges
    Dim srcRange As Range
    Dim destRange As Range
    Set srcRange = Worksheets("Source").Range("B4:E14")
    Set destRange = Worksheets("DestinationValueFormatting").Range("B4:E14")
    ' Copy the values and formatting from the source range to the destination range
    srcRange.Copy destRange
End Sub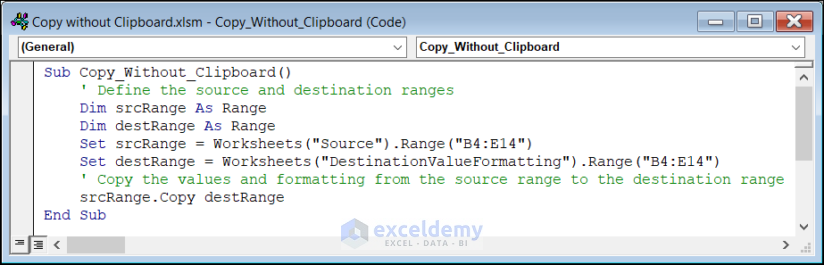
- The srcRange.Copy destRange line of code copies the values and formatting from the “srcRange” to the “destRange” without using the clipboard.
- The “srcRange.Copy destRange” statement copies the contents of the “srcRange” to the “destRange” including the formatting.
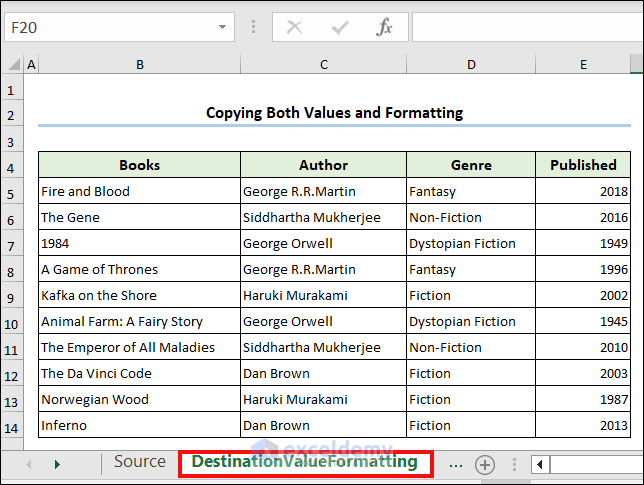
As the image below suggests, the code copied both the values and formatting from the “Source” Sheet and pasted them into the “DestinationValue” Sheet. Since the code copied both the values and formatting, Excel considered 1984 as a text, not a number, and aligned it accordingly.
Read More: Excel VBA Copy Cell Value to Clipboard
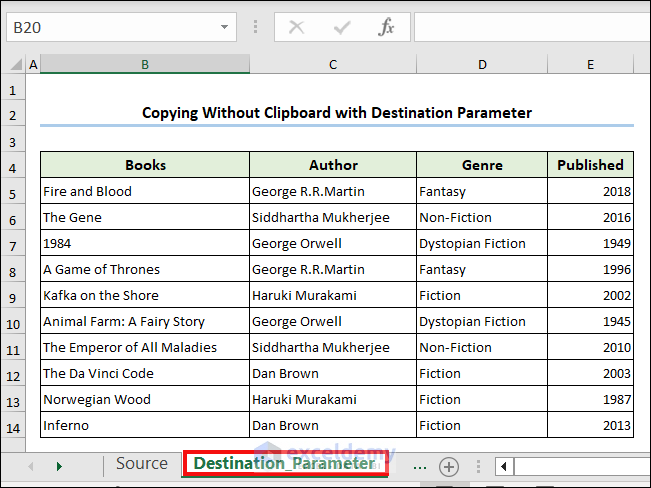
3. Copying Without Clipboard with Destination Parameter
In this instance, we will use the Destination parameter to set the Sheet into which we will copy the values without a clipboard.
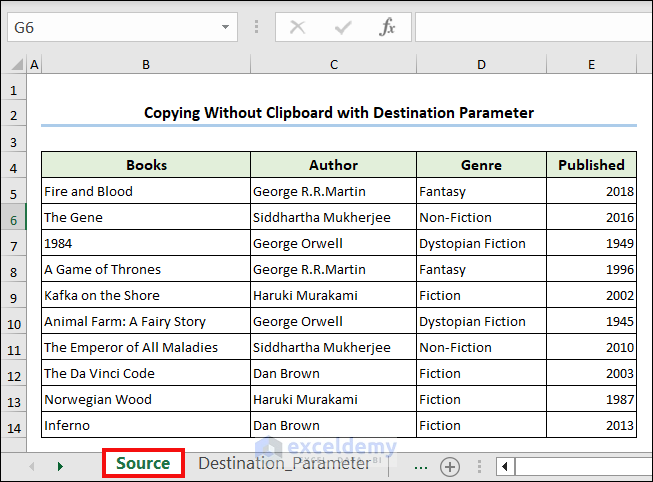
The following code will copy values from the “Source” Sheet and paste them into the “Destination_Parameter” Sheet.
Sub Copy_With_Destination()
Worksheets("Source").Range("B4:E14").Copy Destination:=Worksheets("Destination_Parameter").Range("B4:E14")
End Sub
The code pasted the values and formatting from the “Source” Sheet into the “DestinationValue” Sheet, as the image below suggests. Excel treated 1984 as text rather than a number since the code copied both the values and the formatting, and it was aligned as such.
Copy to Clipboard Using Excel VBA
In this example, we will use the following VBA code to copy from a clipboard and show it in a MsgBox.
'Creating custom function for copying
Function Copy_to_Clipboard(Optional StoreText As String) As String
'Declaring variable
Dim Text As Variant
'Storing variable as variant
Text = StoreText
'Create HTMLFile Object
With CreateObject("htmlfile")
With .parentWindow.clipboardData
'Deciding case for copying
Select Case True
'Returning the number of characters using the len function
Case Len(StoreText)
'Writing to the clipboard
.setData "text", Text
'If there is no variable
Case Else
'Reading from the clipboard and no variable passed through
Copy_to_Clipboard = .GetData("text")
End Select
End With
End With
End Function
'Naming the sub procedure
Sub Copy_Text_to_Clipboard()
'Copying the desired text to the clipboard
Copy_to_Clipboard "This is a text copied to clipboard "
'Reading the copied text in the clipboard
MsgBox Copy_to_Clipboard
End Sub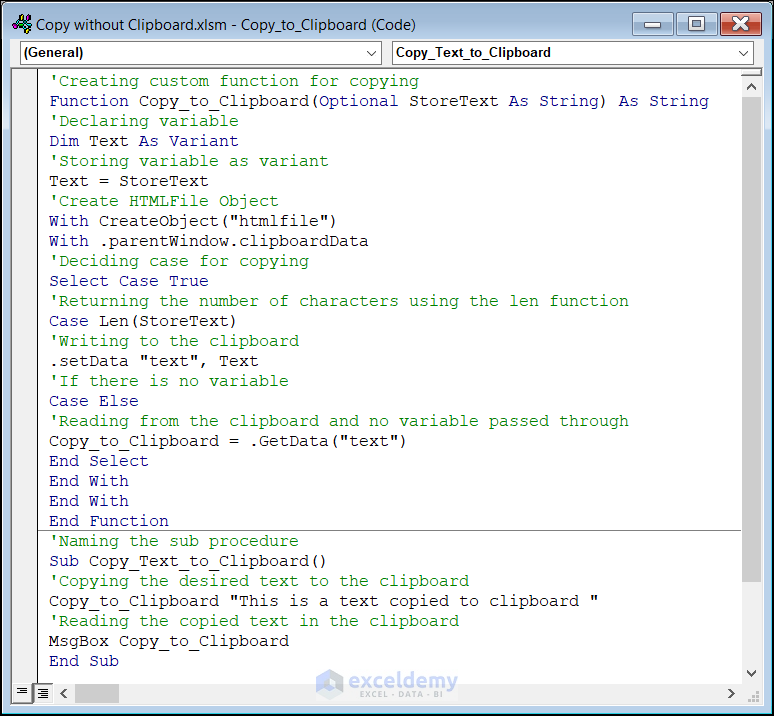
VBA Breakdown:
Function Copy_to_Clipboard(Optional StoreText As String) As String- Firstly, name the custom function as VBA_Copy_to_Clipboard and the function will be stored as a string variable.
Dim Text As Variant
Text = StoreText- Store the variable as a variant.
With CreateObject("htmlfile")
With .parentWindow.clipboardData- Create the HTMLFile object.
Select Case True- Then, decide the case for copying text.
Case Len(StoreText)- After that, the LEN function will return the number of characters of the text.
.setData "text", Text- Now, the text will be written on the clipboard.
Case Else
VBA_Copy_to_Clipboard = .GetData("text")- In case, if there is no variable, the message box will show an empty result.
Sub Copy_Text_to_Clipboard()
'Copying the desired text to the clipboard
Copy_to_Clipboard "This is a text copied to clipboard "
'Reading the copied text in the clipboard
MsgBox Copy_to_Clipboard
End Sub- This VBA code has two parts: the first part copies a text string to the clipboard by using the Copy_to_Clipboard function, and the second part reads the contents of the clipboard and displays it in a message box
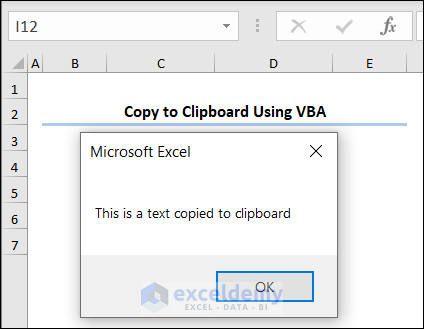
As we run the code, a MsgBox will display the text that we copied into the clipboard..
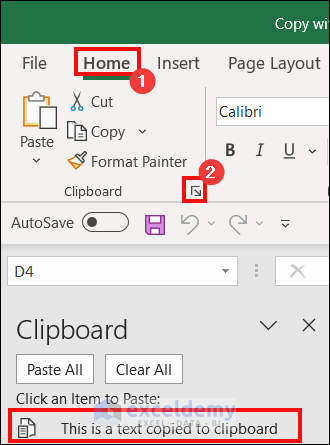
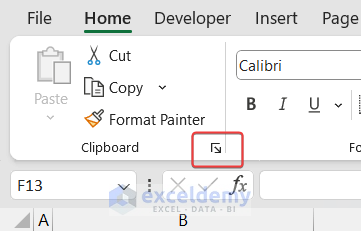
- Next, go to the Home tab.
- Click on the arrow sign at the low right corner of the Clipboard group.
- As a result, we will be able to see the text that we have copied using the VBA code.
Download Practice Workbook
You can download the practice book here.
Conclusion
In this article, we have talked about the use of Excel VBA to copy without a clipboard. This article will allow users to save time and memory while copying large amounts of data from Excel sheets. It will also make the process efficient.
Related Articles
- How to Paste Image into Excel Cell from Clipboard
- How to Clear the Clipboard in Excel
- [Fixed!] Excel Clipboard Not Working
- [Solved:] There Is a Problem with Clipboard in Excel


source.copy destination as described above is just using the clipboard Office 365 2023
Hi BLA,
Thank you for your comment. I think your concern lies in Method 2. In Method 2, we have used the Range.Copy method of Excel VBA to copy without a clipboard. The syntax of this method is given below:
This method does not copy to the Clipboard if the Destination argument is assigned. If this argument is deleted, Microsoft Excel copies the range to the Clipboard. In Method 2, we have used the Destination argument.
Moreover, you can check the Clipboard after running the code to see if it is using the Clipboard or not.
To check, go to the Home tab and click on the down-arrow beside the Clipboard option.
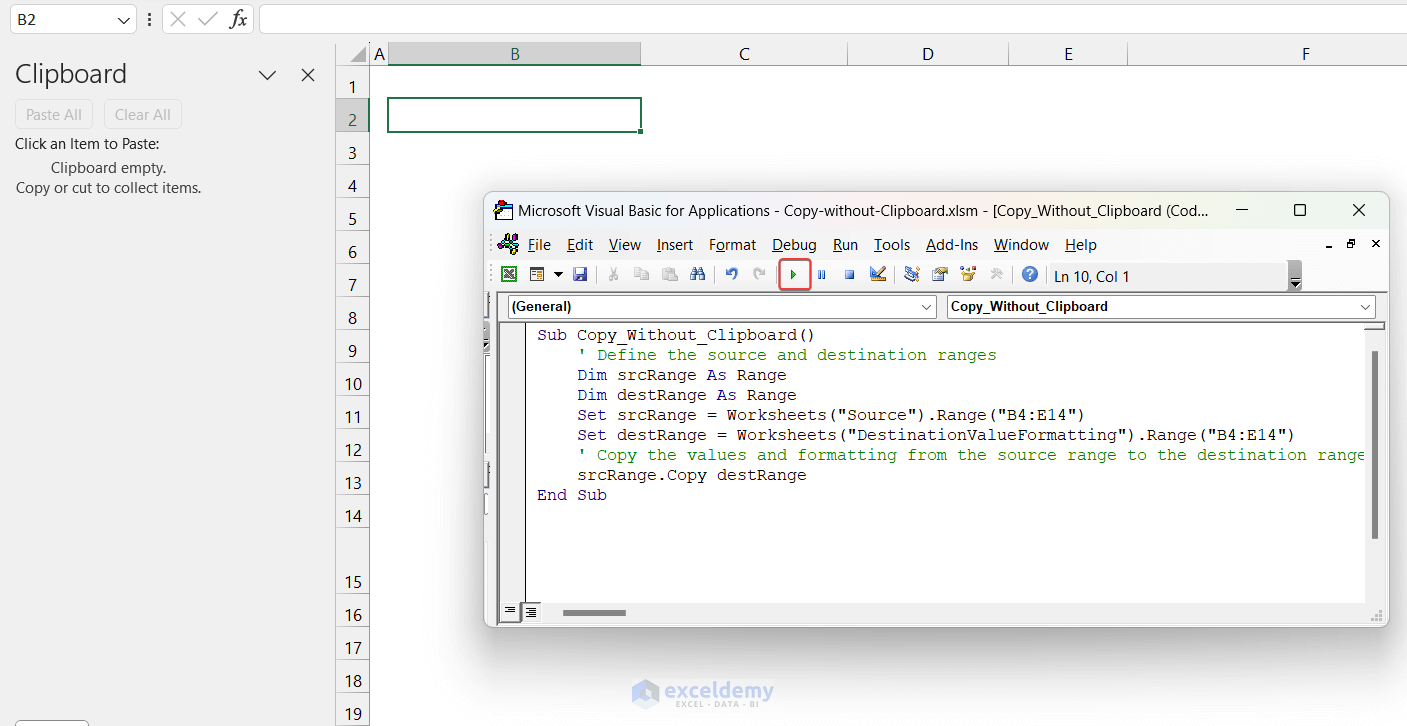
Keeping the clipboard open, we ran the VBA code again.
As you can see, the clipboard shows nothing on it after running the VBA code successfully.
If you copy something in Excel, the clipboard will display the values. Hopefully, this answer will clear your confusion. Please feel free to reach out to us with any other questions or you can send us your Excel files as well.
Regards,
Nujat Tasnim
Exceldemy.