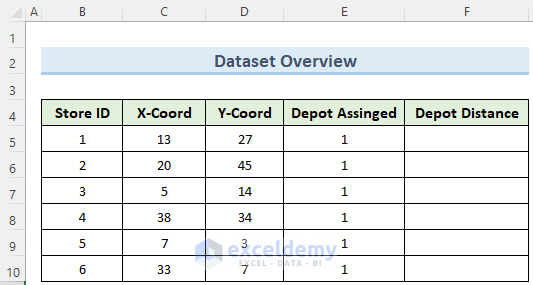
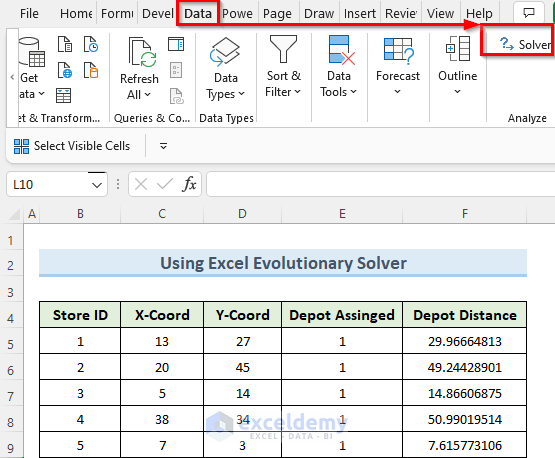
This is the sample dataset.
To distribute the depots, so that the Total Distance becomes minimum:
Step 1 – Creating Data Tables
- Enter data of columns Store ID, X-Coord, Y-Coord, and Depot Assigned manually .
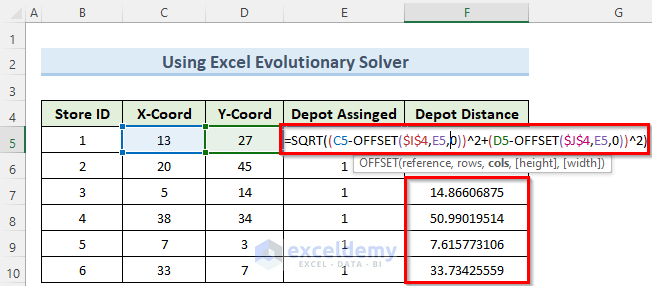
- Click F5 and enter the following formula:
=SQRT((C5-OFFSET($I$4,E5,0))^2+(D5-OFFSET($J$4,E5,0))^2)- Copy the formula to the cells below using the Fill Handle.
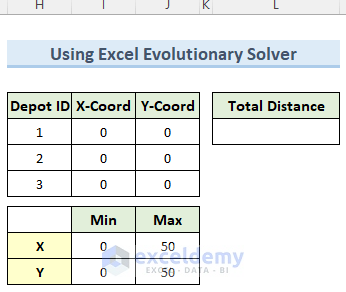
- Enter data in the other tables:
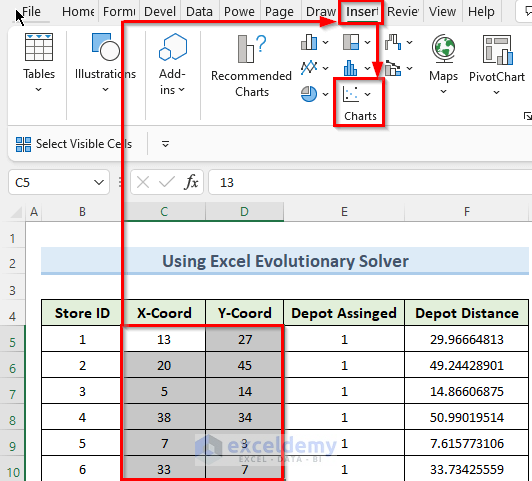
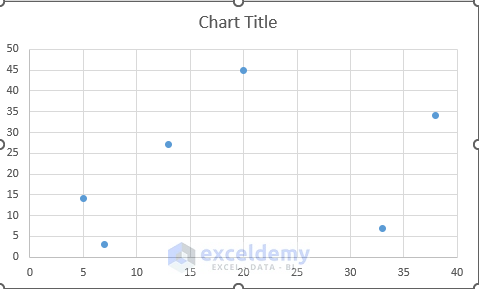
Step 2 – Generating a Scatter Plot
- Select C5:D10.
- Go to the Insert tab and select Scatter Chart.
A 2D Scatter Plot is displayed showing the relative position of the stores.
Read More: Where Is Solver in Excel
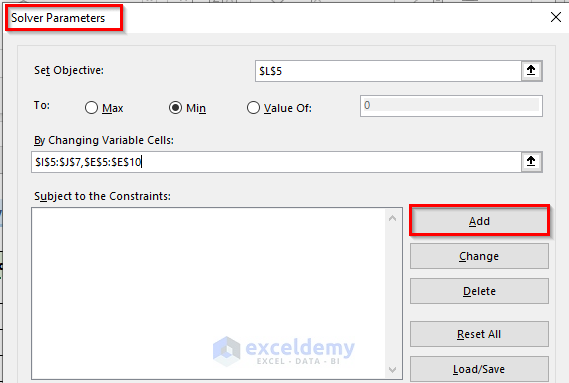
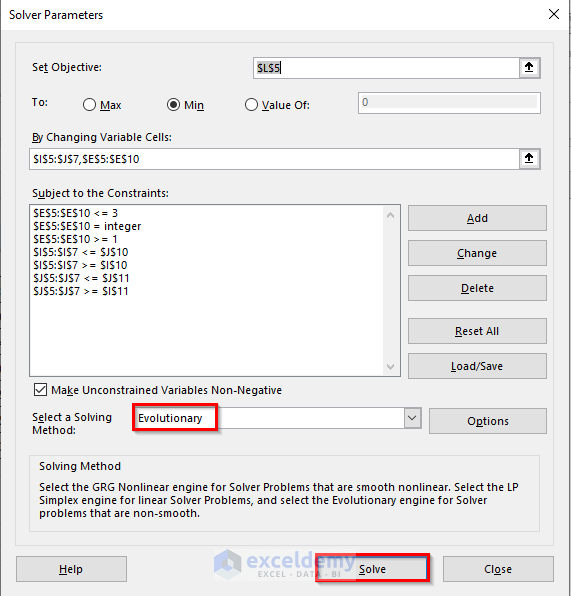
Step 3 – Setting Up the Solver
- Go to the Data tab and click Solver.
- In the Solver Parameters window, enter datain Set Objective, To, and By Changing Variable Cells.
- Click Add.
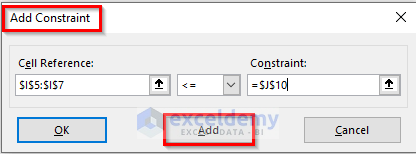
- In the new Add Constraint window, enter data in the 3 required fields and click Add.
- Click OK.
Read More: How to Use Solver in Excel
Step 4 – Finding a Solution
7 constraints were entered.
- Set Evolutionary as Solving Method and click Solve.
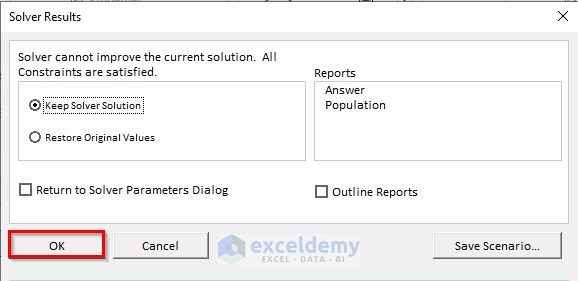
The solution will be displayed.
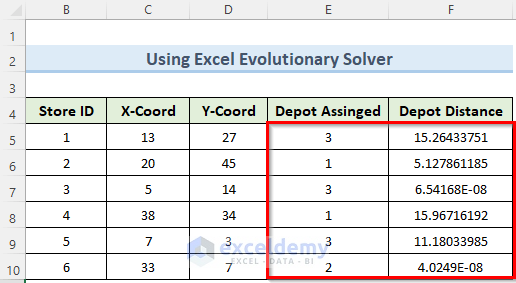
The solver calculated the Total Distance and coordinates of the Depots.
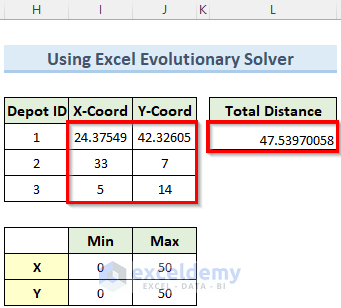
It calculated data on the first table as well.
Comparing Evolutionary and GRG Nonlinear Solvers in Excel
The GRG Nonlinear solver in Excel tries to find a point at which the slope of the function is zero, to make sure that the function reaches either a maximum or a minimum value.. With the MAX, MIN, SUMIF and COUNTIF functions, you can’t use the GRG Nonlinear solver.
The Evolutionary solver doesn’t rely on finding the slope. It can not determine whether a given solution is optimal. It only provides a new candidate solution, better than the previous ones. It stops calculation when a set criterion is met.
Download Practice Workbook
Download the practice workbook.
<< Go Back to Solver in Excel | Learn Excel
Get FREE Advanced Excel Exercises with Solutions!
