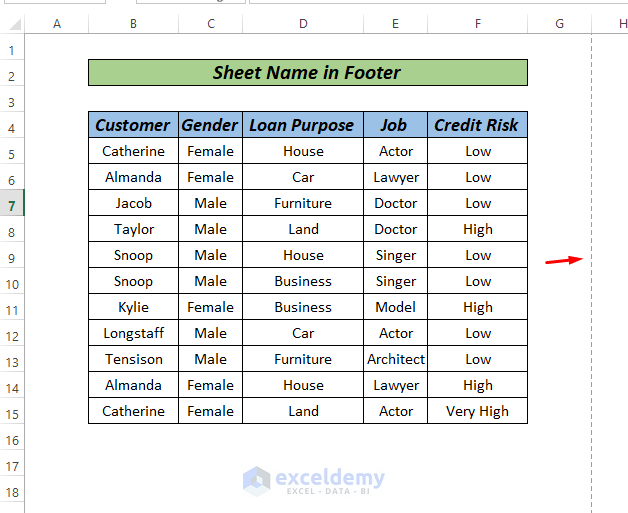
Header and footer options are mostly used when we want to print our Excel document. We will guide you through several methods for the Excel sheet name code in the footer. For your better understanding, we are going to use a sample dataset containing Customer, Gender, Loan Purpose, Job, and Credit Risk.

How to Apply Sheet Name Code in Footer in Excel: 3 Ways
We can use 3 different ways to generate sheet name code in the footer. We will see the use of the Insert and Page Layout tab and VBA code in this article.
1. Sheet Name Code in Footer Using INSERT Tab
The most used option to add sheet names in the footer is using the INSERT tab.
Steps:
- First, go to the INSERT tab and select Header & Footer from the Text options.

- Now, our sheet will look like the following image.

- At this point, scroll down and we will find an option like Click to add Footer.
- Here, we will click on that cell, then go to Design > Sheet Name.

- Finally, just click outside that cell and we will see the sheet name footer is added.
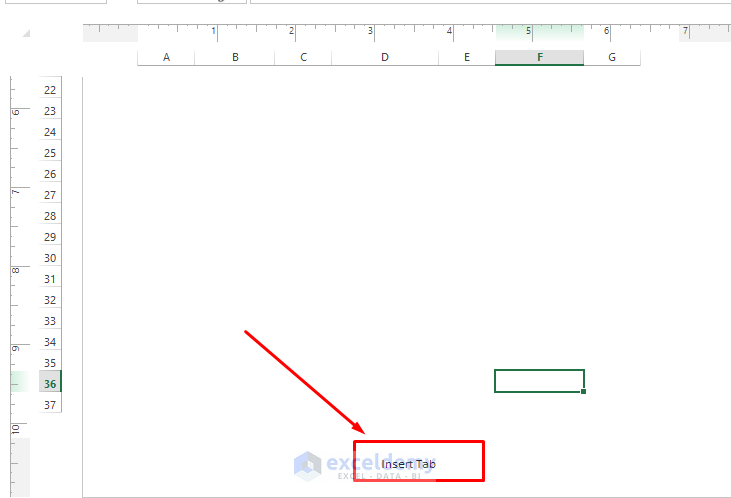
Here, our sheet name is Insert Tab, which is shown through the sheet name code in the footer.
2. Sheet Name Code in Footer by Page Setup
Another easy option is Page Setup.
Steps:
- First, go to Page Layout from the ribbon and open the full set of page formatting options.
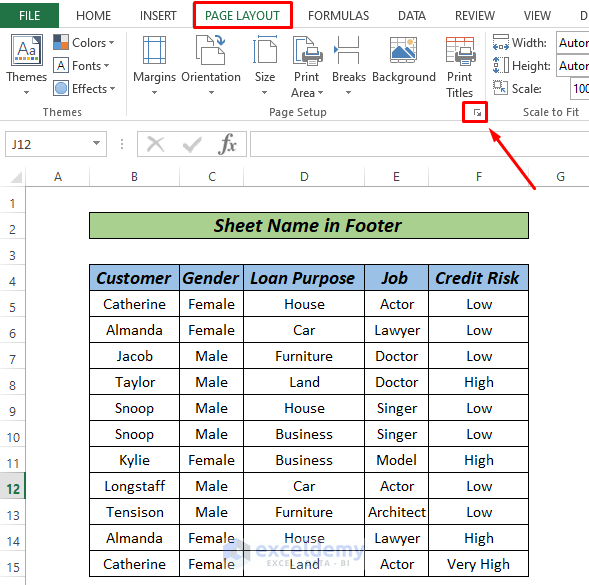
- As a result, a dialogue box named Page Setup will pop up, and select Custom Footer.

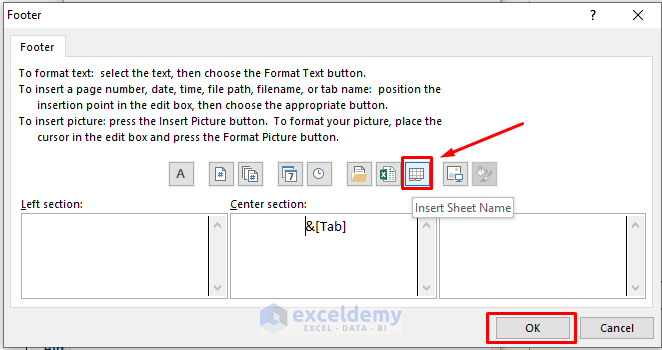
- At this point, another dialogue box will pop up named Footer.
- We will get the Left, Centre, and Right sections.
- We have chosen Center and clicked Insert Sheet Name as shown in the image below.
- After clicking OK, go to the Print Preview option to check whether the footer is visible or not.

We will see a preview like the following image.

Read More: How to Get Excel Sheet Name
3. Insert Sheet Name in Footer Using VBA
In our last method, we will see the use of VBA code to insert the footer in the sheet.
Steps:
- First, right-click on the sheet and go to View Code.
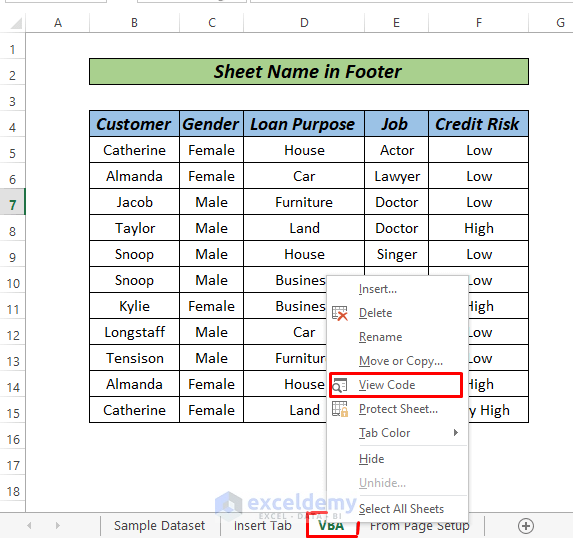
- After that, copy and paste the VBA code below.
Sub sheet_name_Code_in_footer()

Dim Myworksheet As Worksheet

Set Myworksheet = Worksheets("VBA")
With Myworksheet.PageSetup
.CenterFooter = "&A"
End With

End Sub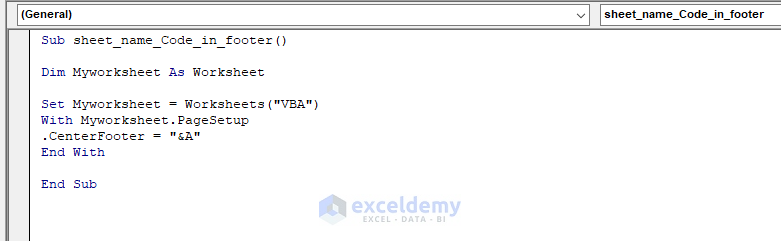
Here, we have declared a sub-procedure sheet_name_Code_in_footer, where we have used a worksheet object Myworksheet. Then, to the Myworksheet object, we applied the PageSetup method to place the footer in the center.
- After that, press the F5 or click on the Run button to run the code.
Check if the footer is placed correctly by the Page Set up option or by pressing CTRL+P.
Practice Section
The single most crucial aspect in becoming accustomed to these quick approaches is practice. As a result, we’ve attached a practice workbook where you may practice these methods.

Download Practice Workbook
Conclusion
These are 3 different methods for Excel sheet name code in the footer. Based on your preferences, you may choose the best alternative. Please leave them in the comments area if you have any questions or feedback.
Related Articles
- How to Get Excel Sheet Name
- How to Insert Excel Sheet Name from Cell Value
- How to List Sheet Name in Excel
- How to Rename Sheet in Excel
- How to Use Sheet Name Code in Excel
- How to Search by Sheet Name in Excel Workbook
<< Go Back to Excel Sheet Name | Excel Worksheets | Learn Excel
Get FREE Advanced Excel Exercises with Solutions!
