By default, you can set Excel row height from 0 to 409. However, you may need to set a much higher row height in many situations. In this article, we will describe how you can set Excel row height beyond the default limit.
In the GIF below, you can see that we cannot set the row height to 410 although we need it. After that, we will describe how you can get rid of this.
Excel Row Height Limit
Here, we will describe the default Excel row height limit. In Excel, we can set the row height from 0 to 409. Therefore, when you will set the Row height to more than 409, it will return a warning.
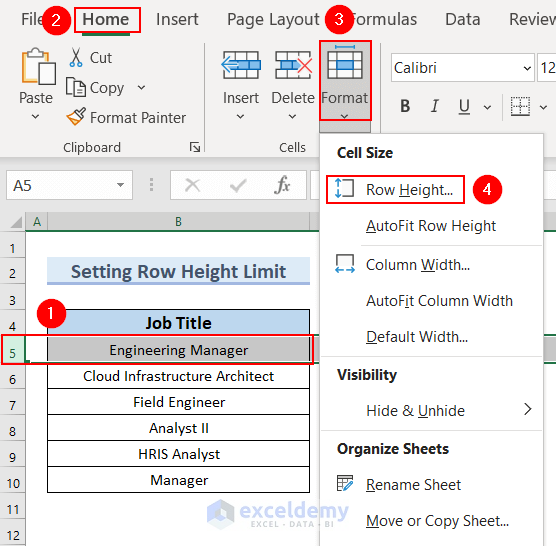
- To set the row height to a maximum of 410, select a row.
- Here, we select Row 5.
- After that, go to the Home tab >> select Cells >> select Format.
- Then, select Row Height.
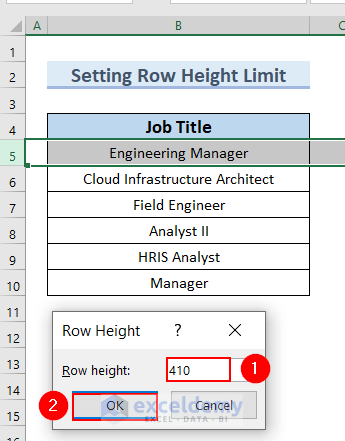
- At this point, a Row Height dialog box will appear.
- Then, we will type 410 in the Row height dialog box.
- Afterward, click OK.
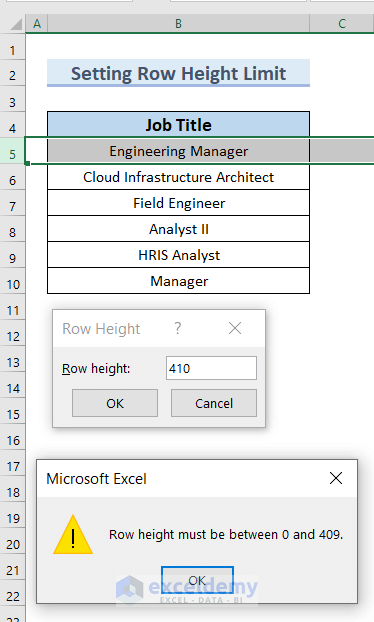
- At this point, a warning will appear.
- Hence, row height cannot be set to 410 or any higher values.
- Furthermore, in the following article, we will describe how you can set an Excel row height limit of more than 409.
Row Height Limit in Excel: How to Extend?
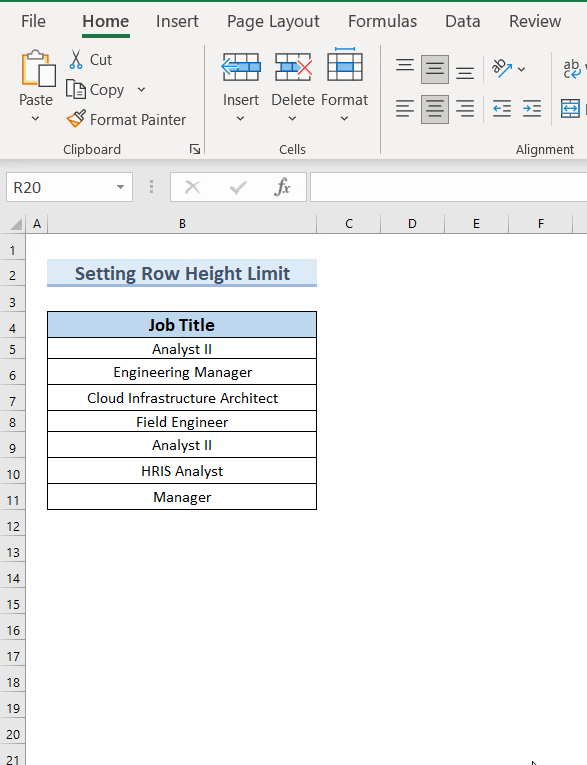
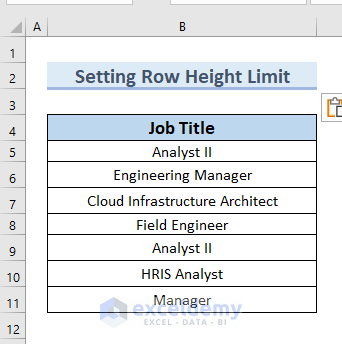
In the following dataset, you can see the Job Titles. Here, using this dataset we will describe 3 easy steps to set the Excel row height limit. Here, we used Excel 365. You can use any available Excel version.
Step-1: Setting a Row Height to 409.5
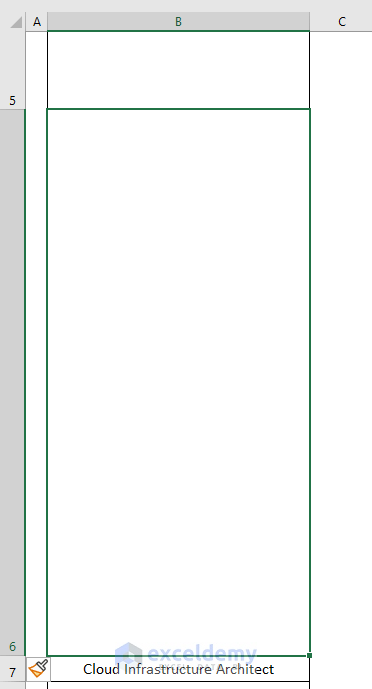
In this step, we will set the Row Height to 409.5.
- To do so, we will follow the earlier steps to bring out the Row Height dialog box.
- Then, we will set the Row height as 409.5. >> click OK.
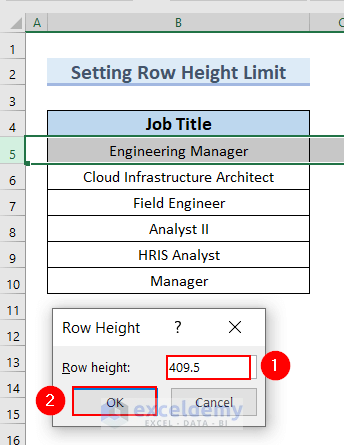
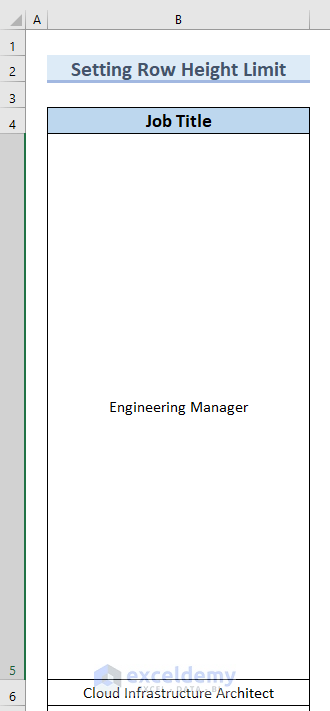
- Therefore, you can see the expanded Row 5.
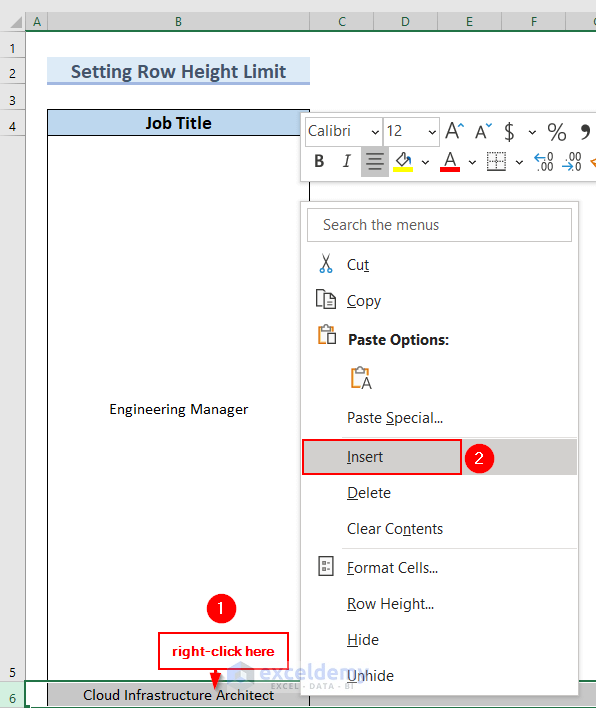
Step-2: Inserting a New Row
In this step, we will insert a new row under the expanded row.
- Therefore, first, we will right-click on Row 6.
- Then, we will select Insert from the Context Menu.
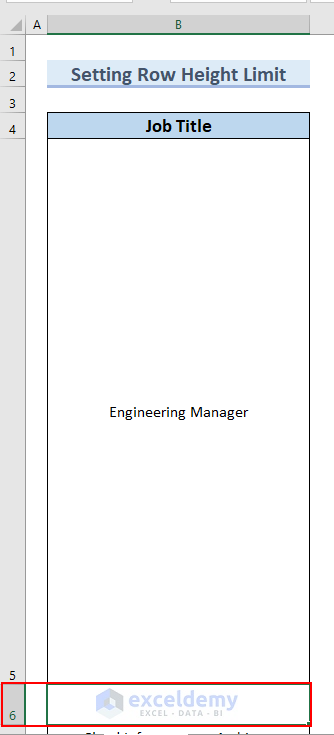
- Therefore, you can see Row 6 has been expanded like Row 5.
- After that, we will make Row 6 height much shorter since we do not need that much larger rows.
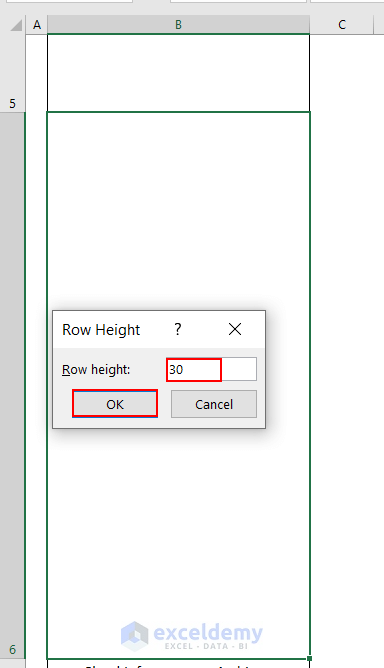
- After that, we follow the earlier steps to bring out the Row height dialog box.
- Therefore, we set the Row height of 30 in the Row height dialog box.
- Here, you can set the Row height according to your needs.
- In addition, click OK.
- Therefore, you can see the expanded Row 6.
Step-3: Merging Rows to Extend Row Height Limit in Excel
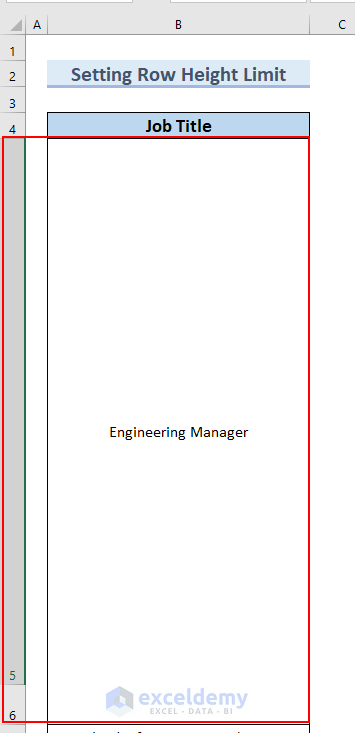
In this step, we will merge the rows to extend the Excel row height limit. Here, we want the row height to become 439.5. Therefore, we will merge Row 5 and Row 6.
- In the beginning, we will select rows 5 and 6.
- After that, we will go to the Home tab >> then from the Alignment group >> select Merge & Center.
- In addition, select Merge & Center.

- Therefore, the rows will be merged, and you will get an expanded row height beyond the default row height limit.
Practice Section
You can download the Excel file and practice the explained methods.

Download Practice Workbook
You can download the Excel file from the following link and practice while reading this article.
Conclusion
Here, we show you 3 easy steps for extending the Excel row height limit. Thank you for reading this article. We hope it was helpful. If you have any queries, please let us know in the comment section.
Related Articles
- Increase Character Limit in Excel Cell
- Determine Sheet Name Limit in Excel
- Is There Any Way to Increase Excel Row Limit?
<< Go Back to Excel Limits | Excel Parts | Learn Excel
Get FREE Advanced Excel Exercises with Solutions!

This was very helpful! Thank you!
Dear Merry,
You are most welcome.
Regards
ExcelDemy