This tutorial will demonstrate how to protect Excel formulas but will allow you to copy them. Suppose, we will share our Excel file with other users. Our Excel file contains different formulas. We don’t want to let our users make any changes in the formula of the source Excel sheet. But we will allow them to copy the formula from the source Excel sheet to a new sheet. Without any further delay, let’s see how we can do this.
How to Protect Formulas but Allow Copy in Excel: 3 Methods
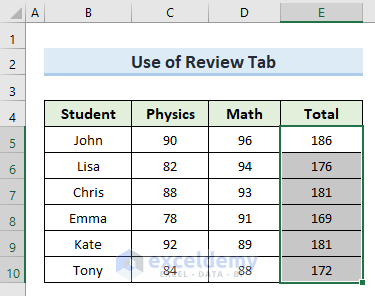
In this article, we will illustrate 3 simple methods to protect Excel formulas but will allow you to copy them. To illustrate the 3 methods we will use the following dataset. The dataset contains information about the names of students, their subjects, and marks in corresponding subjects. Here, the column Total contains formulas that calculate the total marks of students in both subjects. Using this dataset we will explain all the methods of this article.

To show the formula used in this dataset, go to Formulas > Show Formulas.

So, in the following image, we can see the formulas used in the cell range (E5:E10).

1. Allow Copy of Protected Formulas with Review Tab in Excel
In the first method, we will use the Review tab to protect formulas in Excel but will allow copying them. To perform this method follow the below steps.
STEPS:
- Firstly, go to the Home tab.
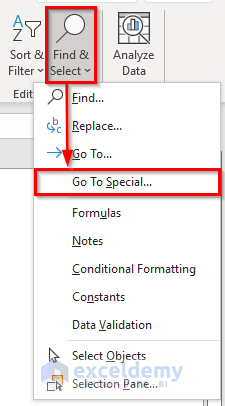
- Secondly, from the ribbon click on the option ‘Find & Select’ and select ‘Go To Special’.
- A new dialogue box will open.
- Thirdly, check the option Formulas from that box and click OK.
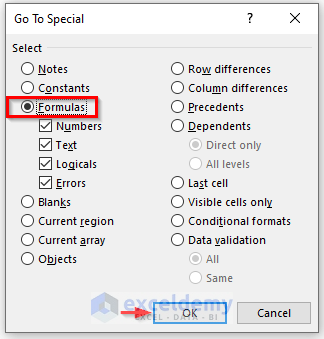
- As a result, the above command only chooses cells that contain formulas.
- Next, right-click on the selected cell and select the option Format Cells.
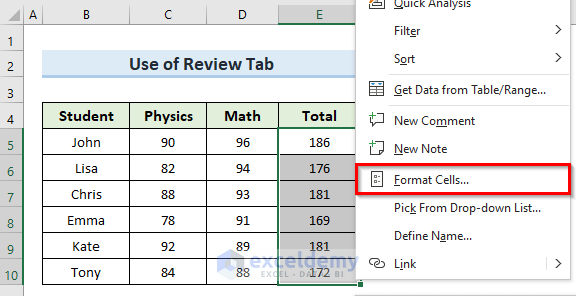
- The above command opens a new dialogue box named Format Cells. We can also launch the dialogue box by pressing Ctrl + 1.
- Then, go to the Protection tab.
- Also, tick the option Locked and then click OK.

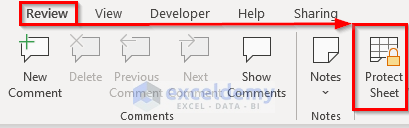
- Furthermore, go to the Review tab.
- Select the option Protect Sheet.
- So, a new dialog box named Protect Sheet. Click OK after entering a password in the input field.

- Another dialog box will pop up, asking us to confirm our password.
- Then, re-enter the password and click on OK.

- Afterward, select any cell in the E5 to E10 A message box similar to the one below appears. The message indicates that the cell we are trying to access is password-protected.

- After that, select the cells that contain formulas.
- Press Ctrl + C to copy the selected cells.

- Then go to a new worksheet named NewSheet. Select cell E5 and paste the data.
- Finally, we get results like the following image. So, we can protect Excel formulas allowing us to copy them.

2. Utilize Name Box to Protect Excel Formulas but Allow Copy
In the second method, we will utilize the Name Box. With the name box, we can copy formulas from a protected excel sheet. To do this we will follow the below steps.
STEPS:
- First, input the cell range (E5:E10) in the name box.
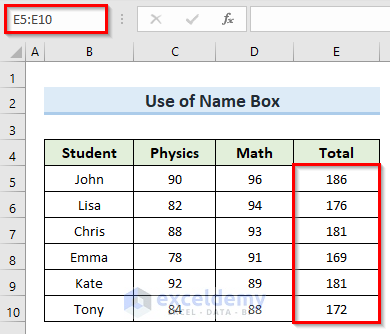
- Next, press Enter.
- The above command selects cells with formulas.
- Then, press Ctrl + C to copy the selected cells.

- Now, go to another sheet named NewSheet
- Press Ctrl + V to paste the copied data.
- Lastly, we can see that we have copied the Excel formula from a protected sheet.

Read More: How to Protect Formula in Excel but Allow Input
3. Protect Excel Formulas but Allow Copy with VBA Code
We can also use a VBA code to protect Excel formulas but still allow us to copy them. Like the previous methods, we will use the same dataset to illustrate this method. Just do the following steps to perform this action.
STEPS:
- To begin with, go to the Developer tab and select Visual Basic.

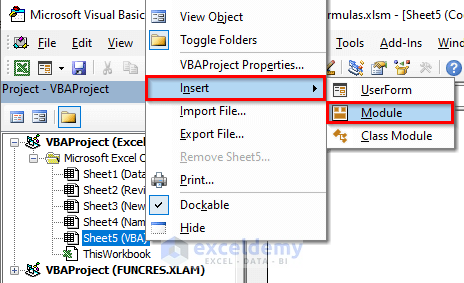
- In addition, right-click on the sheet name VBA.
- Then go to Insert > Module.
- A blank VBA code window will appear.
- Afterward, type the following code in that blank code window:
Sub Protect_Formulas()
ActiveSheet.Unprotect "123"
ActiveSheet.Range("A1:XFD1048576").Locked = True
ActiveSheet.Protect "123"
End Sub- Now, click on the Run icon or press the F5 key to run the code.

- As a result, the above code protects the sheet but allows copying formulas from the worksheet.
- After that, copy the cell (E5:E10) from the sheet VBA. Then, paste it to the cell range (E5:E10) of the worksheet named NewSheet.

Download Practice Workbook
You can download the practice workbook from here.
Conclusion
Ultimately, this article demonstrates how to protect formulas in Excel but allows the copy option of those formulas. Download the practice worksheet that comes with this article to put your skills to the test. If you have any questions, please leave a remark in the box below. Our team will do everything necessary to respond to you as soon as possible. So keep an eye out for more new Excel solutions in the future.
Related Articles
- How to Prevent Formula from Being Deleted in Excel
- How to Protect Formulas Without Protecting Worksheet in Excel
<< Go Back to Excel Protect Formulas | Excel Formulas | Learn Excel
Get FREE Advanced Excel Exercises with Solutions!
