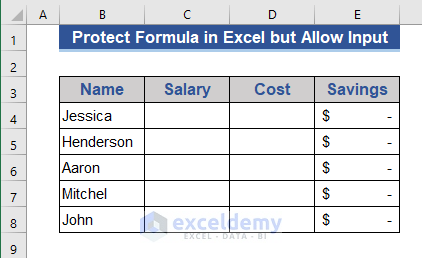
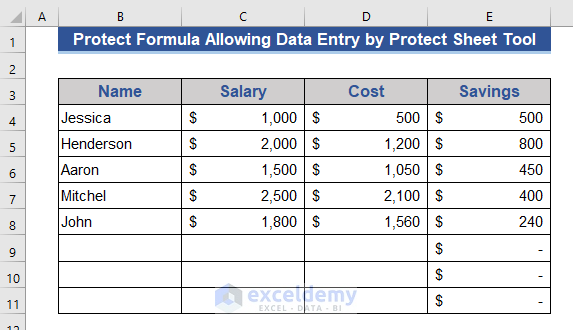
The dataset showcases of names of employees, their salaries and costs. Enter the salary and cost to calculate the savings without using the savings column.
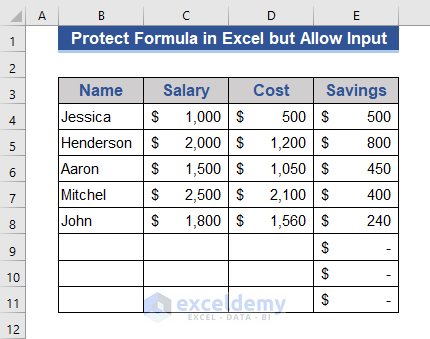
Enter values in the Salary and Cost columns and get the savings automatically.
Keep empty cells. Without the formula in the cells of the Savings column, other columns remain editable.
Method 1 – Protect the Formula Cells Only
Steps:
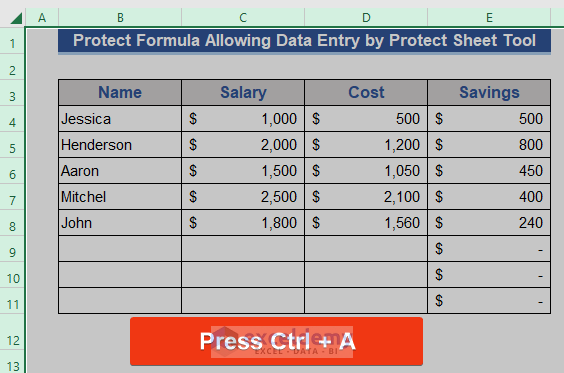
- Press Ctrl+A to select the whole worksheet.
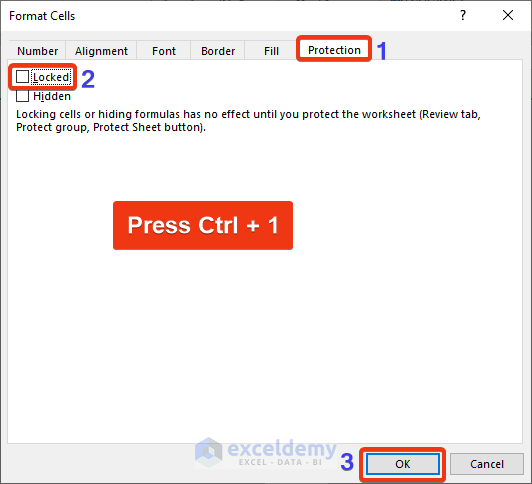
- Go to the Format Cells window by pressing Ctrl+1.
- Uncheck Locked in the Protection tab.
- Click OK.
There is no locked cell in the worksheet.
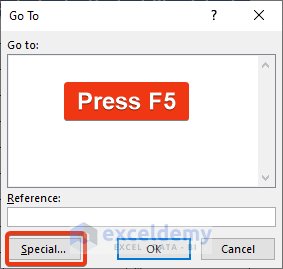
- Press F5 and select the Go To window.
- Choose Special.
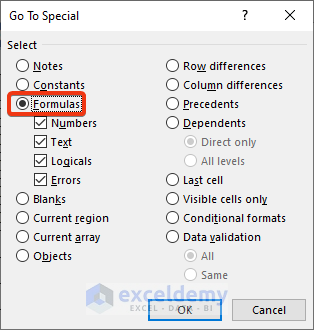
- Select Formulas in Go To Special.
- Click OK.
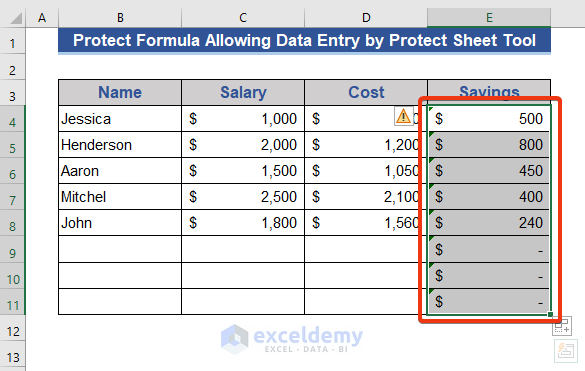
All cells containing formulas are marked.
- Go to the Format Cells window.
- Check Locked and click OK.
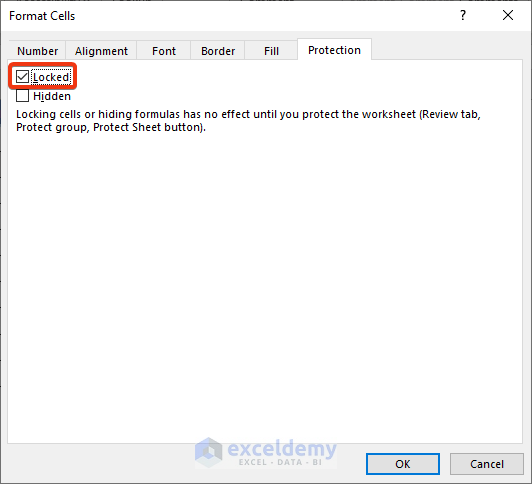
Cells containing formulas are locked.
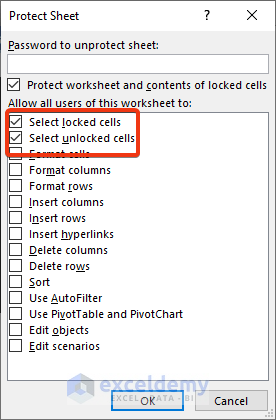
- Go to the Review tab.
- Click Protect Sheet in Protect.

- Check the first two options and click OK.
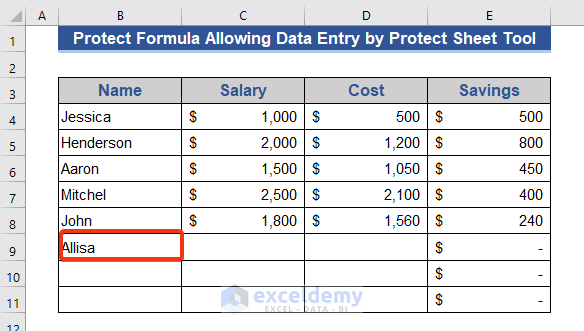
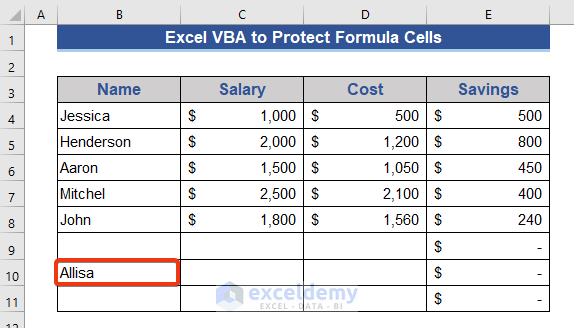
- You can enter data in any cell, except for the formula cells. Allisa was entered in B9.
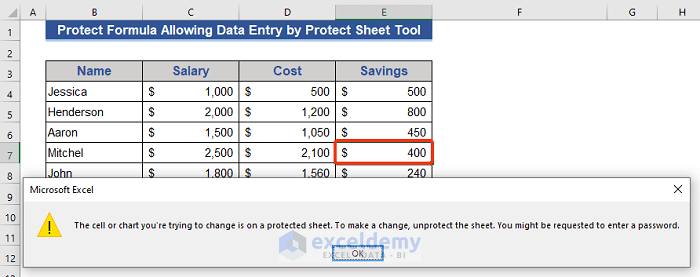
- If you try to input data in the formula cells, a warning will be displayed.
Read More: How to Protect Formulas Without Protecting Worksheet in Excel
Method 2 – Use an Excel VBA Code to Protect the Formula Cells and Allow Data entry in Other Cells
Steps:
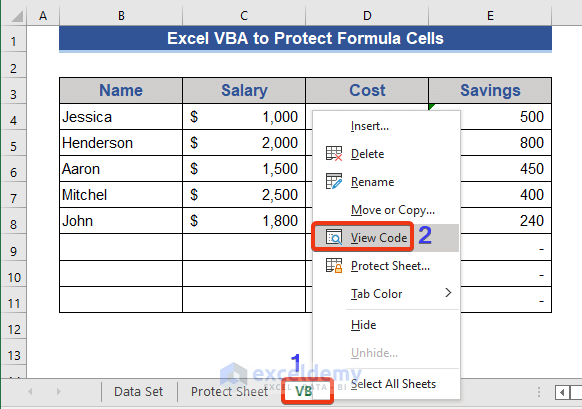
- Go to Sheet Name.
- Right-click.
- Choose View Code in the Context Menu.
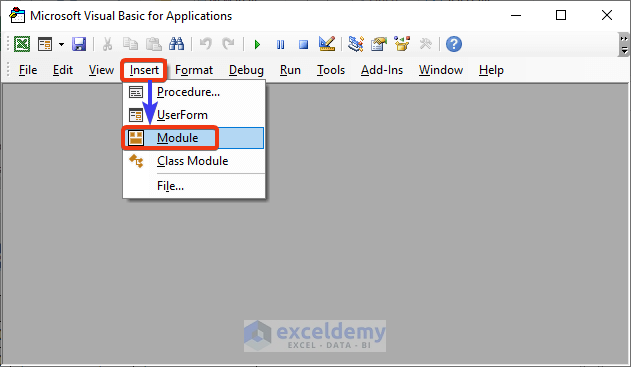
- In the VBA window, choose Module in the Insert tab.
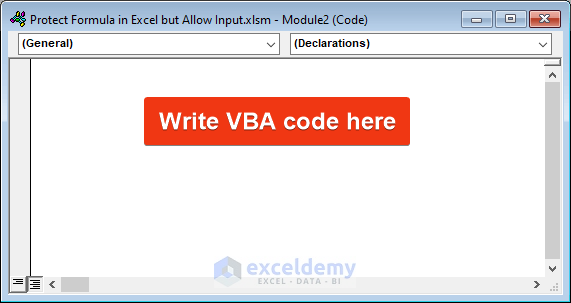
- Enter the VBA code.
Option Explicit
Sub Protect_Formula_Cells()
    Dim pass As String, w_sheet As Worksheet
    Dim f_cells As Range
    pass = "123"
    Set w_sheet = ActiveSheet
    w_sheet.Unprotect pass
    On Error Resume Next
    Set f_cells = w_sheet.Cells.SpecialCells(xlCellTypeFormulas)
    If f_cells Is Nothing Then Exit Sub
    w_sheet.Cells.Locked = False
    f_cells.Locked = True
    w_sheet.Protect pass
End Sub
- Press F5 to run the code.
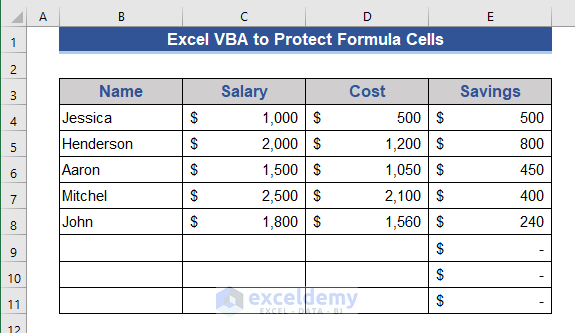
Cells are locked.
- You can enter data in the other cells, but not in the formula cells.
Download Practice Workbook
Download the practice workbook.
Related Article
<< Go Back to Excel Protect Formulas | Excel Formulas | Learn Excel
Get FREE Advanced Excel Exercises with Solutions!
