In this article, we will use different methods like Data Validation, MAX, MIN, RANDBETWEEN, and IF functions to set a value that should not be exceeded.
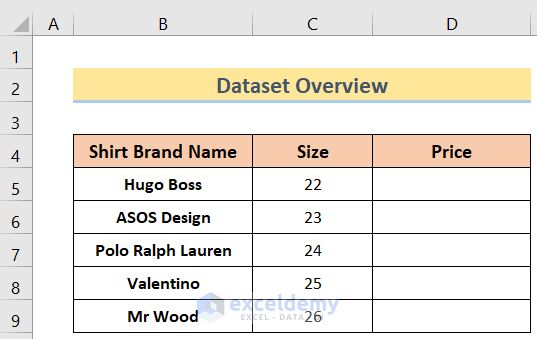
We’ll use the following sample dataset to demonstrate these methods, which contains Shirt Brand Name in Column B, Size in Column C, and Price in Column D.
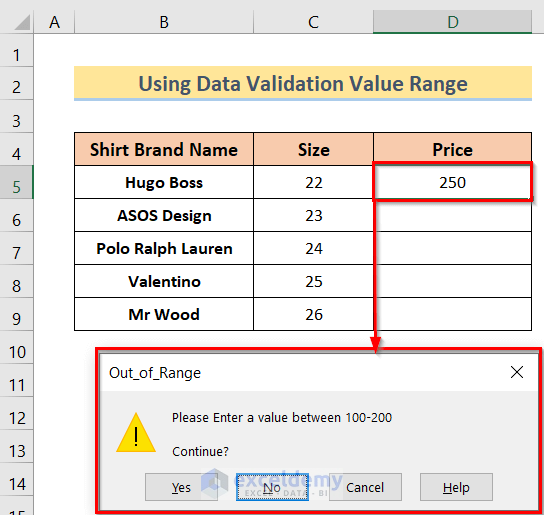
Method 1 – Using a Data Validation Value Range
Data Validation is a powerful tool to set a limit to a cell or a range. For example, if we want to record the age of customers in a cell range, we can set the Data Validation to accept numerical values only, set upper and lower limits for a particular type of data, and return a message to the user about why the data was not accepted and how to resolve the issue.
Steps:
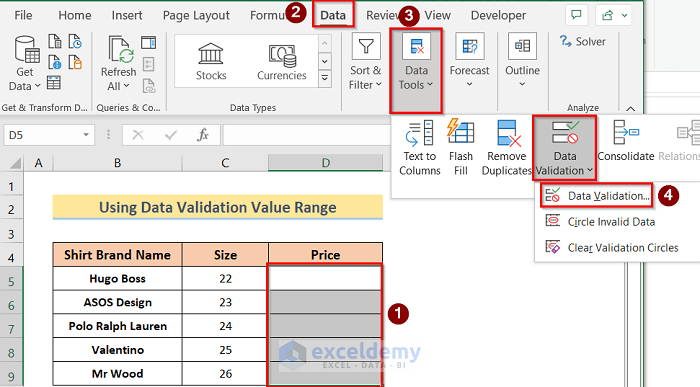
- Select the range Size.
- Click the Data Tab.
- Click Data Tools.
- Select Data Validation from the drop-down list.
- Then select Data Validation from the Data Validation drop-down list.
The Data Validation window will pop up on the screen.
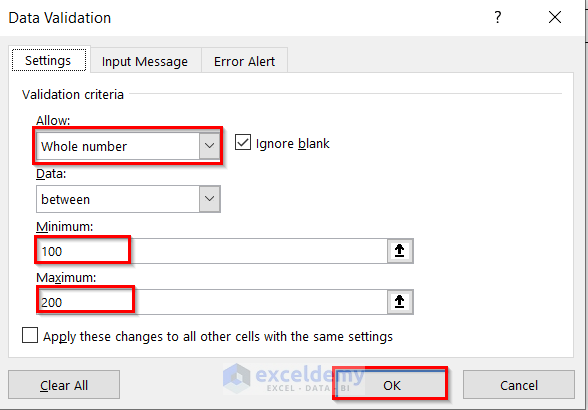
- Click the Settings tab.
- Select Whole Number (under Validation Criteria Allow).
- Select between (under Data).
- Enter 100 (as a Minimum).
- Enter 200 (as a Maximum).
- Click OK.
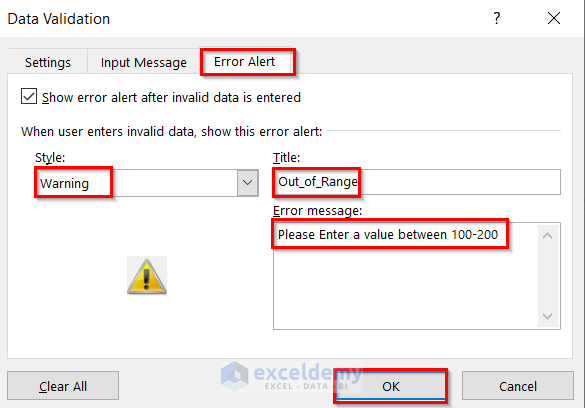
- Click the Error Alert tab.
- Select Warning (from the Style drop-down menu).
- Select Out_of_Range (as a Title).
- Enter “Please Enter a value between 100–200” (as an Error message).
Now, if you enter a value outside the accepted range (100 to 200), our warning message will display.
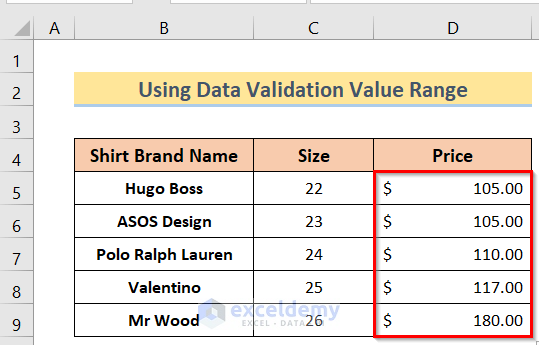
- Enter values into the other cells in column D manually.
Only values within the range 100 to 200 will be accepted.
Method 2 – Using a Data Validation Custom Formula
Data Validation offers custom formulas to maintain a certain range of values. Let’s use the AND function (which combines two or more arguments and results) to insert two arguments into our Validation Criteria – minimum and maximum.
Steps:
- As in the previous method, select the range Size > go to Data Tab > Data Validation options.
The Data Validation window will pop up on the screen.
- In the Settings tab, select Custom under Allow.
- Enter the following formula under Formula:
=AND(D5>=100,D5<=200)
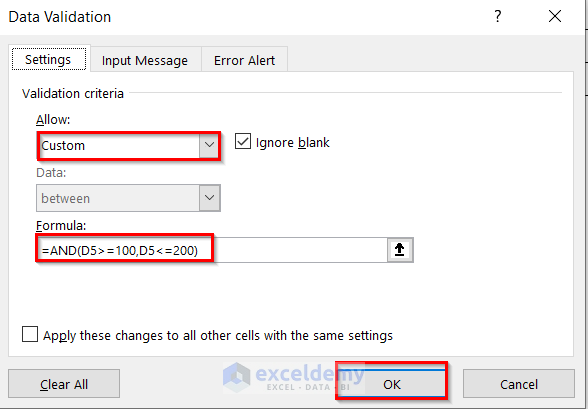
- Click OK,
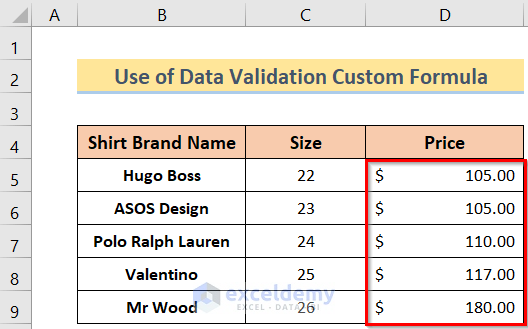
- Start inserting values manually in column D.
Only values within the range will be accepted.
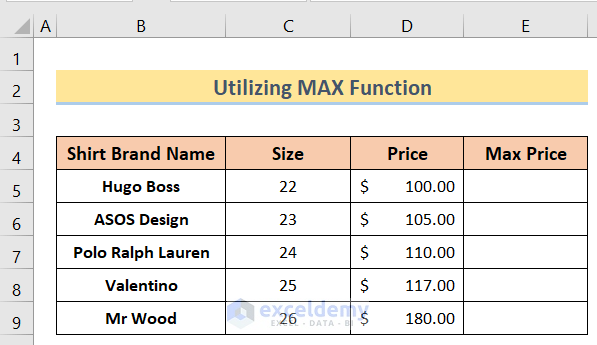
Method 3 – Using the MAX Function
The MAX function returns the largest value in a given list of arguments.
Steps:
- Arrange the dataset as per the below image.
- Enter the following formula in cell E5:
=MAX(0.8*D5,90)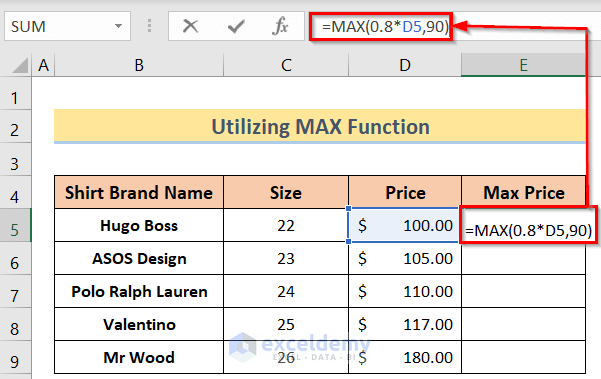
- Press Enter to return the result.
- Drag the Fill Handle down to apply the formula to the other cells in column E.
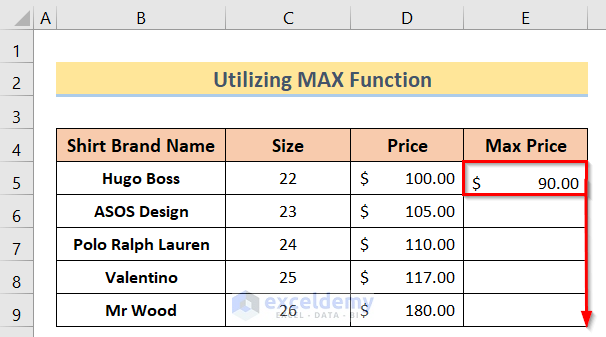
- The Maximum Prices will be set by our formula (the greater of 90 and 80% of the Price).

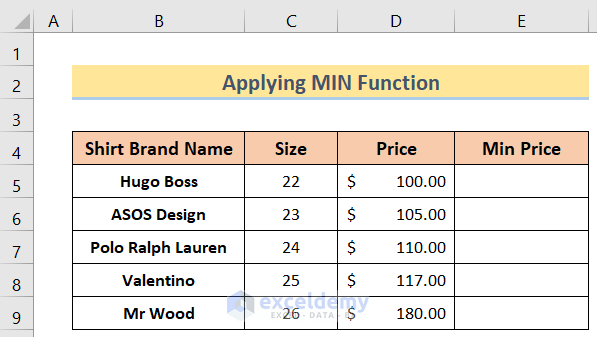
Method 4 – Using the MIN Function
The MIN function is generally used to extract the lowest or smallest value from a range of cells containing numerical data only.
Steps:
- Arrange the dataset like the below image.
- Insert the following formula in cell E5:
=MIN(0.8*D5,140)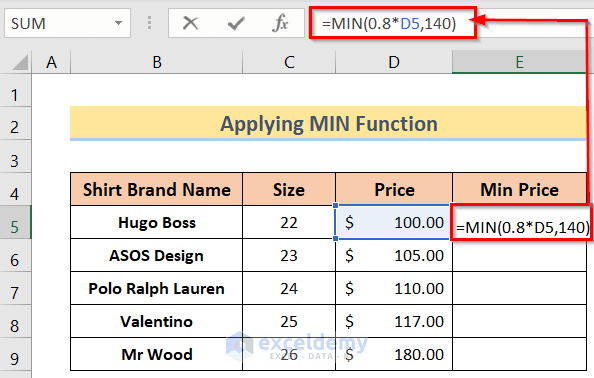
- Press Enter to return the result.
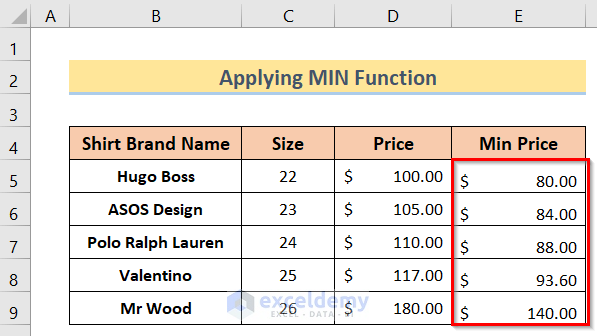
- Drag the Fill Handle down to apply the formula in the rest of the cells in the column.
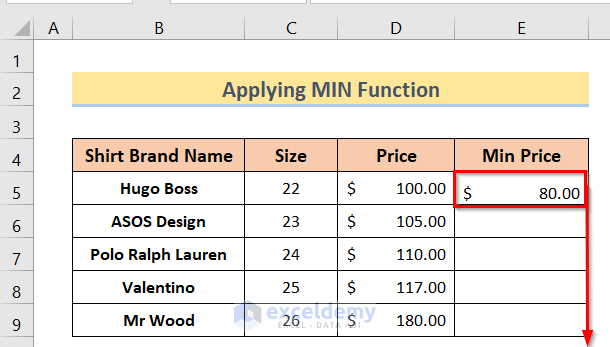
Minimum Prices are set (the lower of 140 and 80% of the Price).
Method 5 – Using the IF Function
We can also the IF function to restrict entries to our desired range. The IF function applies a set of conditions, returning one result if TRUE and another if FALSE.
Steps:
- Arrange the dataset like the below image.
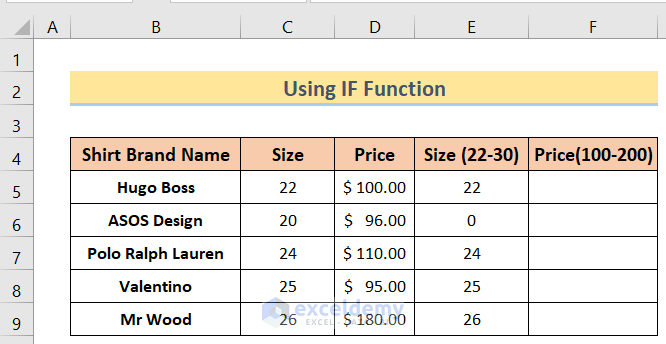
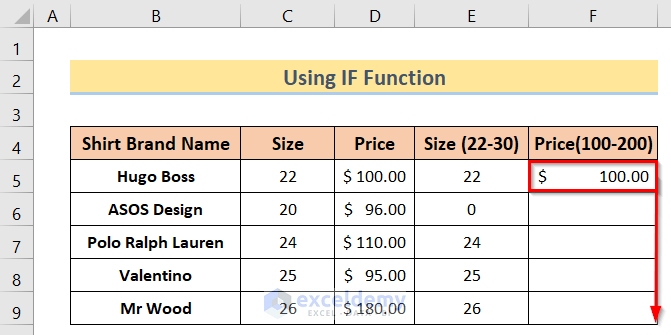
- Insert the following formula in cell F5:
=IF(D5<100,0,IF(D5>200,0,D5))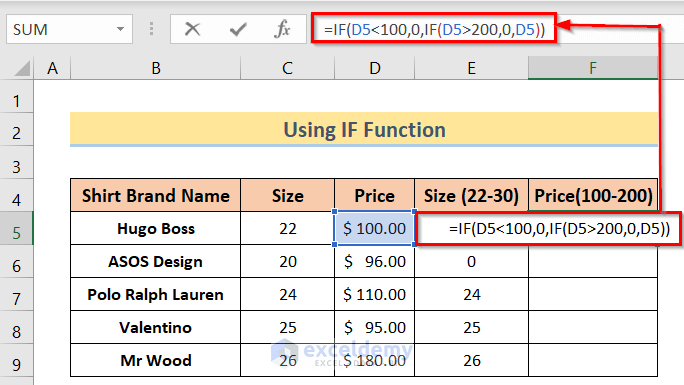
- Press Enter.
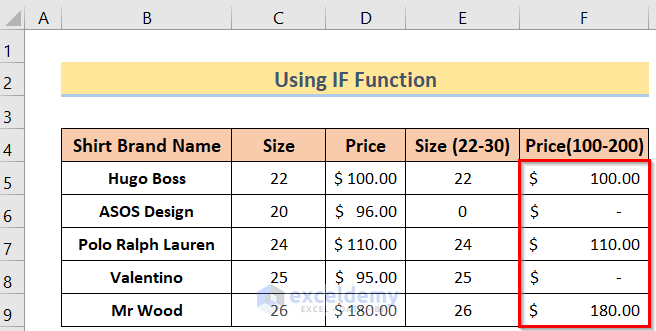
- Drag the Fill Handle down to apply the formula to the other cells in the column.
The results are as follows:
Method 6 – Using the RANDBETWEEN Function
The RANDBETWEEN function can be used to randomly generate values between a maximum and minimum value, Say we want random sizes of our shirts between 22 and 30.
Steps:
- Arrange the dataset like the below image.
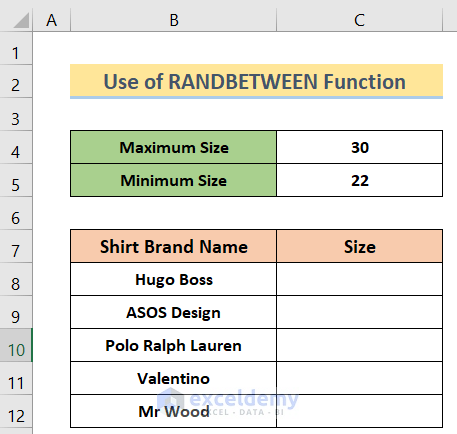
- Insert the following formula in cell C8:
=RANDBETWEEN($C$5,$C$4)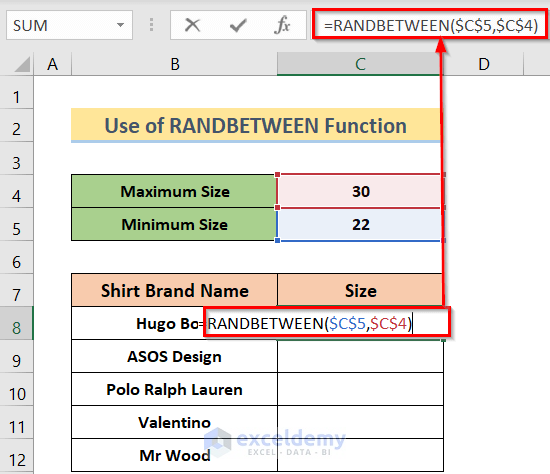
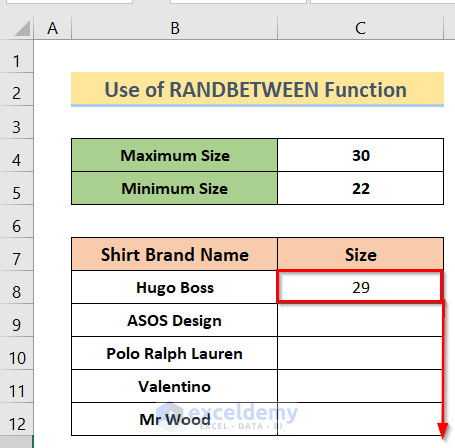
- Press Enter to return the result.
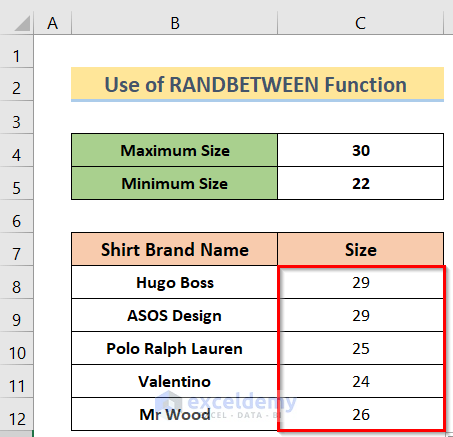
- Drag the Fill Handle down to apply the formula to the rest of the cells in the column.
The results are as follows:
Download Practice Workbook
Related Articles
- How to Make a Data Validation List from Table in Excel
- Excel Data Validation Drop-Down List
- Excel Data Validation Drop Down List with Filter
- How to Use Data Validation List from Another Sheet
<< Go Back to Data Validation in Excel | Learn Excel
Get FREE Advanced Excel Exercises with Solutions!
