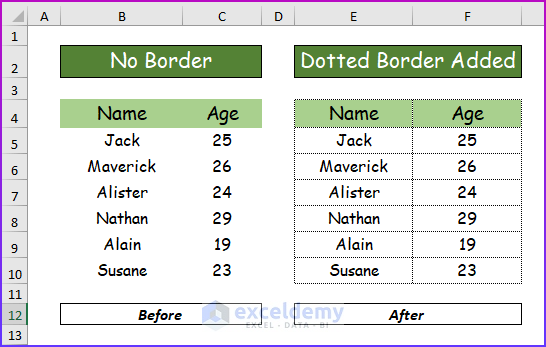
In the image, the left side of the data has no border, while the right side is outlined with a dotted border, showing names and ages.
2 Ways to Add Dotted Border
Method 1 – Using the Format Cells Dialog Box
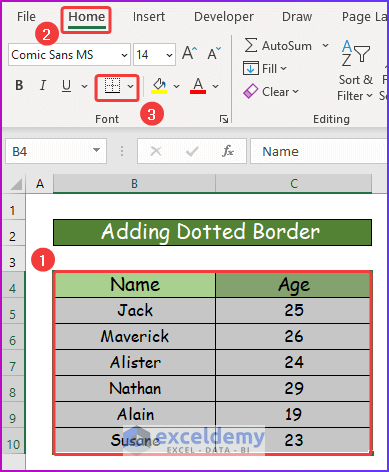
- Select the data range.
- Go to the Home tab and the Font group, then click the Border drop-down.
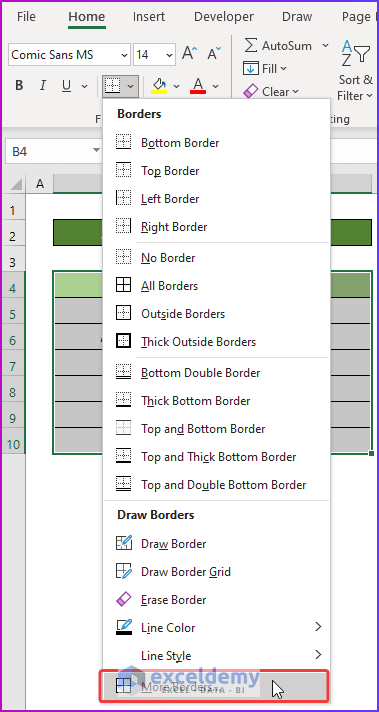
- Select More Borders option.
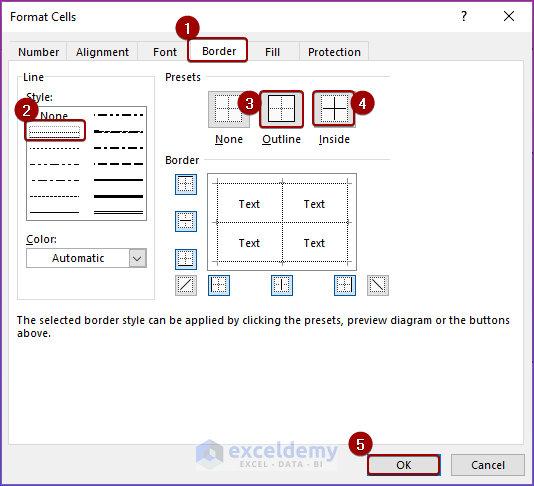
- The Format Cells dialog box will pop-up.
- Go to the Border tab.
- Select the first border style from the Style group.
- Select Outline and Inside from Presets group.
- Press OK.
The selected data range will get a dotted border like the following image.

Read More: How to Insert Border in Excel
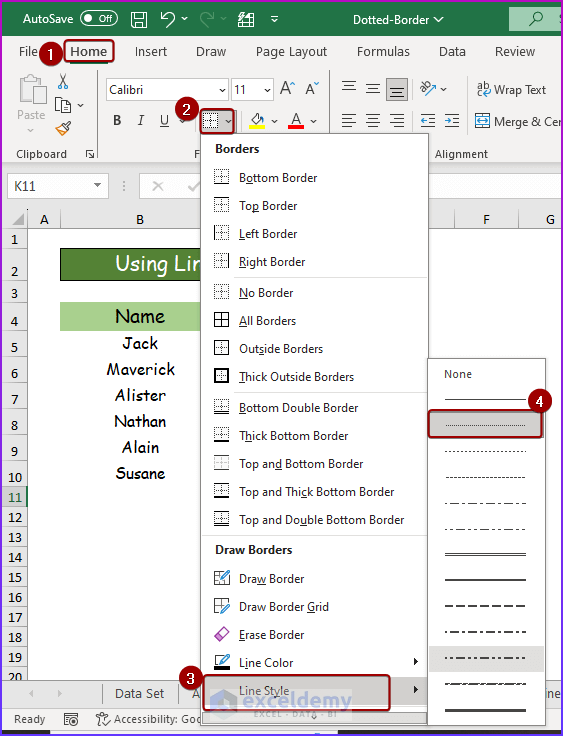
Method 2 – Using the Line Style from the Border Dropdown
- Go to Home and select the Borders drop-down.
- Click on the Line Style arrow.
- Select the dotted border style.
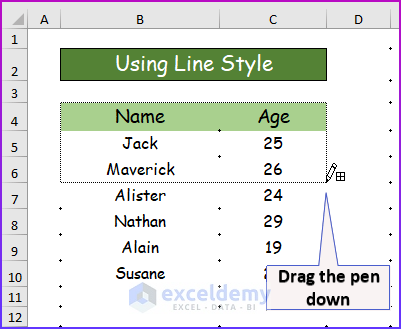
- Excel switches to the Draw Border mode automatically, and the cursor becomes a pen.
- Take the mouse pointer to the range of cells where you want to apply the border.
- Click on the mouse, hold it, and drag it to the range of cells.
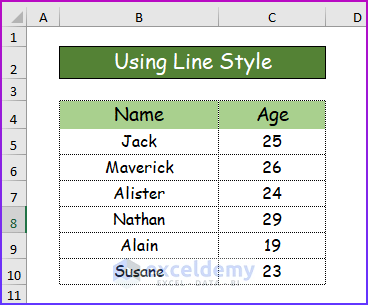
You will get the following output in your worksheet.
Here’s a GIF overview.

Remove the Dotted Border in Excel
- Select the data range of data with dotted border.
- Go to the Home tab and the Border drop-down, then select No Border.
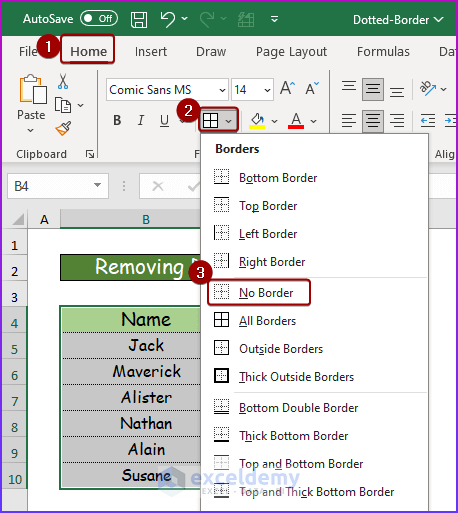
The dotted border from the selected range will be removed, like in the following image.
Note: To replace the dotted border, utilize the Borders drop-down menu. Choose the cell range that has the dotted border and then select a border style from the available border options.
Read More: How to Remove Borders in Excel
Download the Practice Workbook
Frequently Asked Questions
How to customize the color of the dotted border in Excel?
To customize the color of dotted border, select the range, press Ctrl+1 to open Format cells dialog box, go to the Border tab and click the Color drop-down. Select any color, and it will be applied to the dotted border instead of the default black color.
Does the dotted border affect the print layout in Excel?
Yes, the dotted border will be visible in the print layout if the print settings include cell borders.
Related Articles
- How to Apply All Borders in Excel
- How to Apply Top and Bottom Border in Excel
- How to Apply Bottom Double Border in Excel
- How to Add Thick Box Border in Excel
- How to Remove Page Border in Excel
- How to Add Cell Borders Inside and Outside in Excel
<< Go Back to Cell Borders in Excel | Excel Cell Format | Learn Excel
Get FREE Advanced Excel Exercises with Solutions!
