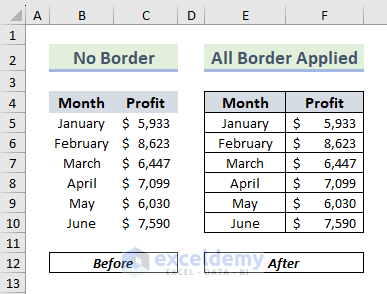
The All Borders option is a formatting feature that allows you to apply a border around the entire selected range of cells. This means that a border line will appear on all sides of each cell within the selected range, including the top, bottom, left, and right sides.
Method 1 – Using Excel’s Built-in Borders Option
- Select the cell range where you want to apply borders.
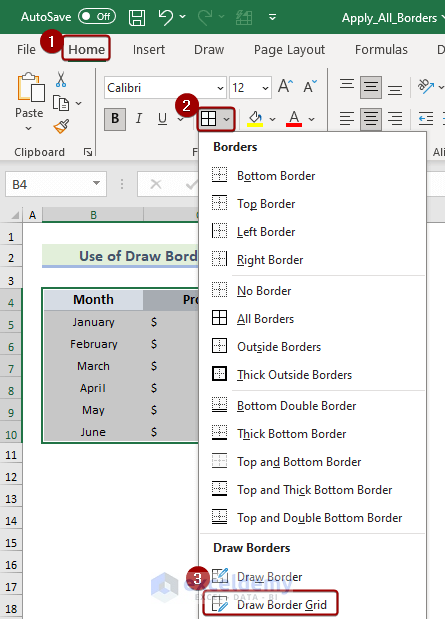
- Go to the Home tab, navigate to the Font group, and click the Border drop-down.
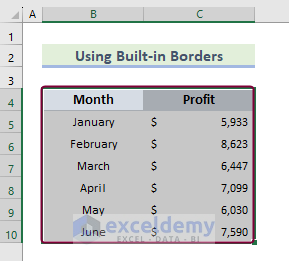
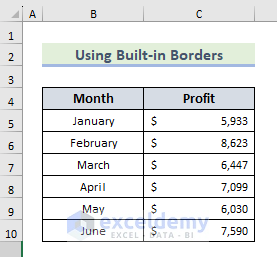
- Choose All Borders from the options available.

- Your cell range will now have borders on all sides, as shown in the image below.
Note: You can also apply All Borders using keyboard shortcuts by selecting the desired cells and pressing Alt + H + B + A.
Read More: How to Insert Border in Excel
Method 2 – Using the Draw Borders Feature
- Select the cell range where you want to add borders.
- Go to the Home tab, navigate to the Font group, and click the Border drop-down.
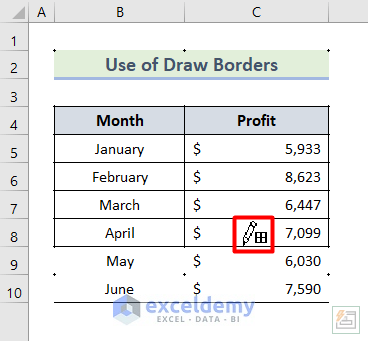
- In the Draw Borders group, select Draw Border Grid.
- A pen icon will appear on your worksheet.
- Hover over the cells where you want to apply borders.
- Drag the pen to your desired data range.
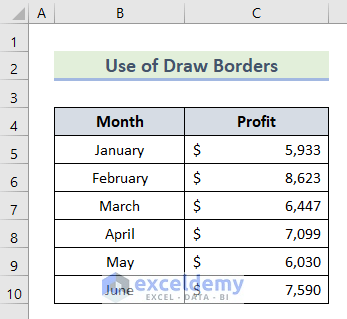
- Once done, press Esc to disable the border pen.
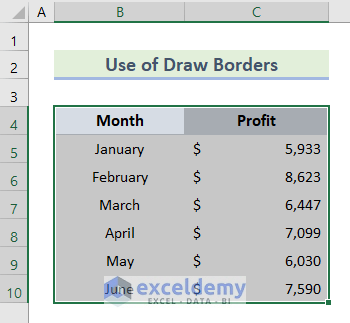
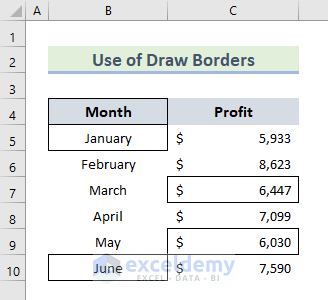
- You’ve now applied All Borders to your selected cells.
Note: You can further format the borders using the More Borders option from the Border drop-down.
Read More: How to Apply Top and Bottom Border in Excel
Method 3 – Using Excel VBA
Applying borders to non-contiguous cells can be cumbersome using the built-in Borders or Draw Border Grid options. An alternative approach is to use Excel VBA (Visual Basic for Applications). Follow these steps:
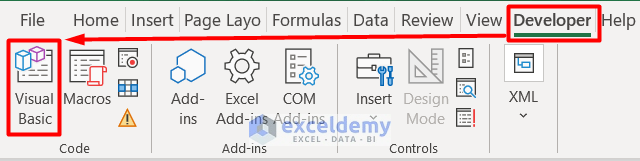
- Go to the Developer tab, click the Code group, and open the Visual Basic editor (or press ALT+F11).
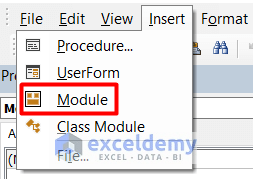
- Choose Module from the Insert tab to create a new module for your code.
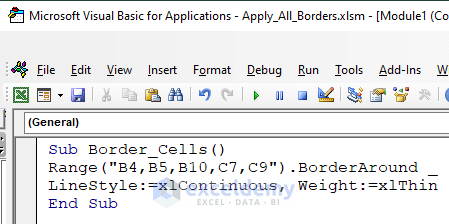
- Copy and paste the following VBA code:
Sub Border_Cells()The above code in the VBA editor looks like the following image:
Range("B4,B5,B10,C7,C9").BorderAround LineStyle:=xlContinuous, Weight:=xlThin
End Sub
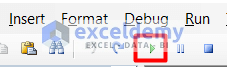
- Click the Run Sub button or press F5 on your keyboard.
- You will find All Borders applied to the selected cells.
Download Practice Workbook
You can download the practice workbook from here:
Frequently Asked Questions
- Does applying borders impact Excel performance?
No, applying borders in Excel does not significantly impact performance or file size.
- How do I remove borders in Excel?
To remove borders, select the cells with borders, go to the Borders drop-down in the Home tab, and choose No Border.
- How can I ensure consistent borders across multiple worksheets?
Apply the desired borders in one sheet, copy the formatted cells, and then use the Paste Special option in other sheets to maintain formatting.
Related Articles
- How to Add Thick Box Border in Excel
- How to Add Cell Borders Inside and Outside in Excel
- How to Apply Bottom Double Border in Excel
- How to Add or Remove Dotted Border in Excel
<< Go Back to Cell Borders in Excel | Excel Cell Format | Learn Excel
Get FREE Advanced Excel Exercises with Solutions!
