Method 1 – Use the Excel Borders Drop-Down to Remove Borders
STEPS:
- Select the Cell or Range of Cells where the Border is.
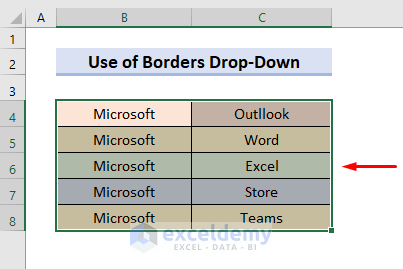
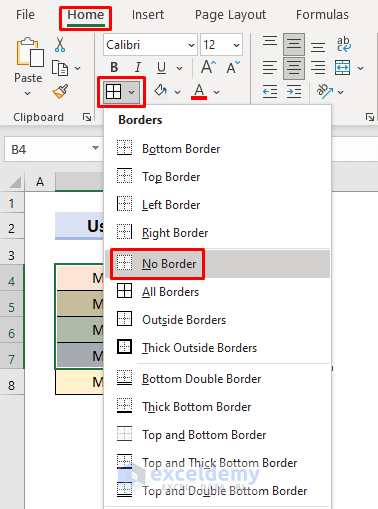
- In the Font group under the Home tab, go to the red-colored box as shown in the following image.
- Select the Down Arrow icon.
- A drop-down box will pop out, as shown in the image.
- Select the No Border option.
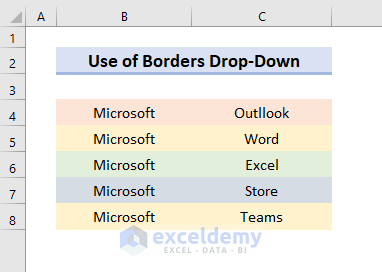
- After selecting No Border, you’ll see that all the borders have disappeared, as shown in the picture below.
Read More: How to Remove Page Border in Excel
Method 2 – Apply the Erase Border Tool for Removing Borders in Excel
STEPS:
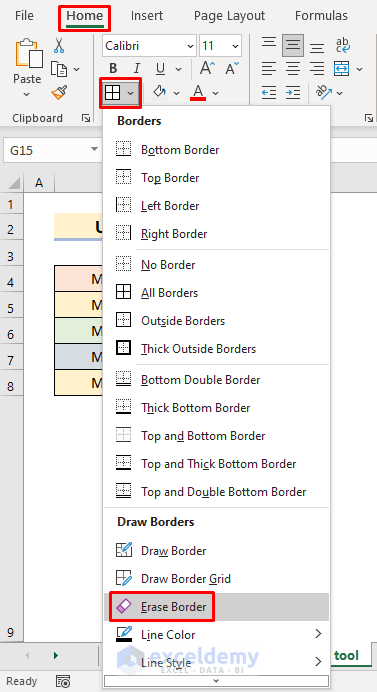
- Go to the red-colored box which you’ll find in the Font group under the Home tab.
- Select the Down Arrow icon.
- A drop-down box will pop out.
- Select the Erase Border from the Draw Borders list.
- After selecting the Tool, an Eraser will appear.
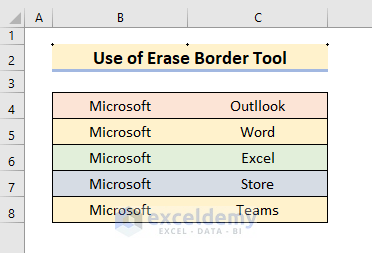
- Click on the Borderlines you want to remove. For this example, select the Border between the 2nd and 3rd Columns.
- You’ll get your content as shown in the following image.
Read More: How to Add or Remove Dotted Border in Excel
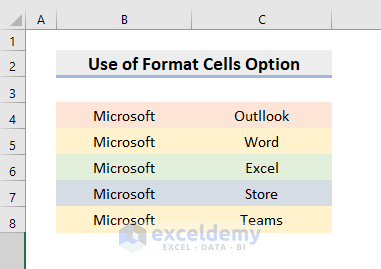
Method 3 – Use Format Cells Option to Remove Borders in Excel
STEPS:
- Select the Cell or Range of Cells you want to work with.
- Press the Font Settings icon, which you’ll find in the Font group under the Home tab, as shown in the picture below.
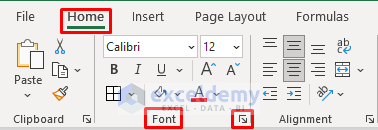
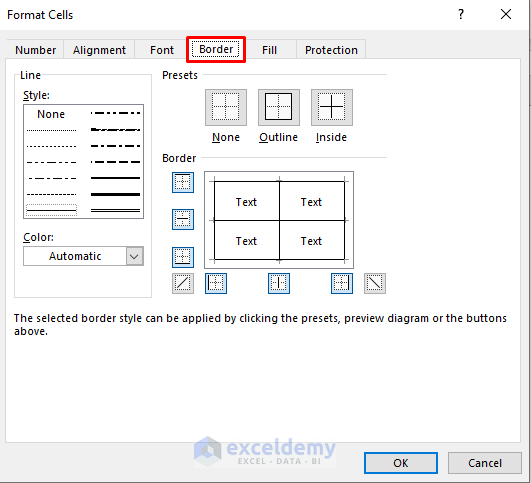
- As you press that icon, a Format Cells dialogue box will appear.
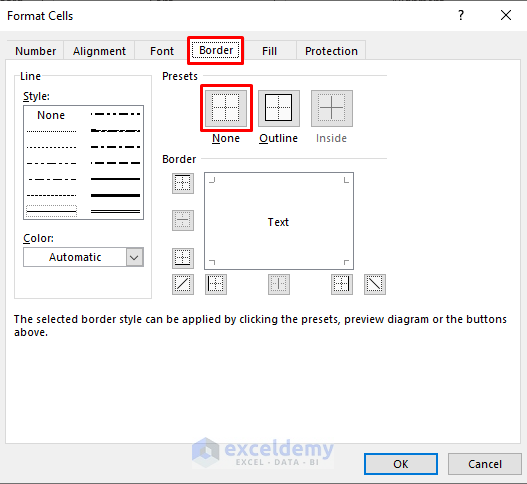
- Go to the Border tab.
- Select the None option from the Presets.
- Press OK.
- You’ll see your Range of Cells in the following image.
This method also offers other options to Remove your desired Cell Borders.
STEPS:
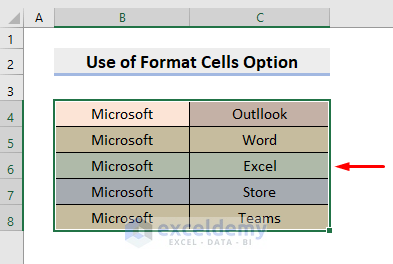
- Select the Range of Cells you want to work with.
- Press the Font Settings icon.
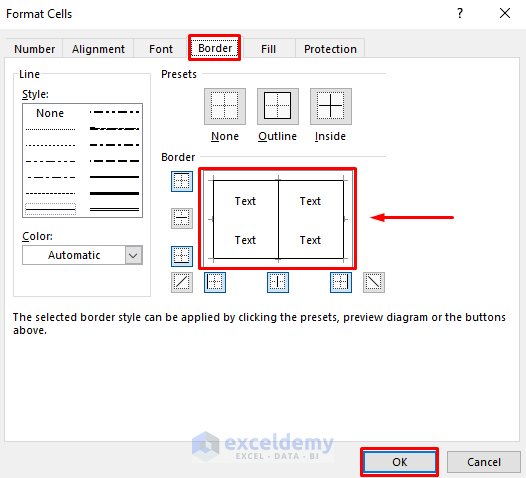
- Go to the Border tab.
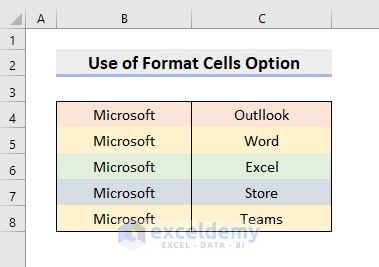
- Click on the Border preview lines you want to remove. In this example, click the Border between the Rows, which will remove the Border.
- Press OK.
- You’ll see your desired output.
Read More: How to Add Cell Borders Inside and Outside in Excel
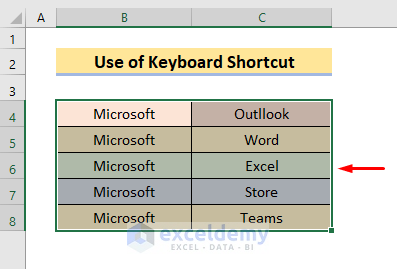
Method 4 – Remove Borders with a Keyboard Shortcut in Excel
STEPS:
- Select the Range of Cells where you want the Borders to be Removed.
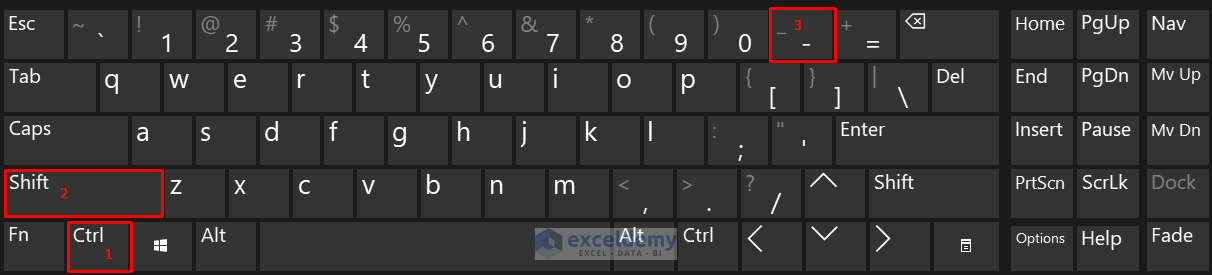
- Press the ‘Ctrl’, ‘Shift’, and ‘–’ keys as shown in the following image, marked as 1, 2, and 3.
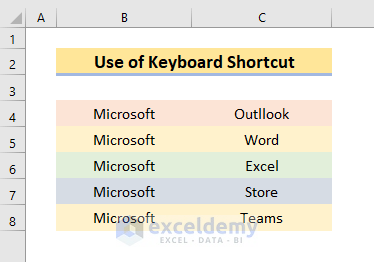
- Pressing those altogether will Remove the Cell Borders, and your output will look like the image below.
Download the Practice Workbook
Download the following workbook to practice.
Related Articles
- How to Insert Border in Excel
- How to Apply All Borders in Excel
- How to Apply Top and Bottom Border in Excel
- How to Apply Bottom Double Border in Excel
- How to Add Thick Box Border in Excel
<< Go Back to Cell Borders in Excel | Excel Cell Format | Learn Excel
Get FREE Advanced Excel Exercises with Solutions!
