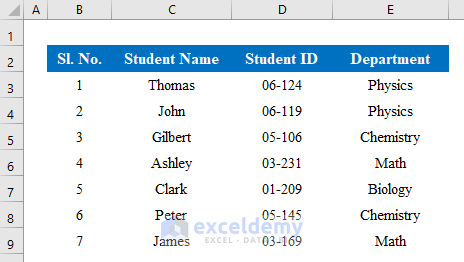
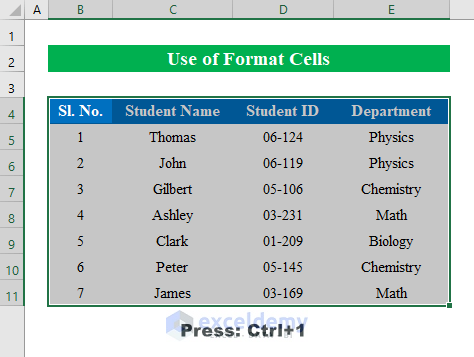
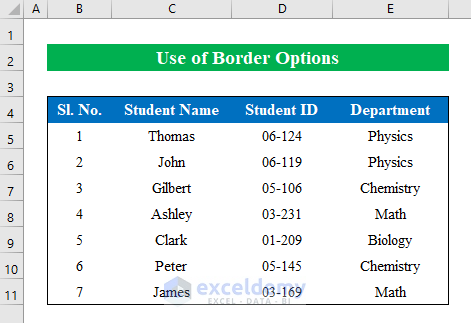
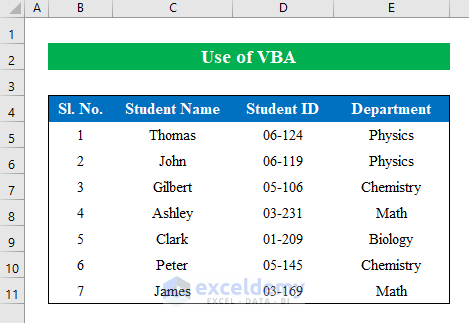
Suppose we have a dataset of some Student’s Name, ID, and specific Departments. Let’s add borders inside and outside the cells using Excel’s built-in features.
Method 1 – Using Format Cells Feature
Format Cell feature is mostly used to add beautification to a report by changing and adding various formats.
Step 1:
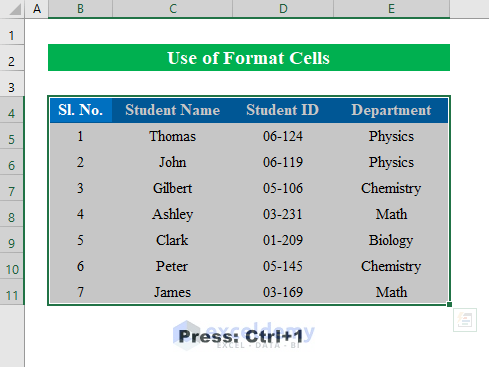
- Choose all the cells to which you want to add borders. Here, select cells B4:E11.
- While the cells are selected, press Ctrl+1 to open the “Format Cells” window.
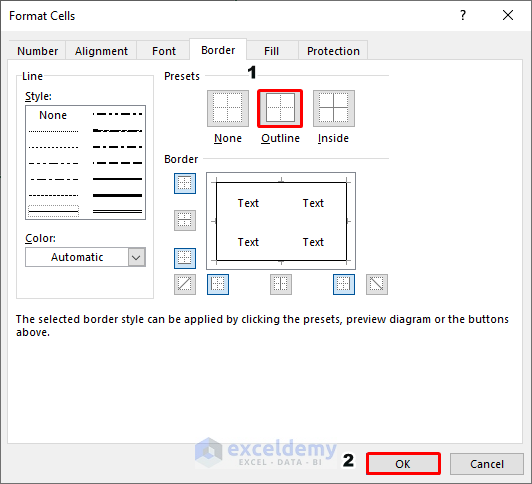
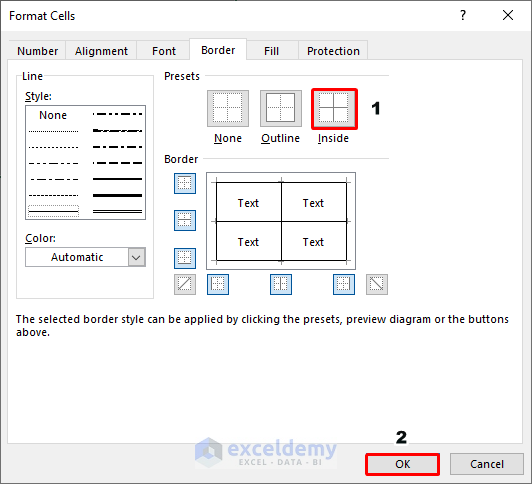
- Select “Outline” from the “Border” options.
- Click OK to continue.
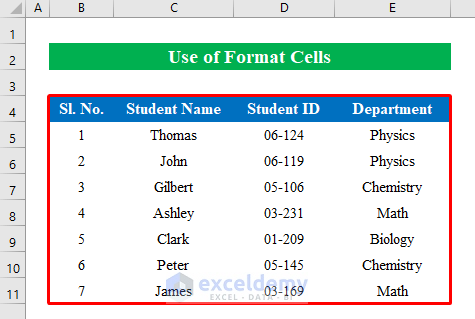
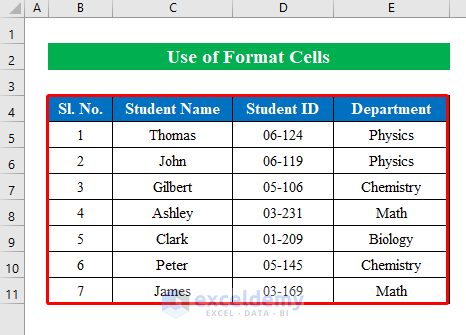
We have successfully added outline borders to our chosen cells.
Step 2:
Now let’s add borders inside the cells.
- Select cells B4:E11 and click Ctrl+1.
A new dialog box will appear named “Format Cells”.
- Select “Inside” from the “Border” options and click OK.
Inside borders are added to all the cells.
Read More: How to Insert Border in Excel
Method 2 – Using Border Options
Step 1:
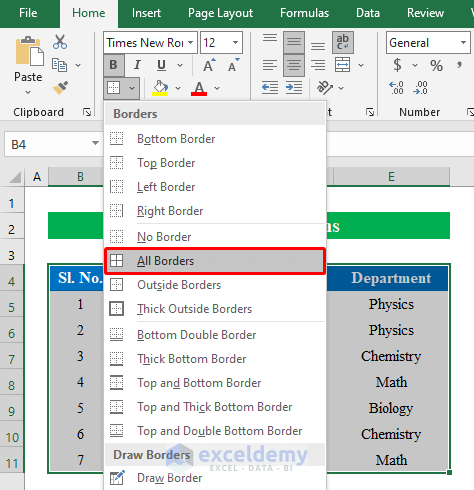
- Select cells B4:E11 and click the “Border” icon from the Home ribbon.
- From the drop-down list, select “Outside Borders”.
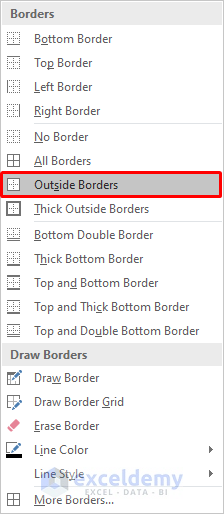
An outline border will be created on the outside of the chosen cells.
Step 2:
Now we add inside borders using the border icon.
- Follow the process in Step 1, but this time choose “All Borders” from the list.
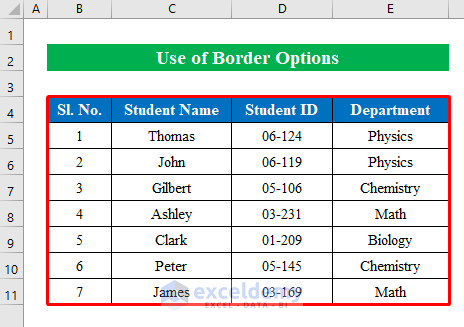
All of our selected cells have borders inside and outside added.
Read More: How to Apply All Borders in Excel
Method 3 – Using Keyboard Shortcuts
Steps:
- Select cells B4:E11.
- Press Ctrl+Shift+& to add borders outside cells.
- Alternatively, press Alt+H+B+S.
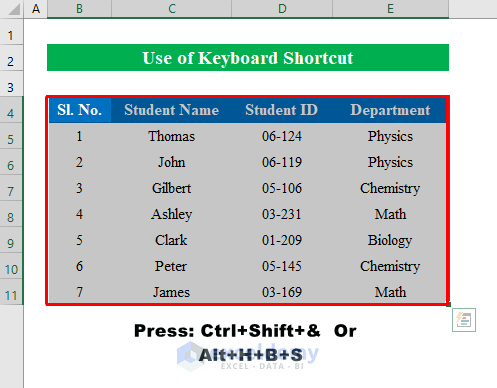
Borders outside cells are added.
- Press Alt+H+B+A to create borders inside cells.
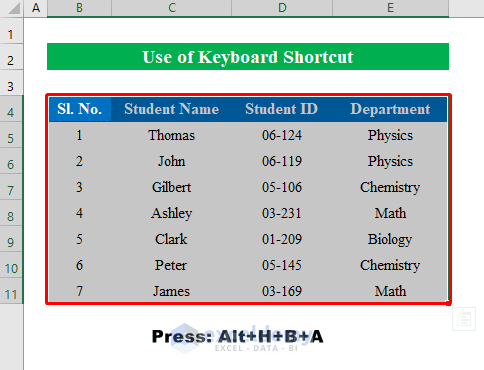
All the cells now have borders inside and outside.
Read More: How to Apply Top and Bottom Border in Excel
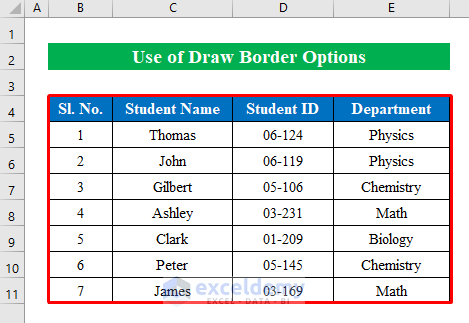
Method 4 – Drawing Borders Manually
Steps:
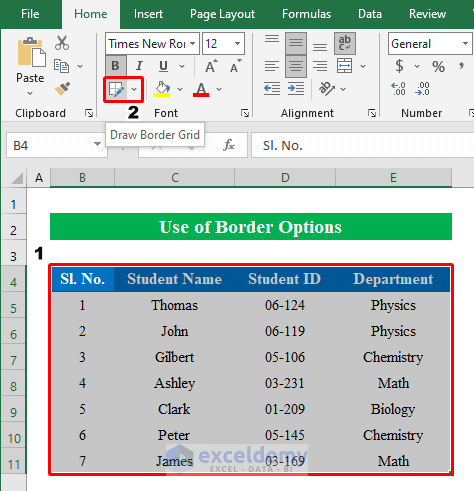
- Click the “Border” icon in the Home tab and press “Draw Border”.
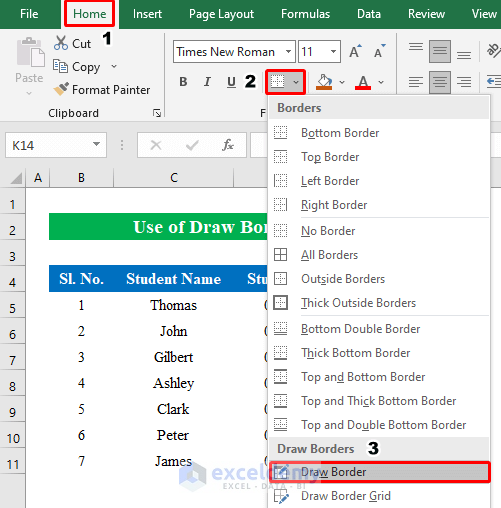
- Select cells B4:E11.
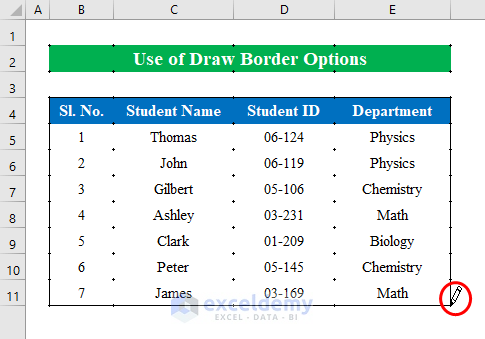
- Press Esc and an outside border is drawn around the chosen cells.
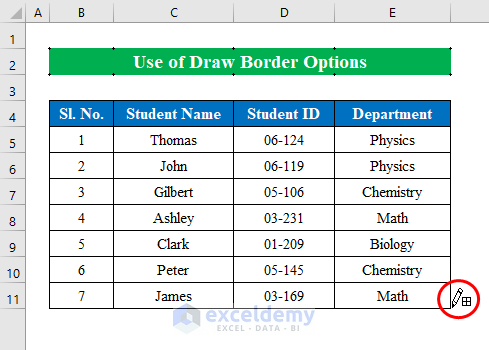
- To draw borders inside cells, click “Draw Border Grid”.

A “Pen” icon will appear.
- Select the cells manually to draw borders inside their cells.
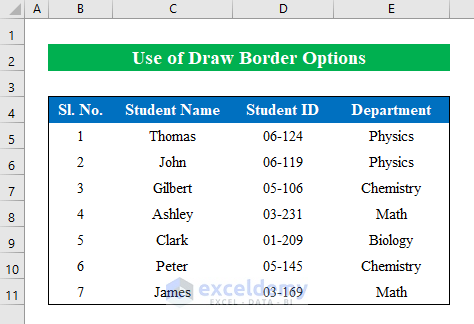
We have successfully drawn borders inside and outside cells.
Read More: How to Apply Bottom Double Border in Excel
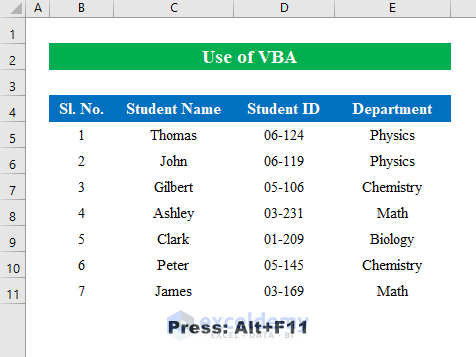
Method 5 – Using VBA Code
Steps:
- Press Alt+F11 to open the “Microsoft Visual Basic for Applications” window.
- Select “Module” from the “Insert” option.
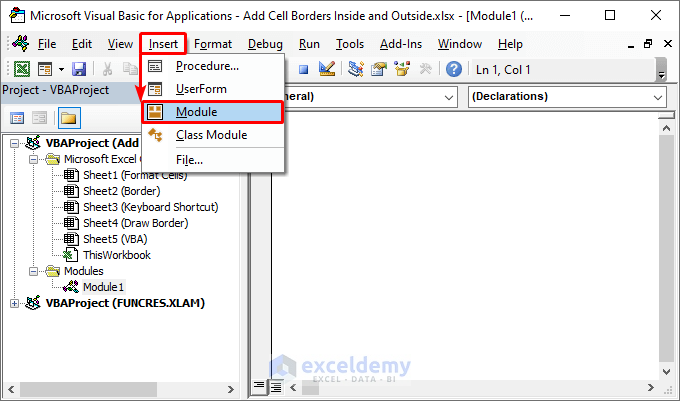
- In the new module that opens, enter the following code and press the “Run” icon to run it:
Sub outside_borders()
Dim rng As Long
rng = Range("B" & Rows.Count).End(xlUp).Row
Range("B4:E" & rng).BorderAround LineStyle:=xlContinuous
End Sub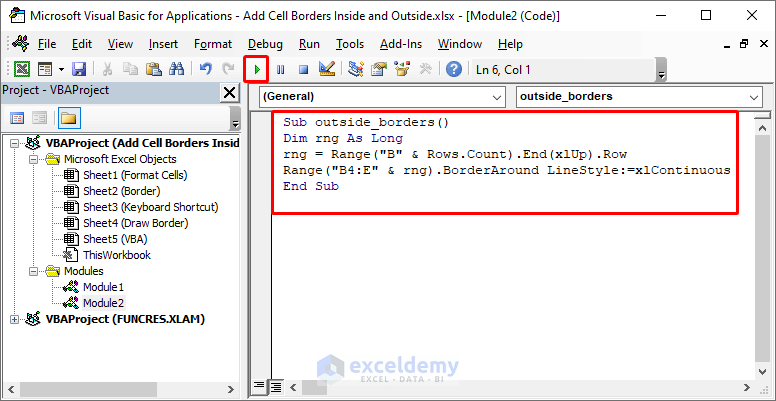
A new border will be created outside the selected range.
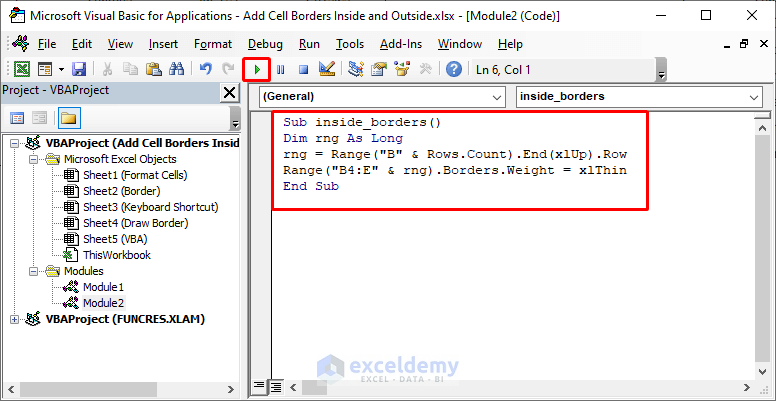
- To add borders inside the cells, enter the following code in the module:
Sub inside_borders()
Dim rng As Long
rng = Range("B" & Rows.Count).End(xlUp).Row
Range("B4:E" & rng).Borders.Weight = xlThin
End Sub- Click the “Run” icon.
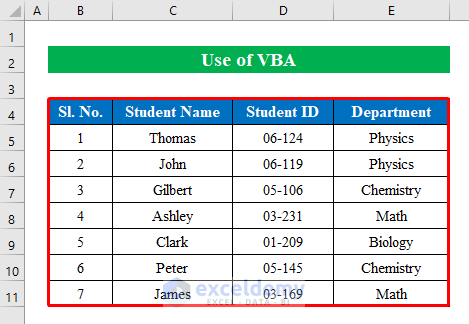
We have added borders inside the cell.
Things to Remember
- You can also change the color and style of the borders from the “Format Cells” feature.
Download Practice Workbook
Related Articles
- How to Add Thick Box Border in Excel
- How to Add or Remove Dotted Border in Excel
- How to Remove Borders in Excel
<< Go Back to Cell Borders in Excel | Excel Cell Format | Learn Excel
Get FREE Advanced Excel Exercises with Solutions!
