Watch Video – Create a Database That Updates Automatically in Excel
Method 1 – Extract Data from the Web to Create a Database That Updates Automatically in Excel
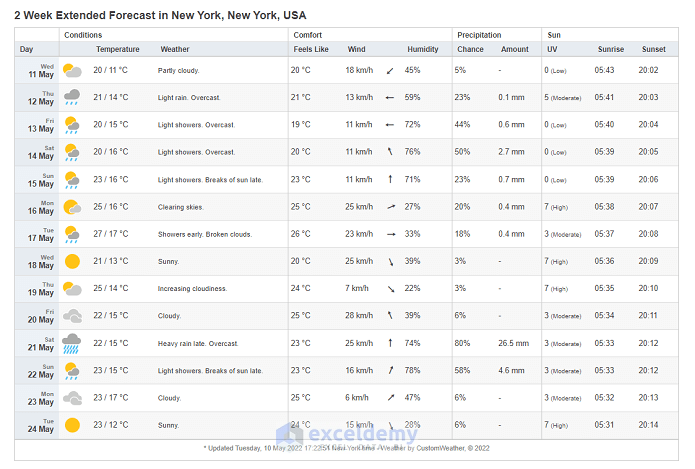
Task: Extract a 14-day weather forecast for New York, USA from the web and create an Excel database that’ll update automatically.
Problem Analysis: For this example, we’ll use the forecast for New York, the USA. We could copy the table in the following screenshot into an Excel worksheet to create a database. But, the database is not going to update according to the website data unless we connect it to the source link. If the database is connected to the source link, Excel provides us with options to update the database manually and automatically.
Solution:
Step 1: Connect to the Web
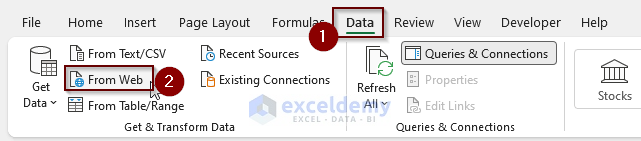
- Go to the Data tab in the Excel Ribbon.
- Click on the From Web option from the Get & Transform Data tab.
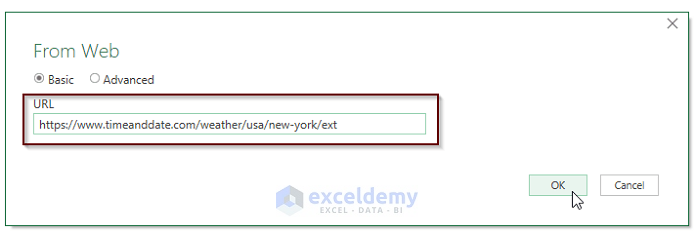
- In the dialogue box, paste the URL from where you want to extract data for your database and hit OK.
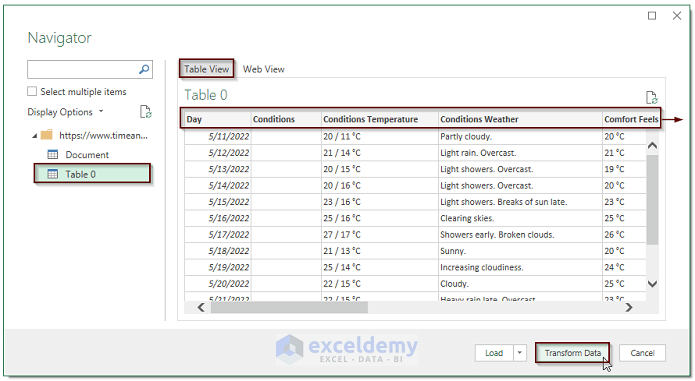
- In the Navigator window, we can see the tables in the website. With the Table View, we can see the data extracted in a table form.
- To edit before loading it into the Excel database, click on Transform Data.
Step 2: Transform Data
- Unwanted columns can be removed from the Power Query Editor. Right-click on the column header and choose the Remove option.
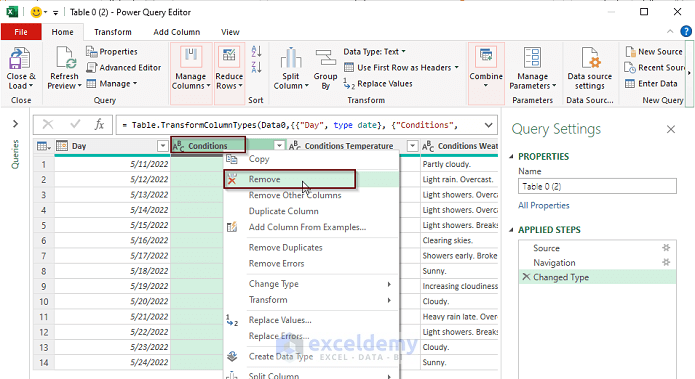
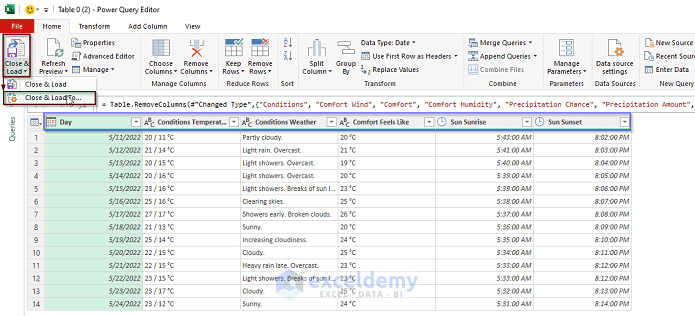
- We have removed several columns and kept only 6 columns to import into the database.
- From the Home tab, click on the Close & Load button.
- Choose the Close & Load option.
Step 3: Import Data into Excel Database
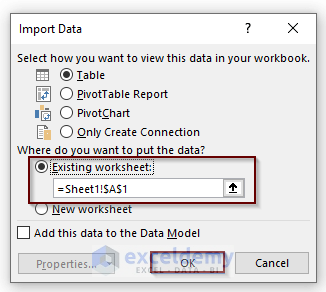
- In the Import Data window, click on Existing worksheet, choose the starting cell to import data and click OK.
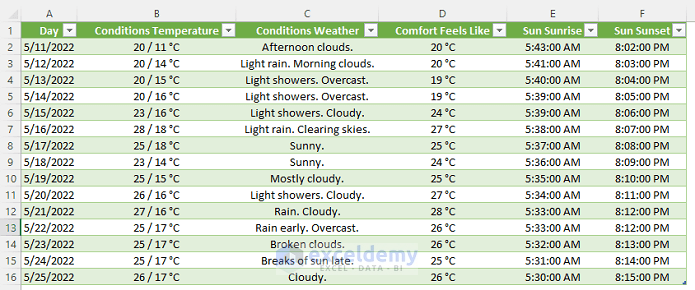
- Excel database is created with data connected to a website source.
Step 4: Enable Auto Update Feature
- Click on the database table.
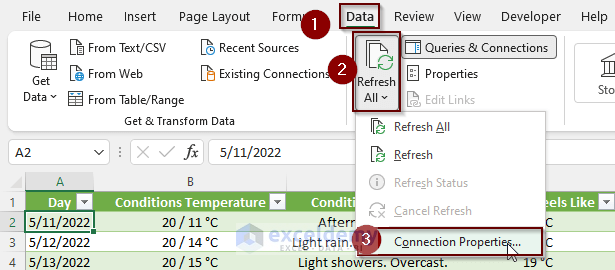
- Go to the Data tab in the Excel Ribbon.
- Click on Refresh All.
- Choose Connection Properties.
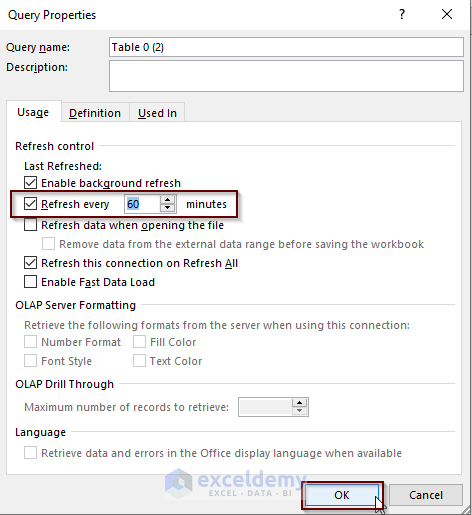
- Set the time to refresh the database automatically in the Refresh every input box and hit OK.
Method 2 – Create a Database with Pivot Table That Updates Automatically in Excel
Step 1: Create a Pivot Table
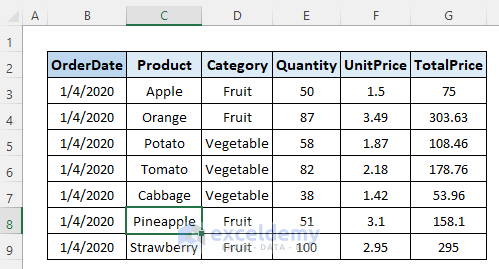
Let’s say we have a dataset that represents sale details for a shop.
To make a pivot table,
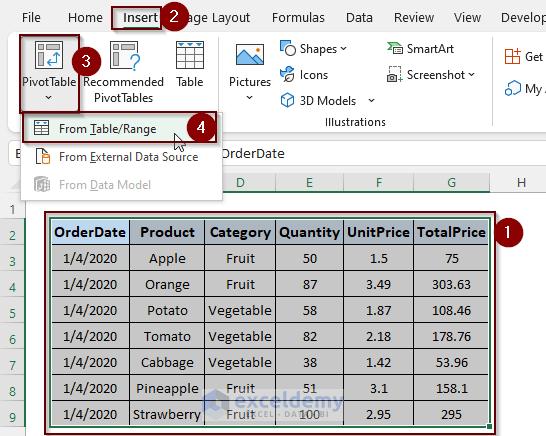
- Select the whole dataset.
- Go to the Insert tab.
- Click on the Pivot Table button.
- Choose the From Table/Range option.
- In the PivotTable from table or range window, click on the New worksheet option and hit OK.

- A pivot table database will be created in a new worksheet.
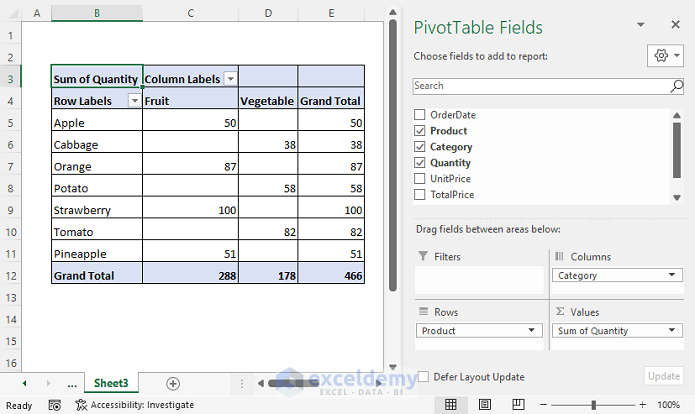
Step 2: Enable Auto Refresh Feature for the Pivot Table to Update the Database Automatically
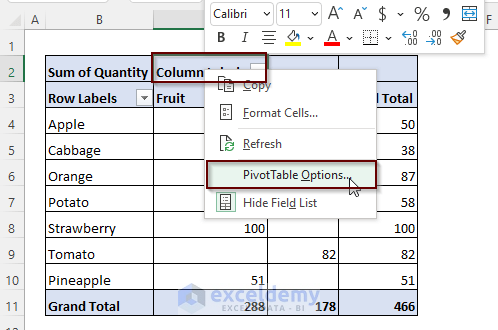
- Right-click any cell of the pivot table to open the context menu.
- Choose PivotTable Options from the context menu.
- Go to the Data tab and check the Refresh data when opening the file option.
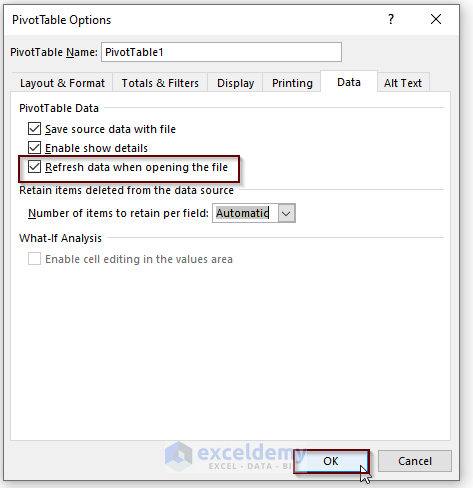
- Click OK.
Read More: How to Create a Database with Form in Excel
Method 3 – Auto Refresh a Pivot Table to Update Database Automatically Using VBA Code in Excel
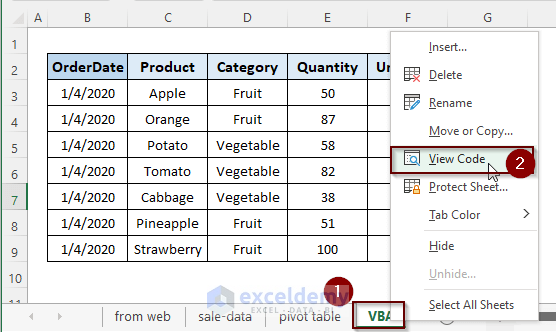
- Right-click the worksheet name and choose the View Code option.
Code: Insert the following VBA code in the visual basic editor.
Private Sub Worksheet_Change(ByVal Target As Range)
ThisWorkbook.RefreshAll
End Sub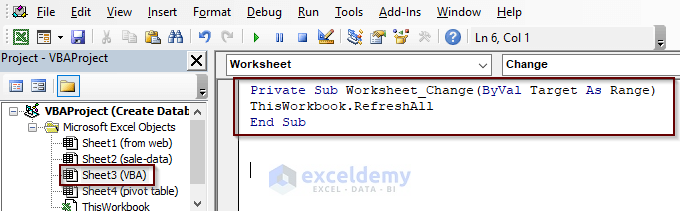
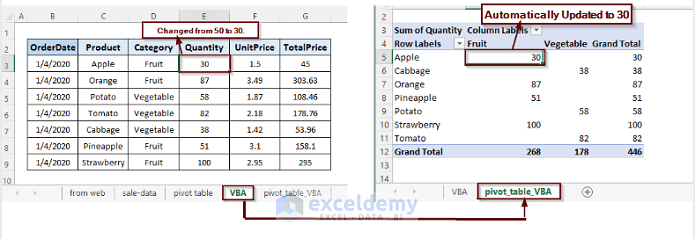
Output: This VBA code will run anytime we change cell data in the source file. All the pivot tables related to the source will be updated accordingly and instantly.
To check the above procedure, we’ve created a pivot table in a sheet named pivot_table based on the source data in the sheet named VBA. We changed the quantity of Apple from 50 to 30. The database in the other sheet named pivot_table_VBA also updated accordingly automatically.
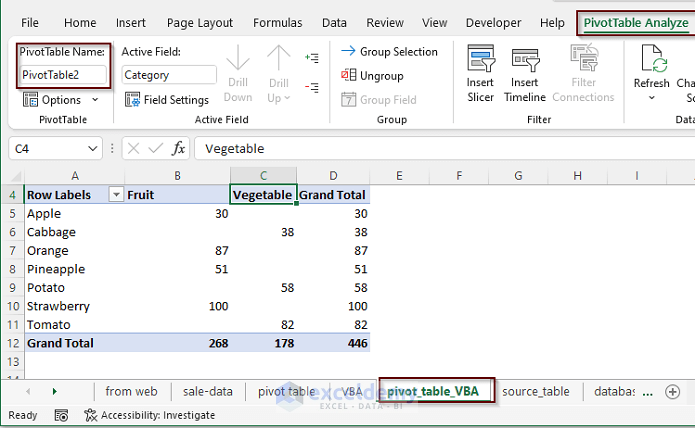
Notes: If we want to auto-refresh only one specific table and not all the pivot tables in the workbook, we can use the following code. This code will only update the pivot table in the sheet pivot_table_VBA when we change the data source.
Private Sub Worksheet_Change(ByVal Target As Range)
Worksheets("pivot_table_VBA  ").PivotTables("PivotTable2").PivotCache.Refresh
End Sub
In this code, pivot-pivot_table_VBA is the sheet name that contains the PivotTable2. We can easily check the name of a worksheet and a pivot table.
Read More: How to Create a Simple Database in Excel VBA
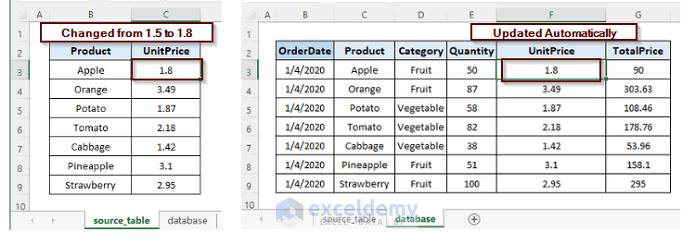
Method 4 – Create a Database That Updates Automatically Having Data Referenced from Another Sheet in Excel
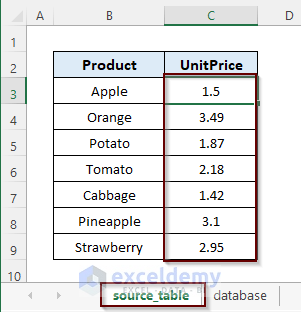
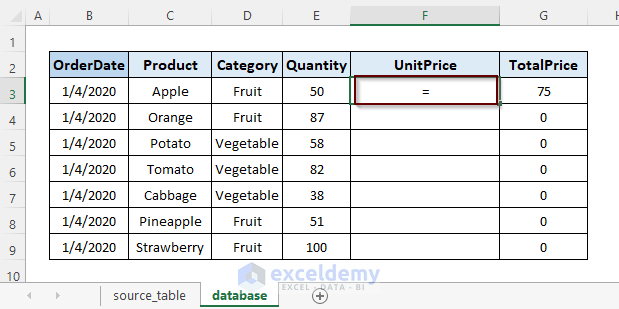
We’ve created a database (in sheet database) that represents sale details. The dataset contains a column named “UnitPrice”. We need to reference each of the data in the UnitPrice column to the table in the source_table sheet.
To insert data in the UnitPrice column in the database table-
- Enter an equal sign (=) in cell F3 (unit price of Apple).
- Go to the sheet source_table.
- Click cell C3 (unit price of Apple).
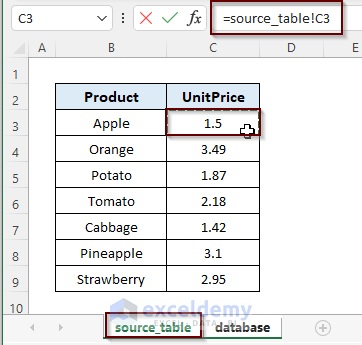
- Press Enter.
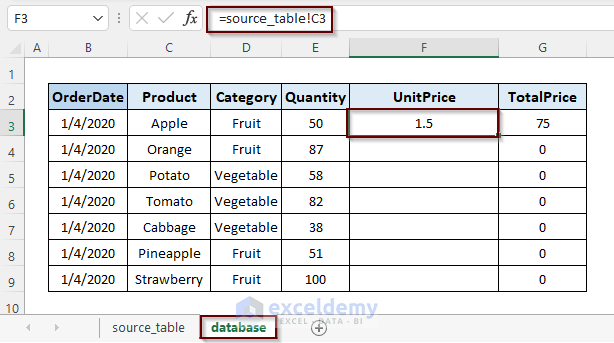
- Use the Fill Handle to fill up the UnitPrice column with reference data from the source table in sheet source_table.
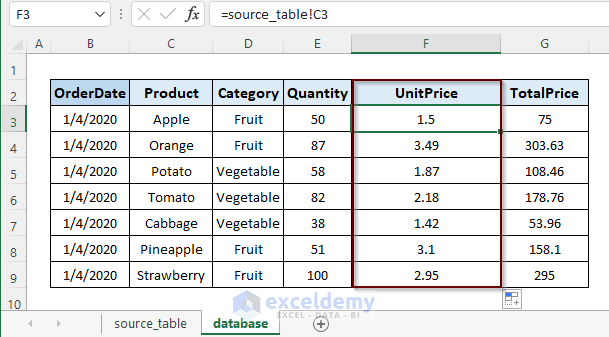
If we change any data in the source table in sheet source_table, the database will be updated automatically.
Related Articles
- How to Create a Membership Database in Excel
- How to Create a Database in Excel with Pictures
- How to Create a Searchable Database in Excel
<< Go Back To Database in Excel | Learn Excel
Get FREE Advanced Excel Exercises with Solutions!

best of luck brother JaZA KALA Kahir you are doing a great Job and May allah bless you Parents as well
Hello Tanveer,
Thanks for your appreciation.
Regards
ExcelDemy