Watch Video – Create a Simple Database in Excel VBA
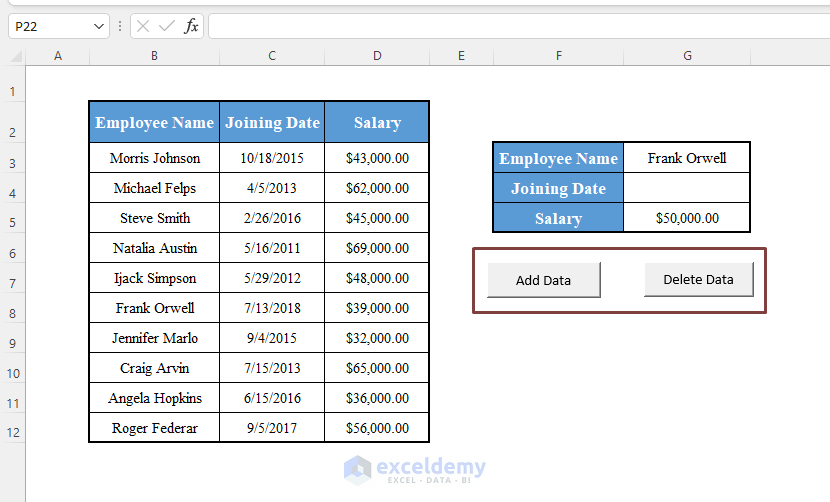
The sample data set below contains the names, joining dates, and salaries of some employees of a company in an Excel worksheet.
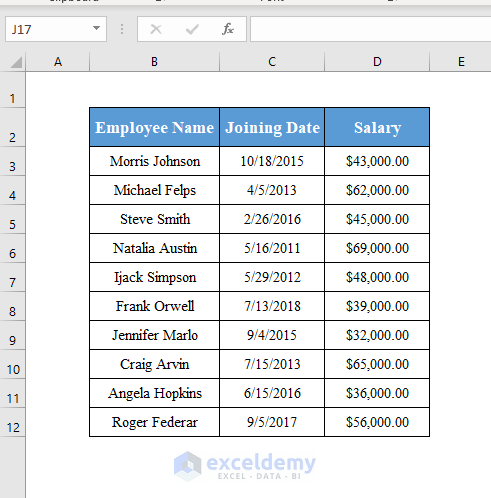
We will convert this data set to a database and develop a process that will add or delete any row from the data set automatically.
As shown in the image below, we have added 2 buttons along with 3 highlighted empty cells (G4, G5, and G6).
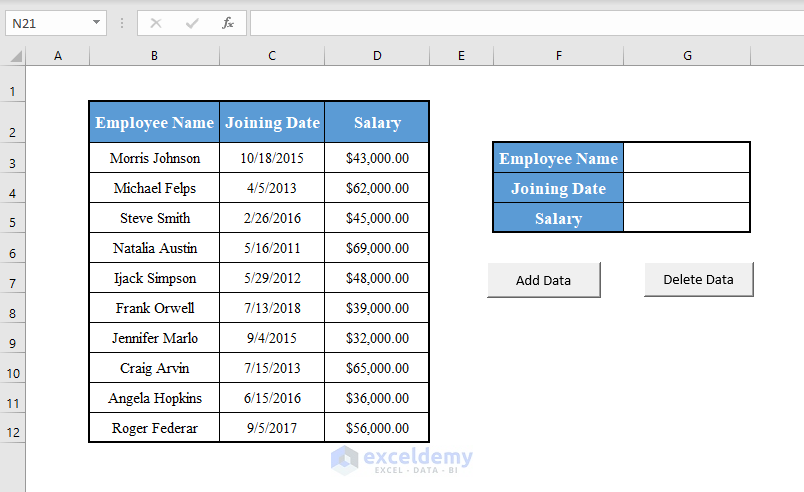
To add a new row to the database, fill up the empty cells and click on the button Add Data.
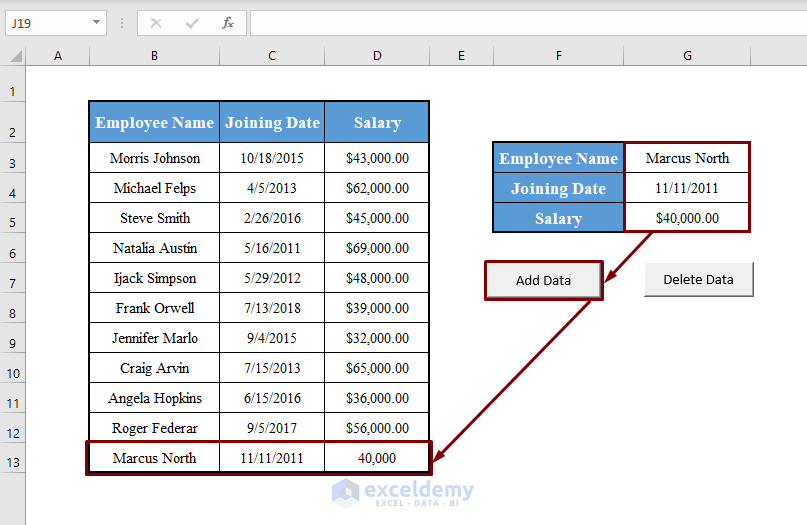
We have filled the Employee Name as Marcus North, the Joining Date as of 11/11/2011 and the Salary as $40,000.
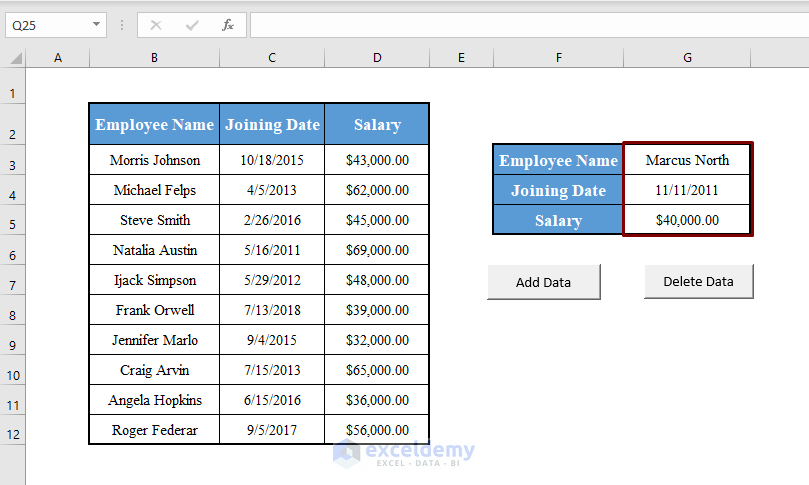
Click on the button Add Data and the data is automatically added to a new row in the database.
If you click on the button Add Data keeping one or more cells empty, an input box will appear asking you to enter the data.
We kept the Joining Date empty so an input box appeared asking to enter the Joining Date as shown in the image below.
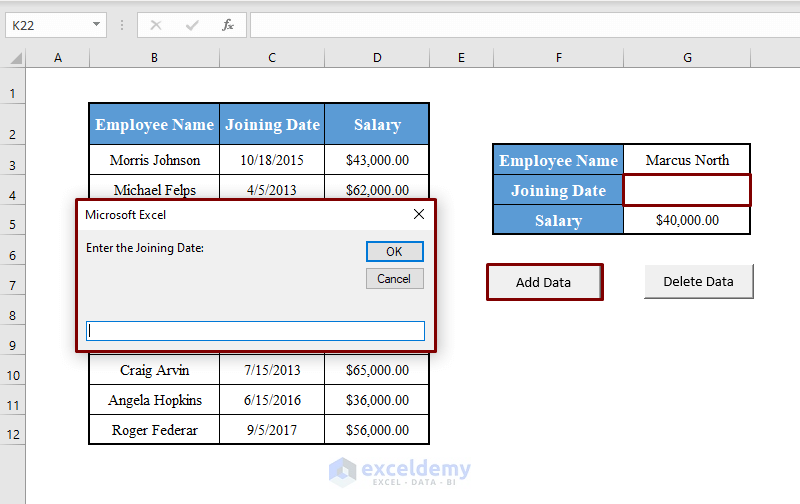
If you keep more than one cell empty, more than one input box will appear.
If you fill up one or more empty cells between G3, G4, and G5 and click on the button Delete Data, the row containing that data will be deleted from the database.
We have filled Employee Name as Frank Orwell and Salary as $36,000 (Highlighted in the database).
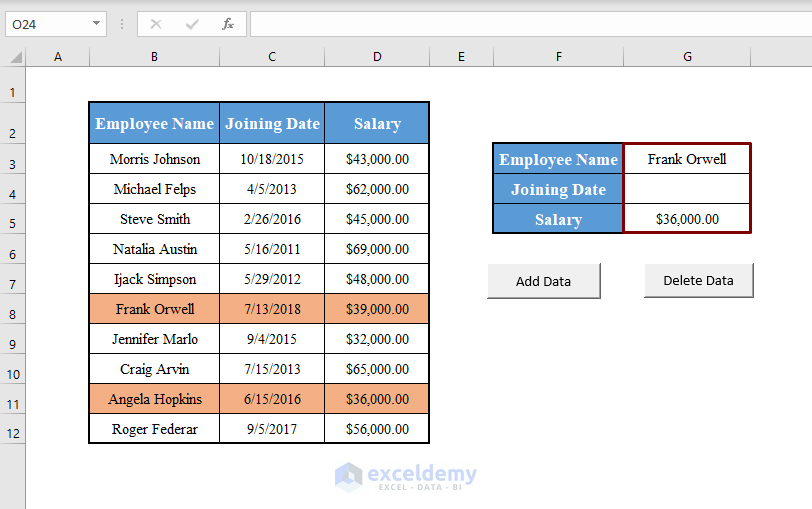
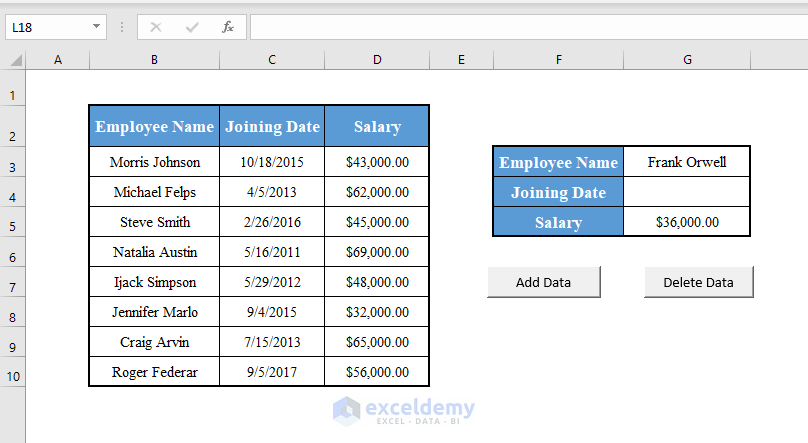
If you press Delete Data, the rows containing these data will be deleted.
If you press Delete Data containing any data that doesn’t exist, a message box will appear informing you of this.
If you put 50,000 as the Salary and press Delete Data, you’ll get a message as shown in the image below.
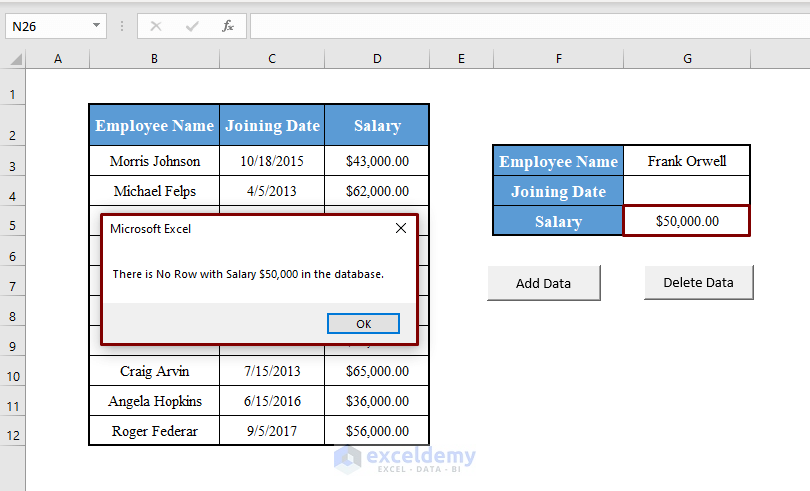
This is because there is no row with a salary of $50,000.
Read More: How to Create a Database with Form in Excel
How to Create a Simple Database in Excel VBA
⧪ Step 1: Opening the Visual Basic Window
Press ALT + F8. The Visual Basic window will open.

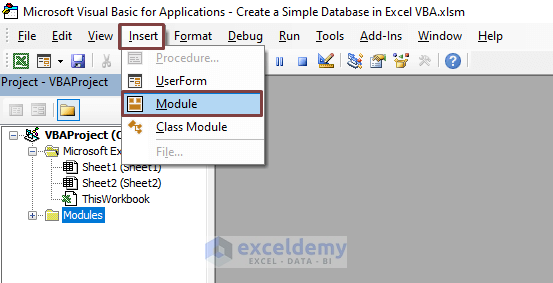
⧪ Step 2: Inserting New Modules
Go to the Insert > Module option in the toolbar. Click on Module. A new module named Module1 (Or anything else depending on your past history) will be inserted.
Repeat the procedure. Another new module named Module2 will be inserted.
⧪ Step 3: Entering the First VBA Code
Copy and paste the following VBA code into Module1.
⧭ VBA Code:
Sub Add_Data()

Set Database = Range("B2:D12")
Set New_Input = Range("G3:G5")

Last_Row = Database.Rows.Count + 1
While Database.Cells(Last_Row, 1) <> ""
    Last_Row = Last_Row + 1
Wend

For i = 1 To New_Input.Rows.Count
    If New_Input.Cells(i, 1) <> "" Then
        New_Data = New_Input.Cells(i, 1)
        Database.Cells(Last_Row, i) = New_Data
    Else
        New_Input.Cells(i, 1).Select
        New_Data = InputBox("Enter the " + New_Input.Cells(i, 0) + ": ")
        Database.Cells(Last_Row, i) = New_Data
    End If
Next i

End Sub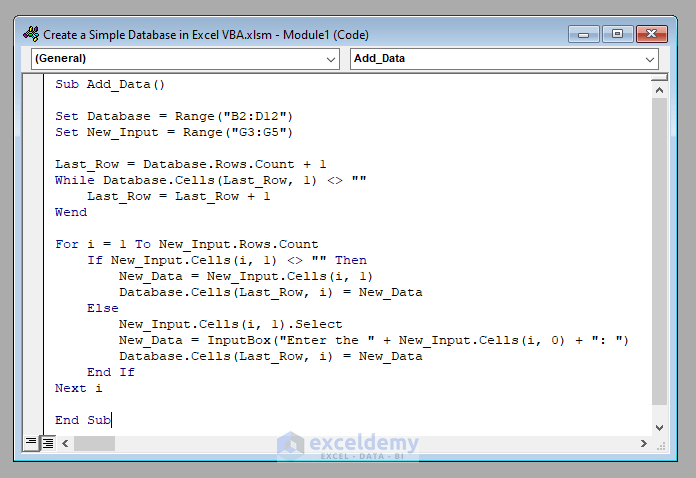
⧭ Notes:
- This code creates a Macro called Add_Data.
- The first 2 lines of the code set the range of the database and the new input. Our database consists of the range B2:B12 and new input consists of the range G3:G5. Change it according to your needs.
⧪ Step 4: Entering the Second VBA Code
Enter the following VBA code below in Module2.
⧭ VBA Code:
Sub Delete_Data()

Set Database = Range("B2:D12")
Set New_Input = Range("G3:G5")

Deleted = 0

For i = 1 To New_Input.Rows.Count
   If New_Input.Cells(i, 1) <> "" Then
       For j = Database.Rows.Count To 1 Step -1
           If New_Input.Cells(i, 1) = Database.Cells(j, i) Then
               For k = 1 To Database.Columns.Count
                   Database.Cells(j, k).Delete
               Next k
               Deleted = Deleted + 1
           End If
       Next j
       If Deleted = 0 Then
           Heading = New_Input.Cells(i, 0)
           Data = New_Input.Cells(i, 1)
           If VarType(Data) <> 8 Then
               Data = Str(Data)
           End If
           MsgBox "There is No Row with " + Heading + " " + Data + "."
       End If
       Deleted = 0
    End If
Next i

End Sub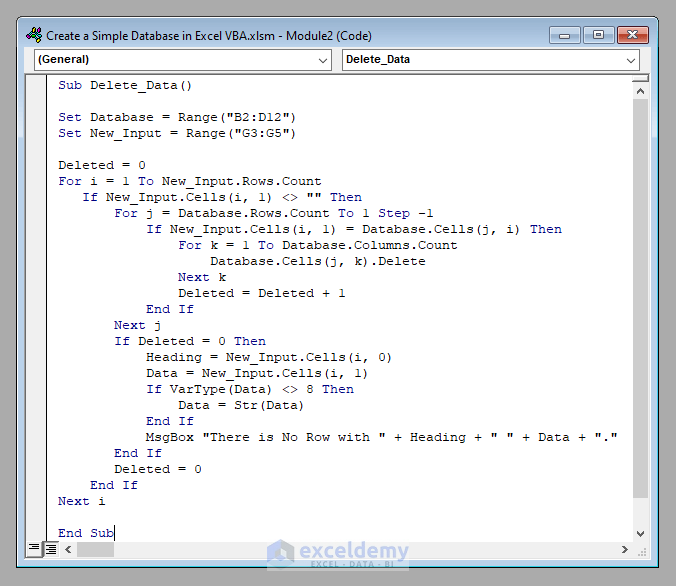
⧭ Notes:
- This code creates a Macro called Delete_Data.
- Here also, the first 2 lines of the code set the range of the database and the new input. Our database consists of the range B2:B12 and new input consists of the range G3:G5. You can change it according to your needs.
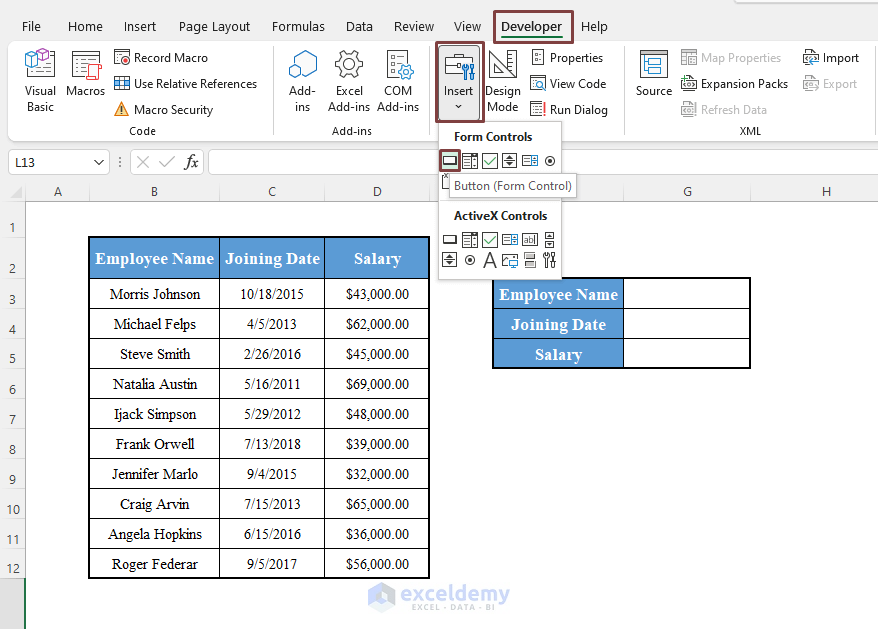
⧪ Step 5: Adding Buttons to the Worksheet
Go to the worksheet and click on Developer > Insert option in the Excel toolbar. Click on Insert. Choose Button from Form Controls.
Drag the Button to your desired location in the worksheet and place it there. Double-click on it and rename it to Add Data (or anything you like).
Drag another Button and rename it to Delete Data (or anything).
⧪ Step 6: Assigning Macros to the Buttons
Right-click on the button Add Data. Choose Assign Macro.
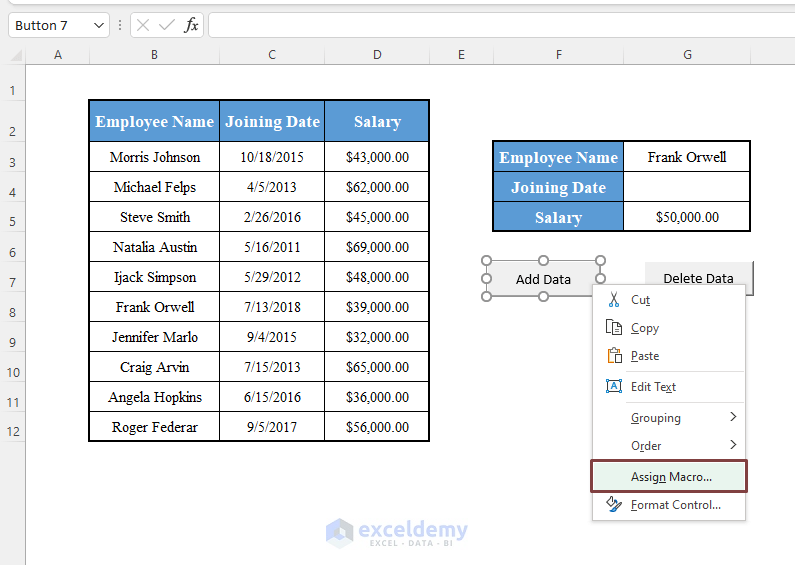
A dialogue box named Assign Macro will open. In the Macro Name field, enter Add_Data.
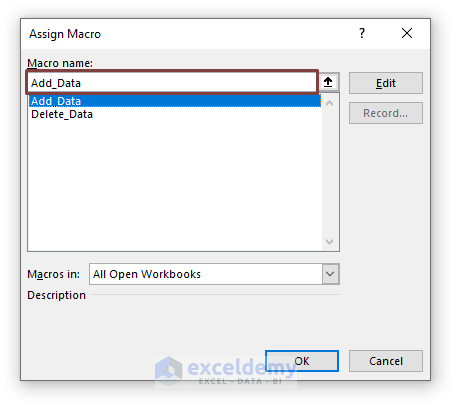
Assign the Macro Delete_Data to the button Delete Data.
⧪ Step 7: Observing the Output
The buttons are now ready to use. Fill up the empty cells and click on the buttons. You’ll get the desired output as mentioned in the overview section.
Related Articles
- How to Create a Searchable Database in Excel
- How to Create a Database That Updates Automatically in Excel
- How to Create a Membership Database in Excel
- How to Create a Database in Excel with Pictures
<< Go Back To Database in Excel | Learn Excel
Get FREE Advanced Excel Exercises with Solutions!

Quick Question:
In your code, you initially set the database to the following range:
Set Database = Range(“B2:D12”)
When you add additional rows of data to the database, does the database range automatically update to include the additional rows, or do you need to update the range manually in your code; e.g., Set Database = Range(“B2:D14”)?
Hello, DWIGHT!
Thanks for your comment.
Yes! You have to update the range manually in the code.
Regards,
Sabrina Ayon
Author, ExcelDemy.