The column width in Excel does not automatically change if the data you enter in the cell is too large to fit in the column. Either it will overlap the next cell or it will spread beyond the cell border. Here’s how you can change the column width to fit its contents.

How to Adjust Column Width in Excel (7 Simple Ways)
Method 1 – Use the Mouse to Adjust the Column Width in Excel for a Single Column
Consider the following data set of some worldwide popular books with millions of sales. The default column width is not enough to accommodate it in a single cell. We need to change the column width.

Steps:
- Place your mouse pointer on the column header’s right side.
- Hold and drag the adjustment tool right to the desired width, then release the mouse button.
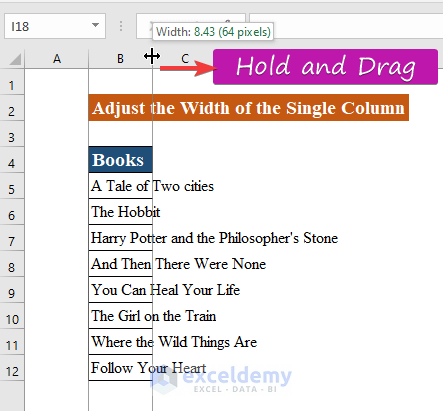
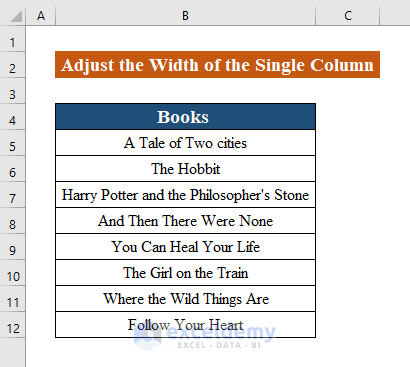
- The width has now been adjusted.
Note: If the column on the right contains data, the large text string can be turned into hash symbols (######).
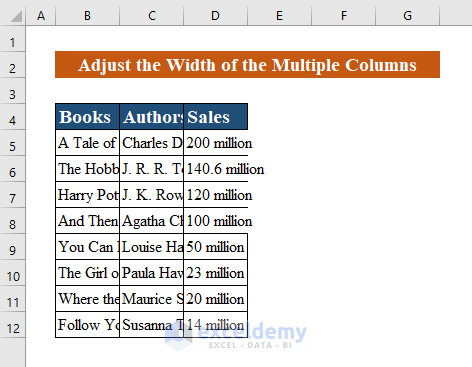
Method 2 – Use the Mouse to Adjust Column Width in Excel for Multiple Columns
In the following example, the width of all columns is too small, and the text of the columns extends over the cell boundary. We need to adjust the width of each column in this table.
Steps:
- Select the columns you need to adjust.
- Hold and drag to adjust.
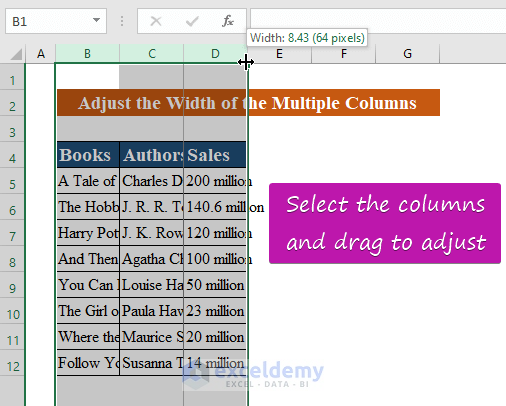
- Here’s how the column width has changed.

Note: If you want all of your cells to be the same height and width, hit Ctrl + A and drag them.
Method 3 – Insert a Number to Adjust Column Width in Excel
Steps:
- Select one or more columns for which you want to change the column width.

- Select Home, go to Format, and choose Column Width.
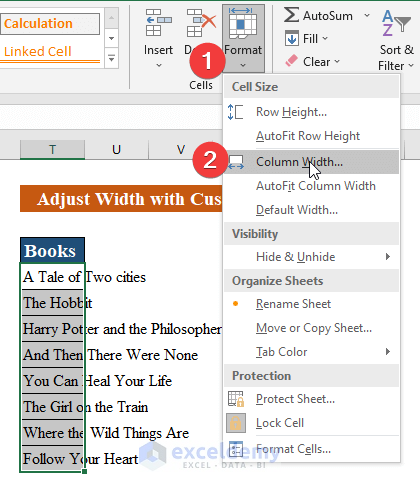
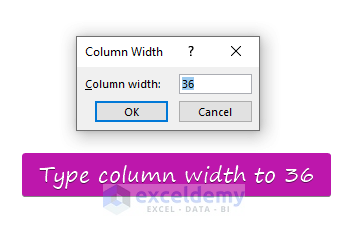
- A dialog box will appear. Set the column width value and click OK. We put 36.
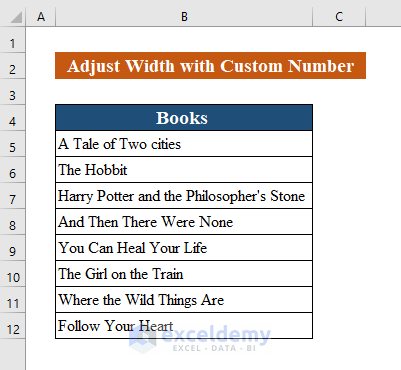
- Here’s the result of putting the column width to 36.
Note: you can also open the column width dialog box by right-clicking the column and selecting Column Width from the menu.
Method 4 – Apply AutoFit to Adjust Column Width in Excel
Steps:
- Click the column headers to select the columns.

- Go to Home tab, select Format, and choose AutoFit Column Width.
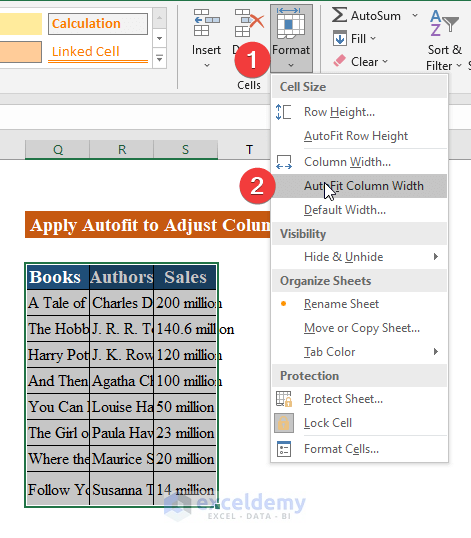
- The data entered in the cell will alter the width of the column to fit the largest one.

Note: The shortcut key for AutoFit column width: Alt + H + O + I
Method 5 – Add Different Column Width Units in Excel
Steps:
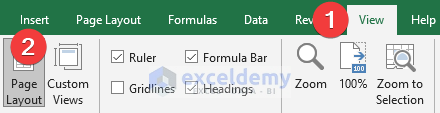
- Go to the View tab and click the Page Layout button:
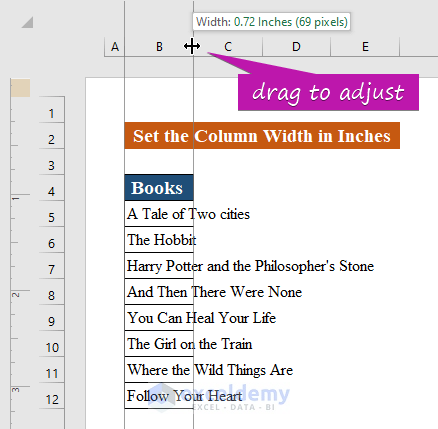
- Drag the right border of any of the selected column heads until the desired width is reached.
As you drag the boundary, Excel will display the column width in inches. You can see the displayed units in the below image.
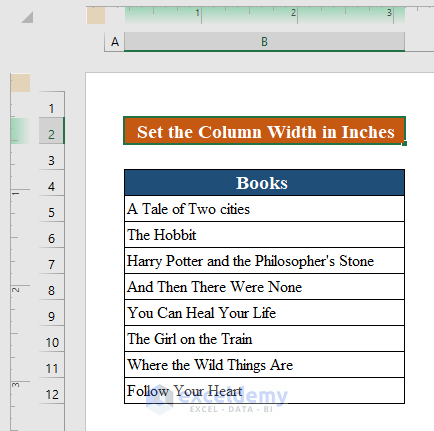
- After adjusting the required width, you can dismiss the Page Layout view by clicking the Normal button on the View tab.
The default ruler unit in Excel’s English localization is inches. To change the units into other units, follow these simple steps:
Steps:
- Click File and choose Options, then select Advanced.
- Scroll down to the Display section and select the desired unit from the Ruler Units drop-down list.
- Click OK to save the changes.

Method 6 – Copy Column Width in Excel
Steps:
- Copy the column you want to duplicate.

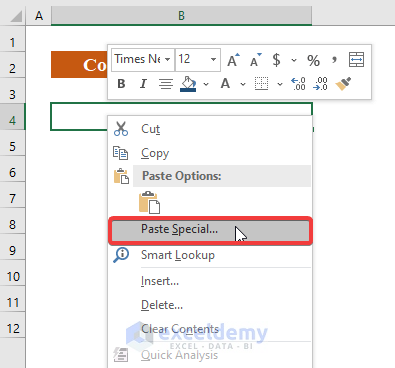
- Go to the cell you want to paste.
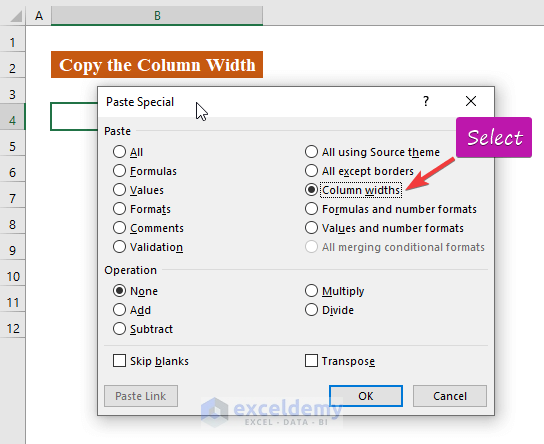
- Click Paste Special.
- Select Column widths.
- Click OK.
- You will see that cells will display according to the copied column width.
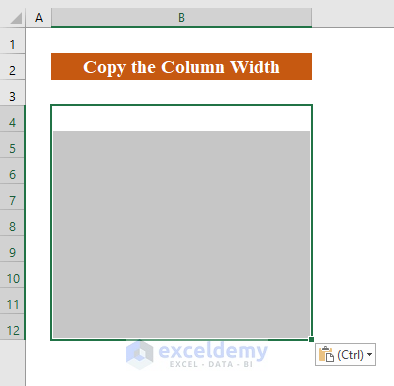
- Press Enter to see the result.

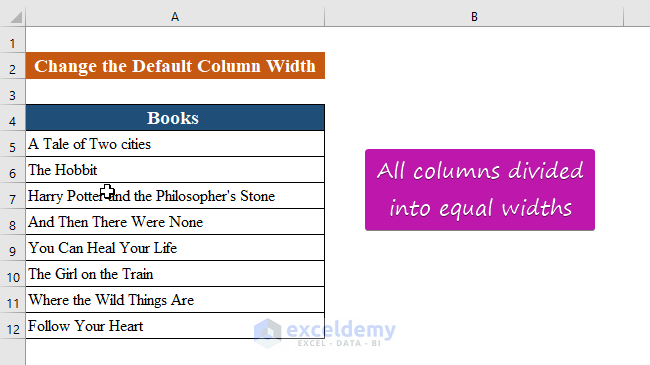
Method 7 – Change the Default Column Width in Excel
Steps:
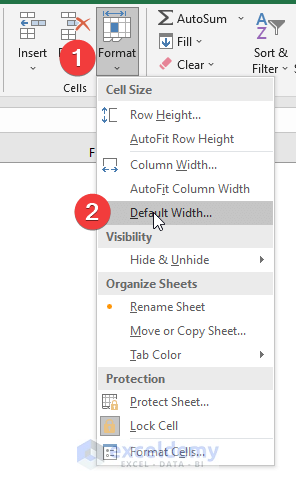
- Select the cells or worksheet(s) of interest.

- Go to the Home tab and in the Cells group, click Format, then pick Default Width.
- Enter the value you desire in the standard column width box and click OK.
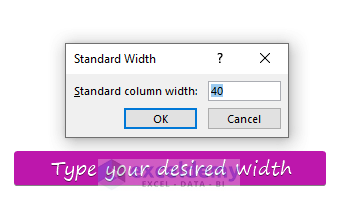
- You will see all the existing columns will be set to a default column width.
Download the Practice Workbook
How to Change Column Width in Excel: Knowledge Hub
- Set Column Width in Inches in Excel
- Set Excel Column Width to cm Unit
- Change Excel Column Width in Pixels
- Change Column Width in mm in Excel
<< Go Back to Learn Excel
Get FREE Advanced Excel Exercises with Solutions!

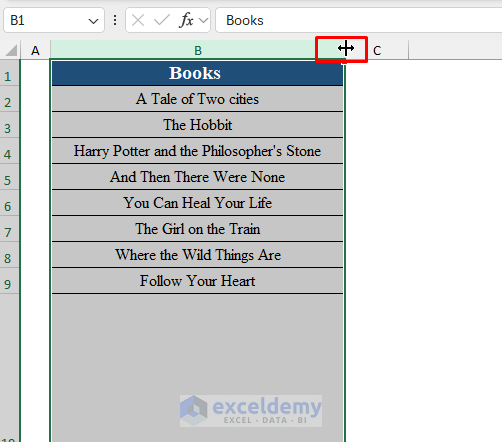
Why are columns & rows being duplicated when I adjust the width of a column after clicking and dragging the column width?
Hello David McKenna,
To adjust the column width you need select right icon. As there appears multiple icons based on position when you select a whole column. Perhaps you selected the copy icon instead of width icon.
To adjust width you must place the cursor in the column header then select the plus icon with arrow. Please check the image to see the icon.
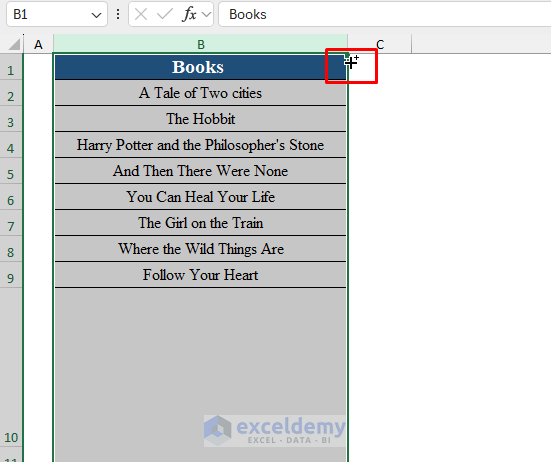
To copy the column you need to select the icon marked in the given image.
Regards
ExcelDemy