In the last edition of our posts, you read about aligning contents in the cells in all directions possible. Today we will be focusing on cell borders in the worksheet. They are quite handy when you wish to enhance the look of your worksheet.
Moreover, if you print your worksheet, or make a pdf of your worksheet, the grid lines will not be there. Click on the Print button in the File tab, you see the preview of printing, no gridlines will appear in the print preview.

Click on the image to get a full view
So using borders is necessary when you have a plan to print your worksheet as they increase the reading capability and make your printed worksheet look more professional.
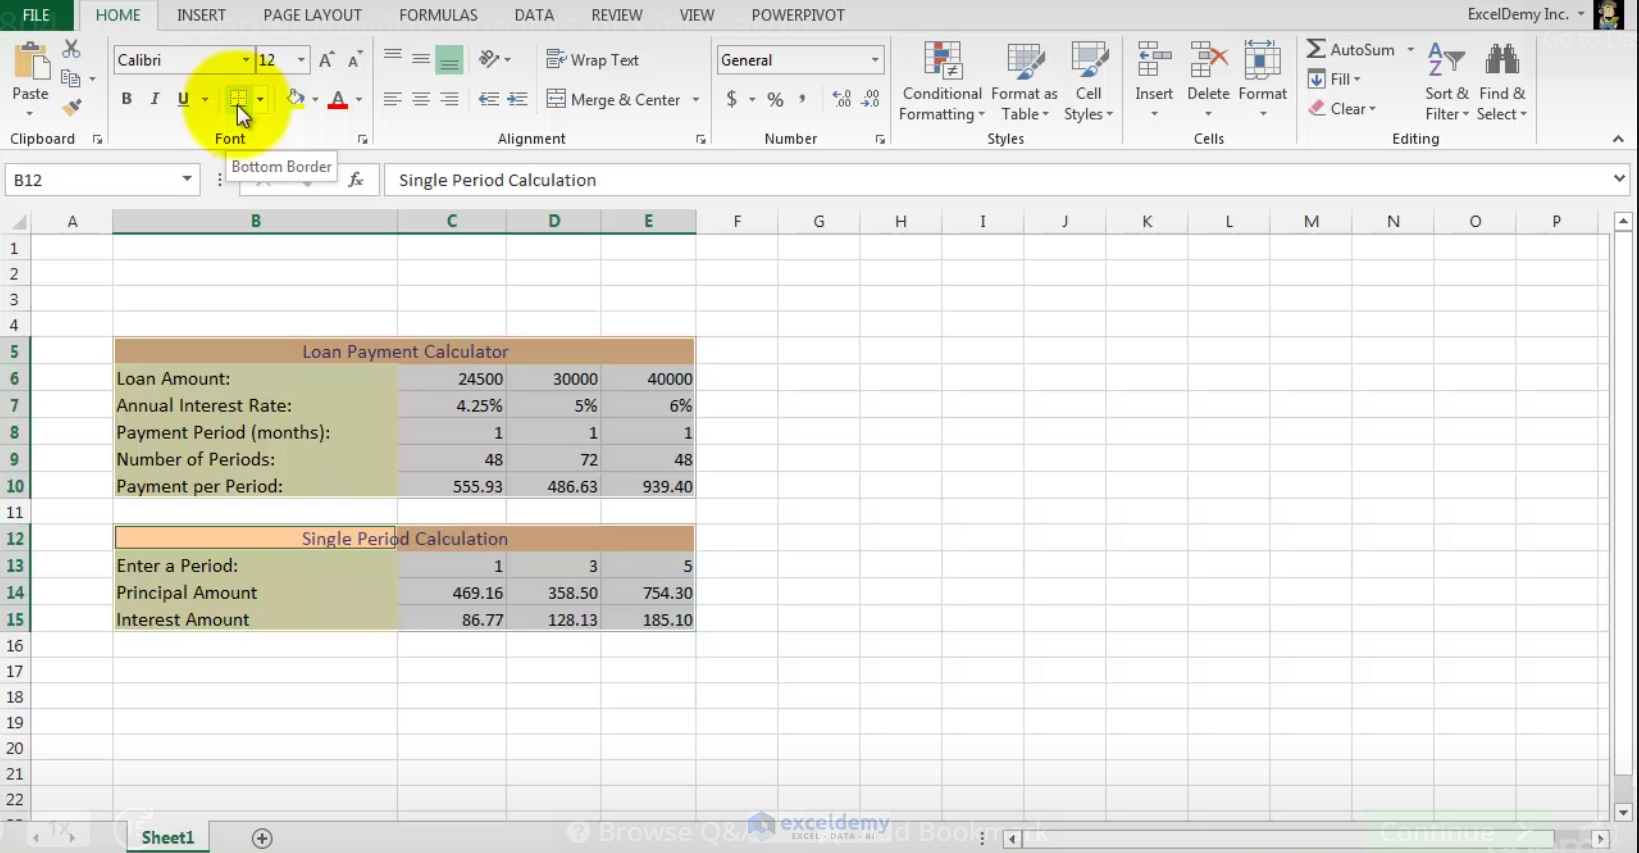
You have to select the cells or ranges before using borders. I select these two non-contiguous ranges (below image). You can use the Border command in the Home ribbon, or you can use the Format Cells dialog box to use borders around a cell or a range.
Using the Border control in the Home ribbon
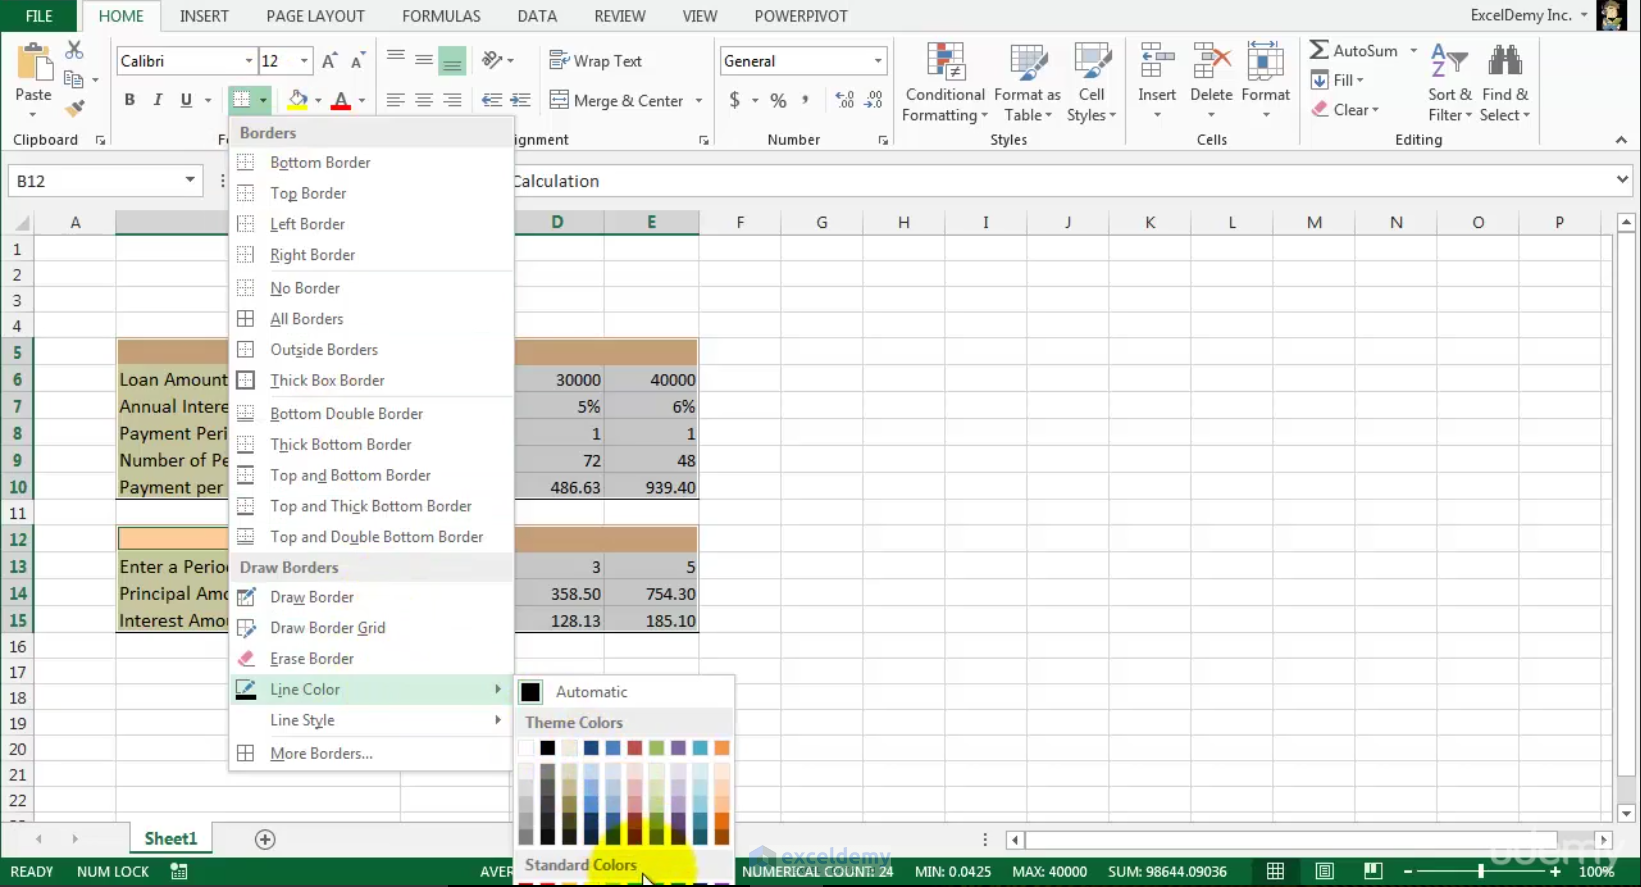
Border command in the Home ribbon is a split button. By default, the Bottom Border option is selected on the left of the button.
Click on the image to get a full view
The right part is a drop-down control. Click on the drop-down, 13 pre-defined border styles are available in three sections. By default the border color is Automatic black, border style is the thin black line. You can change them before you select a border for your cell or range. I click on the Bottom Border. You see a black and thin bottom border is added to both ranges.

Click on the image to get a full view
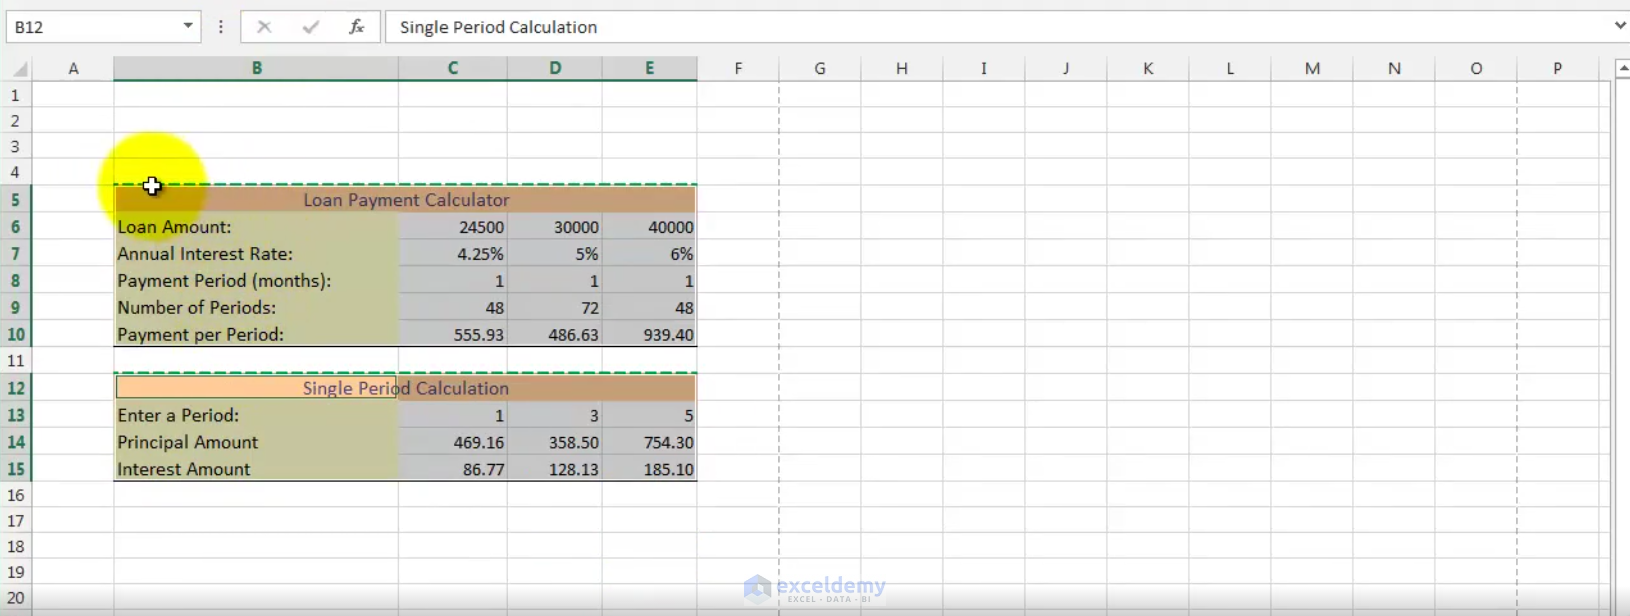
I select the ranges again. Click on the Border drop-down. This time let’s select some color and style for the border. In the Line Color, I select the Standard Green color.
Click on the image to get a full view
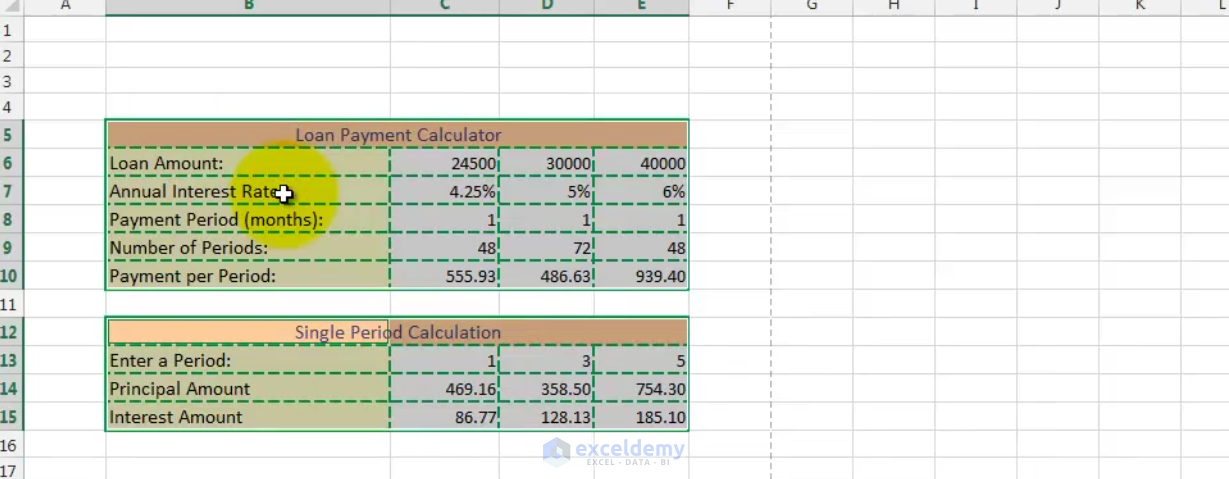
And in the Line Style, I select a Dashed style. Now I click on the Top Border, you see green and dashed top borders are added to both the ranges.
Click on the image to get a full view
You have selected and successfully applied this once, Excel will let you use this style as the default style now. You can add one line, one cell, one range whichever you seem possible by just one click on the said option without having to go through the hassle of selecting the color and style again.
Now click on the Print option in the File tab, you see the Print Preview is displaying the borders you have used.

Click on the image to get a full view
Go back to the worksheet. You can also use Thick Box Border, this will apply the thick border around the ranges.
You can use Double Bottom Border that applies double line bottom border in the ranges. Experiment with the other options: Thick Bottom Border, Top and Bottom Border, Top and Thick Bottom Border and Top and Double Bottom border.
Click on the image to get a full view
Read More: How to Remove Borders in Excel (4 Quick Ways)
Similar Readings
- How to Apply All Borders in Excel (4 Quick Methods)
- How to Change Border Color in Excel (3 Suitable Ways)
- How to Insert Border in Excel (5 Simple Methods)
Using Format Cells dialog box
You can also use the Format Cells dialog box to use borders around cells or ranges. In the Border drop-down, click on the More Border option at the bottom of the list.
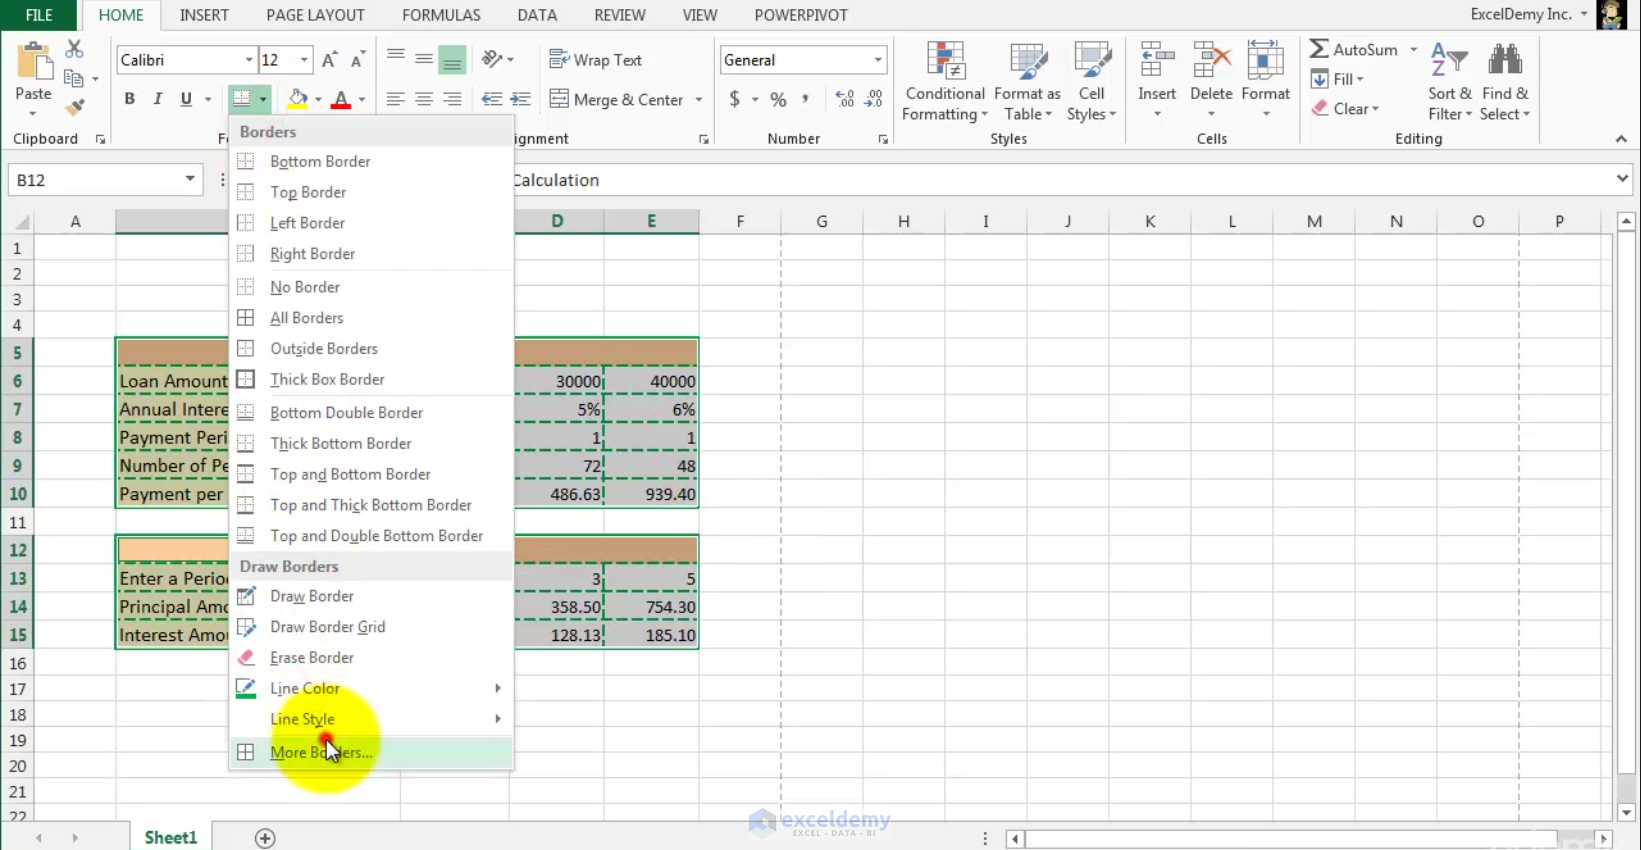
Click on the image to get a full view
The format cells dialog box appears with the Border tab activated. You can also use the dialog box launcher to open this dialog box.
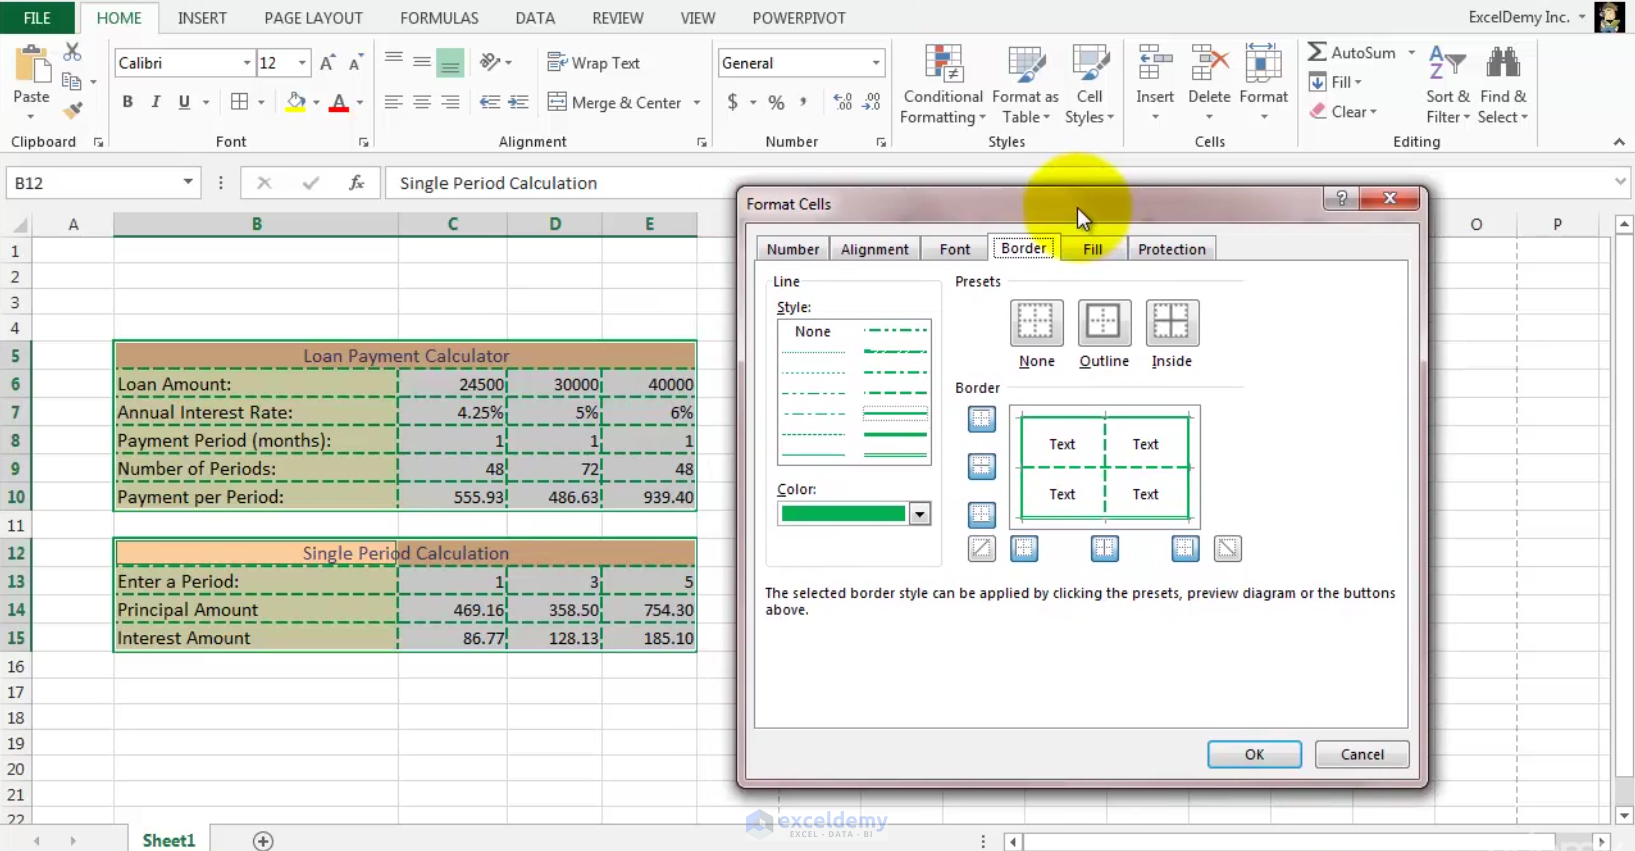
Click on the image to get a full view
Under style, you can select any style for your border, I choose this ultra-thick border.
Under color, you can select any color for your border, I choose standard Red, under Presets, there are three options: if you choose None, no border is selected, if you choose Outline, borders will be applied to the outside of the ranges, and you see below: Border Top, Bottom, Left and Right icons are selected. Click again None, if I choose Inside pre-set now, only inside borders are created and only Border Horizontal and vertical border icons are selected. You can also use diagonal borders across the cells or ranges, click on these two diagonal icons under Border. Click OK, You see how diagonal borders looks like.
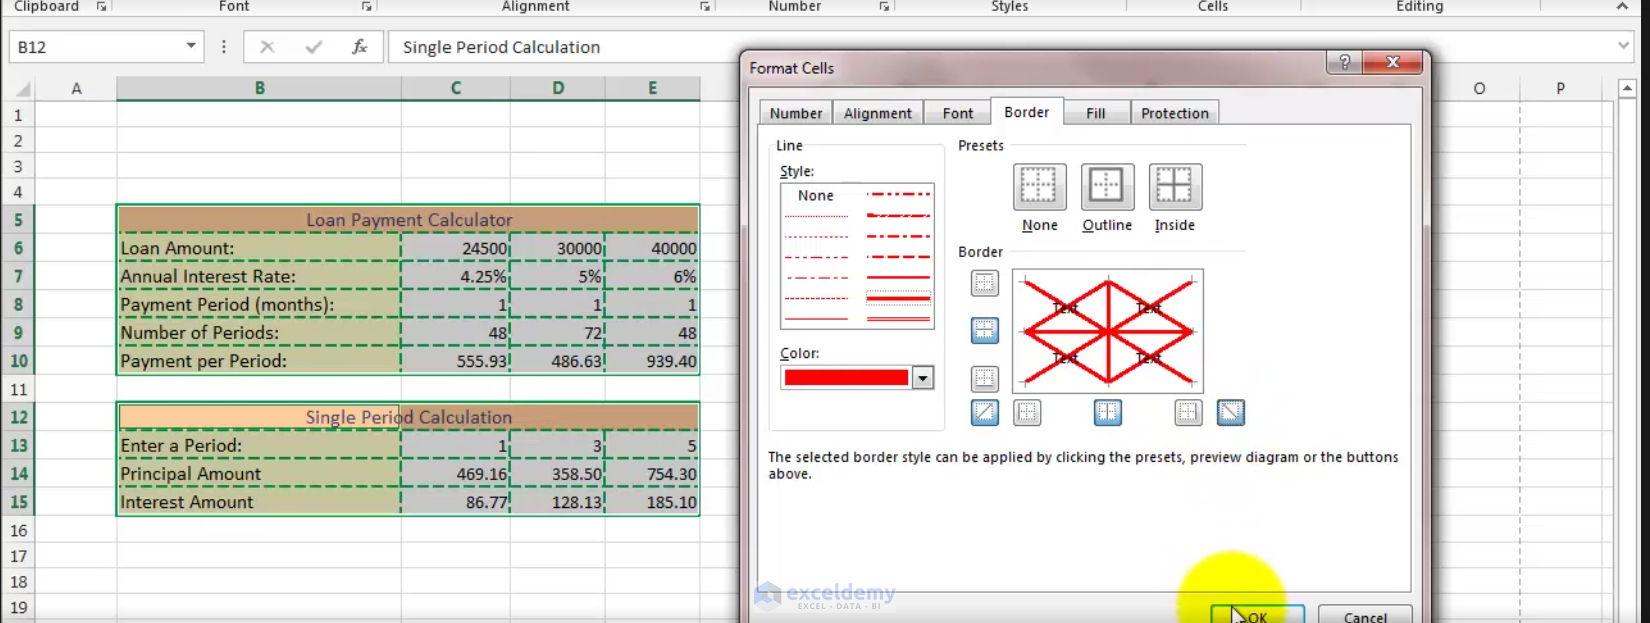
Click on the image to get a full view
You can also draw borders if your cells are not well defined. Click the Border drop-down (Home ribbon),
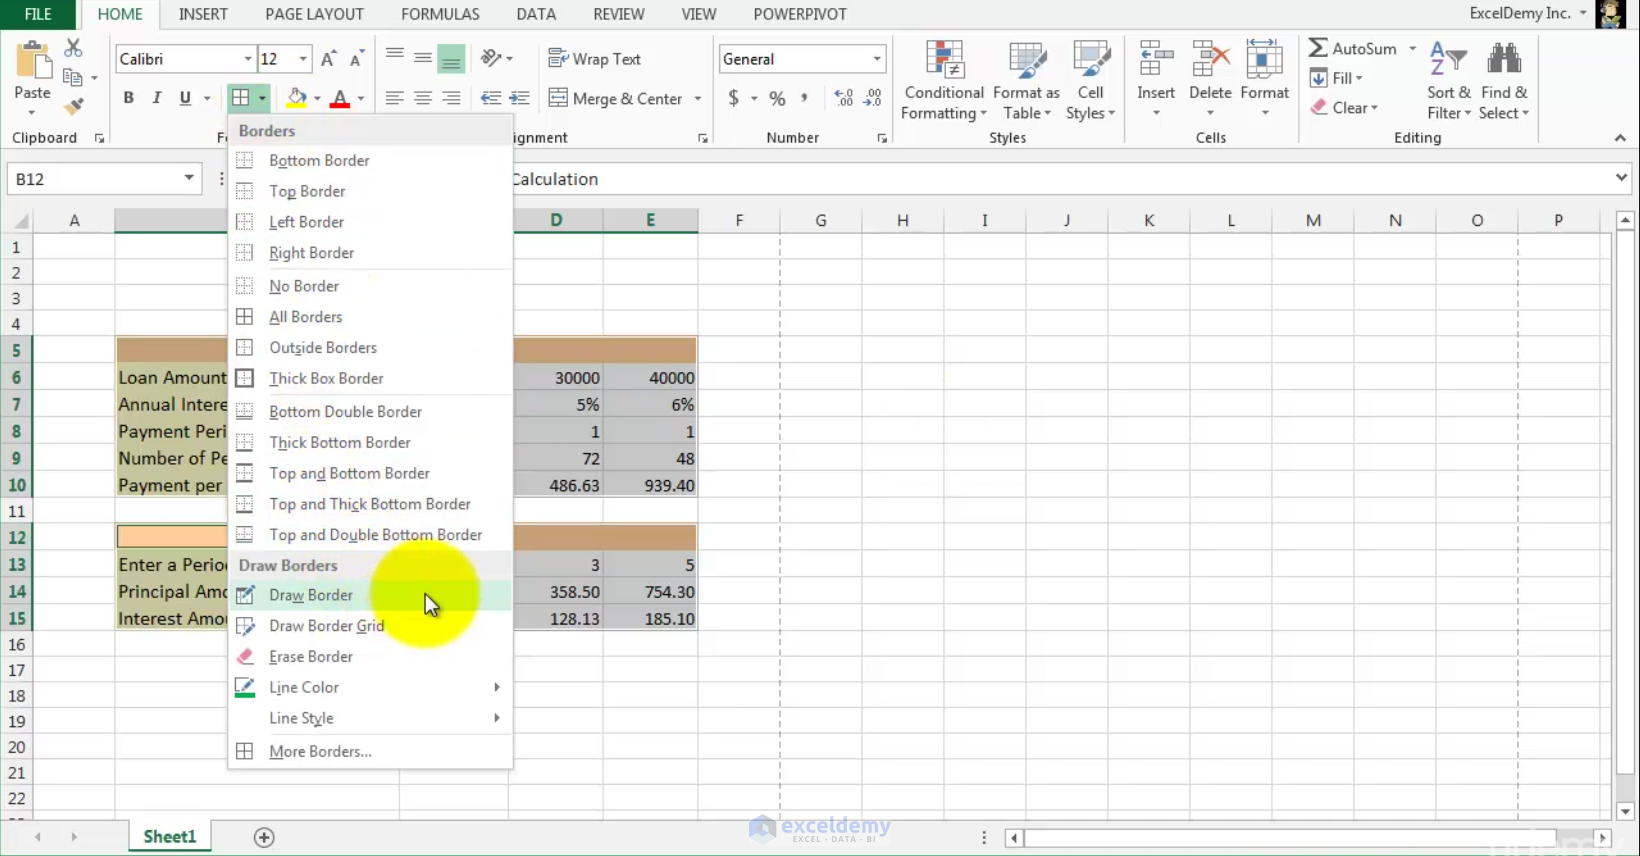
Click on the image to get a full view
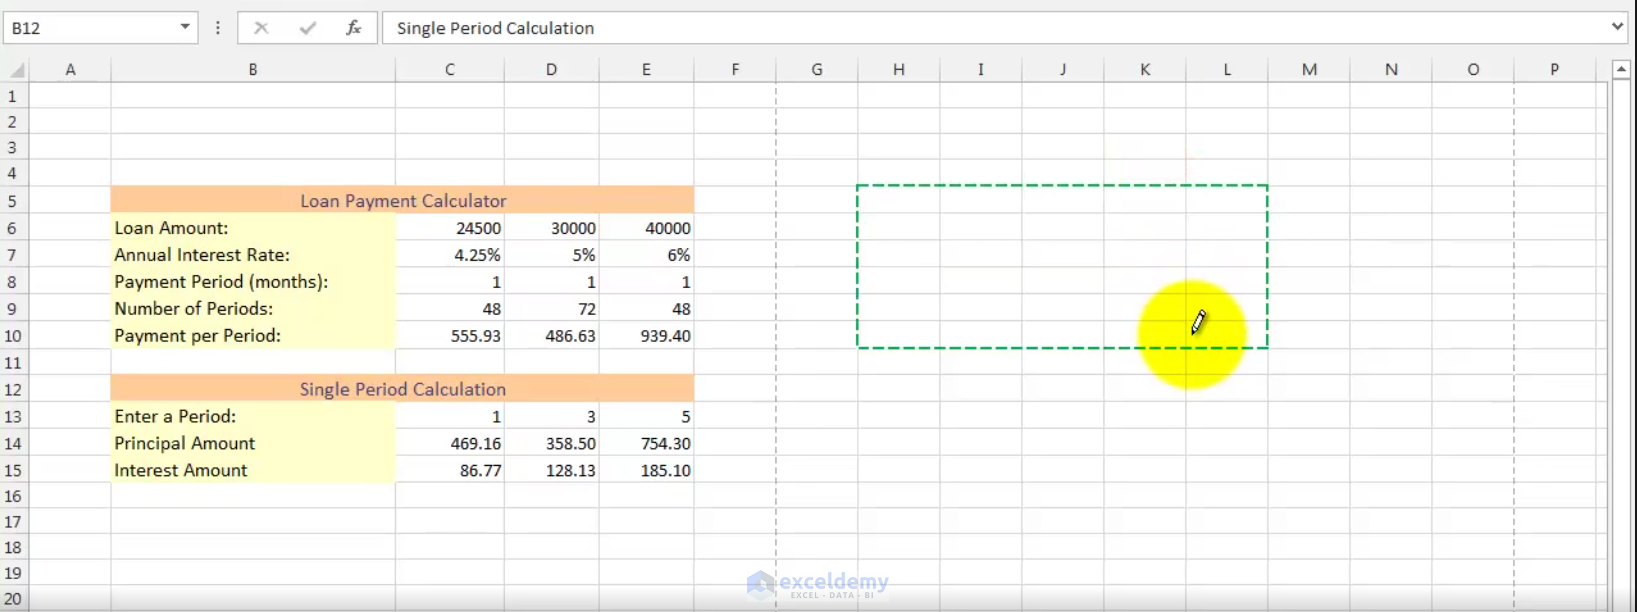
You can draw borders using two options: number 1 is Draw Border option and number two is Draw Border Grid options.
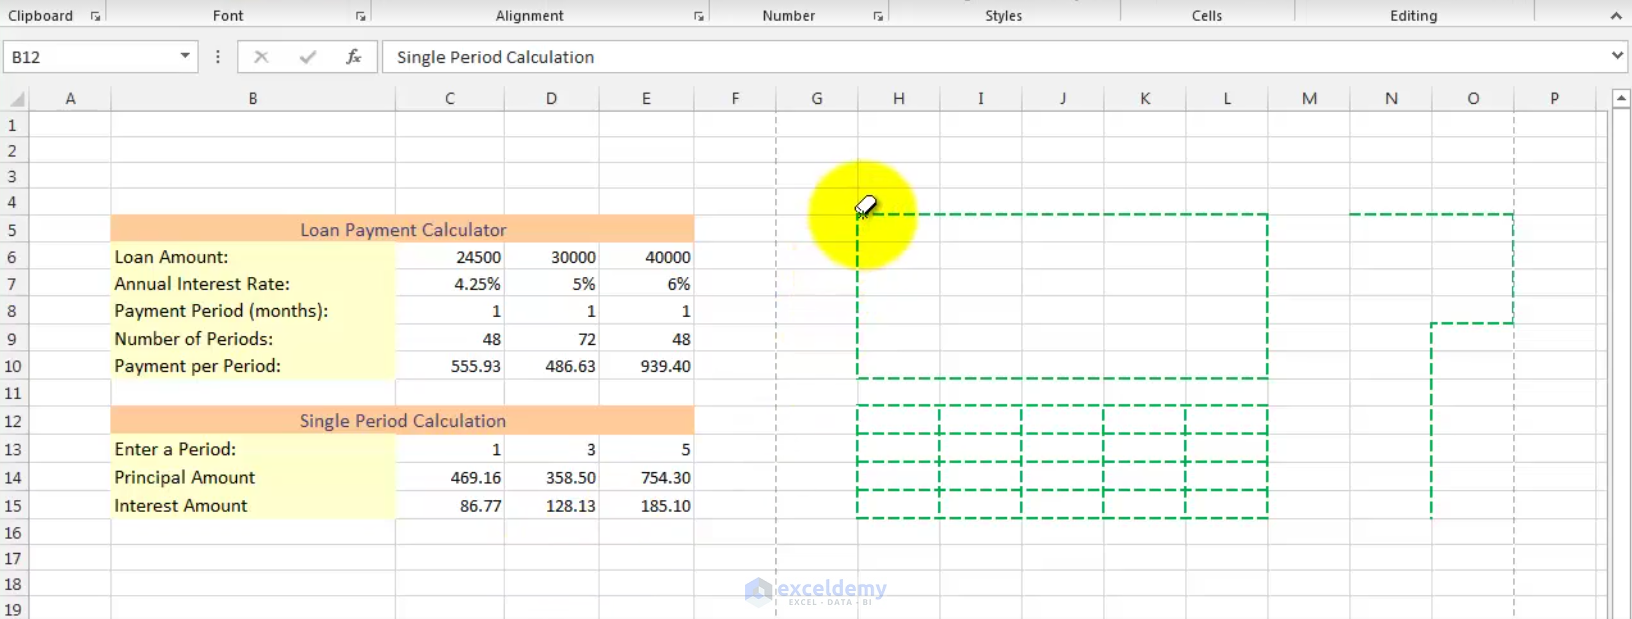
I select Draw Border. You see the mouse pointer has turned into a pencil-shaped icon. Using this pencil icon, you can draw borders around cells or ranges. I click and hold my mouse, then I start from a corner and when I reach another corner, the border is applied to the whole range. If I select Draw Border Grid instead of Draw Border, one difference is the mouse pointer. This time pencil icon comes with a rectangular box, the box has inside borders.
Click on the image to get a full view
I use this to draw the border, you see this time not only the outside borders but also the inside borders are applied to the ranges. You can also draw the border to individual sides of a cell or a range.
Click on the image to get a full view
Though this is not an efficient way, sometimes it may help you. You can remove it now if you find so.
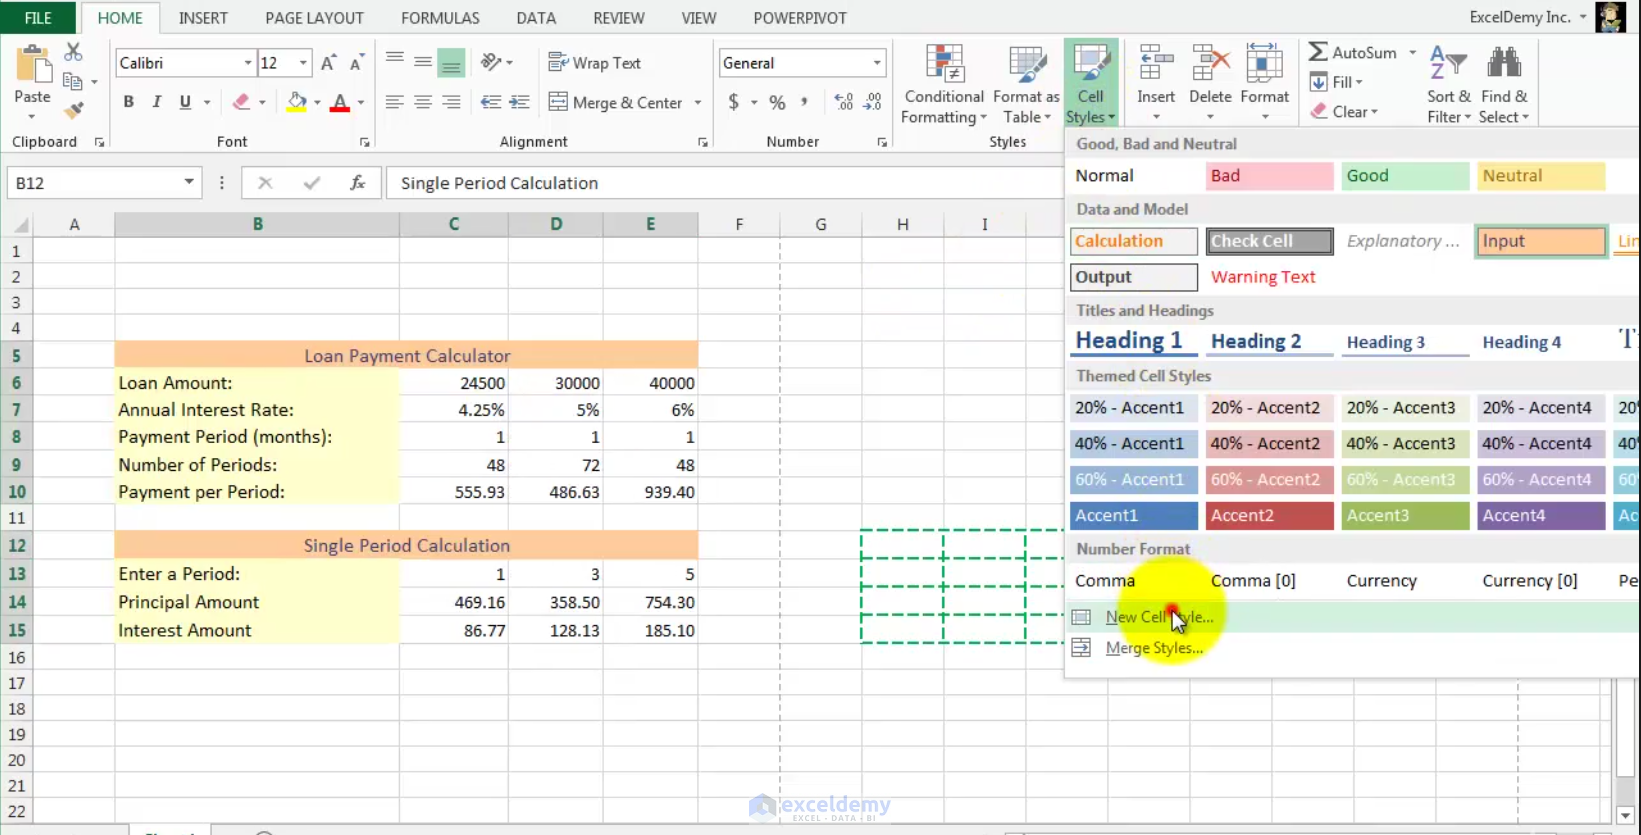
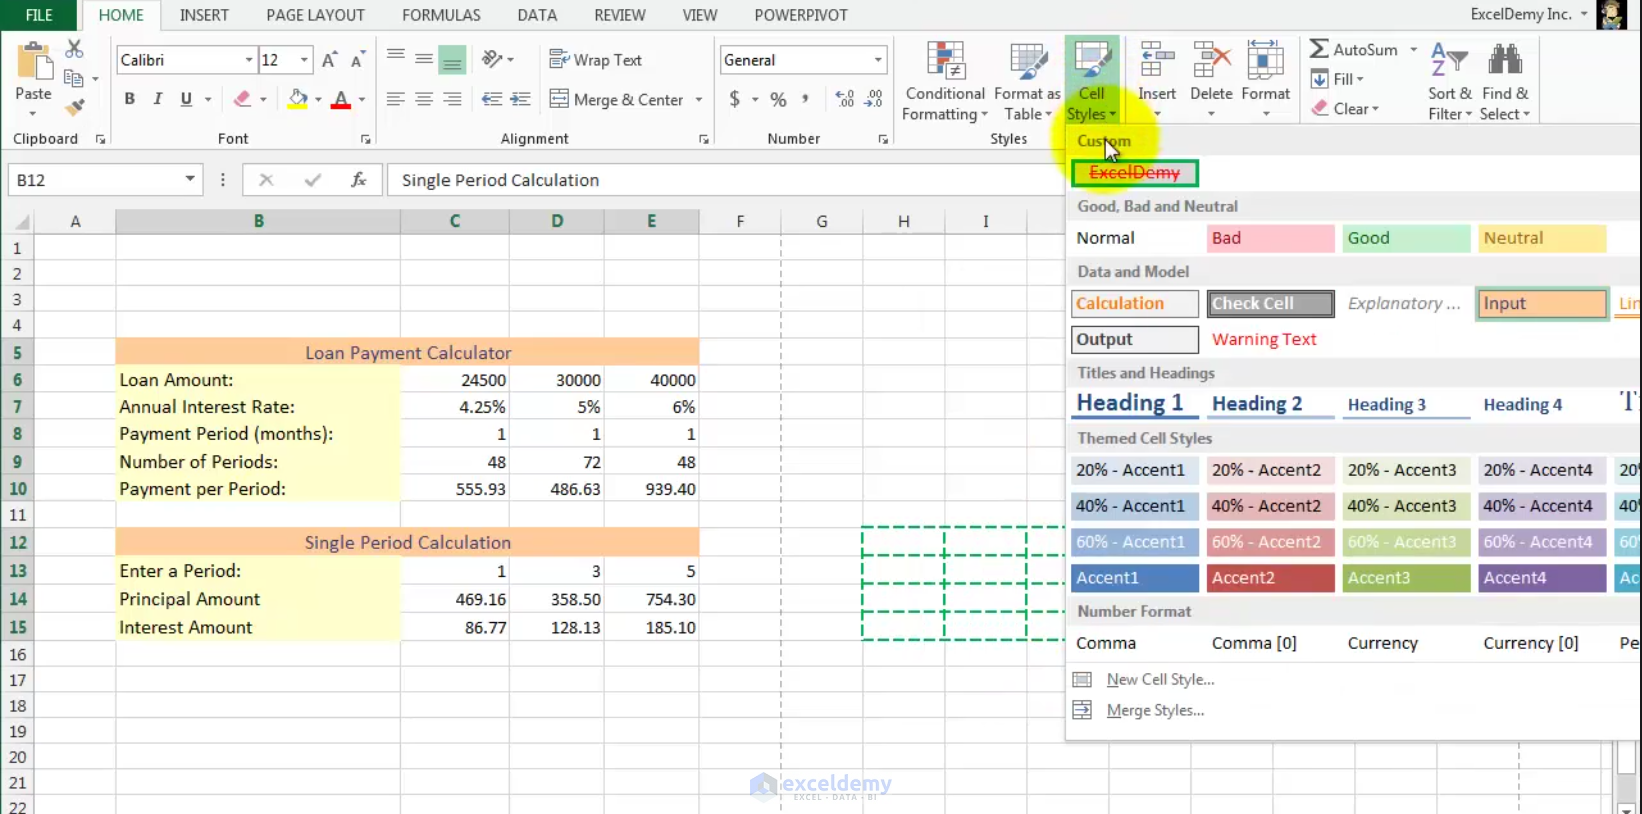
You can make your own custom border. Click on the Cell Styles dropdown in the Home ribbon, then New Cell Style, Style dialog box appears.
Click on the image to get a full view
Enter a name for your style, I enter ExcelDemy,

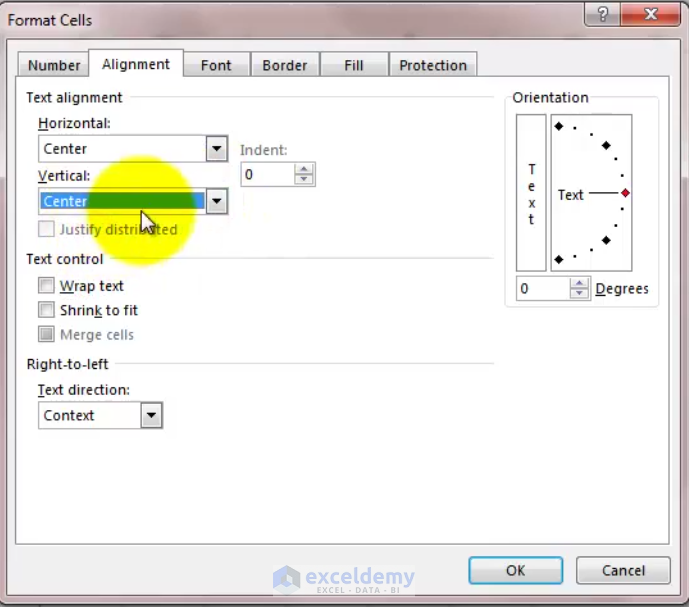
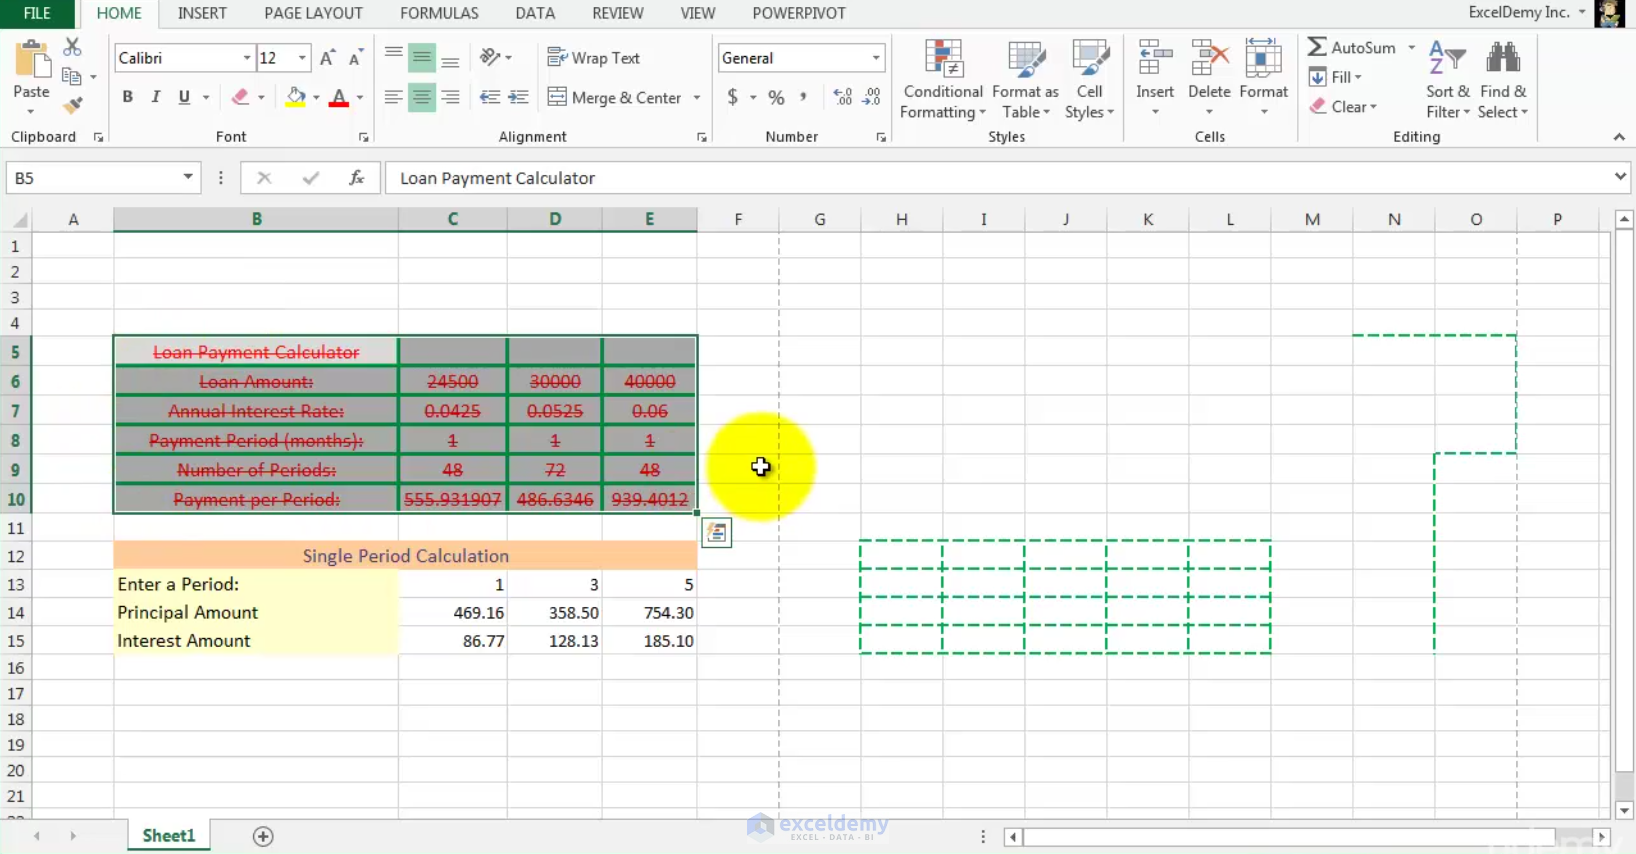
then click Format, Format Cells dialog box appears, now you can select your own format. I go to the Alignment tab, I select center under Horizontal and Vertical both,
I click on the Font tab, choose Strike Through effect, color Red,
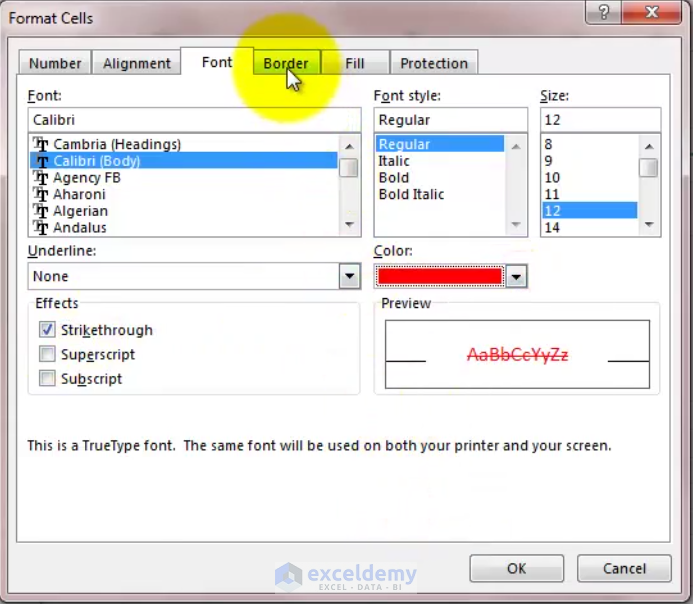
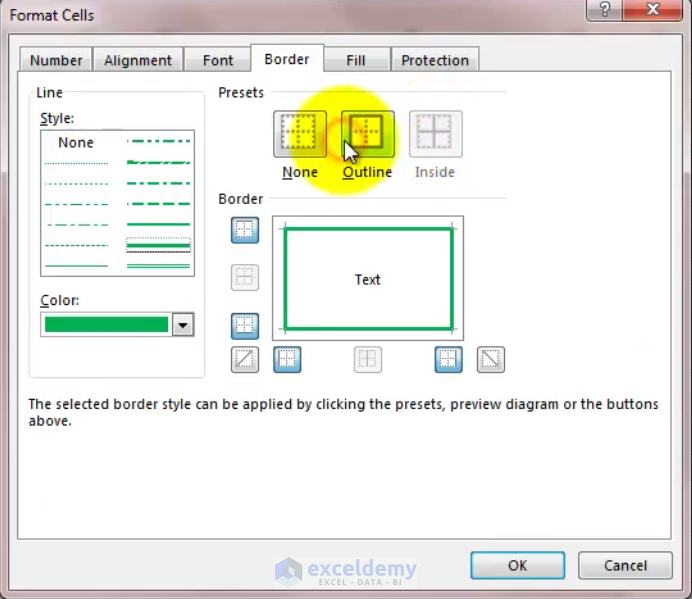
I click on the Border tab, style again ultra-thick, color standard green, in pre-set you can’t choose Inside as actually, this is for cell style,
I choose Outline, in the Fill Tab, I choose this gray color.
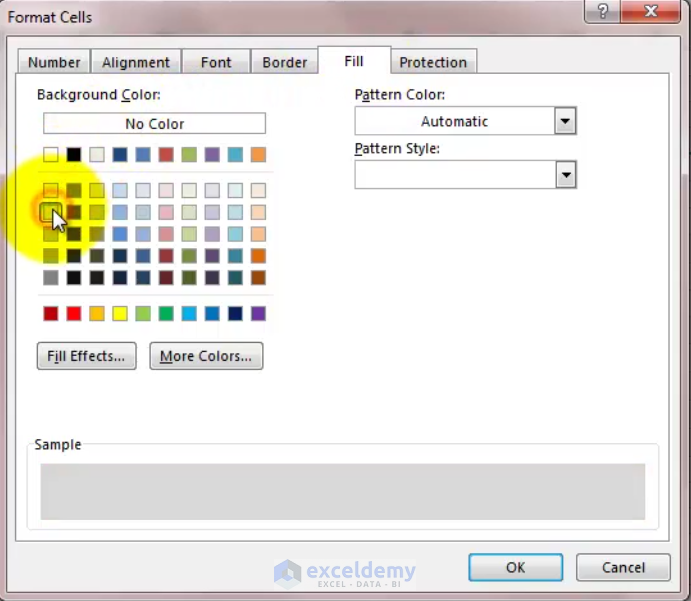
Let’s leave it here. I am not going to use any pattern for this cell style. You can use it as an experiment.
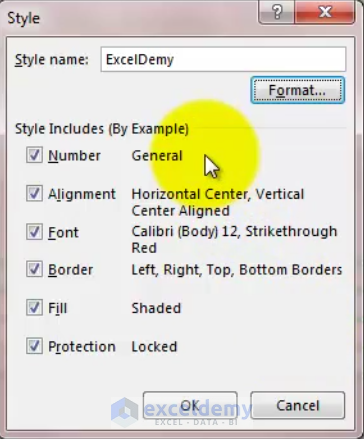
You see the list that you have applied to your cell style. My style is Number General, Alignment Horizontal Center and Vertical Center, Font Calibri, Strikethrough, color Red, Border Left Right Top Bottom, Fill Shaded and Protection Locked. I click OK. Click again on the Cell Styles drop-down, you see my ExcelDemy style is listed under Custom.
Click on the image to get a full view
I select this range to apply the newly created style. Cell Styles drop-down, click on ExcelDemy. You see your cells are styled with your own way.
Click on the image to get a full view
This is how you can style your worksheet to make more sense to you or your readers, of course, you won’t be able to use the one we just created but that was an extreme. Barring such you will be able to make your texts and contents readable. Give it a try folks and do leave your comments about your learnings. Until next time keep excelling!
Read More: How to Add Cell Borders Inside and Outside in Excel (5 Methods)
Download Working File
Adding_and_Removing_Borders.xlsx
Related Articles
- How to Repeat Formula Pattern in Excel (Easiest 8 ways)
- Use Format Painter in Excel for Multiple Cells (6 Quick Ways)
- How to Copy Formatting in Excel to Another Sheet (4 Ways)
- Change Time Format in Excel (4 Ways)
- How to Use Format Painter Shortcut in Excel (5 Ways)

