To add a note to a cell in your worksheet:
- Select a cell.
- Go to Review, then to Notes, and select New Note.

You’ll see a banner next to your selected cell.
- Type your notes.
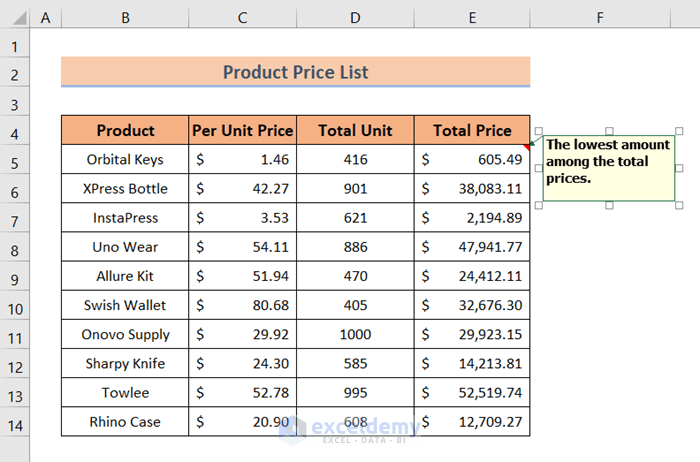
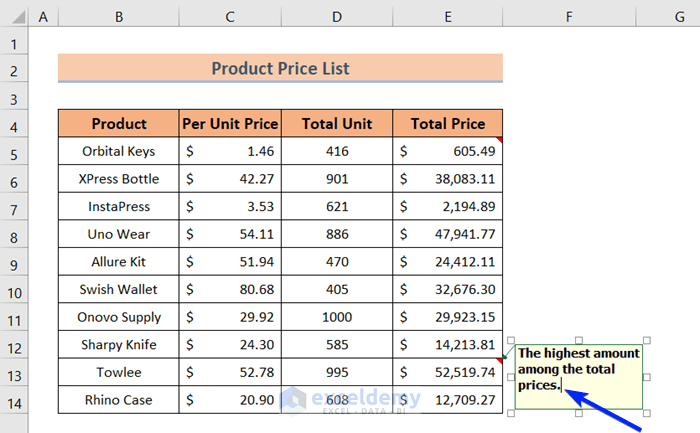
Excel allows you to add as many notes as you can. We’ve added two notes. The first one is in cell E5 and the second one is in cell E13.

Edit Attached Notes
- Select the cell where you’ve already inserted notes.
- Go to Review, then to Notes, and select Edit Note.
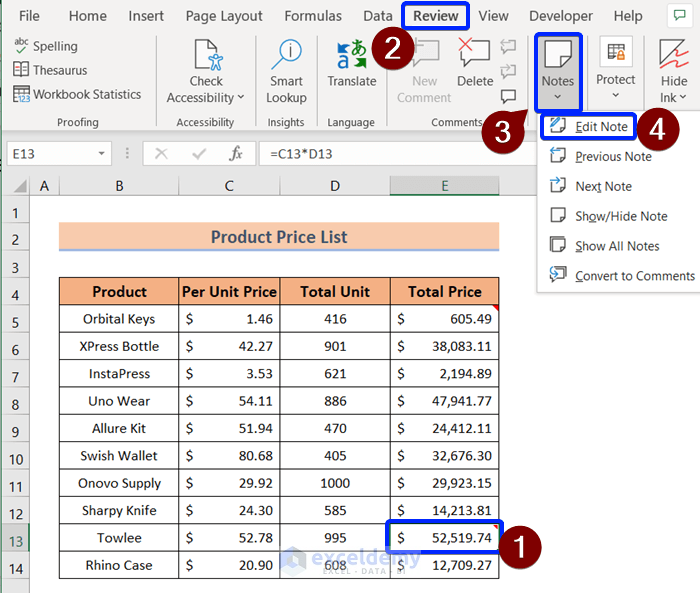
- You can add, cut, or update your notes however you want.
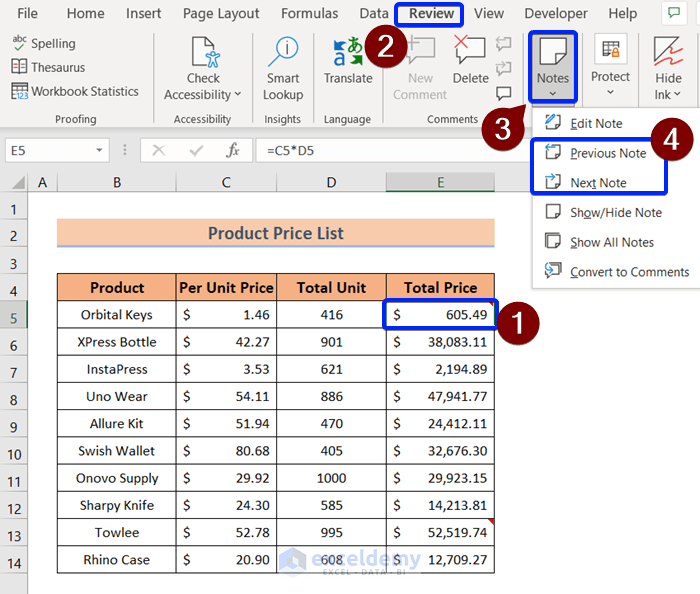
Go from One Note to Another
- Select a cell where you have already applied a note.
- Go to Review and Notes.
- If you want to go to the next note of your selected note, select the Next Note command.
- To go back to the previous note, click on the Previous Note command.
Hide and Display Notes in Excel
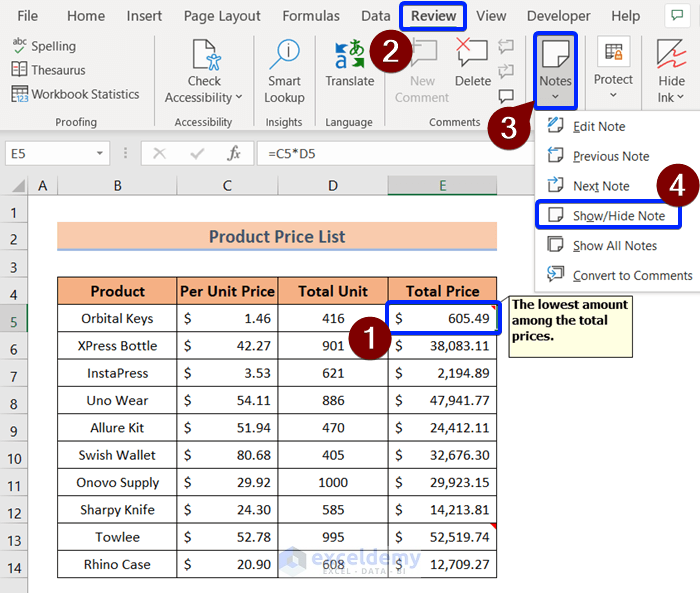
If you want to show or hide a note:
- Select the cell with a note.
- Go to Review and select Notes.
- Click on the Show/Hide Note command.
This will make your notes visible in the selected cell.
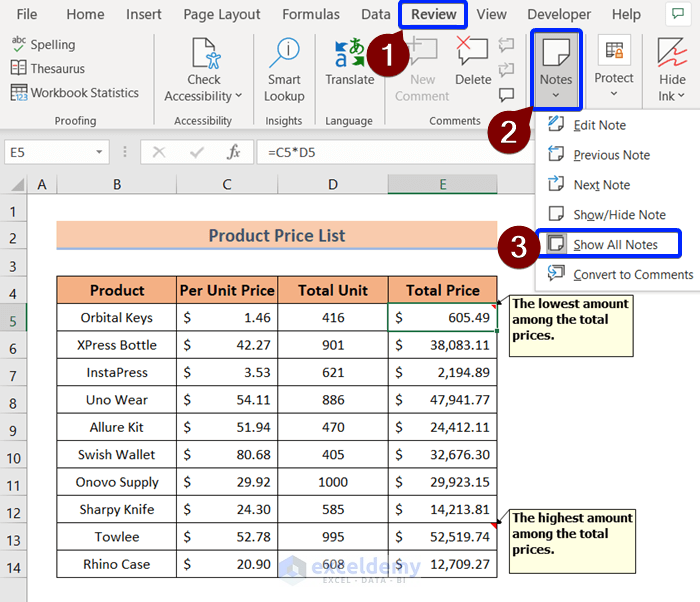
To show all notes:
- Select Review, then Notes, and choose Show All Notes.
Notes vs. Comments in Excel
The comments are more of a conversation thread in Excel. In the comment section, one user can reply to another. On the contrary, the notes are just static attachments.
Turn Notes into Comments
- Select the cell with a note.
- Go to Review and select Notes.
- Select Convert to Comments.
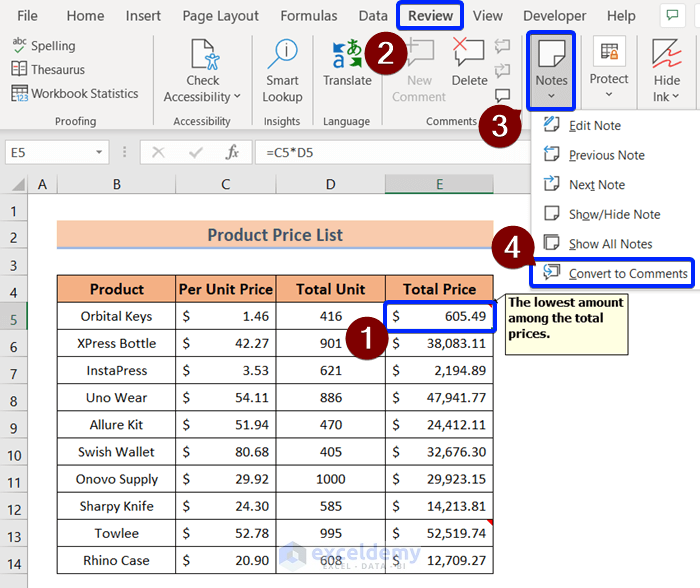
All your notes will be turned into Excel comments.

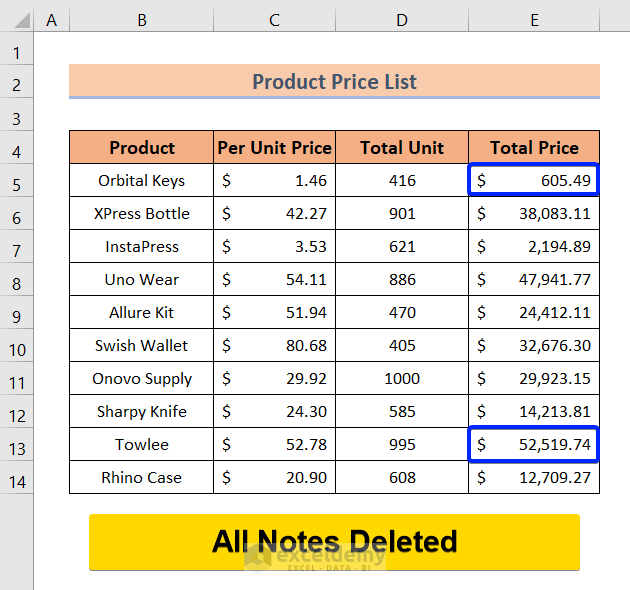
Remove Notes from an Excel Worksheet
- Right-click on a cell with a note.
- From the context menu, select the Delete Note command.
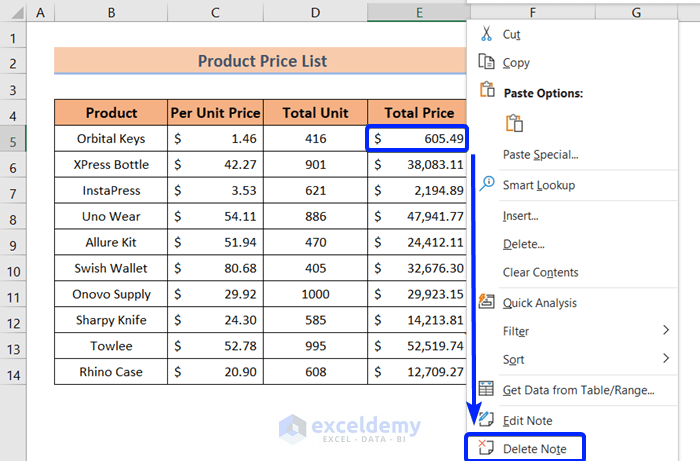
- You can repeat the process the remove all the notes from your Excel sheet.
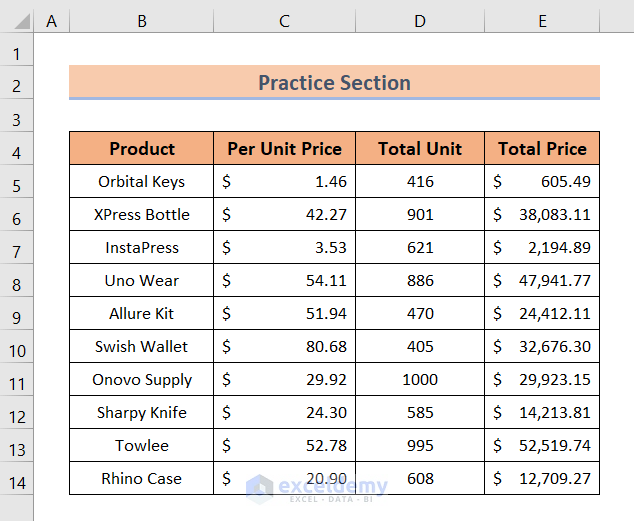
Practice Section
You will get an Excel sheet like the following screenshot at the end of the provided Excel file, where you can practice all the methods discussed in this article.
Download the Practice Workbook
Notes in Excel: Knowledge Hub
<< Go Back to Notes in Excel | Learn Excel
Get FREE Advanced Excel Exercises with Solutions!
