While working on Excel, we encounter different views like Normal View, Print Preview, Page Break Preview, Custom View, etc. In this article, we will be discussing in detail about Normal View. We will learn what is normal view in Excel and how to return to a normal view from different viewing conditions.
What Is Normal View?
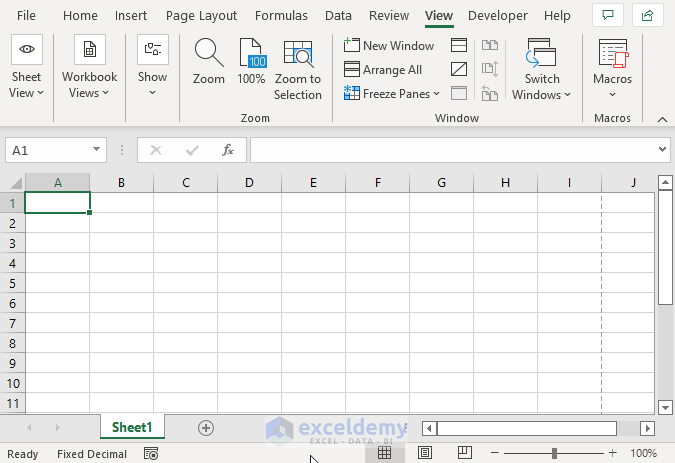
Normal view is the one that opens when you first start Excel. Only the cells in your spreadsheet will be shown. You won’t be able to see the header, footer, or page breaks. The normal view is the default view. Spreadsheets can be made or changed in this view. In the page break view, the blue lines that show page breaks are shown. Normal view lets you see the most cells on your screen. The column letters and row numbers are close to the columns and rows in the view.
Return to Normal View in Excel: 2 Easy Methods
While working we often shift to other viewing options. So after the work, we need to return to Normal View. We can do so in 2 methods. The 2 methods along with appropriate steps are given below.
1. Using Excel Ribbon
It is the most appropriate and common way to return to Normal View. The steps are very simple. Suppose we were in the Page Break Preview like below and we want to return to Normal View.
Steps:
- At first, we need to go to the View tab in the Ribbon.
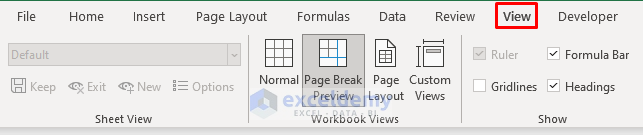
- Then we need to select the Normal View option in the Workbook Views area.

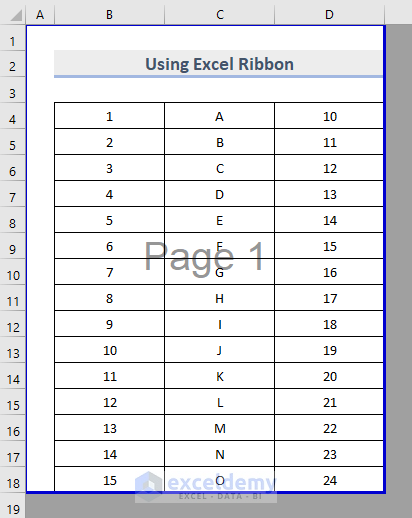
- At last, we will get the normal view of the worksheet like in the image below.

2. Applying VBA Code
We can also use the VBA code or apply a macro to return to normal view. The steps of this method are given below. We will consider a situation like before where we were in Page Break Preview mode and now we want to switch to Normal View.
Steps:
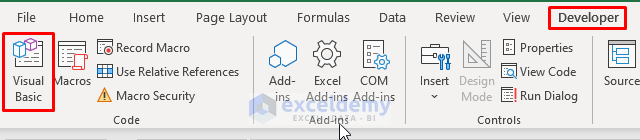
- Firstly we need to go to the Developer tab in the Ribbon and select Visual Basic. We can also do the same thing by pressing Alt+F11.
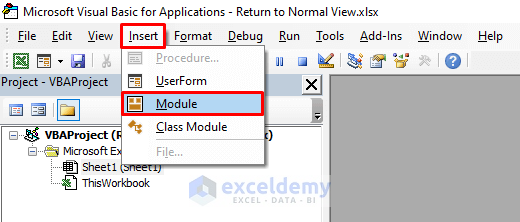
- Secondly, a new window will appear named Microsoft Visual Basic for Application. In this window, we will select Insert and click on Module.
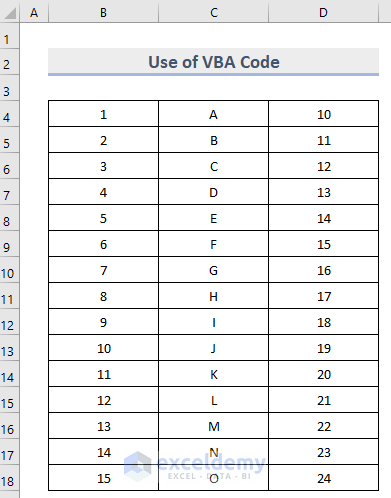
- Thirdly a writing space will appear with General written on top and there, we will write the following piece of code:
Sub Normal_View()
Activewindow.View = xlNormalView
End Sub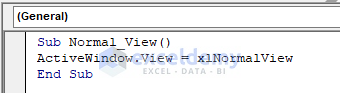
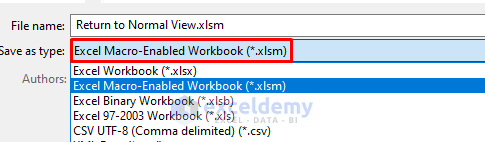
- Next, we will save the VBA code along with the workbook as a macro-enabled workbook or with an XLSM extension by pressing Ctrl+S and selecting XLSM instead of XLSX.
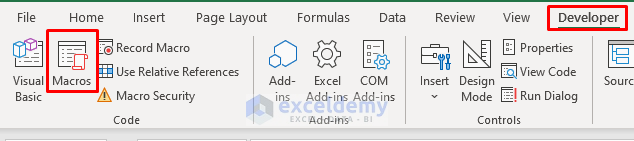
- Furthermore, we will go to the Developer tab and select Macros.
- As a result, a dialog box will appear named Macro. From that dialog box select Normal_View and press Run.
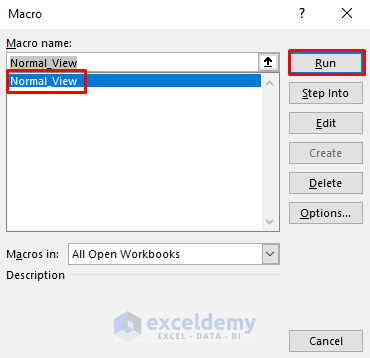
- Finally, we will get our workbook to Normal View again.
Things to Remember
- Using Excel ribbon is the most common technique to bring back to normal view.
- The VBA code method is applicable when we are working with a large code and data but in the end, we need to return to the normal view.
Download Practice Workbook
You can download the practice workbook from here.
Conclusion
Getting back to normal view and learning about normal view enables us to work more efficiently and faster. Hope this article will help you to do so. If you’re still having trouble with any of these methods, let us know in the comments. Our team is ready to answer all of your questions.
Related Articles
- How to View All Sheets in Excel at Once
- How to Create Different Views for Different Users in Excel
- What Is Datasheet View in Excel?
<< Go Back to View in Excel | Learn Excel
Get FREE Advanced Excel Exercises with Solutions!
