What Is a Colebrook Equation?
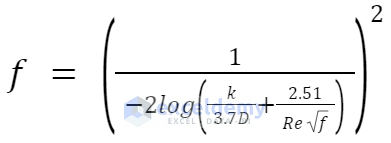
The Colebrook equation shows the relationship between the Reynolds number, Pipe Roughness, and Diameter based on the Friction factor of the pipe.
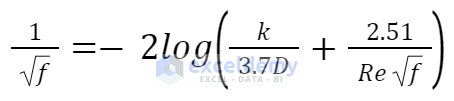
- Friction Factor, f
- Pipe Roughness, k
- Pipe Diameter, D
- Reynolds Number, Re
How to Solve a Colebrook Equation in Excel: 3 Simple Ways
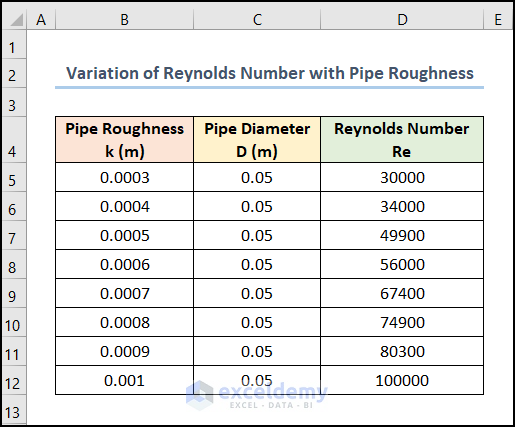
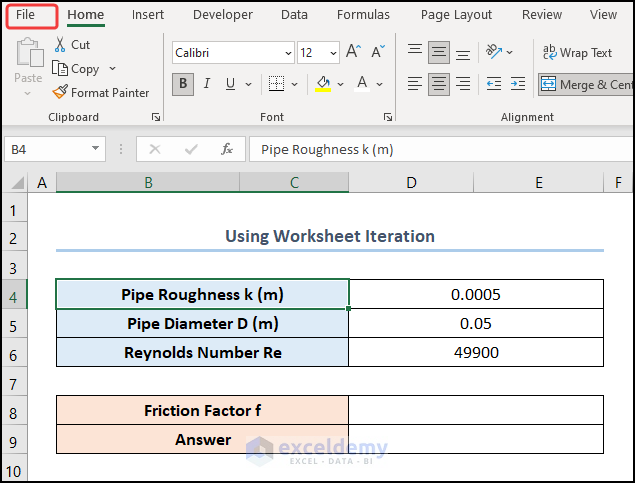
Let’s consider the dataset shown in the B4:D12 cells. We have the distribution of the Pipe Roughness and the Reynolds Number for a fixed Pipe Diameter.
Method 1 – Using the Goal Seek Tool to Solve the Colebrook Equation
Steps:
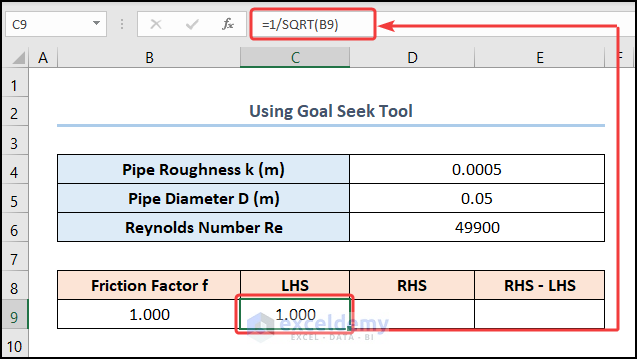
- Enter the left side of the Colebrook equation in the C9 cell.
=1/SQRT(B9)
The B9 cell refers to the Friction Factor.
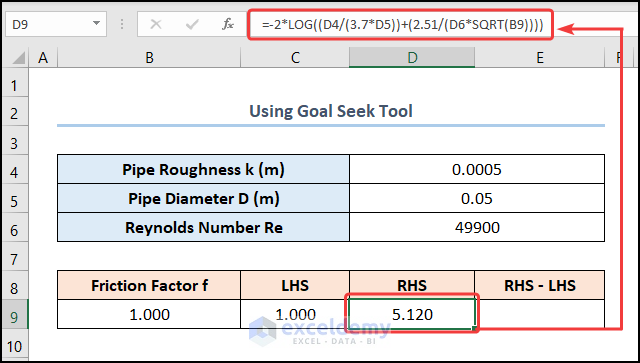
- Move to the D9 cell and enter the right side of the Colebrook expression:
=-2*LOG((D4/(3.7*D5))+(2.51/(D6*SQRT(B9))))
The D4, D5, and D6 cells represent the Pipe Roughness, Pipe Diameter, and Reynolds Number respectively. Moreover, use the LOG function according to the equation.
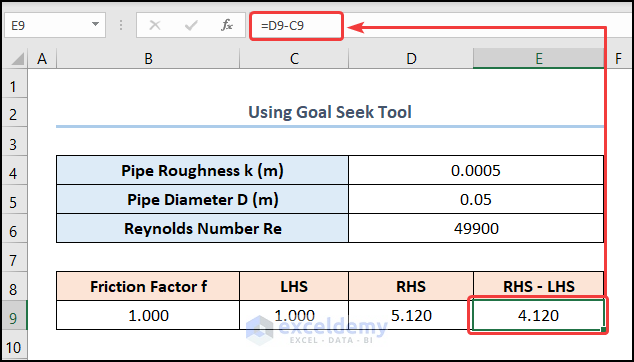
- Navigate to the E9 cell and calculate the difference between the right side and the left side:
=D9-C9
C9 and D9 cells point to the LHS and RHS, respectively.
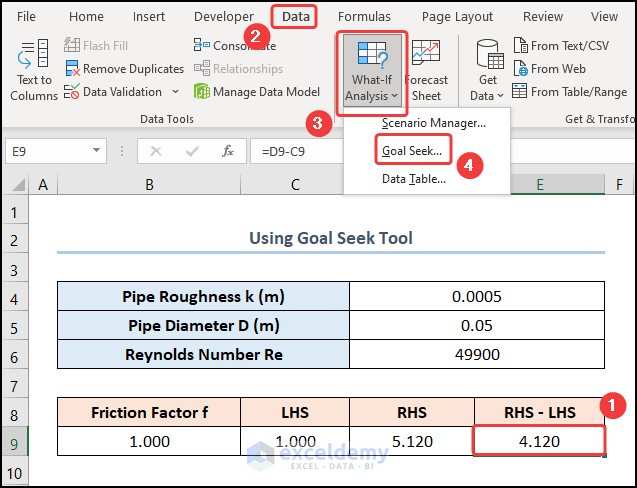
- Go to the Data tab and click the What-If Analysis drop-down.
- Select the Goal Seek option.
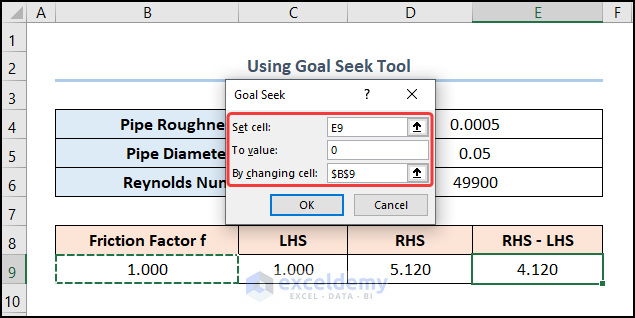
- This opens the Goal Seek wizard.
- In the To value field, type in 0.
- For the By changing cell option, select the B9 cell.
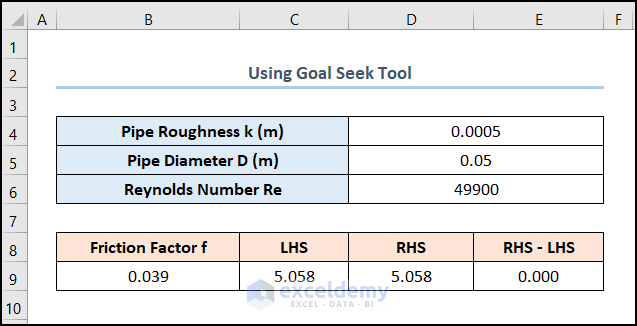
- Your output should look like the picture given below.
Method 2 – Utilizing Worksheet Iteration to Solve the Colebrook Equation
We’ll rearrange the Colebrook equation as shown below.
Steps:
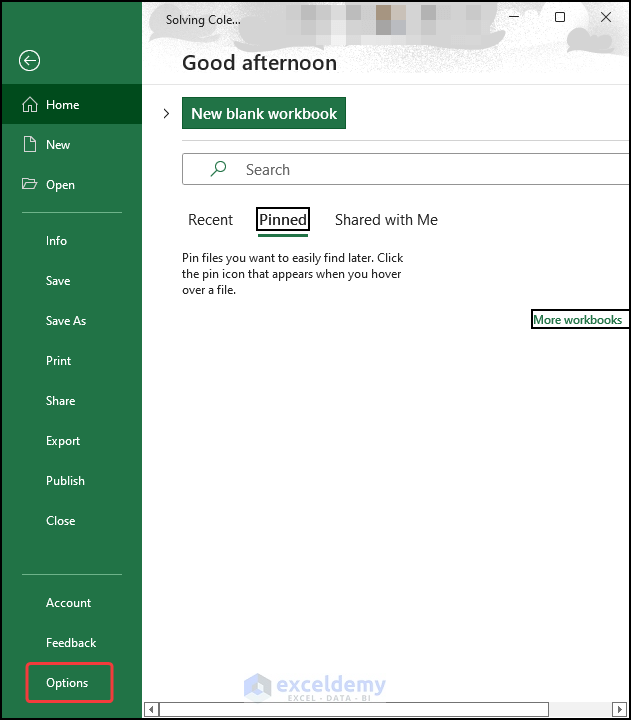
- Click the File tab at the top left corner.
- Click the Options button at the bottom of the window.
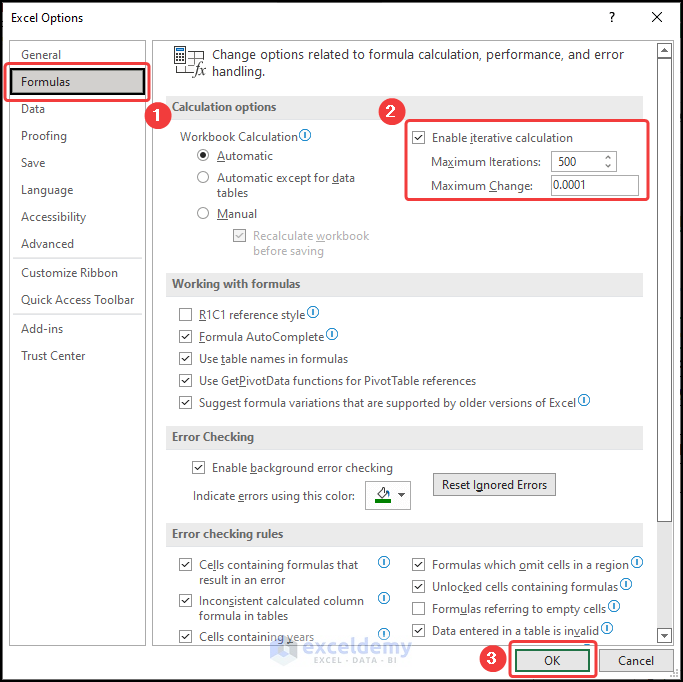
- This opens the Excel Options dialog box.
- Click the Formulas tab and check the Enable iterative calculation option.
- You can set the Maximum Iterations to 500 and the Maximum Change to 0.0001.
- Hit the OK button.
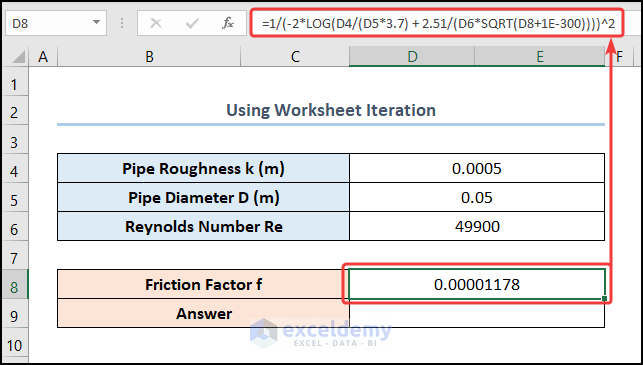
- Rearrange the Colebrook equation as shown below and enter it into the D8 cell:
=1/(-2*LOG(D4/(D5*3.7) + 2.51/(D6*SQRT(D8+1E-300))))^2
The D4, D5, D6, and D8 cells represent the Pipe Roughness, Pipe Diameter, Reynolds Number, and Friction Factor, respectively.
Note: When Excel begins iterating, it sets the value in the D8 cell to zero. This would return #DIV/0! Error. To solve this, we’ve added a small number (1E-300) which doesn’t affect the accuracy of the result.
- Move to the D9 cell and enter the cell reference for the D8 cell.
=D8
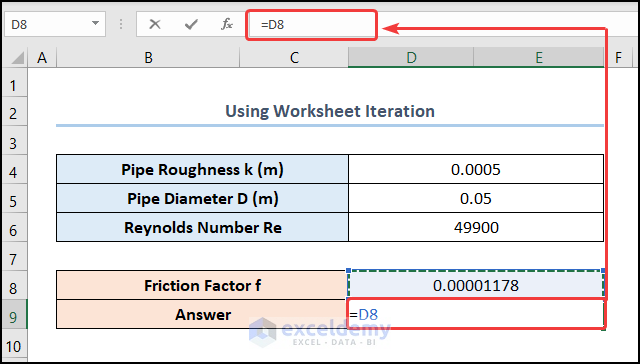
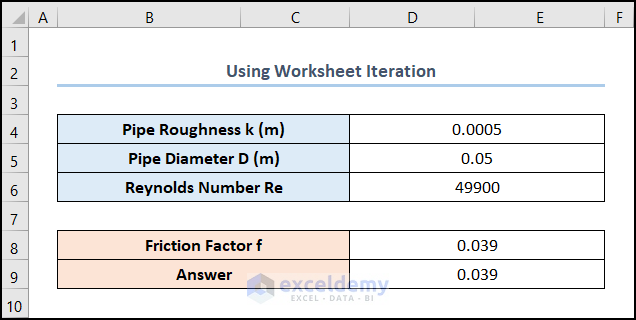
Excel performs the iterations and returns the result as shown in the image below.
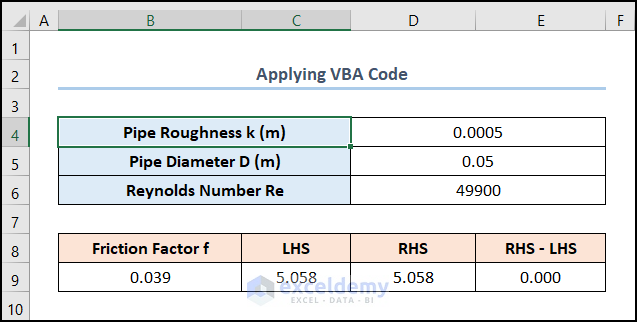
Method 3 – Applying VBA to Solve the Colebrook Equation
Steps
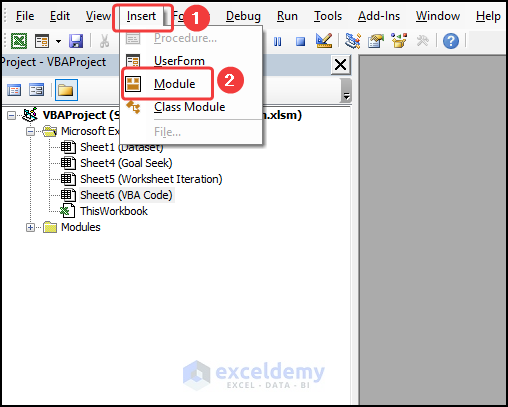
- Navigate to the Developer tab and click on Visual Basic.
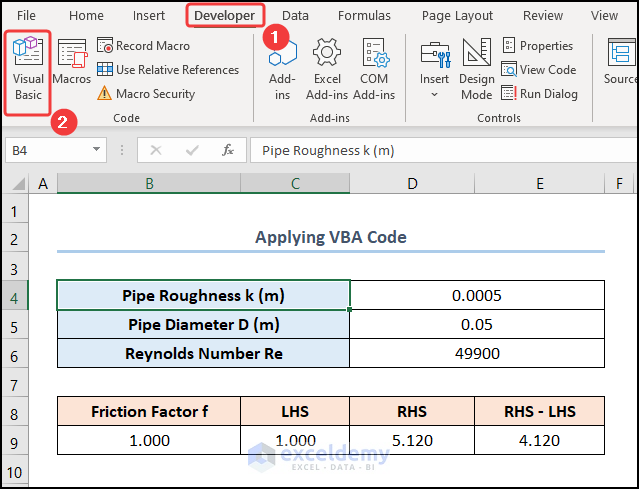
- This opens the Visual Basic Editor in a new window.
- Go to the Insert tab and select Module.
- Copy the code from below and paste it into the window.
Sub Solve_Colebrook()

Static Computing As Boolean
If Round(Range("E9").Value, 3) <> 0 And Not Computing Then
    Computing = True
    Range("B9").Value = 0.01
    Range("E9").GoalSeek goal:=0, ChangingCell:=Range("B9")
    Computing = False
End If

End Sub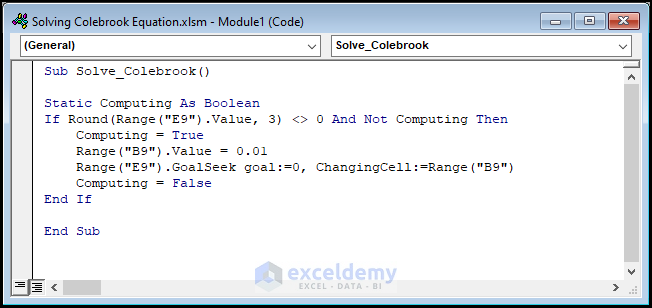
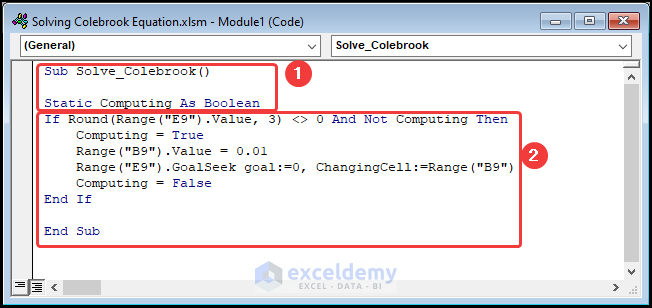
⚡ Code Breakdown:
- The If statement checks if the value in the E9 cell is not equal to zero and not equal to Computing.
- The code sets the value in the B9 cell to 0.01 using the Range object.
- The code applies the Goal Seek method to determine the value of the B9 cell (Friction factor) which gives zero in the E9 (RHS – LHS) cell.
Read More: How to Solve 2 Equations with 2 Unknowns in Excel
- Close the VBA window and click the Macros button.
- This opens the Macros dialog box.
- Select the macro and click the Run button.
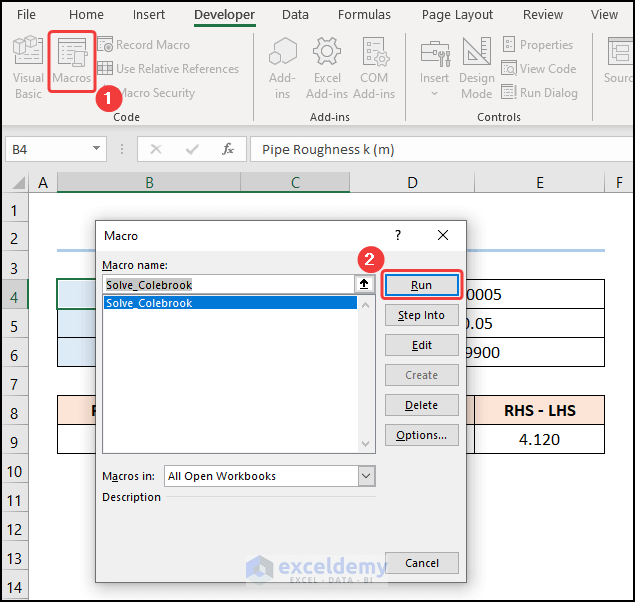
Here’s the result.
Read More: How to Solve Polynomial Equation in Excel
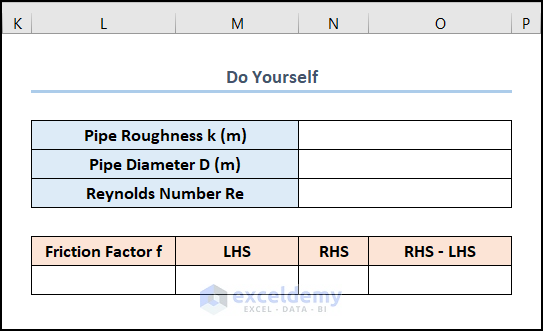
Practice Section
We have provided a Practice section on the right side of each sheet so you can practice.
Download the Practice Workbook
Related Articles
- How to Solve for x in Excel
- How to Solve an Equation for X When Y is Given in Excel
- How to Solve Algebraic Equations with Multiple Variables
- How to Solve System of Equations in Excel
- How to Solve Simultaneous Equations in Excel
- How to Solve Differential Equation in Excel
- How to Solve Exponential Equation in Excel
- How to Solve Cubic Equation in Excel
- How to Solve Quadratic Equation in Excel VBA
<< Go Back to Excel Solve Equation | Excel Solver Examples | Solver in Excel | Learn Excel
Get FREE Advanced Excel Exercises with Solutions!
