A lot of times, we have to move the rows in Excel datasheets to meet certain requirements. This article will show you the simple methods to Move Rows in Excel.
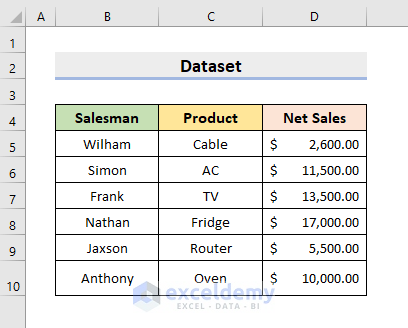
To help you understand better, I’m going to use a sample dataset as an example. The following dataset represents the Salesman, Product, and Net Sales of a company.
1. Applying Cut Command to Move Rows in Excel
The Excel Cut command is a very useful tool and it can be used for Moving Rows. The chosen row to cut can be placed in a blank row or another pre-occupied row but it will simply replace the row.
STEPS:
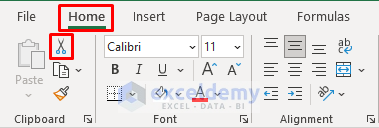
- First of all, select row 5.

- Next, select the Scissor-shaped icon under the Home tab.
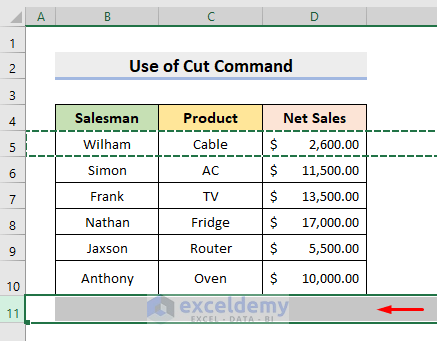
- Then, select row 11 for this example, or any other row where you want to insert the cut row.
- Now, select the Paste under the Home tab.

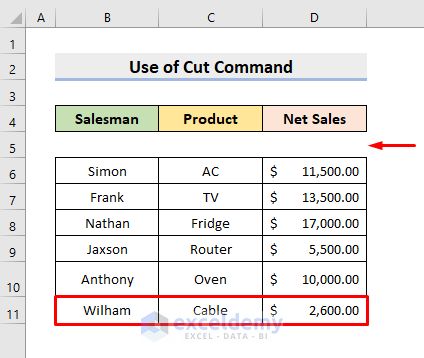
- Finally, you’ll get to see the 5th row being inserted into the 11th row.
Read More: How to Shift Cells Right in Excel (4 Quick Ways)
2. Moving Rows with Excel Copy Command
We can also use the Excel Copy command to Move Rows.
STEPS:
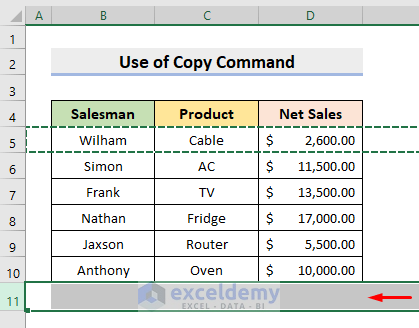
- In the beginning, select row 5.

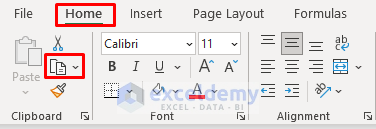
- Next, select the Copy under the Home tab.
- Then, select row 11 or any other row where you want to insert the copied row.
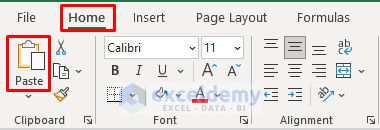
- Now, select Paste under the Home tab.
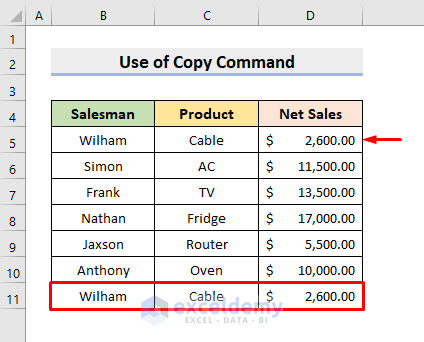
- At last, you’ll see a copy of the 5th row in the 11th row.
Read More: How to Move Rows Up in Excel (2 Quick Methods)
Similar Readings
- How to Move Highlighted Cells in Excel (5 Ways)
- Move One Cell to Right Using VBA in Excel (3 Examples)
- Fix: Excel Cannot Shift Nonblank Cells (4 Methods)
- How to Shift Data Up in Excel (3 Easiest Ways)
- [Fixed!] Unable to Move Cells in Excel (5 Solutions)
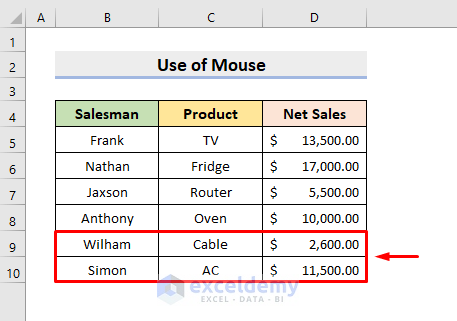
3. Using Mouse to Move Rows
In this method, we’ll simply use the Mouse to move rows in Excel datasheets.
3.1 Move Rows by Replacing Existing Data
Here, we’ll move rows by dragging the mouse and it will replace the pre-occupied contents in our destination.
STEPS:
- First of all, select a row or multiple rows you want to move.
- For this example, select rows 5 and 6.
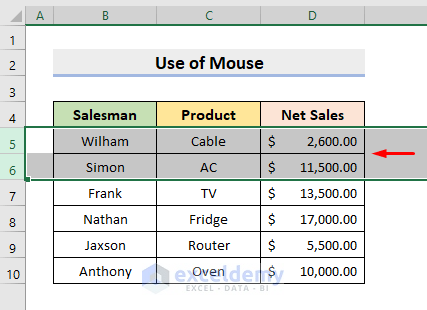
- Next, hover the mouse over the edge of selected rows and the cursor will get changed to an Arrow icon.
- Now, click and drag the rows and place them over rows 9 and 10.
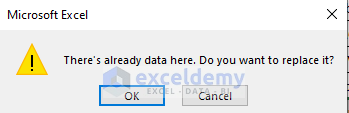
- Then, release the click, and in doing so, a dialogue box will pop out.
- There, press OK.
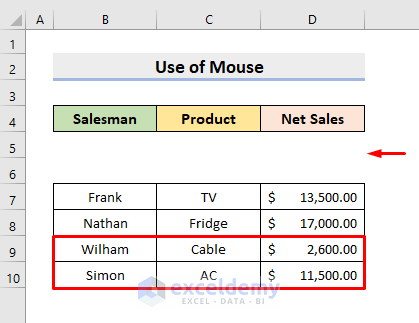
- In the end, the 9th and 10th rows will be replaced by the 5th and 6th rows.
Read More: How to Shift Rows Down in Excel (3 Simple & Easy Ways)
3.2 Move Rows without Losing Data
We can also use the Mouse to move rows but this time, without losing any data from our Excel sheets.
STEPS:
- Firstly, select rows 5 and 6.
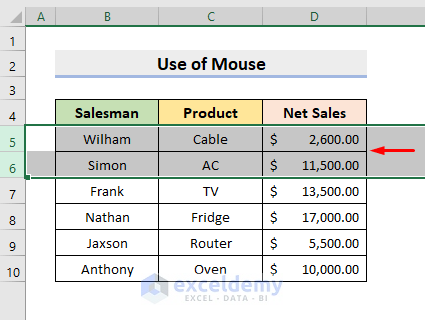
- Next, hover the mouse over the edge of selected rows. The cursor will change to an Arrow icon.
- Now, click and drag the rows and place them over rows 9 and 10.
- This time, press the ‘Shift’ key before releasing the click.
- Finally, the 5th and 6th rows will be placed at the 9th and 10th row respectively and other rows will get rearranged among themselves.
Read More: How to Move Cells without Replacing in Excel (3 Methods)
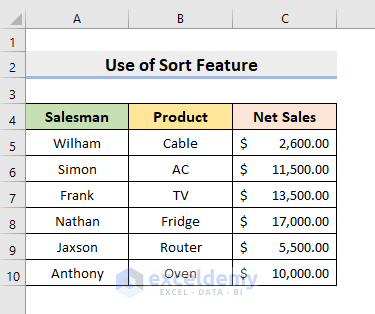
4. Applying Excel Sort Feature to Reorder Rows
We’ll use the Excel Sort feature in our last method to move rows according to our requirements.
STEPS:
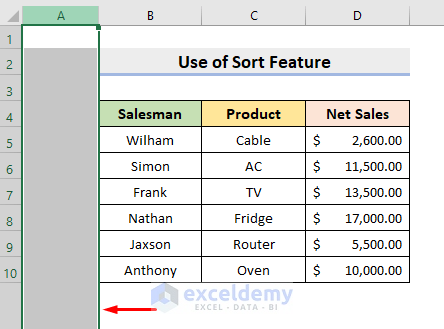
- In the beginning, select the left-most column.
- In this example, select the entire column A.
- Next, Right-Click on the mouse and select Insert from the list.
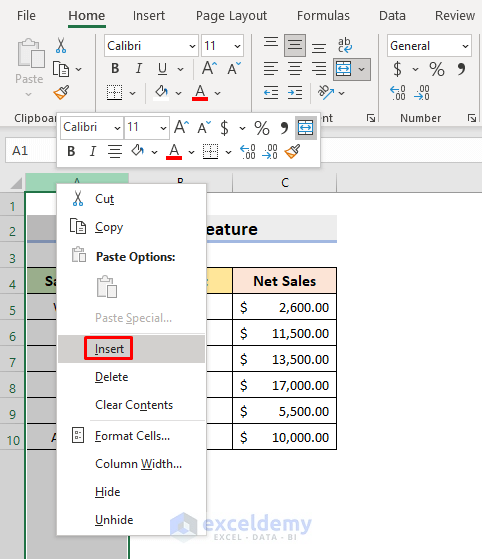
- Here, it’ll simply add a blank column.
- Now, place the Serial Numbers according to your requirement like below.
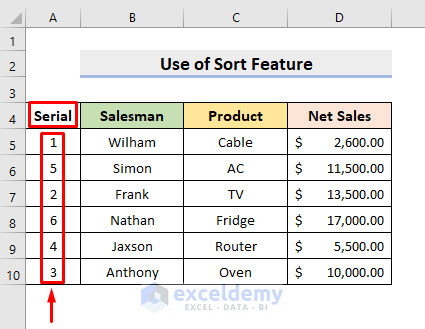
- Then, select the entire range of cells to work with.

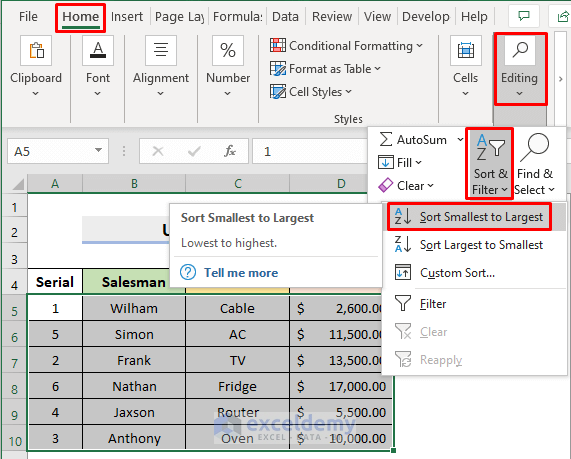
- After that, select Sort Smallest to Largest from Sort & Filter drop-down list in the Editing group under the Home tab.
- Selecting the feature, you’ll see that the rows have rearranged among themselves according to the serial number from smallest to largest.
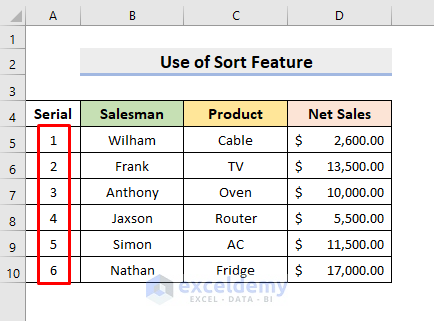
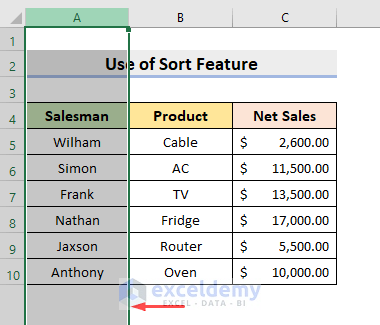
- Now, select the entire column A again and Right-Click on the mouse.
- There, select Delete from the list.
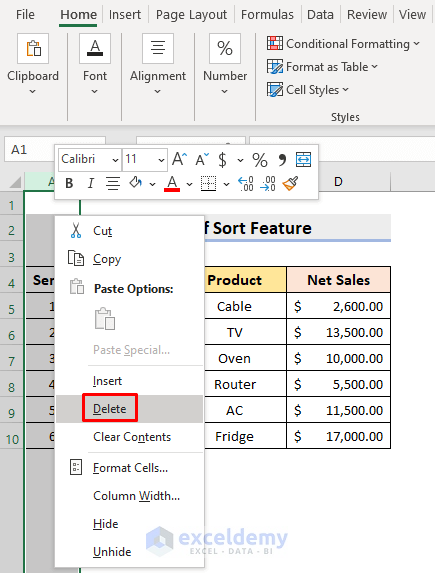
- Finally, you’ll get to see your desired outcome.

Read More: How to Shift Cells Up in Excel (5 Quick Ways)
Download Practice Workbook
Download the following workbook to practice by yourself.
Conclusion
Now you will be able to Move Rows in Excel using the above-described methods. Keep using them and let us know if you have any more ways to do the task. Don’t forget to drop comments, suggestions, or queries if you have any in the comment section below.
Related Articles
- Move and Size with Cells in Excel (3 Examples)
- How to Move Filtered Cells in Excel (3 Easy Methods)
- Excel Formula to Move Data from One Cell to Another
- How to Move Down One Cell Using Excel VBA (with 4 Useful Applications)
- Move Merged Cells in Excel (3 Suitable Ways)

