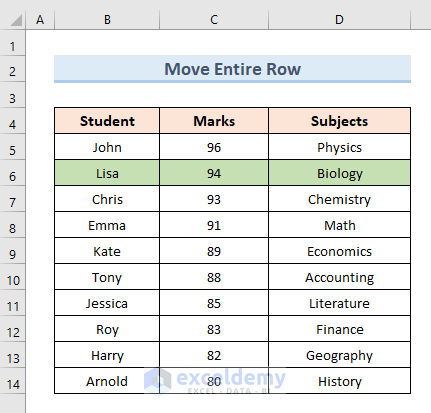
We are going to use the same sample dataset for both methods, which represents Student Names, Marks, and Subjects.
Method 1 – Move Rows Up without Overwriting Existing Rows
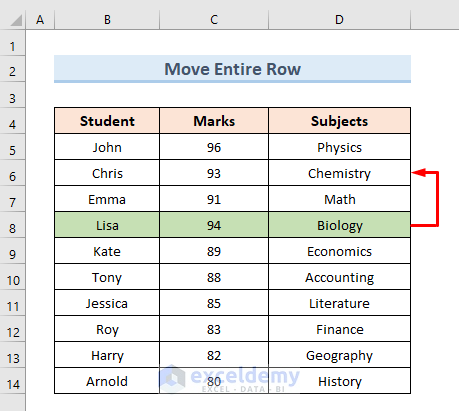
Case 1.1 – Move Up a Single Row in Excel
In this dataset, we will move row 8 to row 6.
Steps:
- Select the entire 8th row.
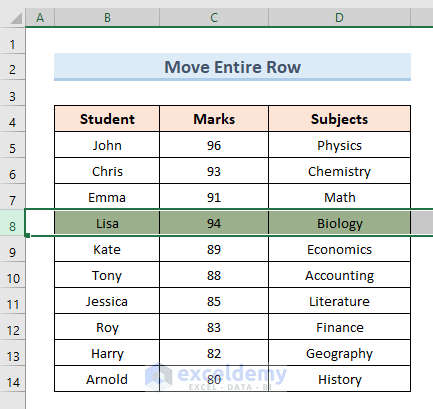
- Move your mouse cursor to the border of the row line. An icon like in the following image will be visible.
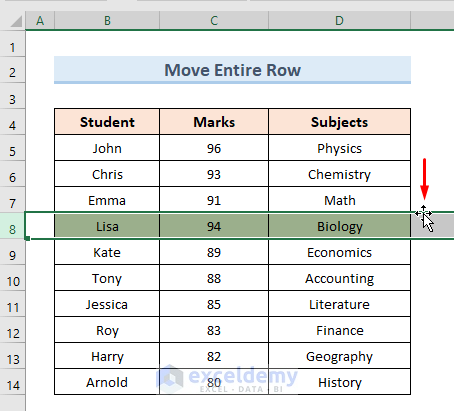
- Hold the Shift key and click on the row border.
- Drag the row to row 6, then release the mouse and Shift.
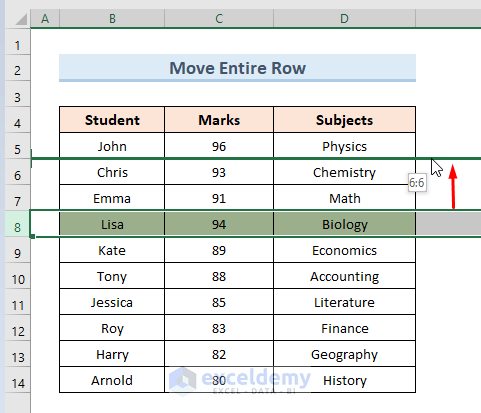
- Row number 8 has been moved to row number 6.
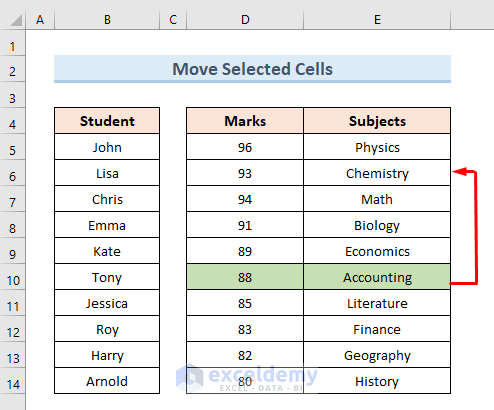
Case 1.2 – Move Up Selected Cells of a Row
We will move the highlighted area of row 10 to row 6.
Steps:
- Select (D10:E10) from row 10.
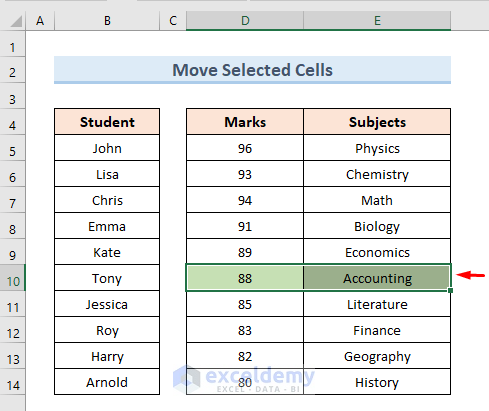
- Hold the Shift key and click on the row border.
- Drag the row to row 6 like the following image, then release the mouse and Shift keys.
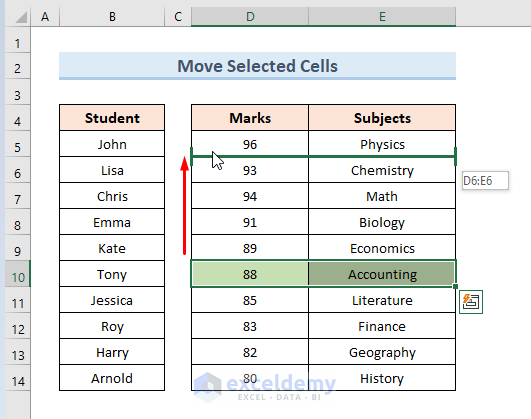
- In row 5, we can see data from row number 10.

Case 1.3 – Select and Move Up Multiple Consecutive Rows
We will move rows 12 to 14 to rows 5 to 7.
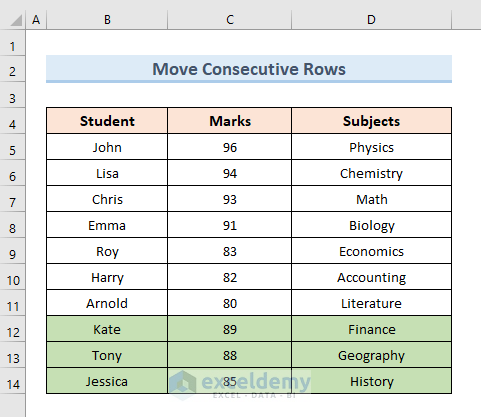
Steps:
- Press Ctrl and select rows 12, 13, and 14 for multiple selections of rows.
- You can also select the rows by clicking and dragging the mouse over the range (B12:D14).
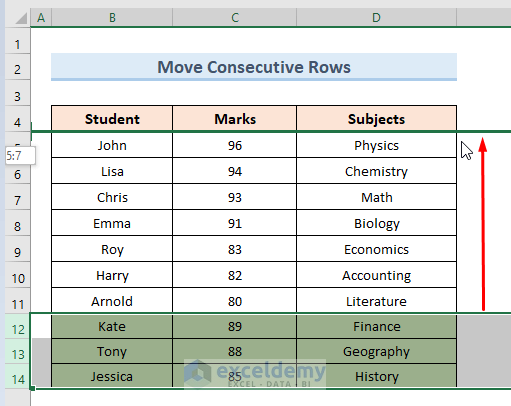
- Hold the Shift key and click on the row border.
- Drag the row to row 5 like the following image and release the keys.
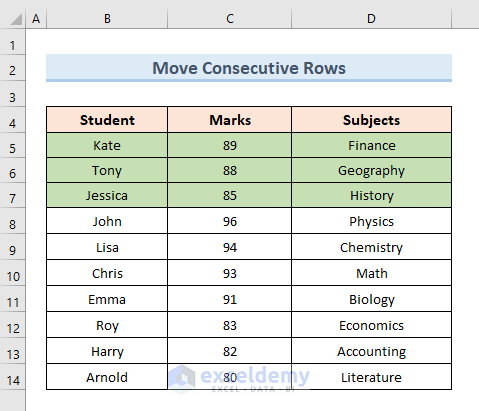
- We can see that row number 10 has been moved to row number 5.
Method 2 – Overwrite Existing Row to Move Rows Up in Excel
Case 2.1 – Move Rows Up in Excel Using Drag and Replace
We will move row 10 to row 7.

Steps:
- Select row number 10.
- Move the mouse cursor to the row border. This will make an icon visible like the following image.

- Click on that icon and drag row number 10 to row number 7.

- A dialog box will appear. Click on OK.

- Row 10 will move to row 7. We can see that this method overwrites existing row values.

Read More: How to Move Rows in Excel Without Replacing
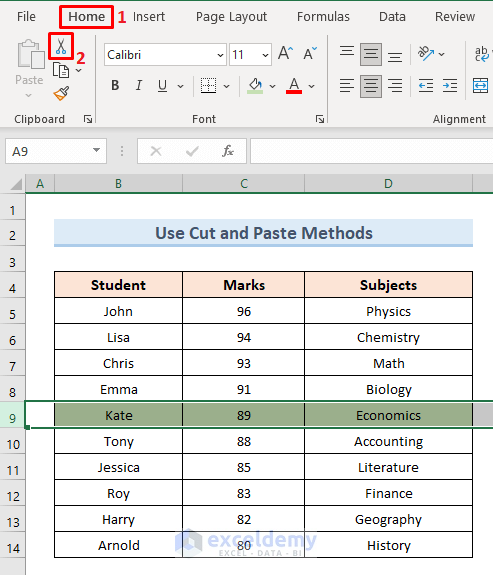
Case 2.2 – Use Cut and Paste to Move Rows Up in Excel
We will move row number 9 to row number 6.
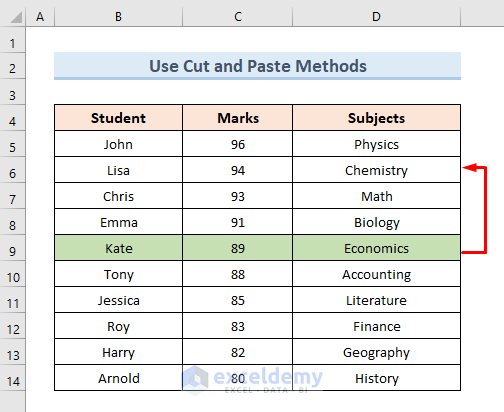
Steps:
- Select row 9.
- Go to the Home tab.
- Select the option Cut or use the keyboard shortcut Ctrl + X.
- Select the destination row. For the example, that is row 6.
- From the Home tab, choose the option Paste.
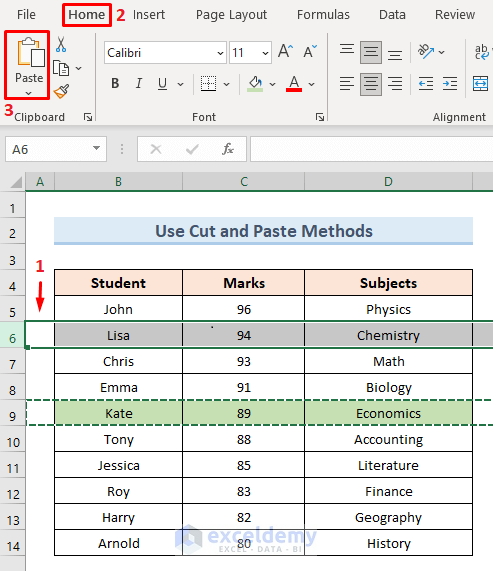
- Row number 9 will move to row number 6. We can see that this method overwrites existing row values.

Read More: How to Move Rows Down in Excel
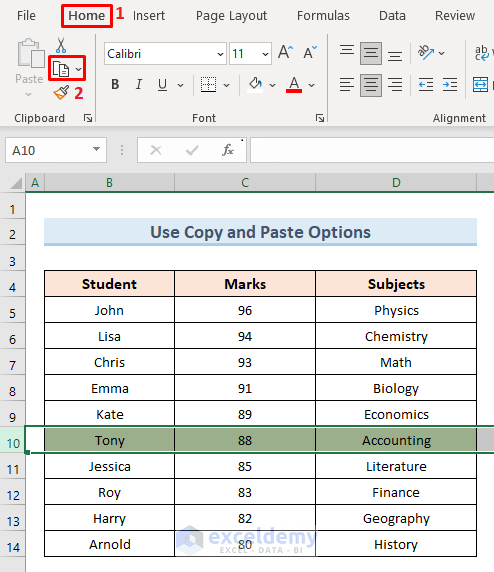
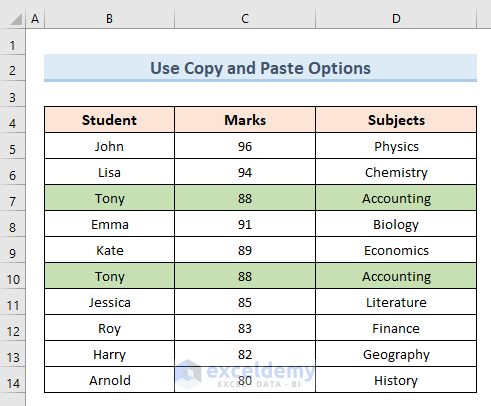
Case 2.3 – Copy and Paste to Move Rows Up in Excel
We will move row 10 to row 7 using the Copy and Paste options.

Steps:
- Select row 10.
- Go to the Home tab and select the option Copy or press Ctrl + C from your keyboard to copy.
- Select row number 7 as the destination row.
- Click on the Paste option.
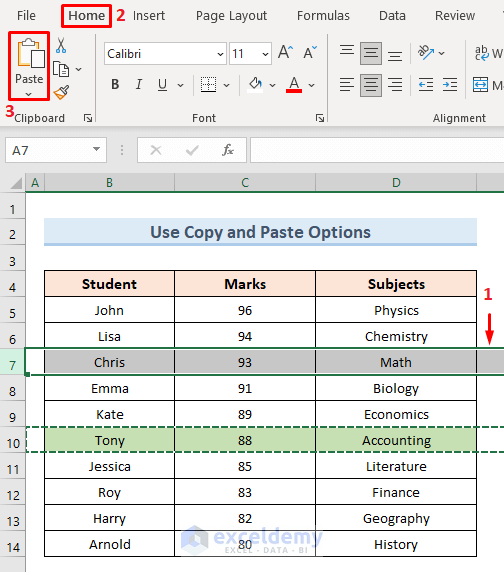
- Row number 10 will move to row number 7. We can see that this method overwrites existing row values but does not remove original row values.
Read More: How to Rearrange Rows in Excel
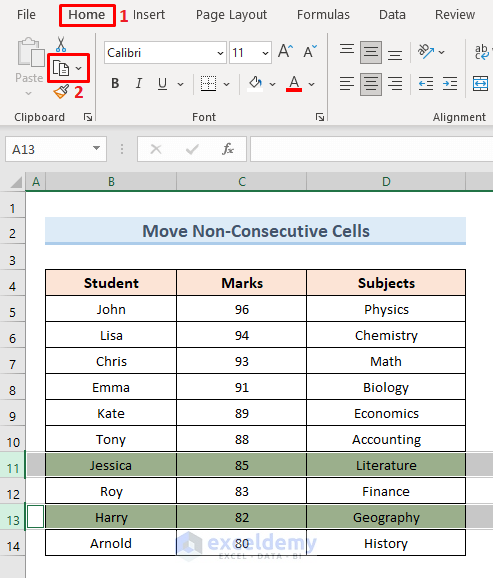
Case 2.4 – Move Multiple Non-Consecutive Rows
We will copy rows 11 and 13. Then we will move them to rows 1 and 2.

Steps:
- Press Ctrl and select rows 11 and 13.
- Go to the Home tab and select the option Copy or press Ctrl + C from your keyboard.
- Select row number 5 as the destination row.
- Click on the Paste option.
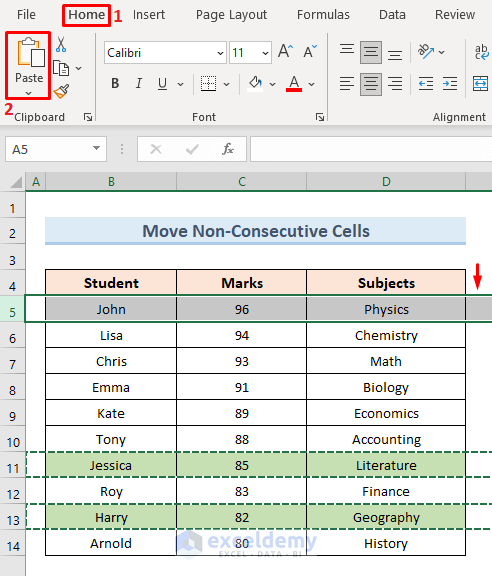
- We can see rows 11 and 13 are moved to rows number 1 and 2.

Download the Practice Workbook
Related Articles
- How to Move Rows in Excel to Columns
- How to Move Every Other Row to Column in Excel
- Move Row to Bottom in Excel If Cell Contains a Value
- How to Move Row to Another Sheet Based on Cell Value in Excel
<< Go Back to Move Rows | Rows in Excel | Learn Excel
Get FREE Advanced Excel Exercises with Solutions!
