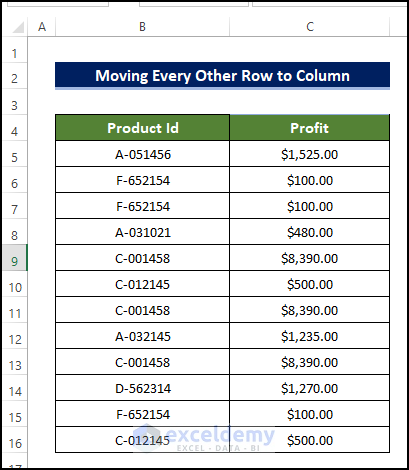
We’ll use a simple dataset containing the product ID and corresponding profits of certain products to move rows to columns.
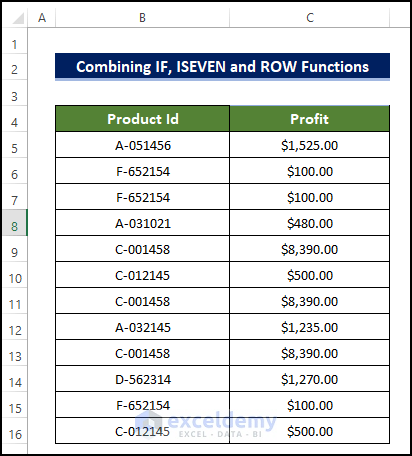
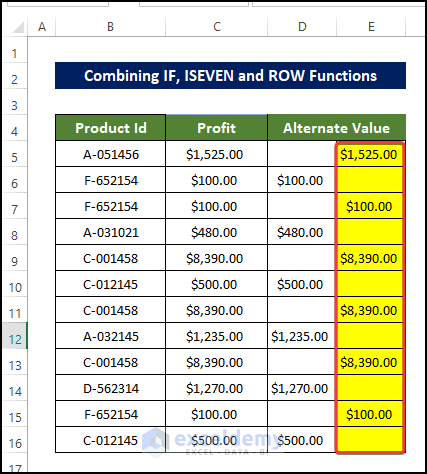
Method 1 – Using IF, ISEVEN, and ROW Functions
We’ll copy the value of every other row in the Profit column to column D.
Steps:
- Select cell D5 and enter the following formula:
=IF(ISEVEN(ROW(C5)),C5,"")
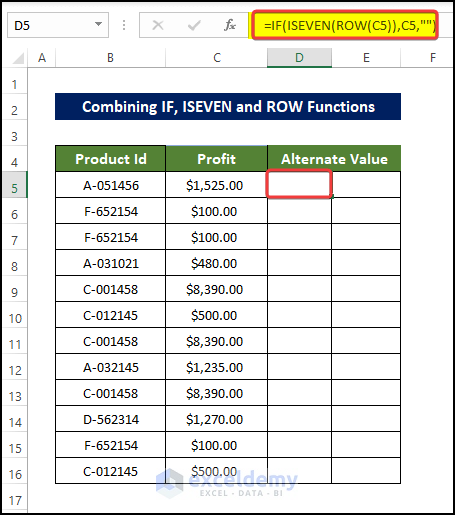
- Drag the Fill Handle to cell D16 to fill the range with every alternating value.

- Select cell E5 and enter the following formula:
=IF(ISEVEN(ROW(C5)),"",C5)
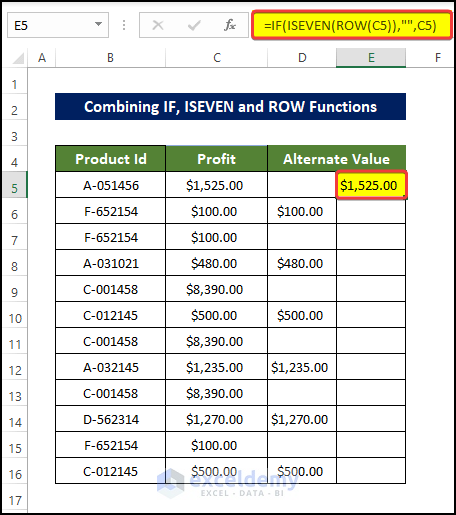
- Drag the Fill Handle to cell E16.
Breakdown of the Formula
✎ IF(ISEVEN(ROW(C5)),C5,””)
- ROW(C5): Returns the row value of the C5 cell address.
- ISEVEN(ROW(C5)): Returns logical TRUE if the output of the ROW function is even. Otherwise, it will return FALSE.
- IF(ISEVEN(ROW(C5)),C5,””): Checks whether the first argument ISEVEN function return is logical TRUE or FALSE. If the first argument is TRUE, then it will execute the second argument, which is cell C5, otherwise, it will return a blank cell.
✎ IF(ISEVEN(ROW(C5)),””,C5)
- ROW(C5): Returns the row value of the C5 cell address.
- ISEVEN(ROW(C5)): Returns logical TRUE if the output of the ROW function is even. Otherwise, it will return FALSE.
- IF(ISEVEN(ROW(C5)),C5,””): Checks whether the first argument ISEVEN function return is logical TRUE or FALSE. If the first argument is TRUE, then it will execute the second argument, which is a blank cell, otherwise, it will return the value of C5.
Read More: How to Move Rows to Columns in Excel
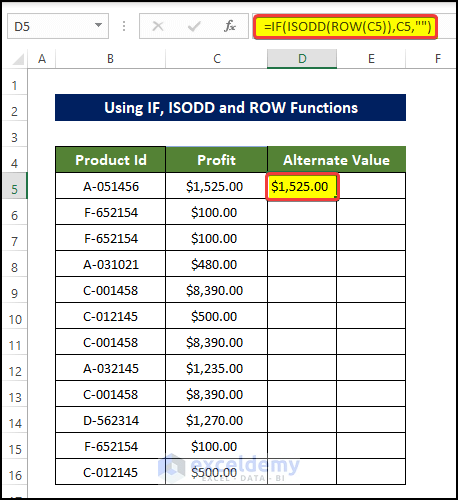
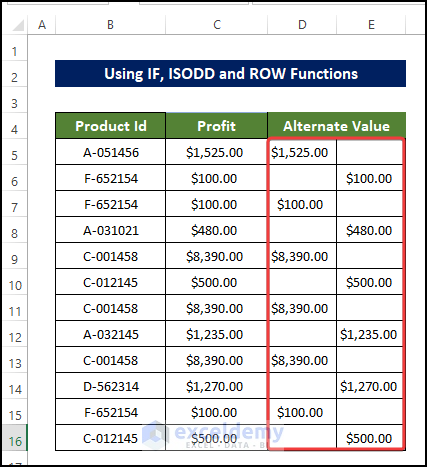
Method 2 – Combining IF, ISODD, and ROW Functions
Steps
- Select cell D5 and enter the following formula:
=IF(ISODD(ROW(C5)),C5,"")
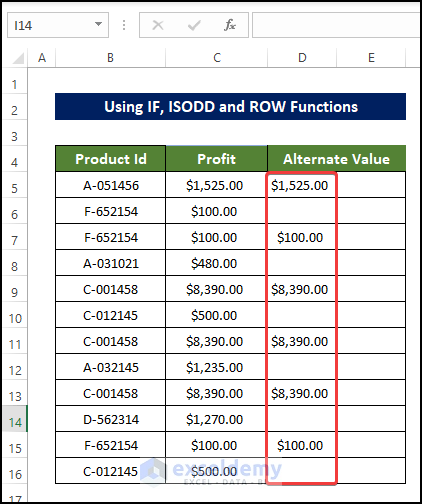
- Drag the Fill Handle to cell D16.
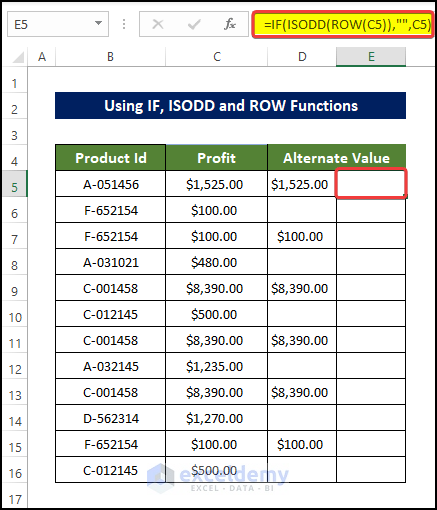
- Select cell E5 and enter the following formula:
=IF(ISODD(ROW(C5)),"",C5)
- Drag the Fill Handle to cell E16.
Breakdown of the Formula
✎ IF(ISODD(ROW(C5)),C5,””)
- ROW(C5): Returns the row value of the C5 cell address.
- ISODD(ROW(C5)): Returns logical TRUE if the output of the ROW function is odd. Otherwise, it will return FALSE.
- IF(ISODD(ROW(C5)),C5,””): Checks whether the first argument ISODD function return is logically TRUE or FALSE. If the first argument is TRUE, then it will execute the second argument, which is cell C5, otherwise, it will return a blank cell.
✎ IF(ISODD(ROW(C5)),””,C5)
- ROW(C5): Returns the row value of the C5 cell address.
- ISODD(ROW(C5)): Returns logical TRUE if the output of the ROW function is odd. Otherwise, it will return FALSE.
- IF(ISODD(ROW(C5)),””, C5): Checks whether the first argument ISODD function return is logically TRUE or FALSE. If the first argument is TRUE, then it will execute the second argument, which is a blank cell, otherwise, it will return C5.
Method 3 – Combining INDEX, ROW, and COLUMN Functions
Steps
- Select cell D5 and enter the following formula:
=INDEX($C:$C,ROW(C2)*2-1.5+COLUMN(C3))

- Drag the Fill Handle in the corner of cell D5 to cell E5.
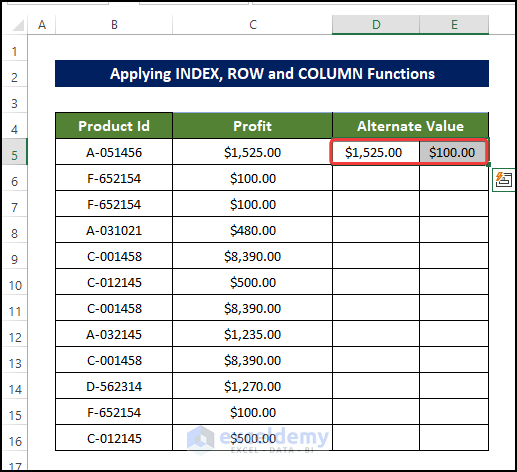
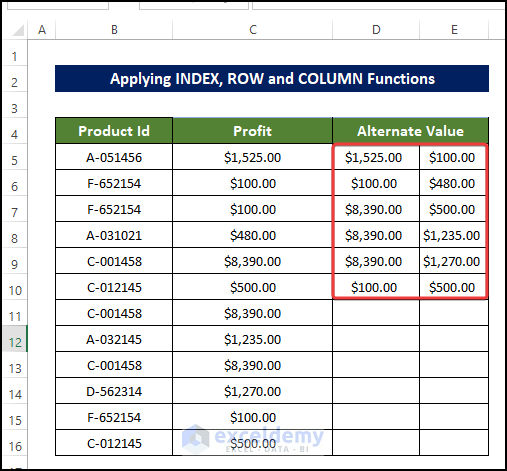
- Then drag the Fill Handle in the corner of cell E5 to cell E16.
Doing this will fill the range of cell D5:D10 with the interval of 2 rows of the Profit column. It will also fill the range of cell E5:E10 with the alternate values to D5:D16.
Breakdown of the Formula
✎ INDEX($C:$C,ROW(C2)*2-1.5+COLUMN(C3))
- ROW(C2): Returns the row value of the C2 cell address.
- COLUMN(C3): Returns the column address value of the C3 cell address.
- INDEX($C:$C,ROW(C2)*2-1.5+COLUMN(C3)): The INDEX function takes column C as the range argument. Then it multiplies the output of the ROW function by 2 and adds the return of the COLUMN function and subtracts 1.5 from it, ensuring the alternate output value.
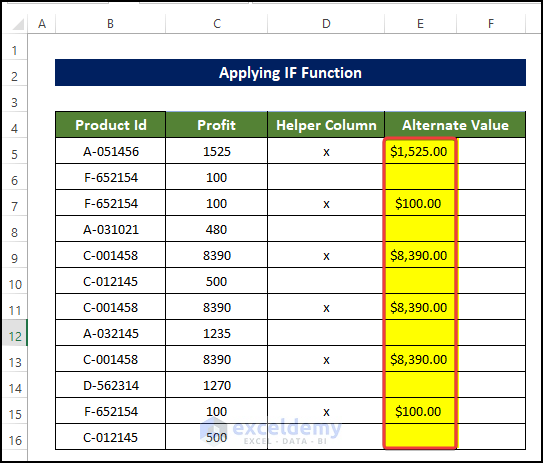
Method 4 – Using the IF Function
Steps
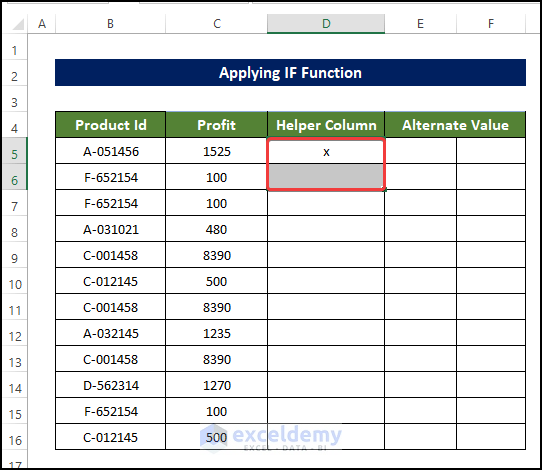
- Select cell D5 and type “x“, which will work as a marker for the row values we want to move.
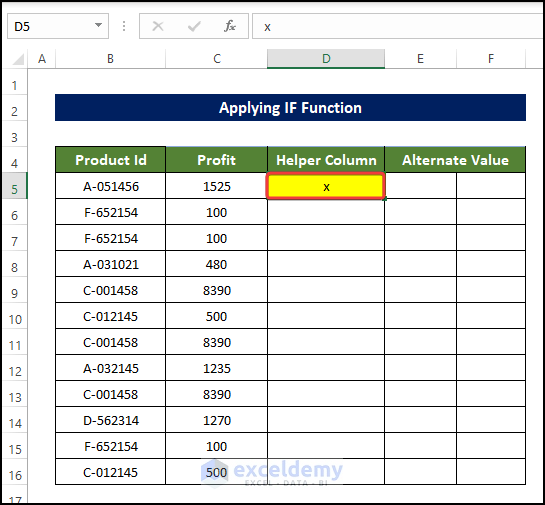
- Keep the next cell D6 below the D5 blank, as we do not want to move this row value.
- Select cells D5 and D6.
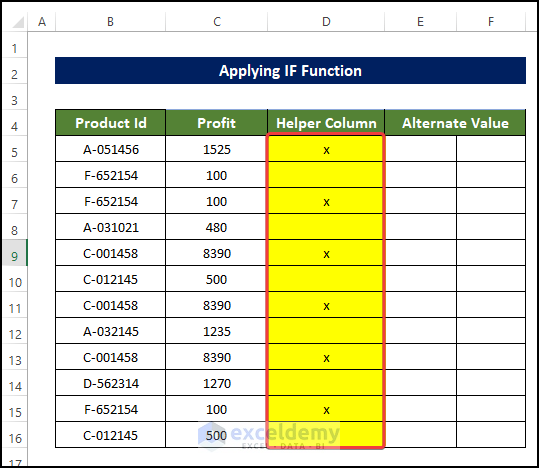
- Drag the Fill Handle to cell D16.
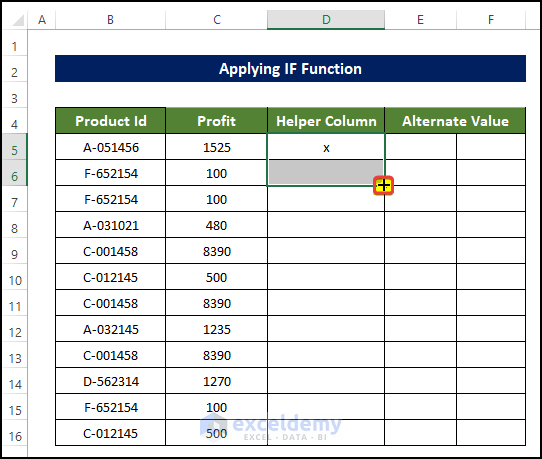
Doing this will fill the range of cells D5:D16 with the x with a one-row interval.
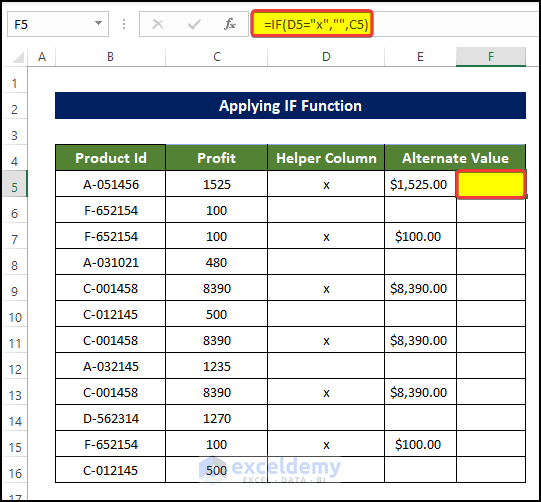
- Select cell E5 and enter the following formula:
=IF(D5="x",C5,"")
This formula returns the first value of the Profit column.
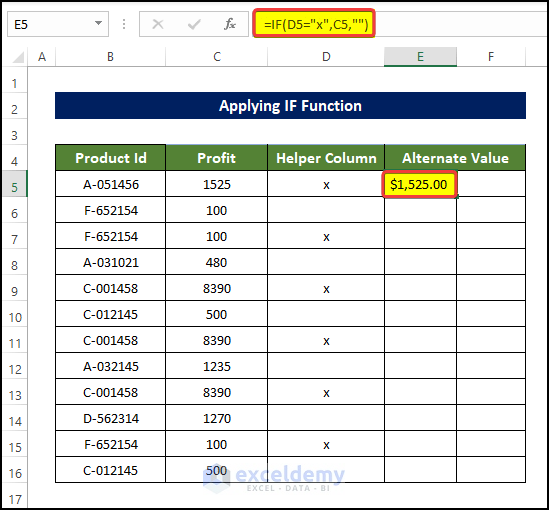
- Drag the Fill Handle to cell E16, which will fill the range of cell E5:E16 with the alternate value after every row.
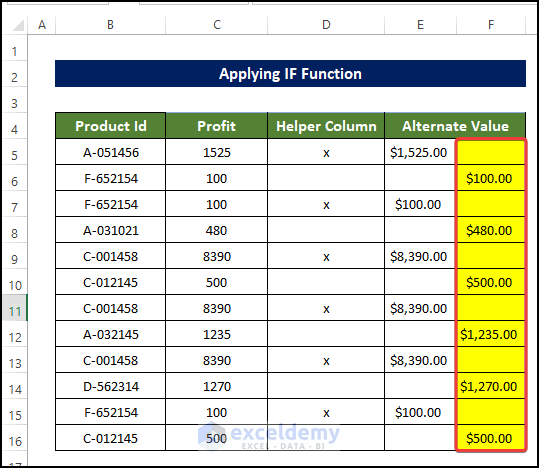
- To enter the alternate values of the range of cells E5:E16, select cell F5 and enter the following formula:
=IF(D5="x","",C5)
- Drag the Fill Handle to cell F16, which will fill the range of cell F5:F16 with the alternate value after every 1 row, starting with the first row as blank.
Read More: Move Row to Bottom in Excel If Cell Contains a Value
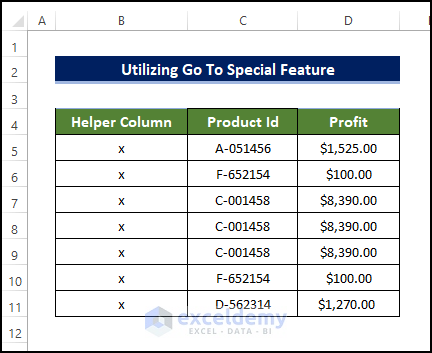
Method 5 – Using the Go To Special Feature
Steps
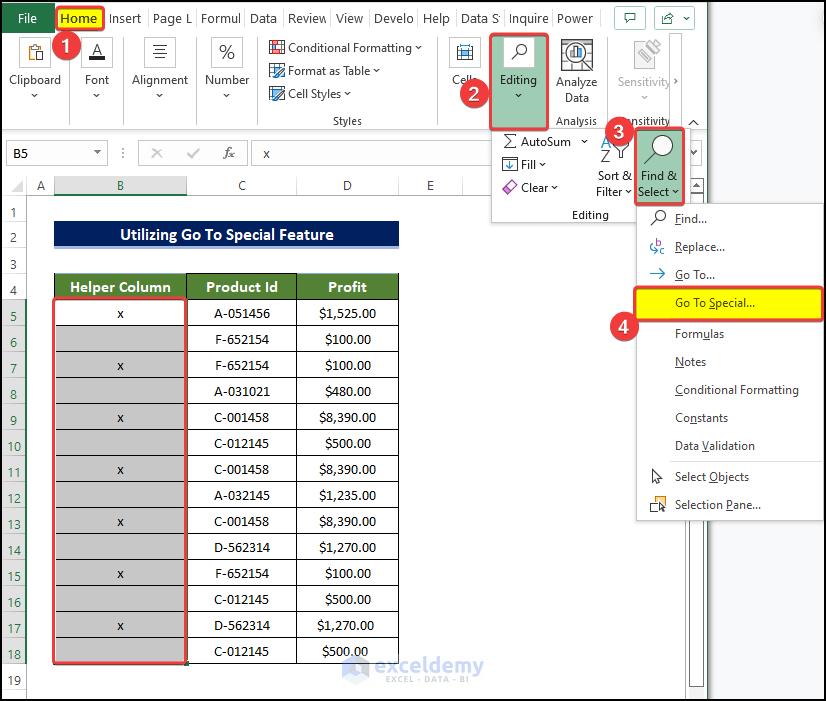
- We need to put “x” in cell B5 and then keep the immediate below cell B6 blank. This x will work as a marker for the row values we want to move.
- Select cells B5 and B6.
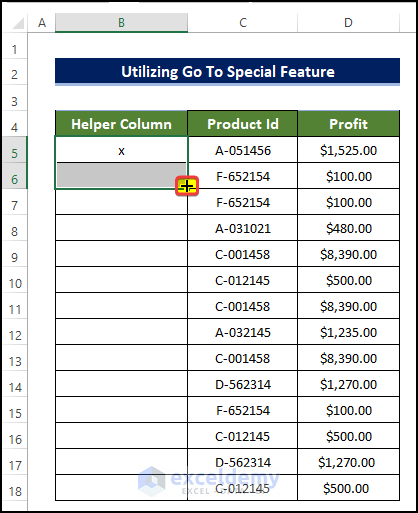
- Drag the Fill Handle to cell B18, which will fill the range of cells B5:B18 with the x with a one-row interval.
- Go to the Home tab, then choose Find & Select and select Go to Special.
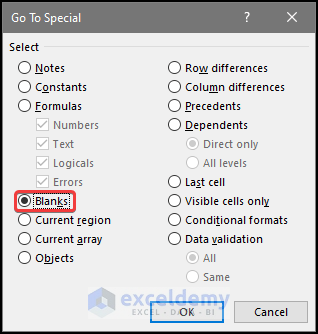
- Select Blanks.
- Click OK.
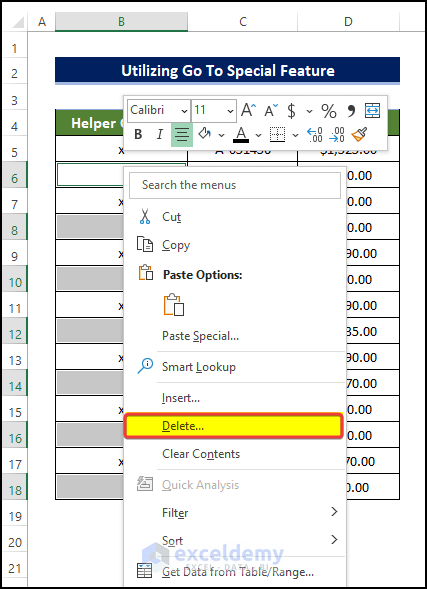
- Select all the Blank cells in the range of cell B5:B18.
- Then select any of those selected Blank cells, and right-click on the mouse.
- From the context menu, click on Delete.
- In the Delete dialog box, select Entire row and click OK.
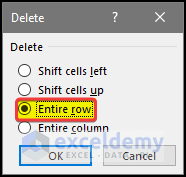
All the rows in the range of cells B5:B18 containing blank cells will be removed.
And as we put x in alternate cells, only the alternate values are now showing.
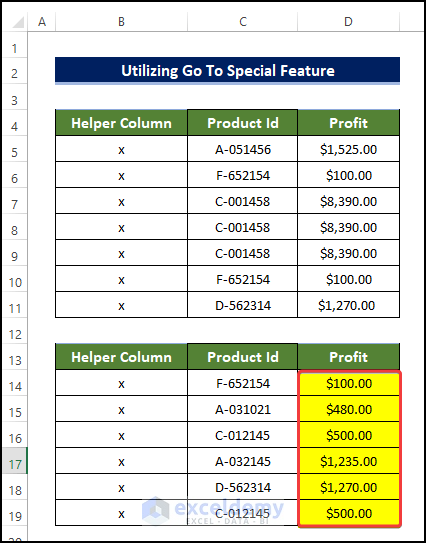
- Repeating the same process, input “x” in the original dataset, but this time keep the first cell B14 blank, and input the “x” in cell B15 immediately below.
- Select cells B14 and B15.
- Drag the Fill Handle again to cell D16, which this will fill the range of cells D14:D25 with the x with a one-row interval.

- To delete those blank cells, either select them manually or use the Go To Special Feature discussed above.
After deleting the blank cells, we get the alternate value of the profit column.
Read More: How to Move Rows Down in Excel
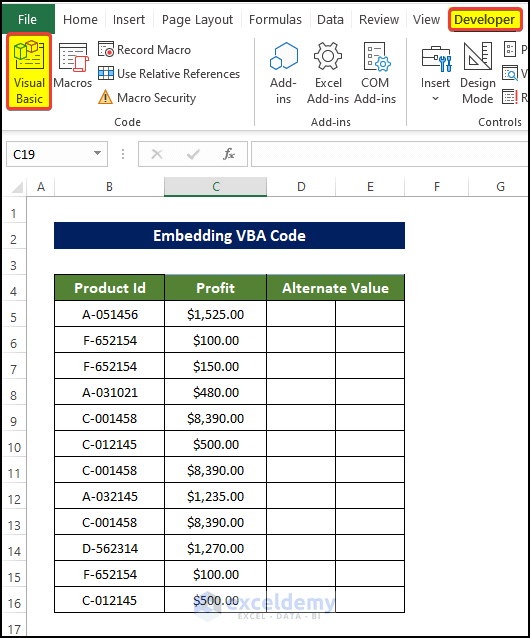
Method 6 – Embedding VBA Code
Steps
- Go to the Developer tab and click on Visual Basic. Alternatively, press Alt + F11.
- If you don’t see the Developer tab, you’ll have to enable it.
A new dialog box opens.
- In that dialog box, click on Insert and select Module.
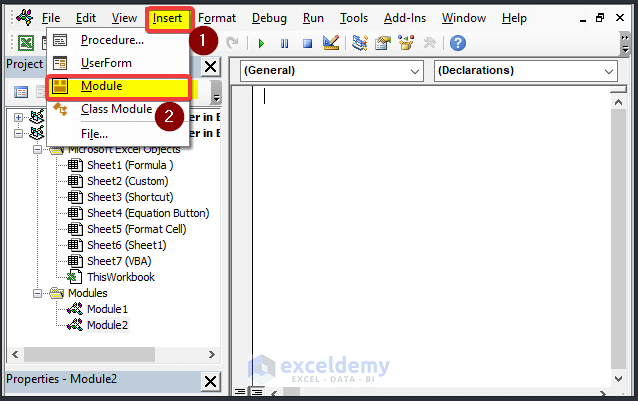
- In the Module editor window, enter the following formula:
Sub Move_every_other_row_to_column()
Dim x As Range
Dim y As Range, z As Range
xTitleId = "Exceldemy"
Set y = Application.Selection
Set y = Application.InputBox("Select Range of Cells as Input:", xTitleId, y.Address, Type:=8)
Set z = Application.InputBox("Output Cell :", xTitleId, Type:=8)
Set y = y.Columns(1)
For i = 1 To y.Rows.Count Step 2
z.Resize(1, 2).Value = Array(y.Cells(i, 1).Value, y.Cells(i + 1, 1).Value)
Set z = z.Offset(1, 0)
Next
End Sub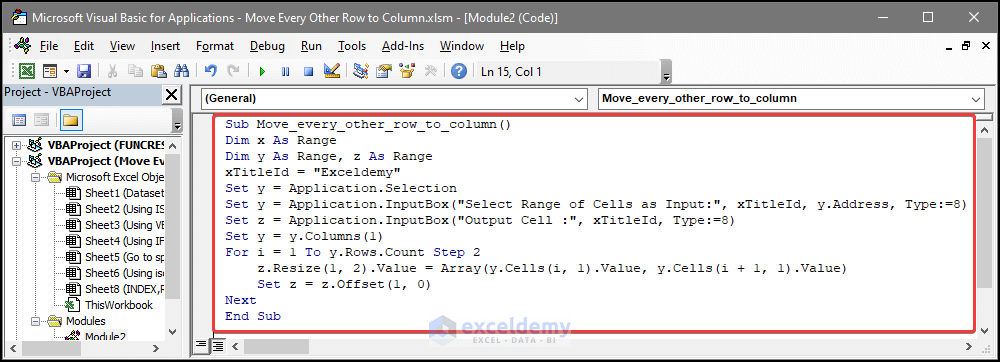
- Close the Module window.
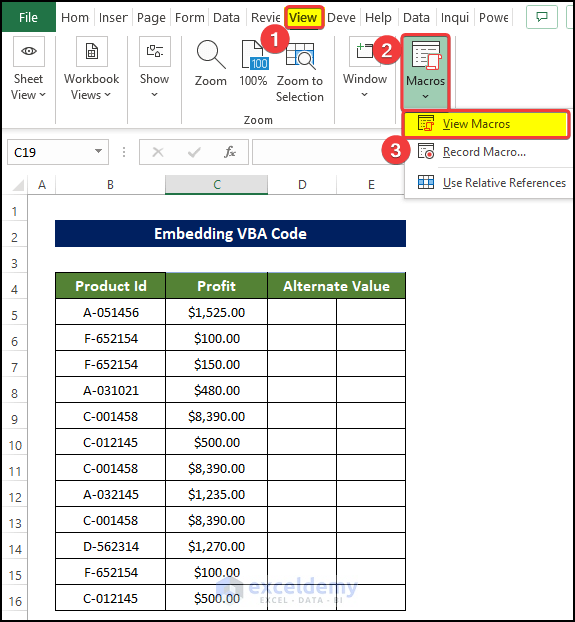
- Go to the View tab > Macros.
- Click on View Macros.
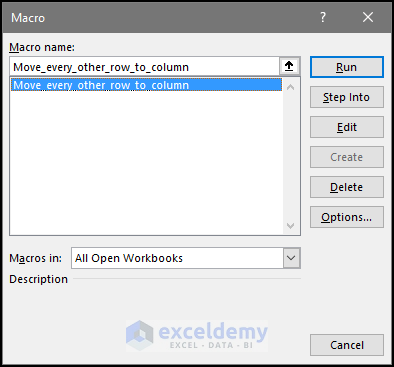
- Select the macros that you just created. The name here is Move_every_other_row_to_column.
- Click Run.
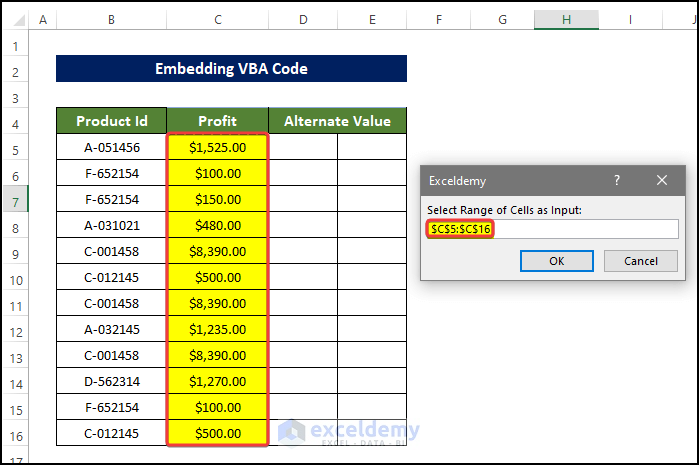
A range box will appear.
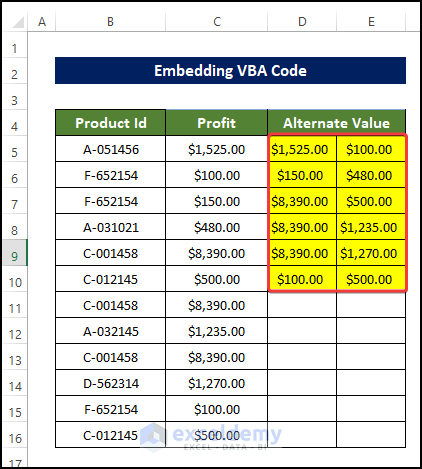
- Select the range of cells that are going to be moved alternately to another cell. We selected $C$5:$C$16.
- Click OK.
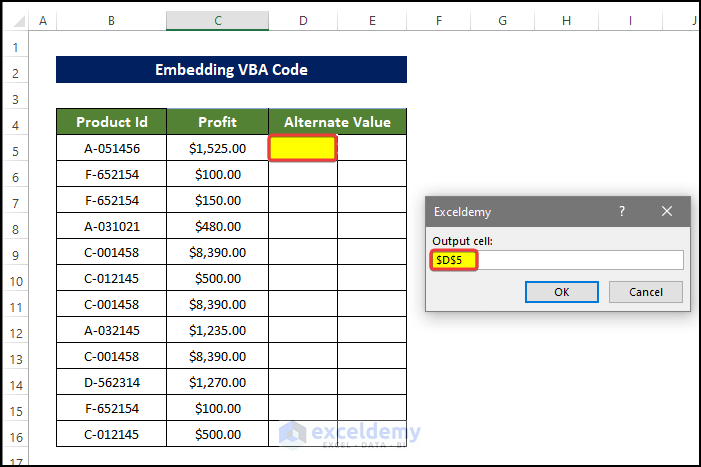
Another range box opens, asking for the output cell address.
- Enter $D$5.
- Click OK.
We have the alternate value of the values in the range of cells D5:E10.
Download the Practice Workbook
Related Articles
- How to Move Rows Up in Excel
- How to Rearrange Rows in Excel
- How to Move Rows in Excel Without Replacing
- How to Move Row to Another Sheet Based on Cell Value in Excel
<< Go Back to Move Rows | Rows in Excel | Learn Excel
Get FREE Advanced Excel Exercises with Solutions!
