Sometimes we need to print a dataset in Excel with a background. We can insert a background to our dataset if we choose the Background option from the Page Layout ribbon. But it does not print the background when you print the dataset. This tutorial will teach you how to print a background in Excel with easy steps. Let’s get started!
Now we will discuss step-by-step procedures to print the background in Excel. For that, we will open a dataset in Excel and insert a suitable background for it. Afterward, we will print the dataset with the background. Follow the steps below to do the task.
Step 1: Adding a Shape as the Background
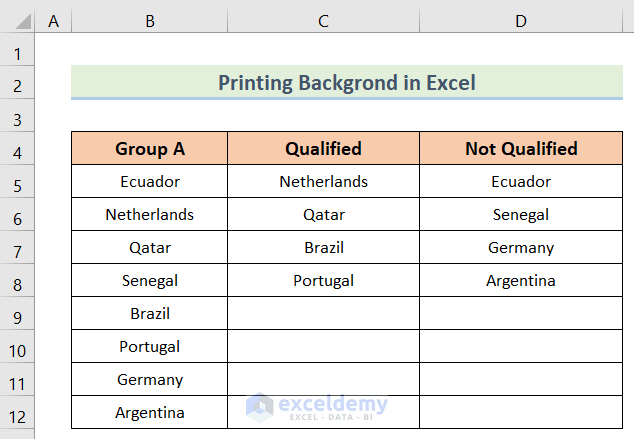
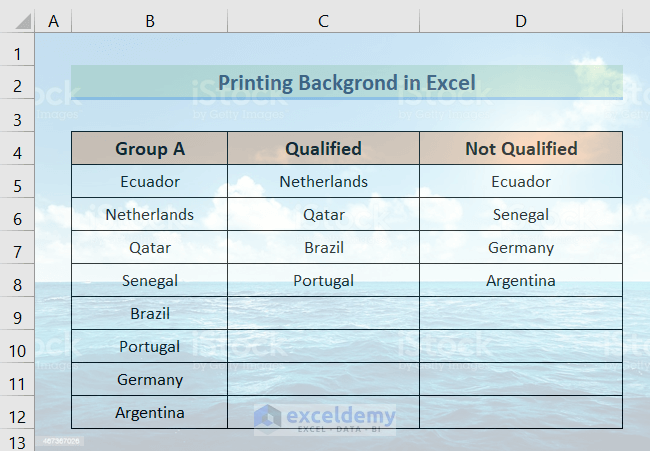
We have chosen the following dataset for our example where we have 8 teams in Group A of a football cup, the Qualified Teams, and the Not Qualified Teams.
- First of all, open the spreadsheet in Excel. You can use any version of Excel of yours. Despite some minor changes, every version has the same options.
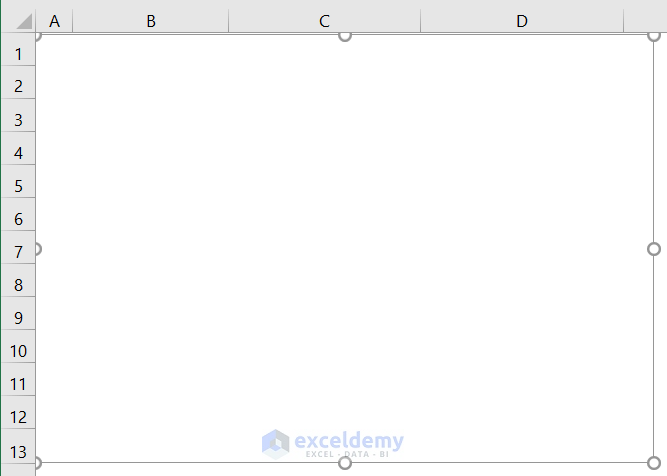
After opening the spreadsheet, we will add a rectangular shape to our dataset which will cover our dataset and the surrounding background.
- In order to add a shape, go to the Insert tab.
- Furthermore, click on Shapes.

- Afterward, select Rectangle from the Shapes.
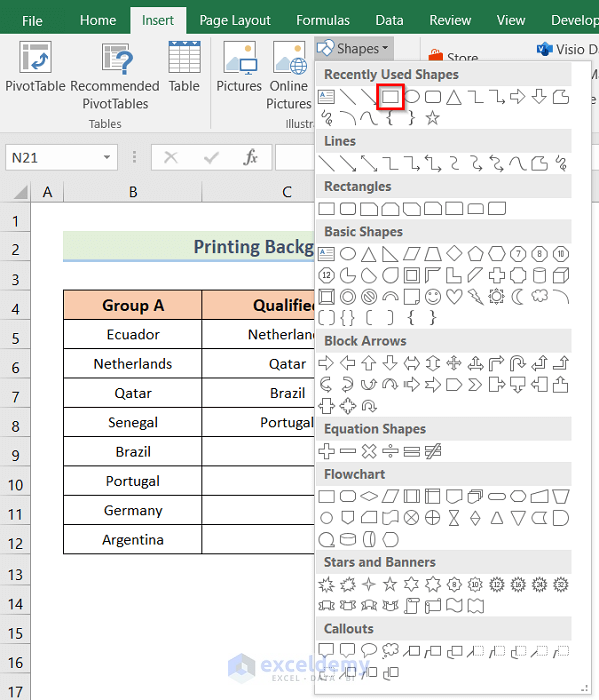
- Now, draw a rectangle using your mouse cursor in such a way so that it covers your dataset and the surrounding background of your dataset like the following picture.
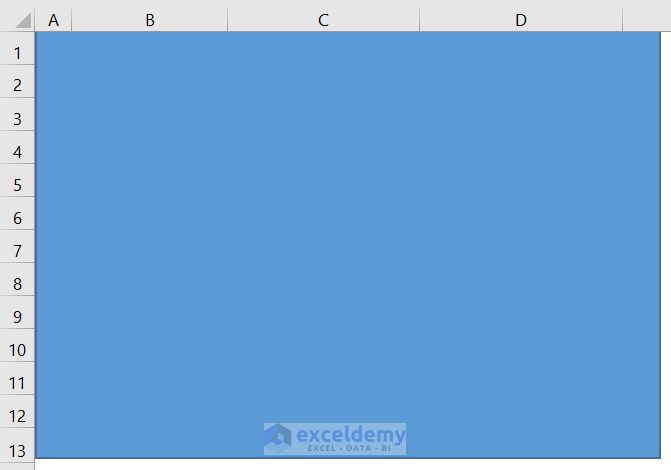
- Now, the Drawing Tools will be active. Click on the Shapes Fill drop-down and select White as your shape fill.
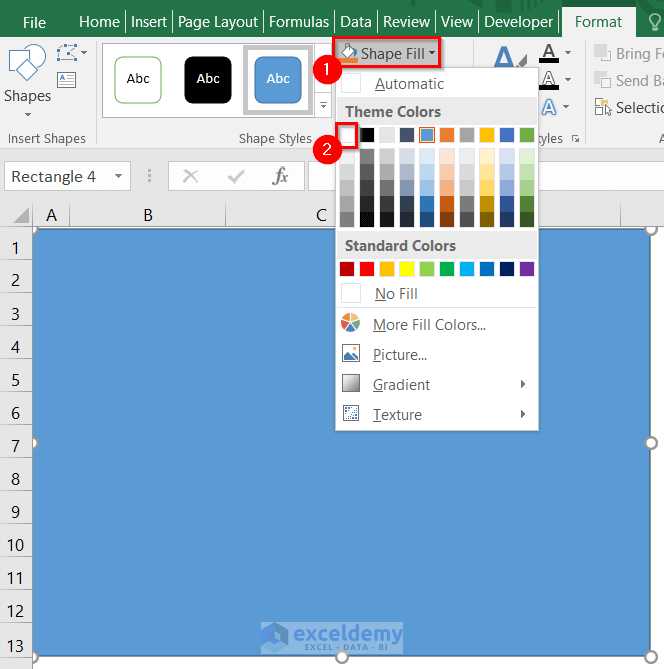
- As a result, you will see an output like the image below where your rectangle will be white-filled.

- Subsequently, click on Shape Outline and select White as your rectangle outline.

- As a consequence, you will see an output like the image below of your rectangle.
Step 2: Use the Picture or Texture Fill Option to Add an Image
Our next task is to insert an image into our rectangle. To do so, follow the steps below.
- Firstly, Right-click on your rectangle and select Format Shape from the context menu.
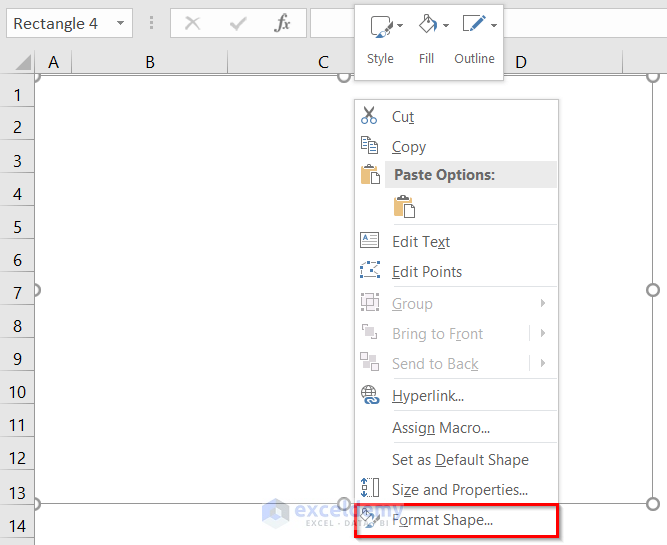
- As a result, a Format Picture dialog box will open at the right-most corner of the screen.
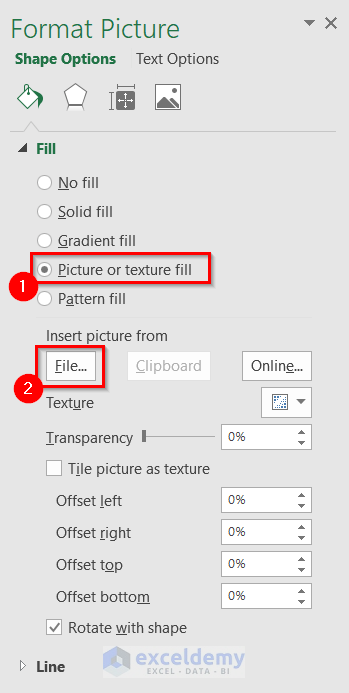
- First, select Picture or texture fill from the Fill option and then click on the File field to insert a picture from your device.
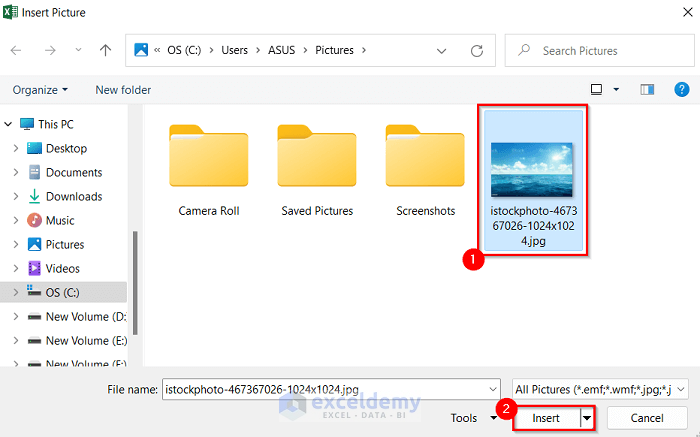
- Next, select the picture from your device and click Insert as shown below.
Step 3: Set Transparency of the Background
When we have finished inserting our picture, our next task is to set the transparency of the picture as the background. Follow the steps below to set the transparency.
- To set the transparency of the picture, go to the Format Picture dialog box and set 75% as the transparency of your picture. You can also set the transparency as you want.
- After that, click on the Close option like the image below.

- Hence, you will see an output like the image below where you will see your inserted picture as the background of your dataset.
Step 4: Printing Background and Dataset with Excel Print Option
Now it is time for the final step which is printing the dataset. In order to print the dataset, follow the steps below.
- First, go to the File option.
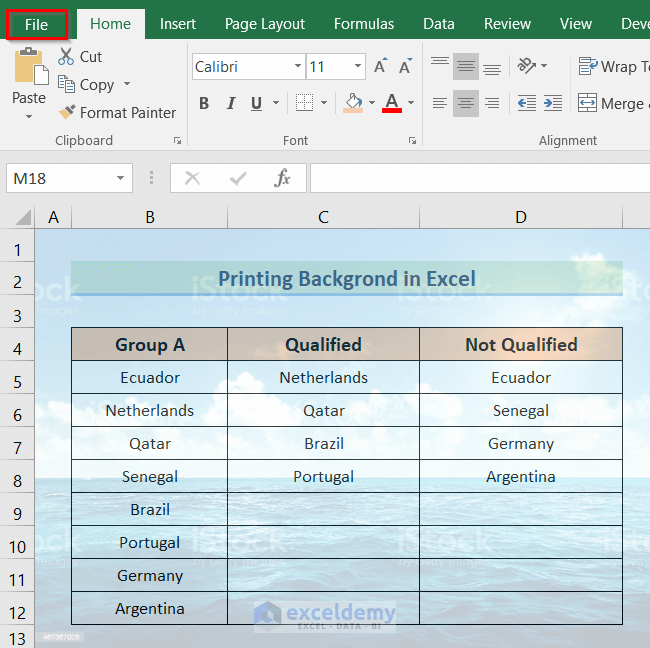
- Afterward, click on Print.

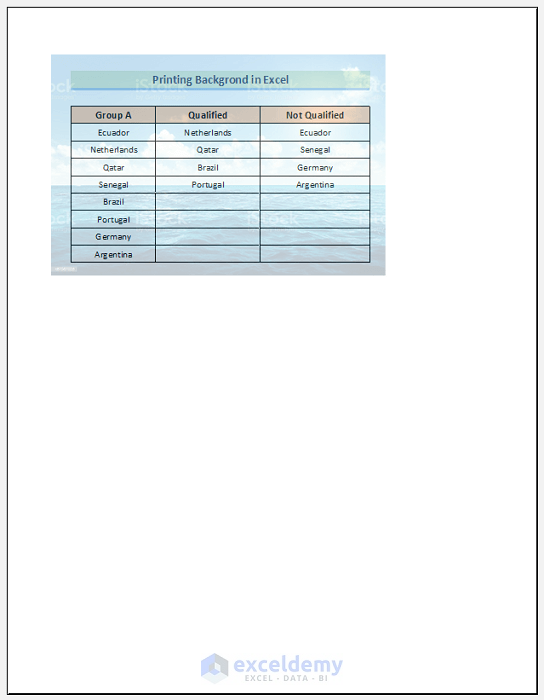
- Finally, we will see a print preview like the image below where it will print our dataset keeping our inserted picture as the background.
Things to Remember
- In different versions of Microsoft Excel like Excel 2010, Excel 2013, or in the latest versions, the Format Picture dialog box might be slightly different.
- If we choose the Background option from the Page Layout ribbon, we can insert a background to our dataset. But it will not print the background when you print the dataset.
- Increasing the transparency of the inserted picture will make the background more like a watermark.
Download Practice Workbook
You can download the Excel workbook from here.
Conclusion
Hence, follow the above-described steps. Thus, you can easily learn how to print background in Excel. Hope this will be helpful. Don’t forget to drop your comments, suggestions, or queries in the comment section below.
Related Articles
<< Go Back to Print in Excel | Learn Excel
Get FREE Advanced Excel Exercises with Solutions!
