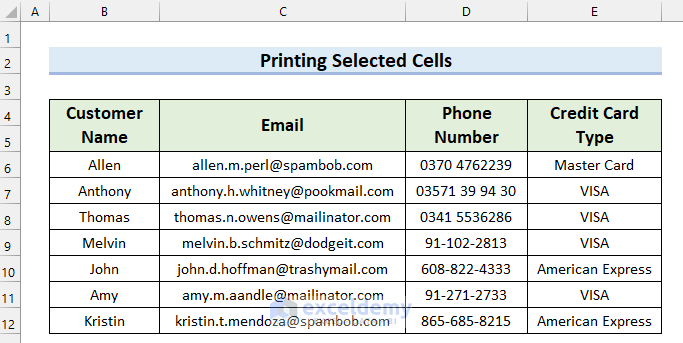
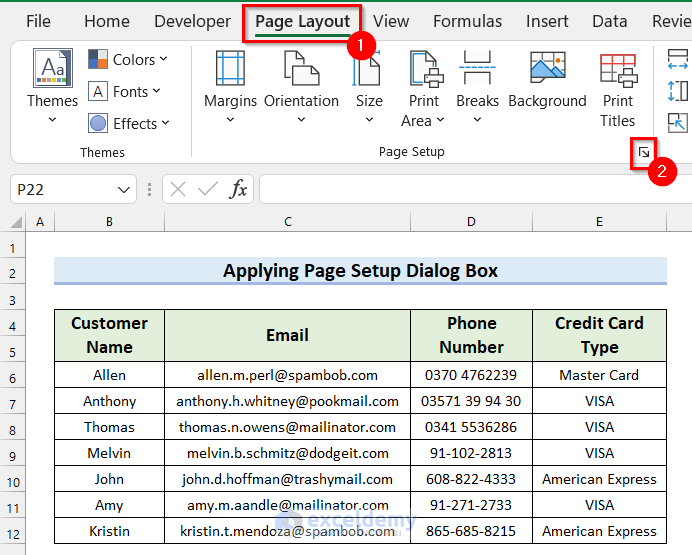
The dataset showcases 4 columns: Customer Name, Email, Phone Number, and Credit Card Type.
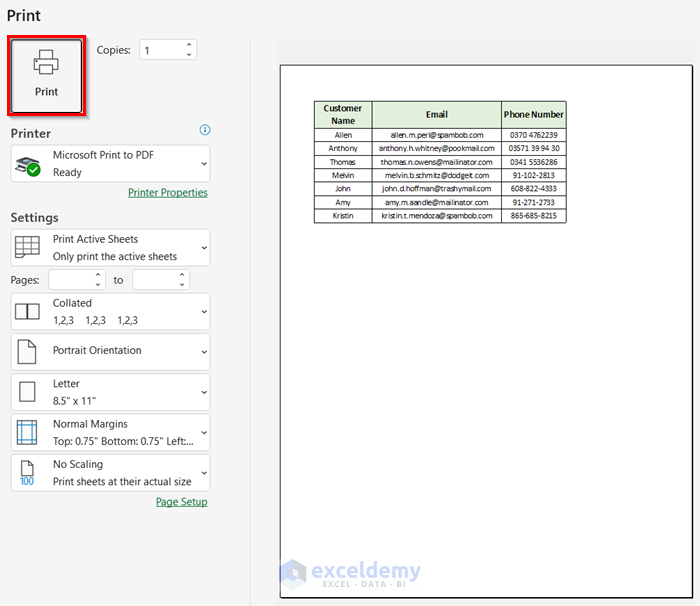
Method 1 – Use the Print Option to Print Selected Cells
Steps:
- Select the range of cells you want to print, here Customer Name, Address and Email.
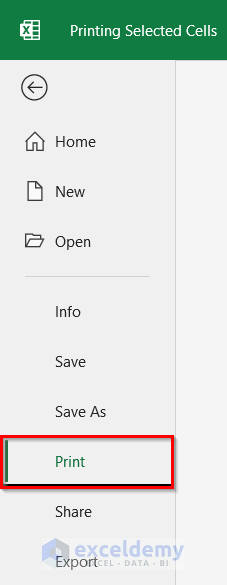
- Click the File tab.
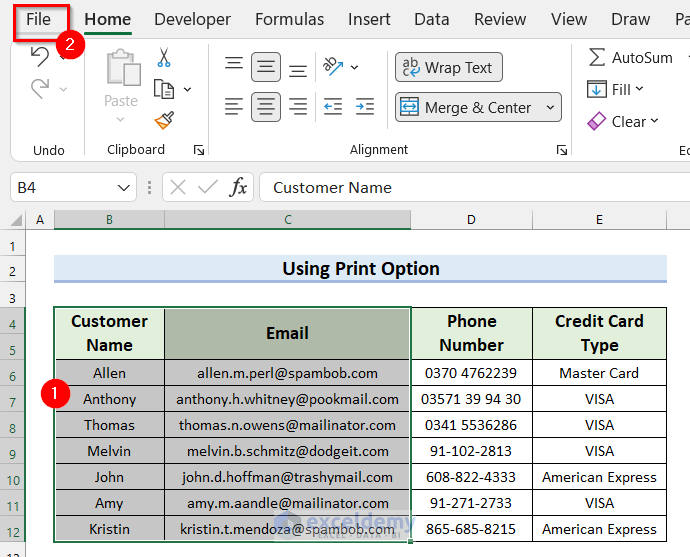
- Select Print or press Ctrl + P.
- In Excel Print Settings, click settings.
- Select Print Selection.

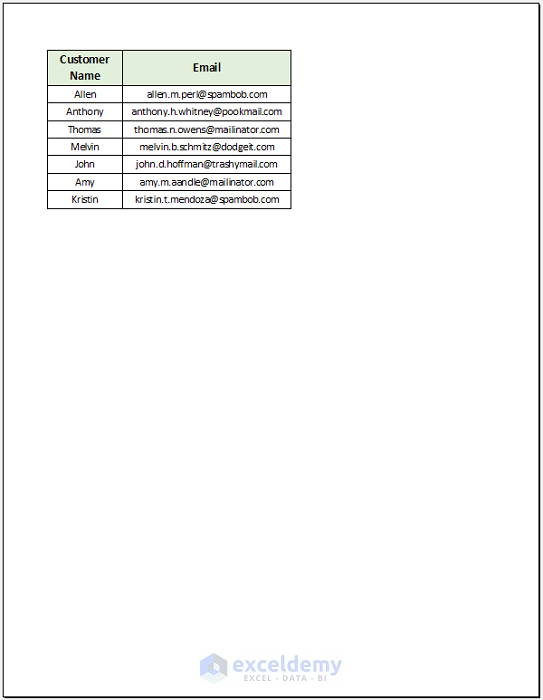
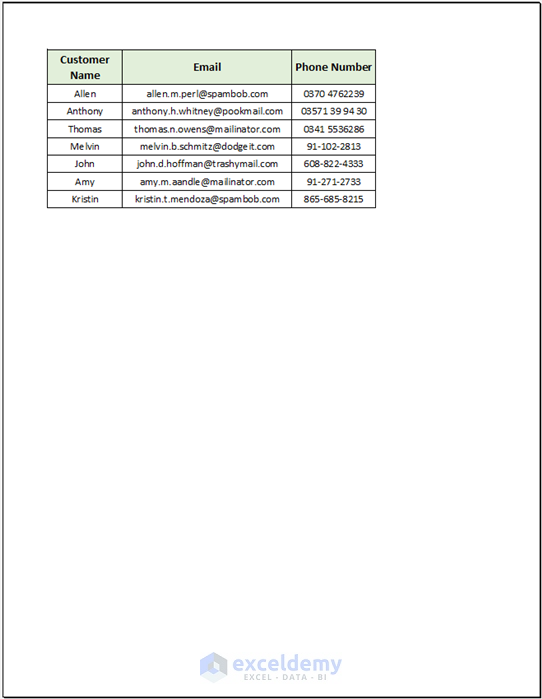
- The preview shows the selected cells.
- Click “Print”.

Method 2 – Use the Print Area Command in Excel
Steps:
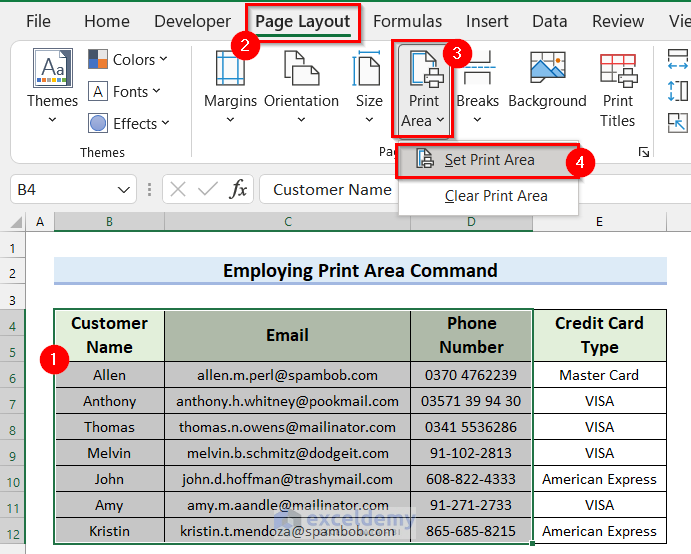
- Select the cells.
- In the Page Layout tab, click Print Area.
- Click Set Print Area.
- Press Ctrl + P.
- The preview shows the selected cells.
- Click “Print”.
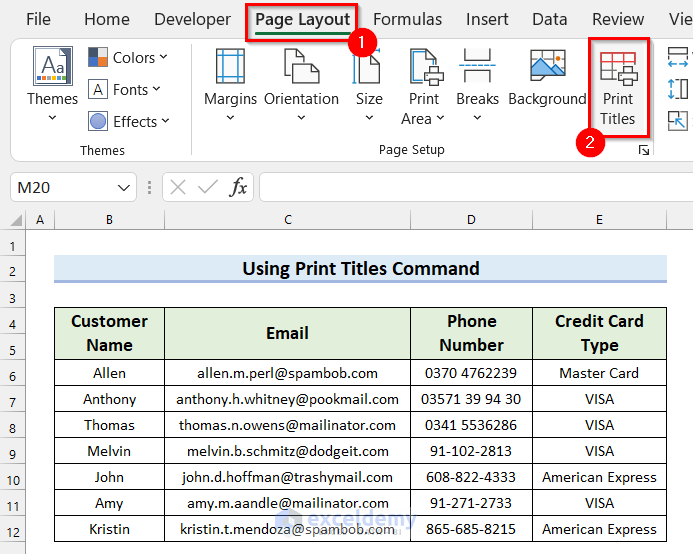
Method 3 – Print Selected Cells in Excel using the Print Titles Command
Steps:
- Click Page Layout.
- Click Print Titles.
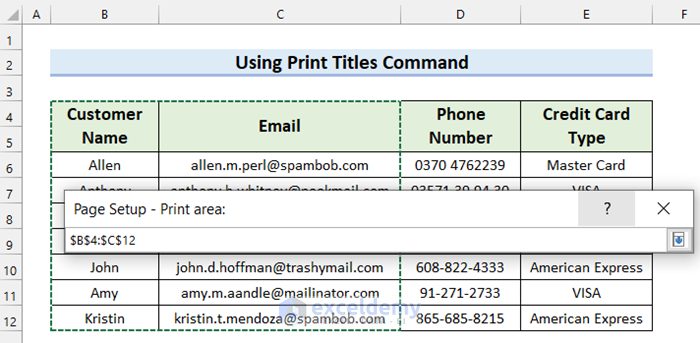
- In the dialog box, enter the cell range in Print area.
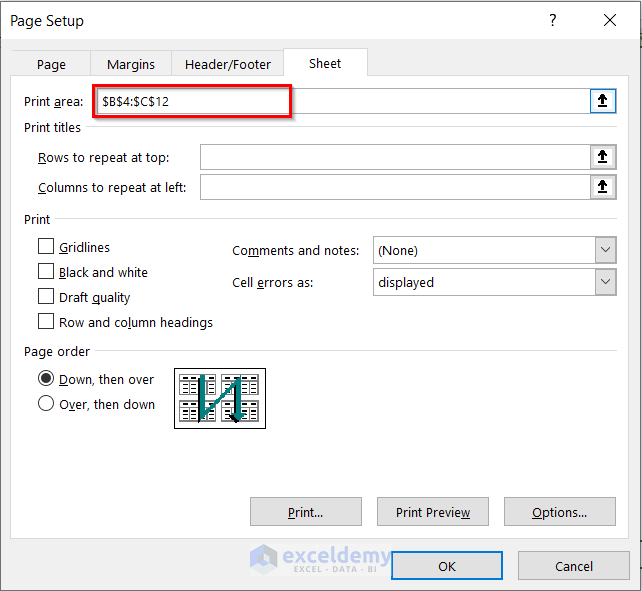
- In the Page Setup – Print area dialog box, select the range you want to print.
- Press Enter or click the arrow.
- Check the options you want to use.
- Click Print to print the selection or click OK to save (here, OK).
- Press Ctrl + P to see the print preview.
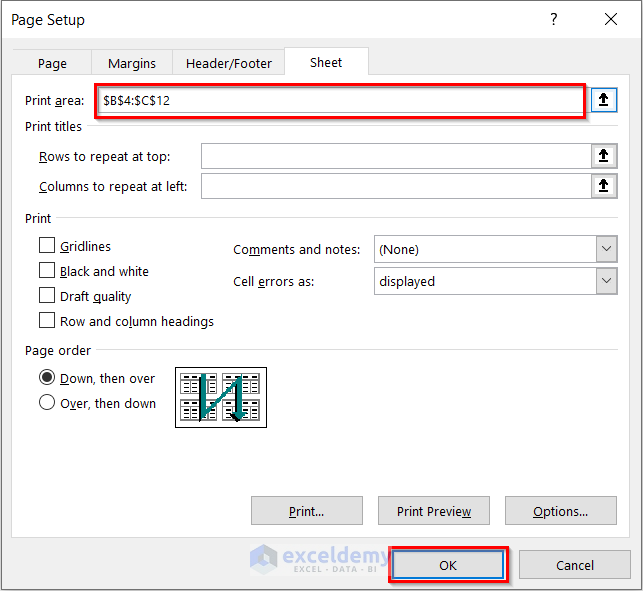
Method 4 – Using the Page Setup Dialog Box to Print a Selection of Cells
Steps:
- Go to the Page Layout tab.
- In the dialog box, select Page Setup.
The Page Setup dialog box will open.
- Go to the Sheet tab.
- Select the Print Area.
- Click OK.
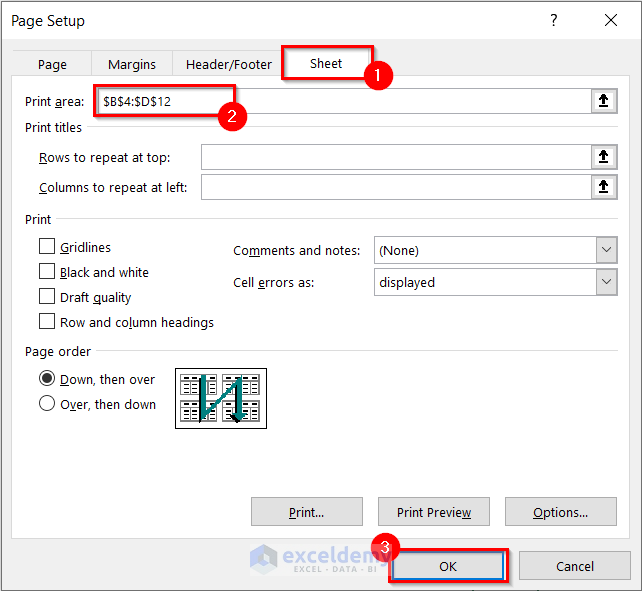
- Press Ctrl + P to see the print preview.
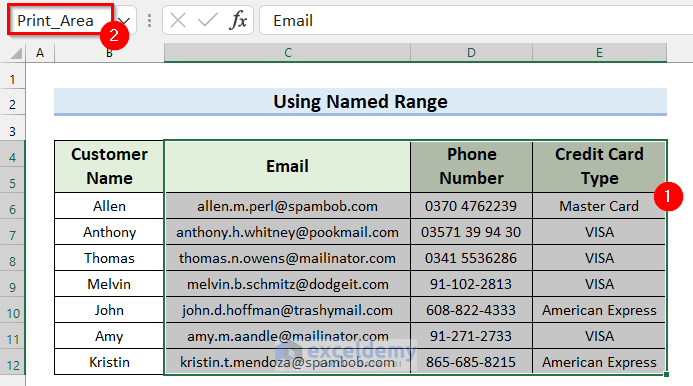
Method 5 – Setting the Print Area by Using a Named Range in Excel
Steps:
- Select the cells.
- In the Name Box, enter Print_Area.
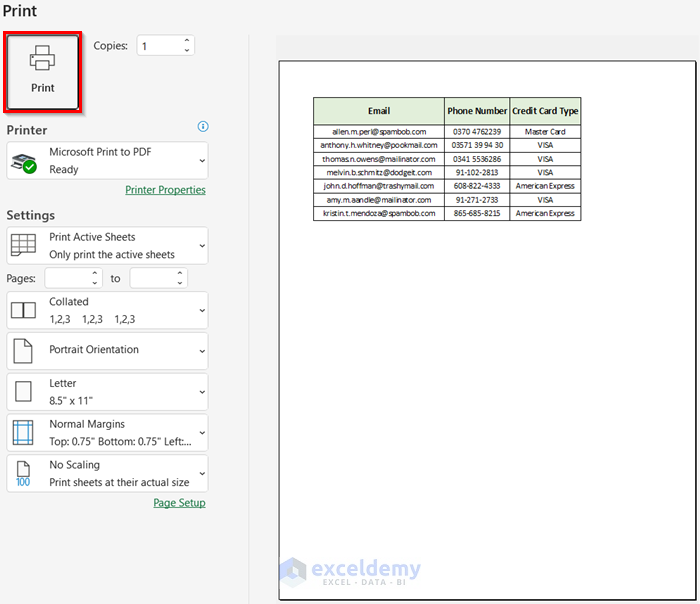
- Press Ctrl + P to see the print preview.
- Click “Print”.
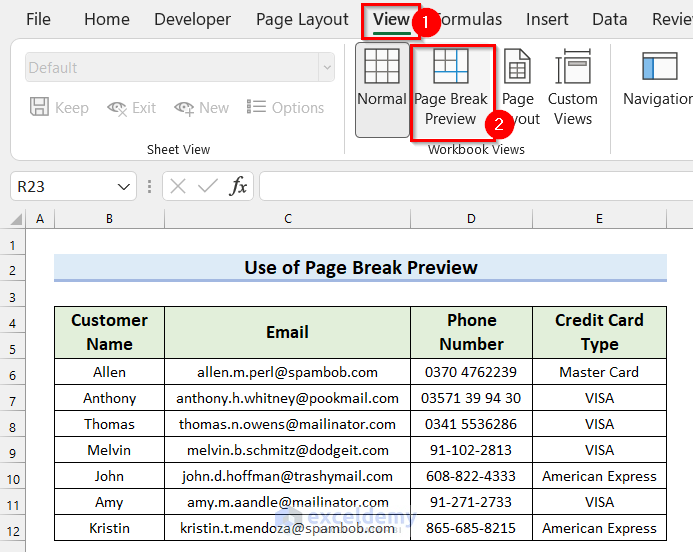
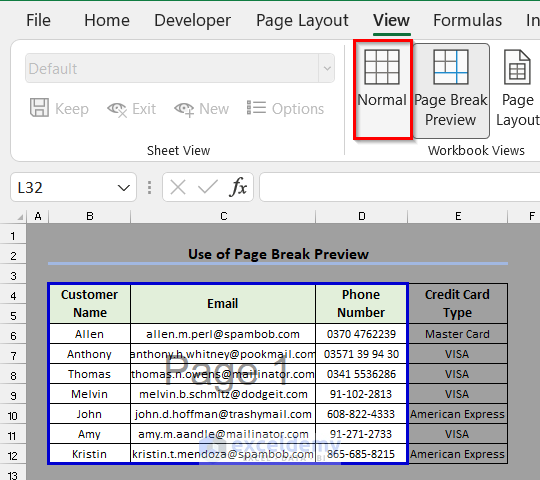
Method 6 – Using the Page Break Preview to Print Selected Cells
Steps:
- Go to the View tab.
- Select Page Break Preview.
- Click the border and drag as shown below.
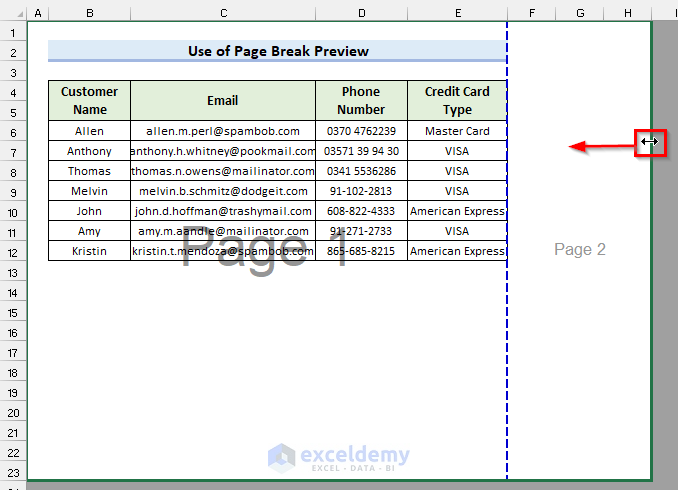
The border was moved.
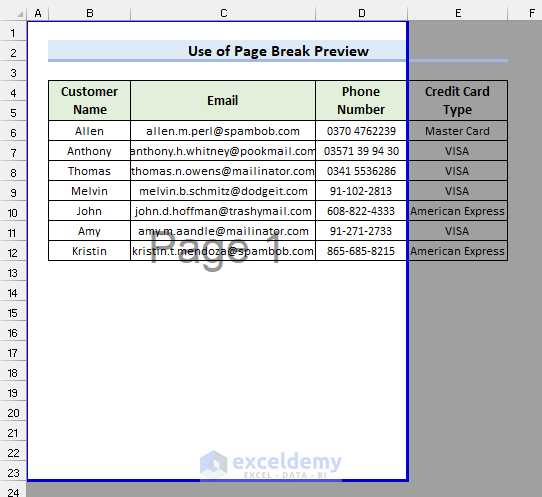
- Move the other borders.
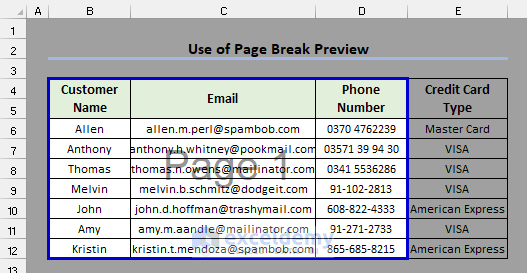
- Select Normal View to exit the Page Break Preview.
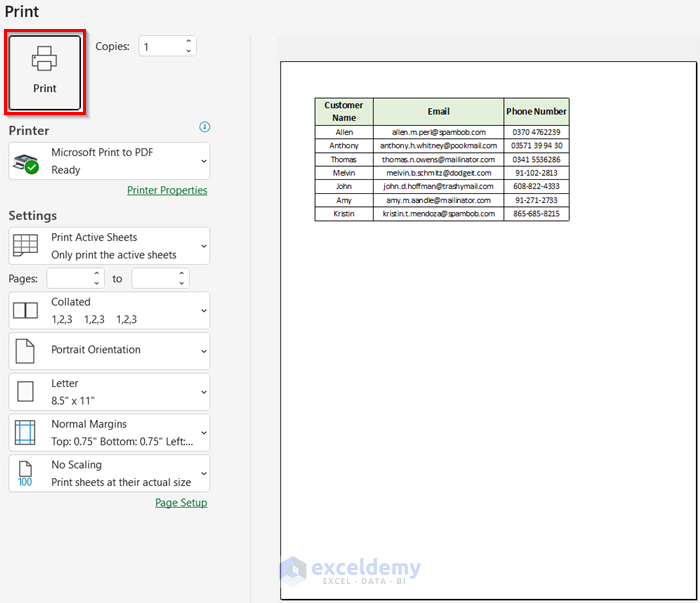
- Press Ctrl + P to see the print preview.
- Click “Print” .
Practice Section
Practice here.
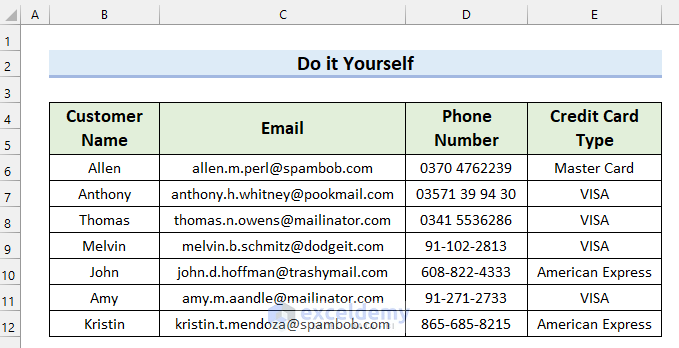
Download the workbook here.
Related Articles
<< Go Back to Print in Excel | Learn Excel
Get FREE Advanced Excel Exercises with Solutions!

You should be able to choose any column to print such as name, credit card, choose columns that are not side by side, such as if you have a worksheet that has 20 columns or more and you want to choose 5 of those columns to print, and they are not side by side. Or show just January and December for comparison. Your hide method is more trouble to use than it’s worth, pretty soon you have all of these little spaces between columns and looks tacky and then doesn’t later print whole spreadsheet properly
Hello Sharon Polman,
Thank you for your feedback! You’re absolutely right, hiding columns can get messy, especially when the selected columns aren’t adjacent. A better alternative for printing non-contiguous columns (like Name, Credit Card, January, and December) is to copy those specific columns into a new sheet just for printing purposes.
That way, you can arrange them exactly how you want, avoid the clutter of hidden columns, and keep your original worksheet intact. If you’re frequently printing custom views, using the Camera Tool or setting up a custom print area in a helper sheet can also streamline your workflow. Appreciate your input!
Regards
ExcelDemy