To take a screenshot in Excel, first, go to the Insert tab and then select the Screenshot option from the Illustrations group.
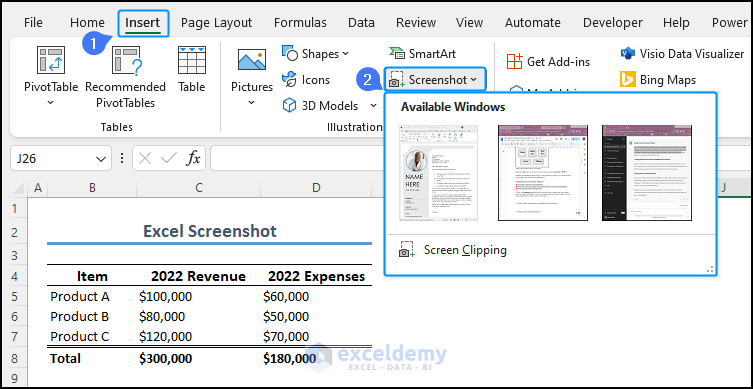
There are two options available for taking screenshots in Excel.
Method 1 – Taking a Direct Excel Screenshot of an Available Active Window
Steps:
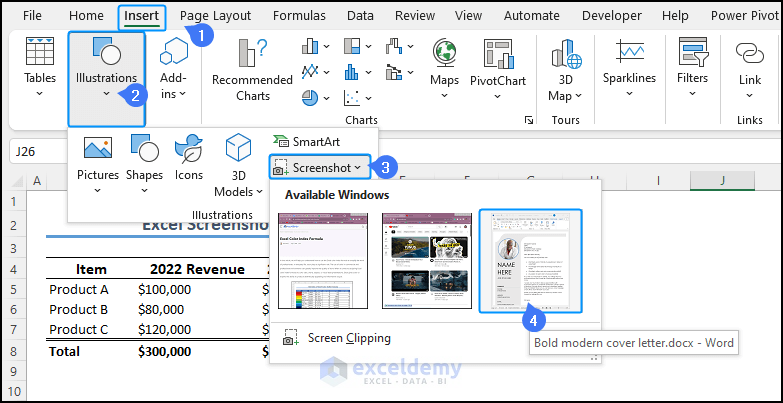
- To take a screenshot of an active window (i.e., a Word Document), go to the screenshot option from the Insert tab and select the Word document window.
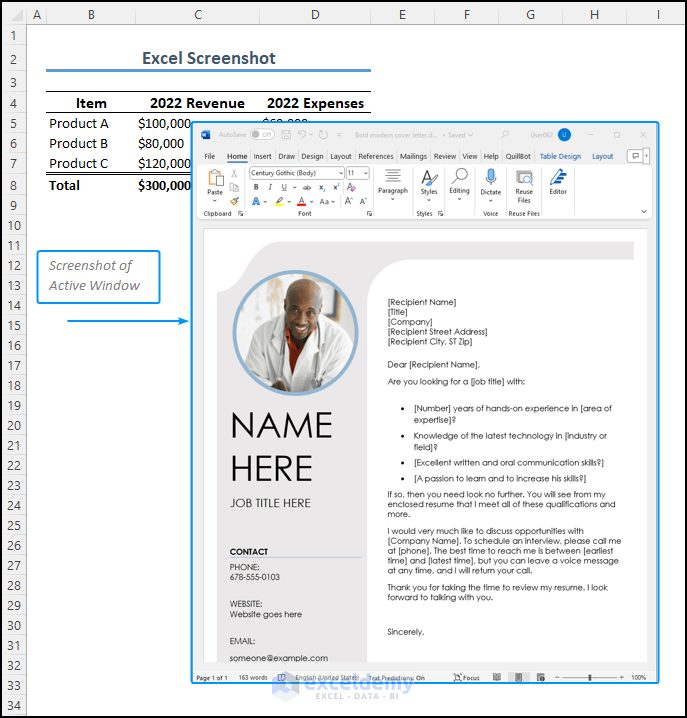
- Excel will insert the screenshot into the spreadsheet. You can also adjust the size or apply cropping as needed, ensuring a professional appearance.
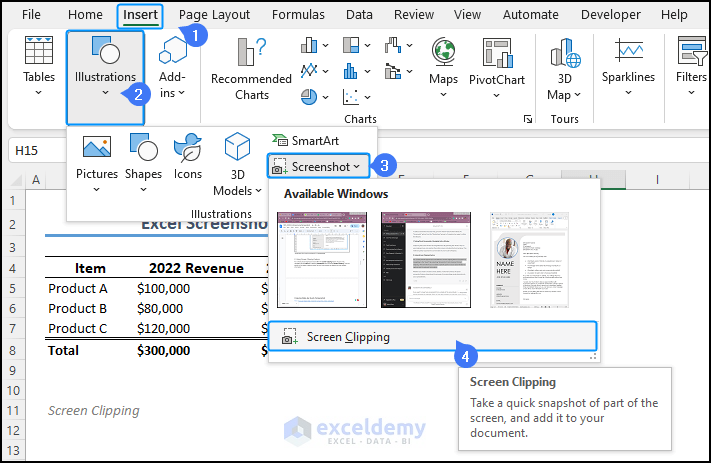
Method 2 – Using the Screen Clipping Feature
Steps:
- Go to the Insert tab.
- Select Screenshot.
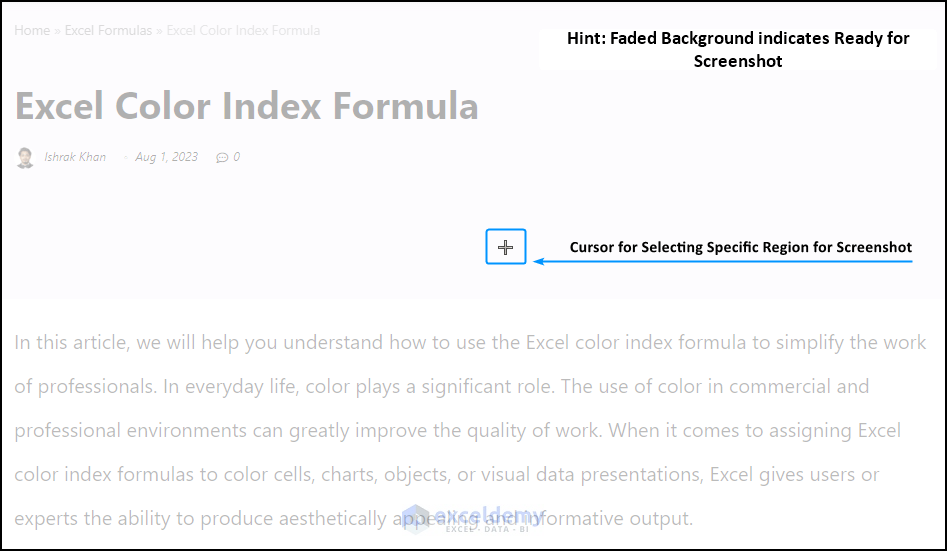
- Choose Screen Clipping. This tool allows you to select a specific portion of your Excel window to capture only the relevant information.
When you opt for the Screen Clipping feature, Excel displays a faded background to indicate it’s ready to capture a screenshot.
Your cursor will transform into a crosshair icon.
- Click and drag your mouse to create a box around the desired portion.
- Release the mouse button; Excel will insert the screenshot of the selected area into your spreadsheet.
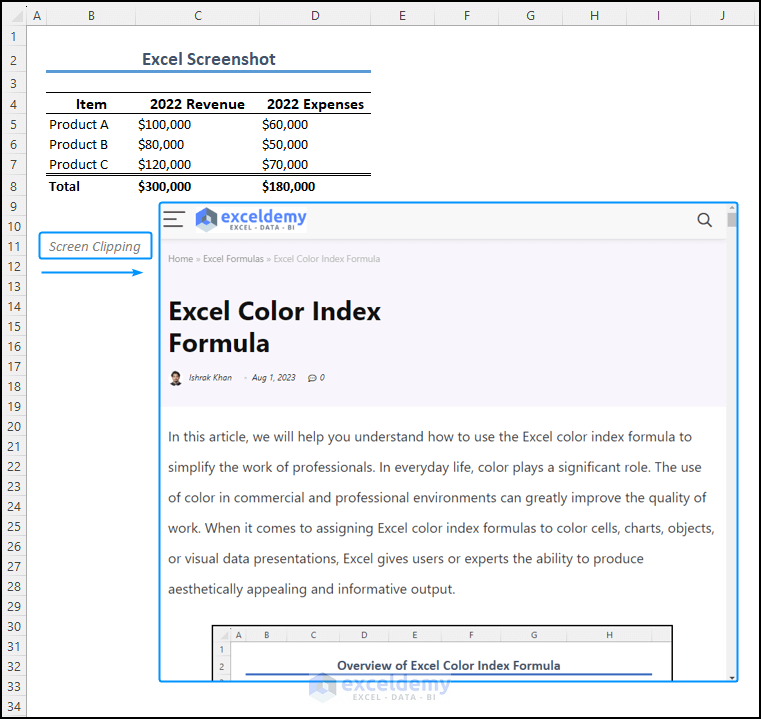
Excel will insert the captured content into your spreadsheet, allowing you to include the desired information without additional editing. For instance, we captured a section of a webpage.
How to Copy Data As a Quick Excel Screenshot: 3 Methods
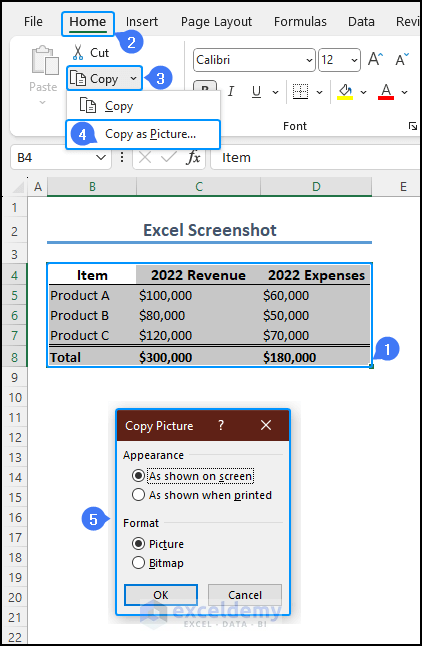
- Select the data range or chart you want to copy.
- Navigate to the Home tab.
- Click the drop-down menu of the Copy option. Choose Copy as Picture.
This action will open the Copy Picture window, allowing you to select the desired format for your image
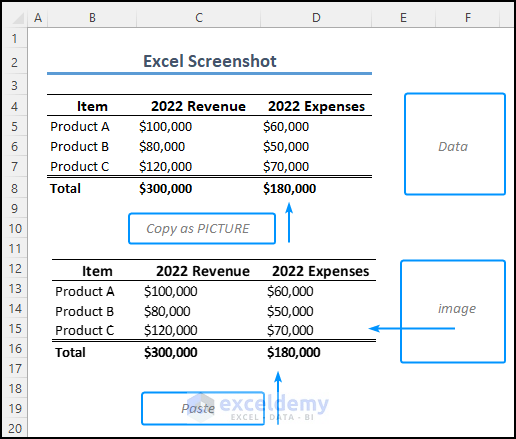
Method 1 – Copy As an Image
If you choose the As shown on Screen option and format it as a picture, the result you’ll achieve upon pasting will be as follows.
While this preserves the image quality, remember that the image won’t be editable. This method provides a sharper appearance in comparison.
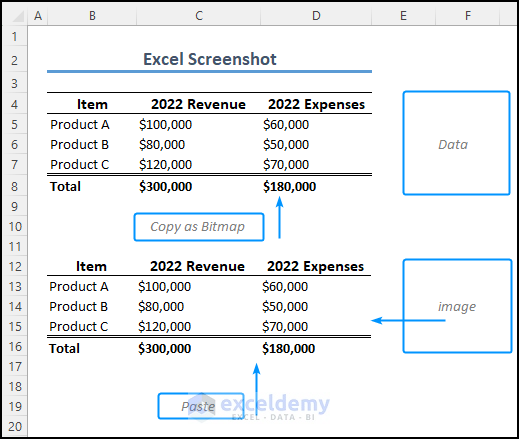
Method 2 – Copy As Bitmap
Copying data as a bitmap offers another rapid solution for capturing Excel content. The data is transformed into an image format that retains its visual clarity. However, the image might appear less sharp when scaled up.
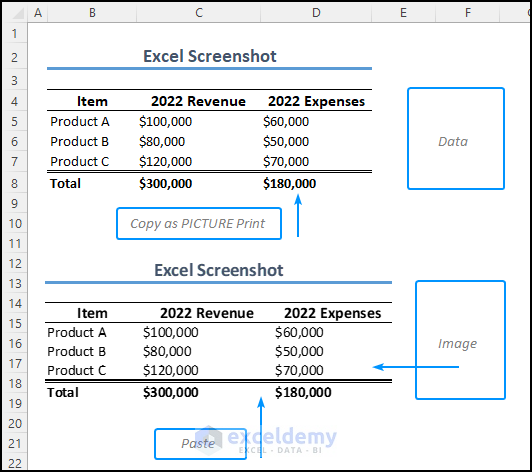
Method 3 – Copy As Shown in the Print
When you choose As shown when printed, the Format option becomes unavailable, and the content will be automatically pasted as a picture. This method is particularly useful when preserving the exact layout, including page breaks and headers.
Things to Remember
- For Large Dataset: To take a screenshot of a large dataset, use the keyboard shortcut CTRL+A to copy.
- Data Integrity: While screenshots are useful for visual representation, they are static images. Changes to the underlying data won’t be reflected in the screenshot.
- Context and Explanation: Always provide context and explanations if necessary when sharing screenshots. A clear description of the screenshot will help others understand the information better.
Download the Practice Workbook
You can download the workbook to practice.
<< Go Back to Learn Excel
Get FREE Advanced Excel Exercises with Solutions!
