This is an overview:
Download Practice Workbook
Download the practice workbook.
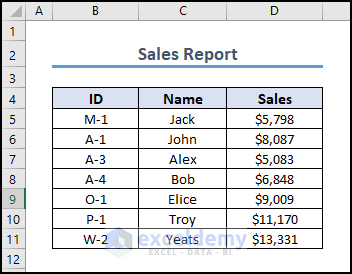
This is the sample dataset.
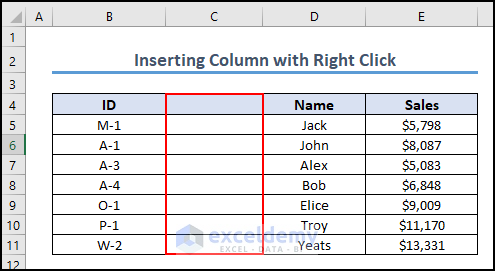
Method 1 – Inserting a Column with a Right Click
- Select a column to the right of your target location.
- Right-click and choose Insert.
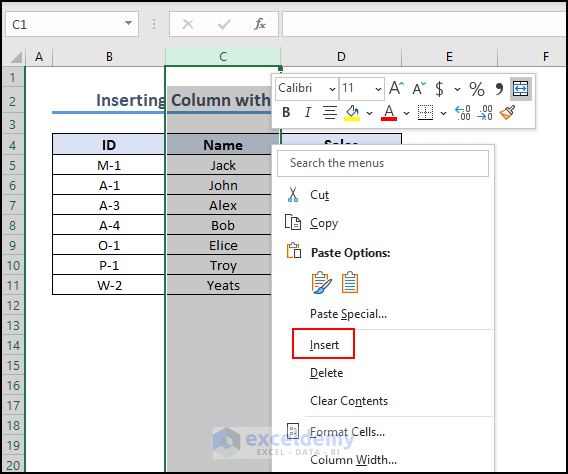
A new column is inserted to the left.
Method 2 – Using Keyboard Shortcuts to Insert a Column
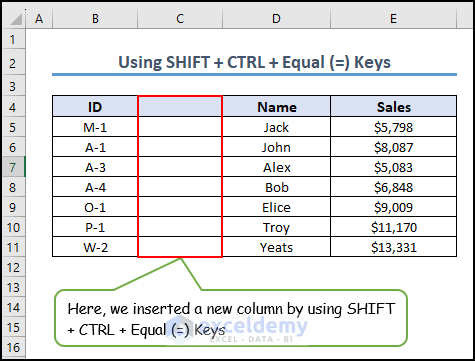
2.1. Using SHIFT + CTRL + Equal (=)
To add a column to the left of column C:
- Select Column C and press CTRL + SHIFT + Equal (=).

This is the output.
2.2. Using ALT + I, C
- Select the entire column C.
- Press ALT + I and press C.

This is the output.
Method 3 – Insert Multiple Adjacent Columns Using a Keyboard Shortcut
To add two adjacent columns to the left of column C.
- Select columns C and D by right-clicking and dragging the mouse.
- Press CTRL + SHIFT + Equal (=).
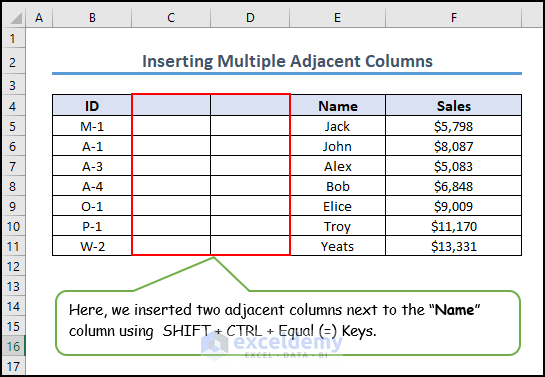
This is the output.
Method 4 – Insert Multiple Non-Adjacent Columns
- Select column C.
- Hold CTRL and select column D.
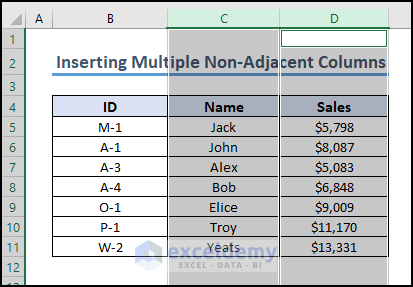
- Press CTRL + SHIFT + Equal (=).
Two non-adjacent new columns are added.

Method 5 – Insert a Column using the Home Tab
- Click the column to the right of your target location. Here, column C.
- Go to the Home tab>> click Insert in Cells >> choose Insert Sheet Columns.
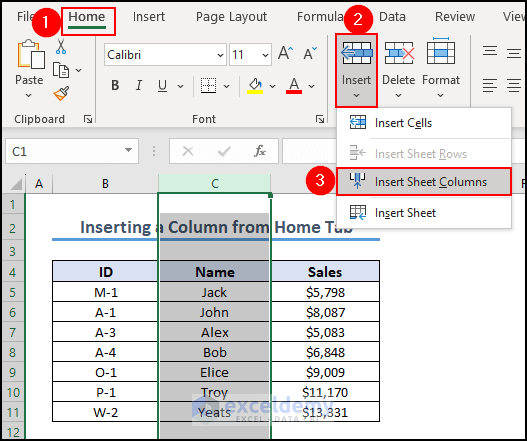
A new column is inserted to the left of the Name column.

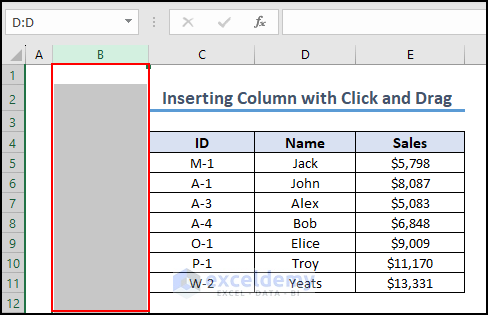
Method 6 – Insert a Column using Click and Drag
To insert a column between ID and Name:
- Select an empty column. Here, column F.
- Over the green border, a black cross with arrows is displayed. Left-click and drag while holding Shift.
- Click and drag the green vertical line to the location you want the new column to be inserted.
Method 7 – Insert a Column Using the Fill Handle
- Select column C.
- You will see the Fill Handle. Click the plus icon.
- Press and hold Shift and the icon will change to two bars with arrows.
- Click and drag the Fill Handle to the left or to the right, holding Shift.
- Release it.
A new column is inserted.
Method 8 – Insert a Column using the HSTACK Function
To insert column F between columns C and D:
- Select H4 and enter the following formula.

This is the output.
Method 9 – Insert a Column using the Power Query
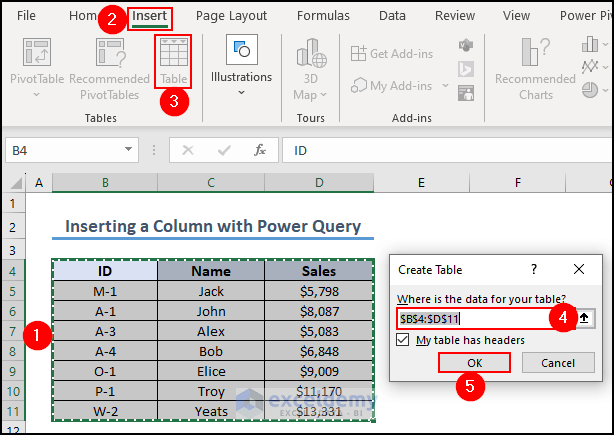
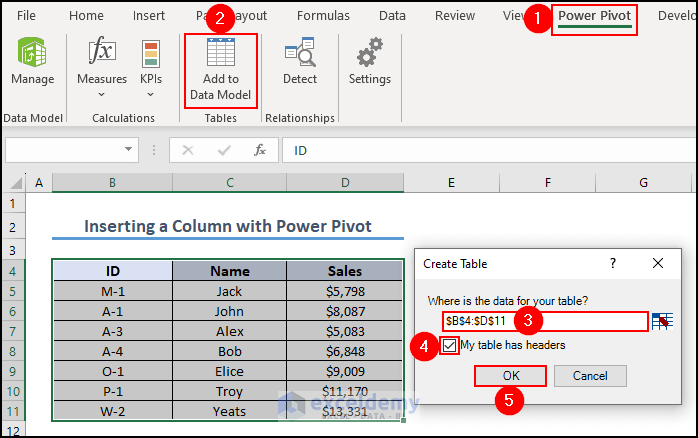
- Select the dataset>> go to the Insert tab >> Table.
- Enter your data range. Here, $B$4:$D$11.
- Click OK.
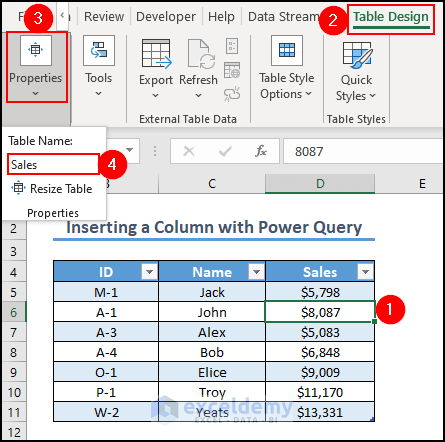
Your dataset is converted into a table.
- Click any value inside the table >> go to Table Design >> Properties >> enter Sales in Table Name.
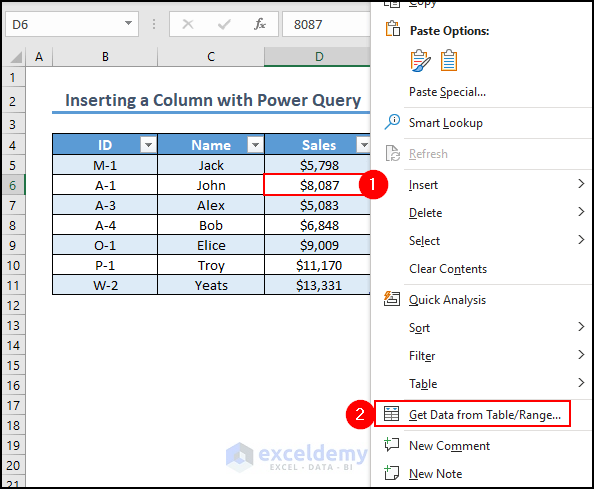
- Right-click any cell inside the Sales table and choose Get Data from Table/Range.
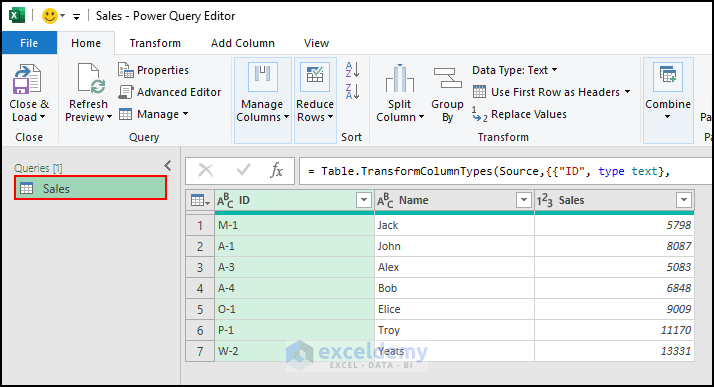
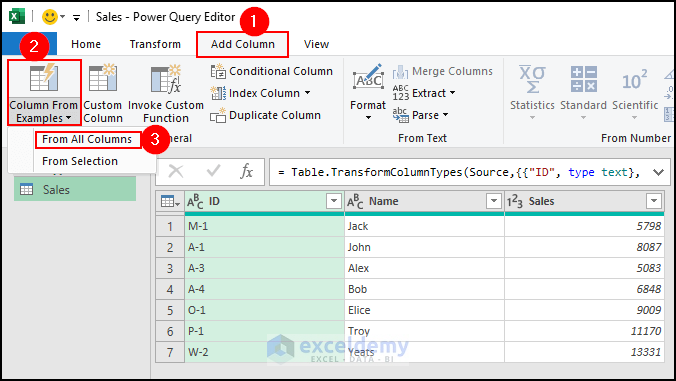
- The Sales table is displayed in the Power Query.
- Go to Add Column >> select Columns From Examples >> choose From All Columns in the Power Query Editor.
- Name the column. Here, Region.
- Enter values into the Region column.
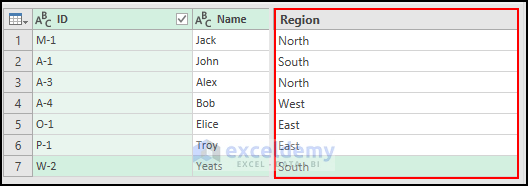
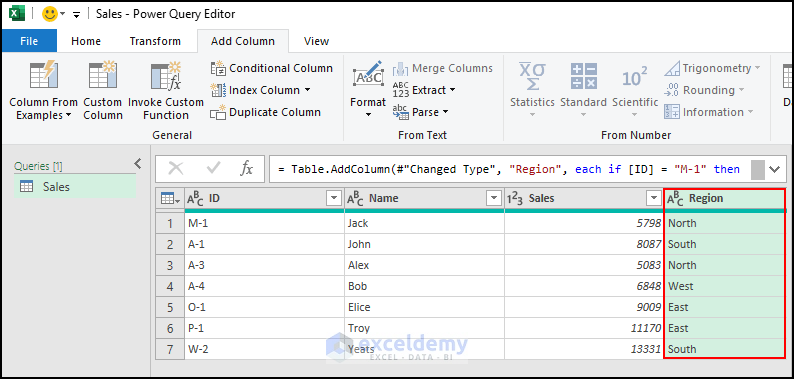
You will see a new column in the Power Query Editor window.
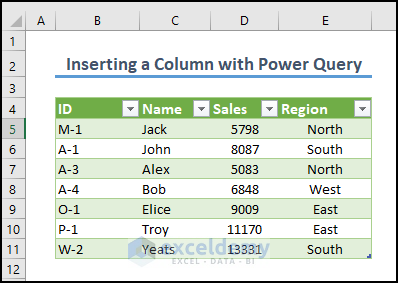
- Close and load the query into Excel to see the new column “Region” added to your dataset.
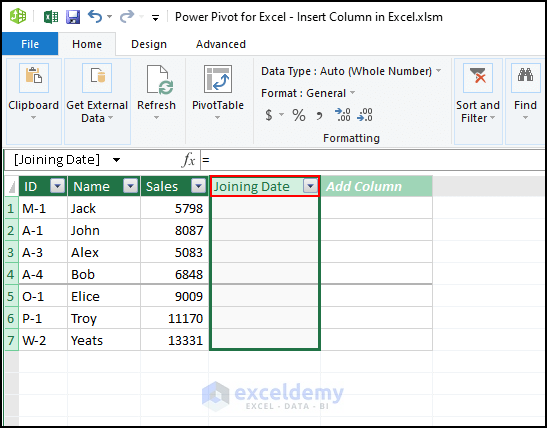
Method 10 – Insert a Column using the Power Pivot
- Go to the Power Pivot tab>> choose Add to Data Model>> select the data from your table.
- Check “My table has headers”.
- Click OK.
- The data preview shows an empty column labeled Add Column.
- Double-click the heading, and rename the column.
Read More: Insert Column in Excel Without Affecting Formulas
Method 11 – Insert a Column using Excel VBA
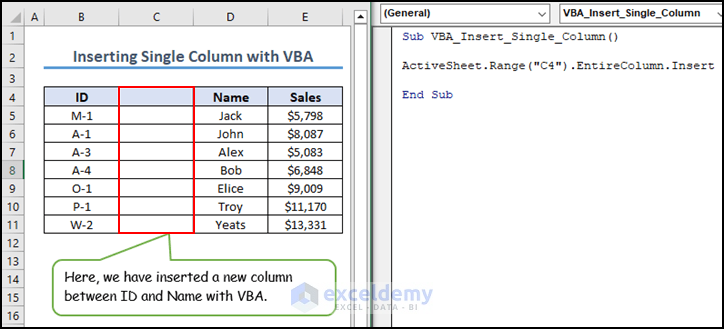
11.1. Insert a Single Column
Insert a new column between columns B and C:
- Press ALT + F11 to open Visual Basic.
- Click Insert and select Module.
- Use the following code in the code editor and press F5 to run the code.
Sub VBA_Insert_Single_Column()
ActiveSheet.Range("C4").EntireColumn.Insert
End Sub
This is the output.
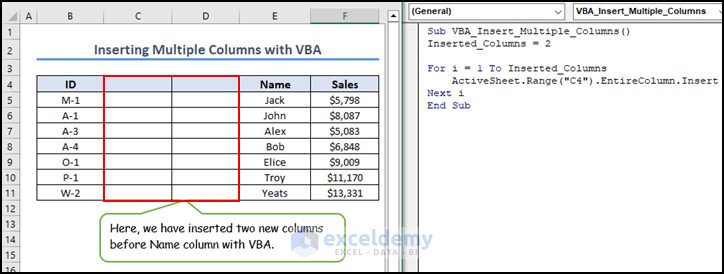
11.2. Insert Multiple Columns
Insert 2 columns before column C.
- Insert a new module and copy the following code.
- Press F5 to run the code.
Sub VBA_Insert_Multiple_Columns()
Inserted_Columns = 2
For i = 1 To Inserted_Columns
ActiveSheet.Range("C4").EntireColumn.Insert
Next i
End Sub
This is the output.
11.3. Insert Columns Between Every Other Column
- Insert a new module and copy the following code.
- Press F5 to run the code.
Sub Insert_Column_Between_Every_Other()
For Xcol = 3 To 8 Step 2
Columns(Xcol).Insert Shift:=xlToRight
Next
End Sub
This is the output.

Read More: Insert a Column Between Every Other Column in Excel
How to Insert a Column in an Excel Table
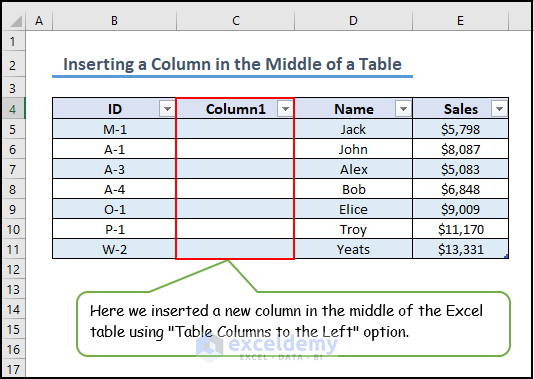
1. Insert a Column in the Middle of an Excel Table
- Select and right-click any cell in the table.
- Choose Insert>> select Table Columns to the Left.
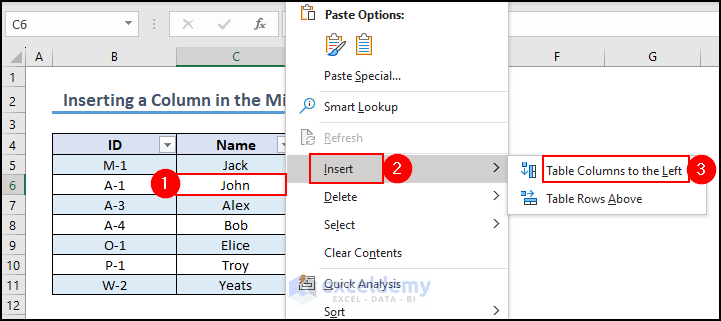
You will see a new column to the left of the selected cell.
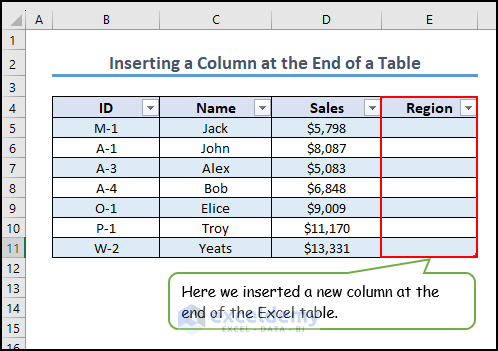
2. Insert a Column at the End of an Excel Table
Add a column named Region at the end of the table:
- Select E4 and enter the column header “Region” in the empty column.

- Press Enter.
A new column will be created at the end of the table.
- In a table, you cannot add non-adjacent columns at a time.
- It is not possible to add a column if you have converted the entire spreadsheet into a table.
Read More: Shortcut to Insert Column in Excel
Frequently Asked Questions
1. What happens to the data when I insert a column in Excel?
Current data moves to the right to make room for the new column. The data in the shifted columns move as well. Calculations or references in the shifted data are updated to reflect the new column.
2. What is COLUMN() in Excel?
In Excel, the COLUMN() function is a built-in function that returns the column number of a specific cell reference.
3. Can I insert a column in a protected worksheet?
To add a column, you need to unprotect the worksheet.
Insert Column in Excel: Knowledge Hub
- Insert a Column to the Left in Excel
- [Fixed!] Cannot Insert Column in Excel
- Excel Fix: Insert Column Option Greyed out
<< Go Back to Learn Excel
Get FREE Advanced Excel Exercises with Solutions!
