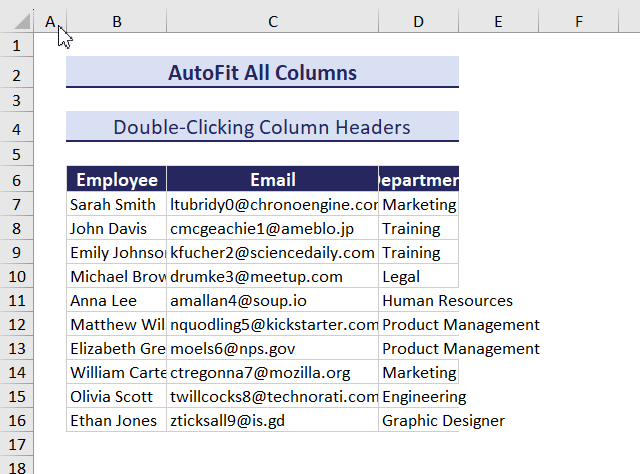
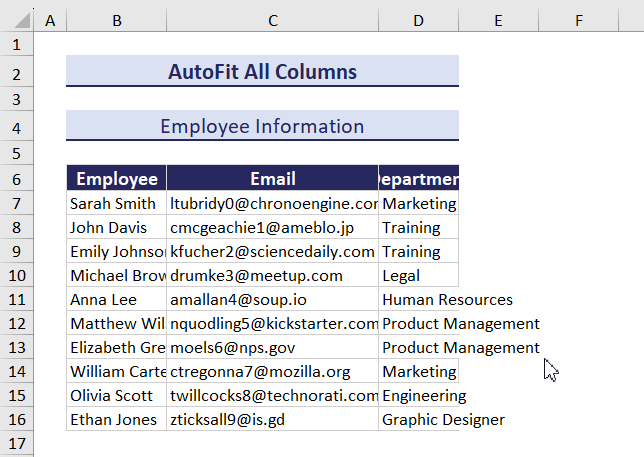
Method 1 – Double-Clicking Column Headers
To autofit all columns using double-click, follow these steps.
- Select the triangle icon where column and row headers intersect to select all cells.
- Hover your mouse in between any of the column headers.
- Double-click after the mouse icon changes to a two-sided arrow.
All the columns in the sheet will now adjust to the size of contents in their cells.
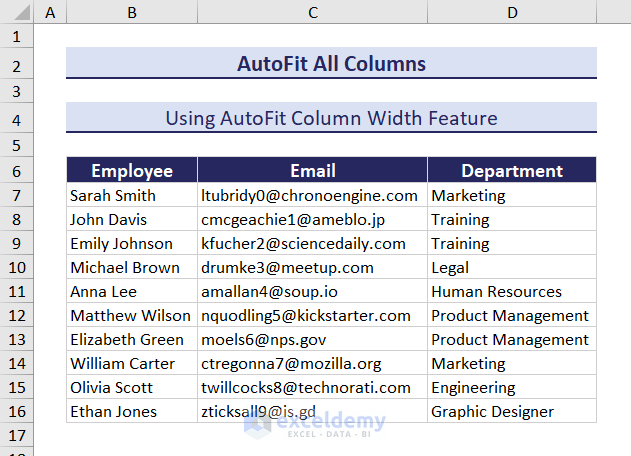
Method 2 – Using the AutoFit Column Width Feature
AutoFit Column Width automatically adjusts the width of a column.
- Select the triangle icon to select all cells in the sheet.
- Go to the Home tab, select Cells > Format > AutoFit Column Width.

It will adjust the column width accordingly.
Keyboard Shortcut: You can press Ctrl+A to select all cells in the sheet. Then press Alt, H, O, and I in order (not all together) to access the same feature. It accomplishes the same task.
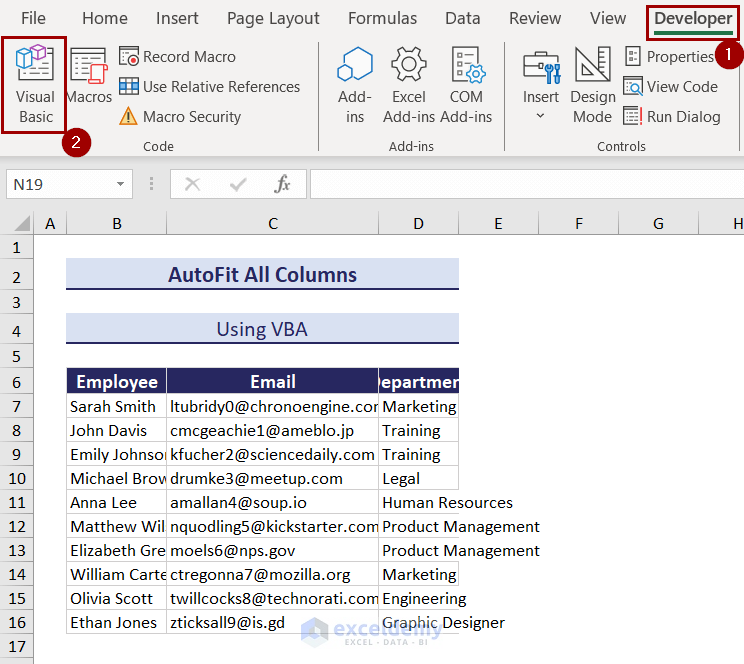
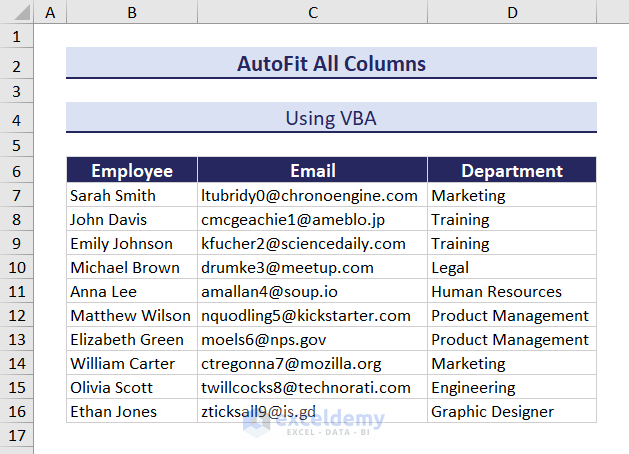
Method 3 – Using VBA Code
You need the Developer tab enabled for this feature.
- Go to the Developer tab and select Visual Basic from the Code group.
- Select Insert > Module.
- Insert the following code in the module:
Sub AutoFitAllColumns()
Cells.EntireColumn.AutoFit
End Sub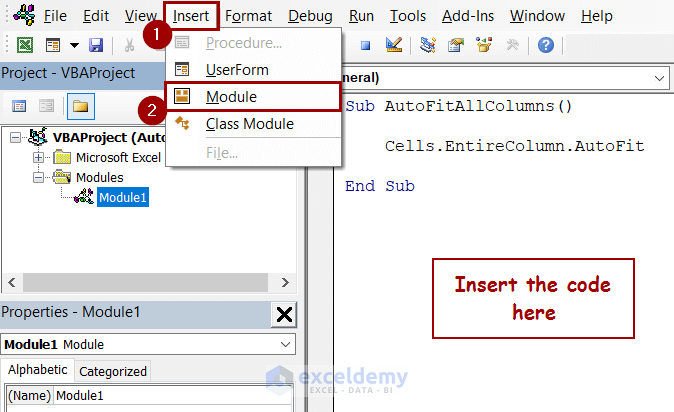
- Press F5 to run the code.
- All of the columns in the current sheet will fit their cell content size.
How to Fit Column Width Manually in Excel
To fit column width manually in Excel, follow these steps.
- Hover your mouse cursor at the end of the column header you want to resize.
- Click and drag the cursor when the mouse icon changes to a two-sided arrow.
What if AutoFit Column Width is Not Working in Excel?
The AutoFit Column Width feature may not work in Excel for various reasons. If you encounter this problem, you can try these troubleshooting tips.
- If the column width is set to a specific value, autofit will not adjust the width of the column. You can check the column width by selecting the column and looking at the Width value in the Cells group on the Home tab of the Excel ribbon.
- If the column contains hidden cells, autofit may not work as intended. You can unhide the cells by selecting the column and going to Home > Cells > Format > Hide & Unhide > Unhide Rows or Unhide Columns.
- If there are line breaks in the text, you must manually adjust the column width.
- If the Excel worksheet is protected, you may be unable to autofit columns. You can check for worksheet protection by going to Review > Changes > Protect Sheet.
Frequently asked questions
1. How Does Autofit Handle Wrapped Text?
If a cell has text that wraps to multiple lines, the column width will accommodate the maximum line length.
2. Does Autofitting Include Hidden Columns?
No, autofitting doesn’t affect the hidden columns. If you have any hidden columns (or rows) and need to autofit them, you need to unhide them first.
3. Do Autofitting Columns Affect The Cell Contents Or Formatting?
No, it just changes the column width. The content and formats remain the same as it was before autofitting.
Download Practice Workbook
Related Articles
<< Go Back to Learn Excel
Get FREE Advanced Excel Exercises with Solutions!
