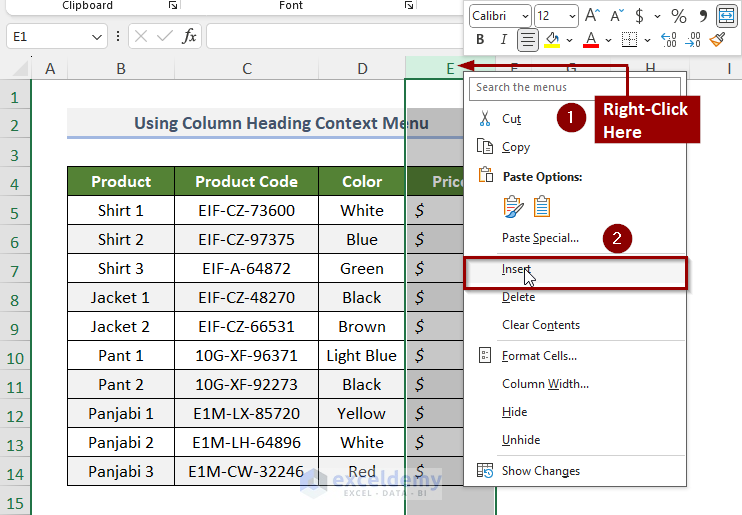
Method 1 – Using the Column Heading Context Menu
- Right-click on the column heading to open the context menu.
- Select the Insert option.
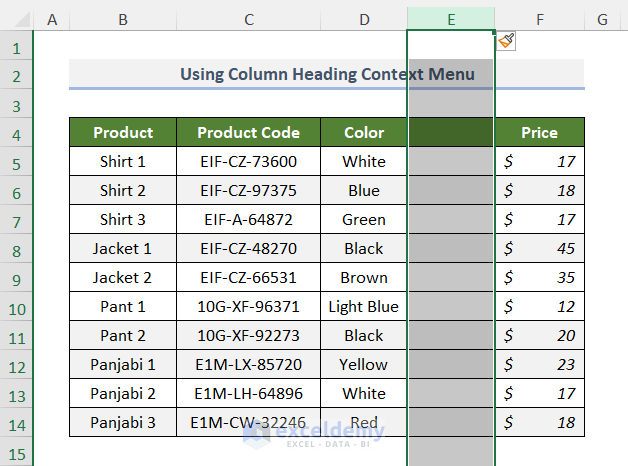
A new column will be inserted to the left of the selected column.
Method 2 – Applying Keyboard Shortcut
- Select a column heading.
- Use the keyboard shortcut ‘CTRL’ + ‘+’ to insert a new column.
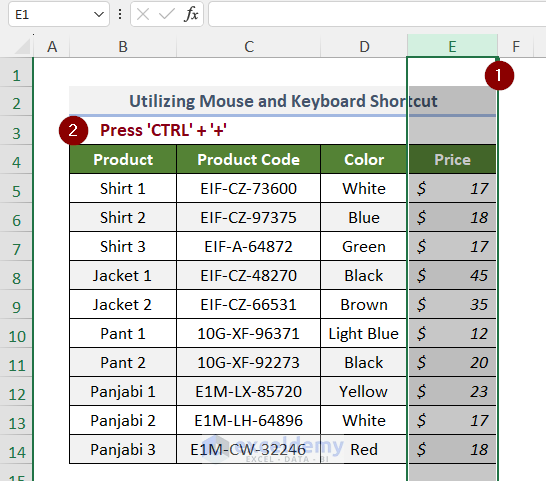
Note: Use the shortcut ‘CTRL’ + ‘SHIFT’ + ‘=’ for keyboards and laptops without a Num Pad to insert a new column.
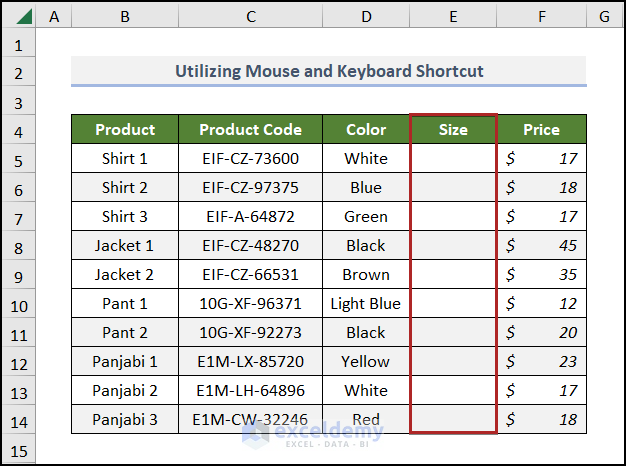
A new column will be inserted to the left of the selected column.
If you select only one cell or a range of cells instead of the entire column, Excel will give you additional insert options when using the keyboard shortcut. In this menu, select the Entire column option to insert a new column.
Method 3 – Clicking-and-Dragging with Mouse
- Click on the heading of a blank column to select it.
- Place the mouse cursor to the edge of the selection until it turns into a black cross with arrows.
- Hold the SHIFT key.
- Click and drag the blank column to a new position.
Note: Inserting a column in this way will not include the formatting of the data table. Also, this method will not work properly if the destination has any merged columns.
Method 4 – Using Fill Handle
- Select a column heading.
- Place the mouse cursor to the small square of the Fill Handle on the top-right of the selection.
- Hold SHIFT until the cursor changes.
- Click and drag the selection to insert a new column.
Note: This method will not work properly if the destination has any merged columns.
Method 5 – Using Insert Command
- Select a column heading.
- Go to the Home tab > Cells group > Insert drop-down > Insert Sheet Columns.
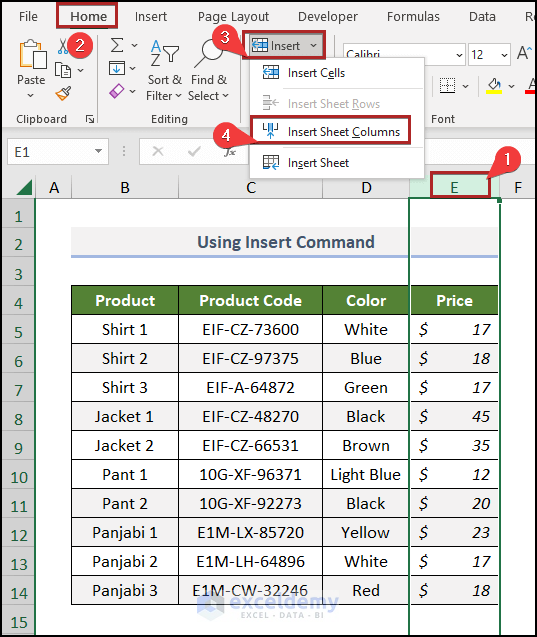
A new column will be inserted to the left of the selected column.

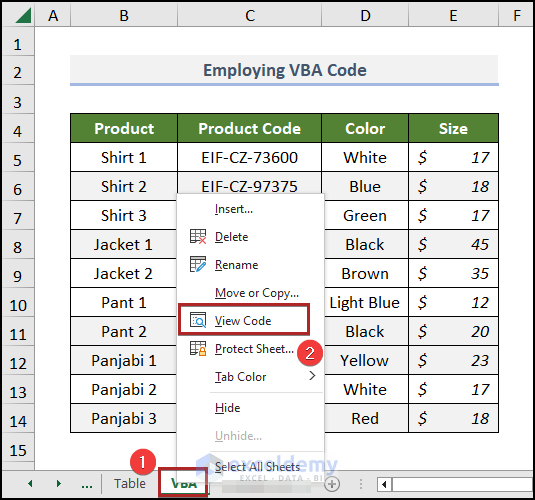
Method 6 – Using VBA Code
- Right-click on the sheet name.
- In the context menu, select the View Code option.
 The Microsoft Visual Basic for Applications window will open, and Excel will insert a code module for this sheet.
 - In the code module, enter the following two sub-procedures:
Sub Insert_Column() Range("E1").EntireColumn.Insert End Sub Sub Column_Name() Dim Name: Name = Split("Size") Sheet6.Range("E4").Resize(1, UBound(Name) + 1) = Name End Sub - Save the file and go back to the Excel sheet.
- Go to the Developer tab > Macros. The macro-dialog box will appear.
- Select the created Macro > Run.
A new column will be inserted.

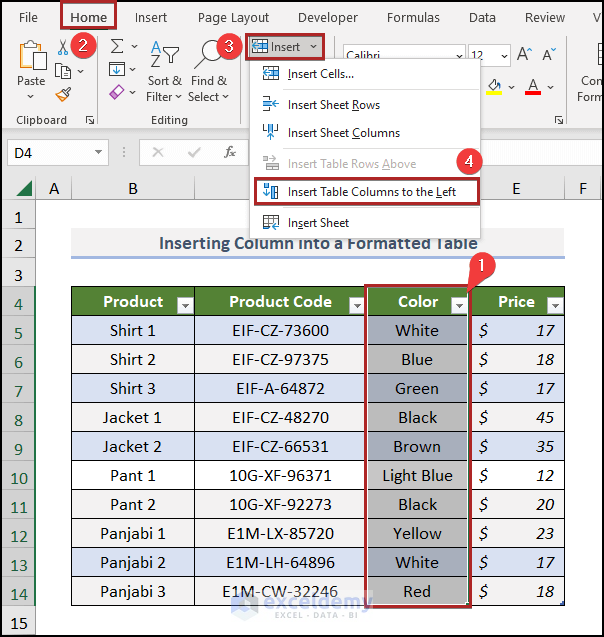
How to Insert a Column into a Formatted Excel Table
To add a column to the left side of the chosen column in an Excel Table:
- Select the column range of the table.
- Go to the Home tab > Cells group > Insert drop-down > Insert Table Columns to the Left.
A new column will be inserted before the chosen column.
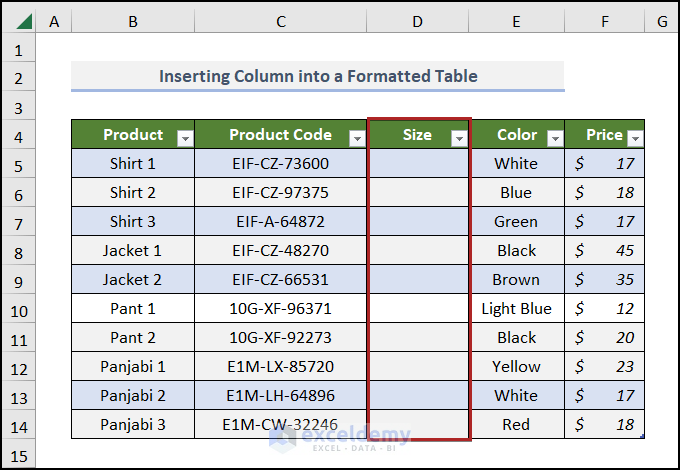
Note: When a sheet is protected, certain actions, such as inserting columns in a table, can become restricted.
Download Excel Workbook
Frequently Asked Questions
Does the Insert command work the same way for both Windows and Mac versions of Excel?
Yes, the process for inserting a column is generally consistent across different versions of Excel.
Is there a way to insert a column using a formula or a function?
No, inserting a column is a structural change in Excel, and it’s typically done through the “Insert” command.
Can I insert multiple columns at once in Excel?
Yes, you can insert multiple columns simultaneously. Select the number of existing columns equal to the number you want to insert, and then use the “Insert” command. The new columns will be added to the left of the selected columns.
Get FREE Advanced Excel Exercises with Solutions!
