Solution 1 – Change Microsoft Excel AppData with Windows Run Feature
Steps:
- Close the Excel file.
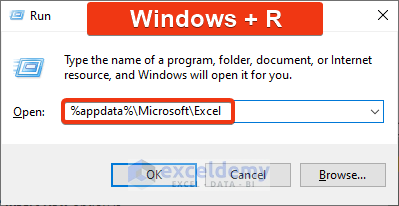
- Press the Windows key + R to enter the Run window.
- Enter %appdata%\Microsoft\Excel into the box.
- Click OK.
- Enter the file section of Microsoft Excel. Find out the xlb.
- Modify the file extension to .old from the .xlb.

The Insert Column option will appear.
Read More: Cannot Insert Column in Excel
Solution 2 – Unprotect a Protected Workbook
Steps:
- Go to the Review tab in the ribbon.
- Click on the Protect Workbook option.

This workbook is not protected, and the Insert Column option will now be enabled.
Read More: How to Insert a Column to the Left in Excel
Solution 3 – Unprotect a Protected Worksheet
Steps:
- Go to the Review tab of the ribbon.
- Choose the Unprotect Sheet option.
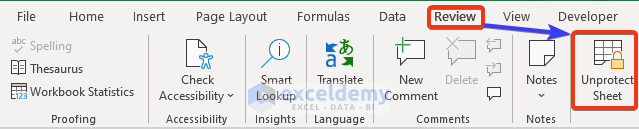
Insert Column is enabled.
Solution 4 – Select Column(s) before Inserting a New Column
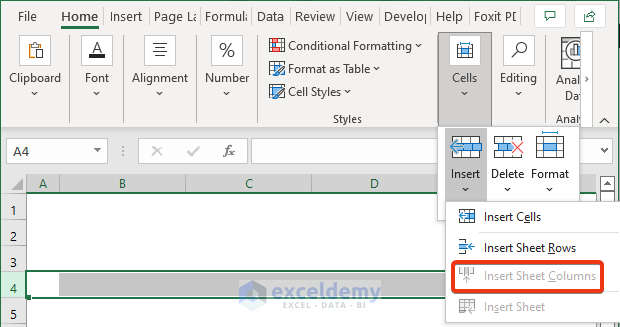
When we need to insert new columns, we must select a column and then insert another new column(s). But, if we select a row and want to insert a column, the Insert Column will be greyed out. Look at the below image. Here, we selected Row 4. Then went to the Insert option. We can see that the Insert Sheet Columns option is greyed out here.
Read More: How to Insert a Column Between Every Other Column in Excel
Solution 5 – Exit from Cell Editing Mode
If we want to insert a new column, the cursor should not be in Cell Editing mode. If we are in Cell Editing mode, we should escape from the editing mode by pressing the Esc button. Then, the Insert Column option will be enabled.
Solution 6 – Change Display Option Settings to Enable Insert Columns
Steps:
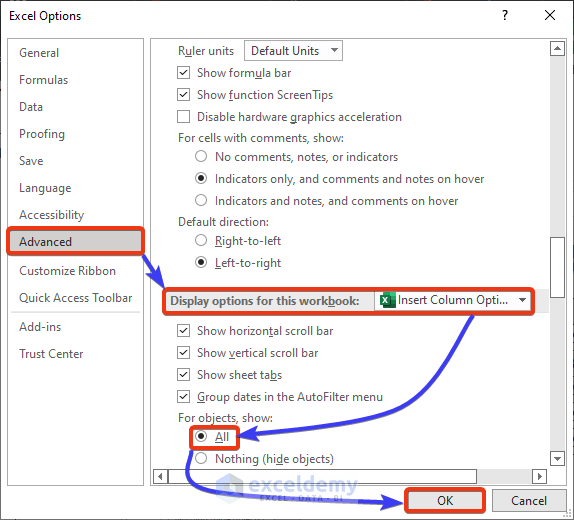
- Enter the Excel Options from File > Options. Or we can press Alt+F+T.
- Select the Advanced option from the left side.
- Go to Display options for this workbook: section.
- Choose the All option and click OK.
Read More: Shortcuts to Insert Column in Excel
Solution 7 – Fix a Greyed-out Insert Column in a Shared Workbook
The Insert Column option is disabled in a Shared Workbook. To solve this issue,
- follow Review > Share Workbook.
- Uncheck the Allow changes by more than one user at the same time, and press OK.
Solution 8 – Detect and Remove Unnecessary Excel Add-ins That Disable Insert Column Option
We know that Microsoft Excel includes various Add-ins that help you work with your data more effectively. However, some add-ins can cause issues while working in Excel.
To solve this problem,
- Go to File>Options>Add-ins.
- Remove each Add-in one by one and notice whether the Add-in causing the problem is detected. After detecting the exact Add-in(s), remove those Add-ins to solve this problem.
Read More: How to Insert Column without Affecting Formulas in Excel
Solution 9 – Enable the Insert Column Option with an Excel VBA Code
Steps:
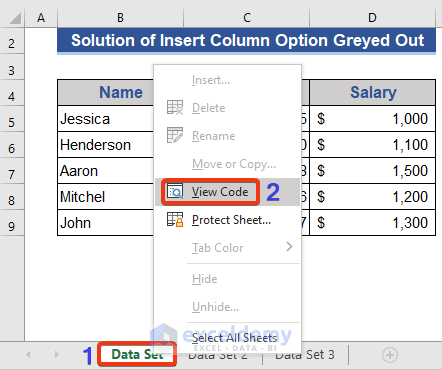
- Go to the Sheet Name of the bottom section of any sheet.
- Press the right button of the mouse. Choose the View Code option from the Context Menu.
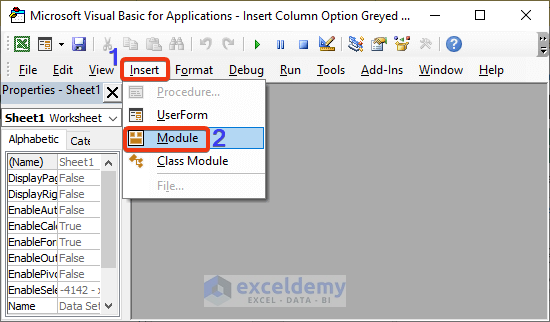
- The VBA window will appear. Choose the Module option from the Insert tab.
- The VBA command module will appear. Enter the VBA code here.

- Enter the following VBA code into the module:
- Run the code by pressing the F5 button.
Public Sub Reset_column()
CommandBars("column").Reset
CommandBars("row").Reset
CommandBars("cell").Reset
End Sub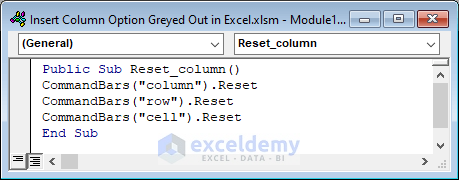
Download the Practice Workbook
Download this workbook to practice.
<< Go Back to Columns in Excel | Learn Excel
Get FREE Advanced Excel Exercises with Solutions!

Great work on explaining the issues with insert option. Helped a lot by using run command.
Thanks, AJAY!