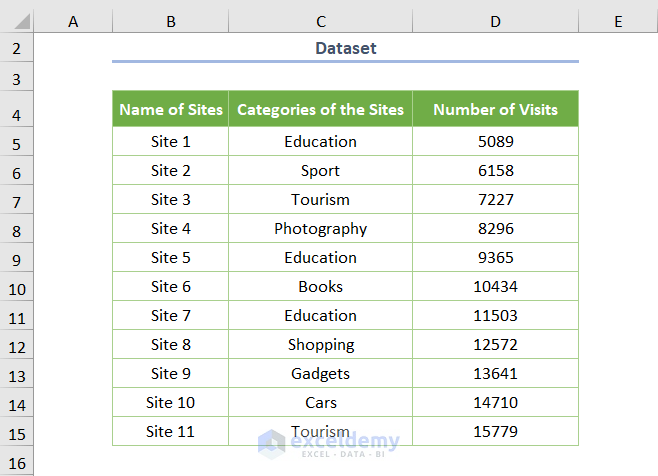
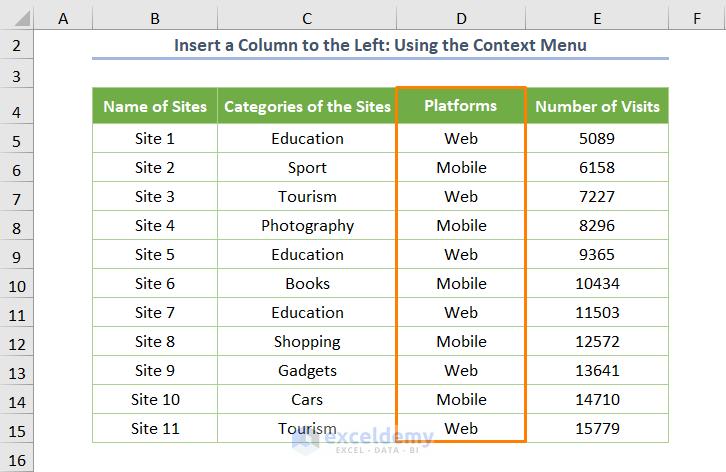
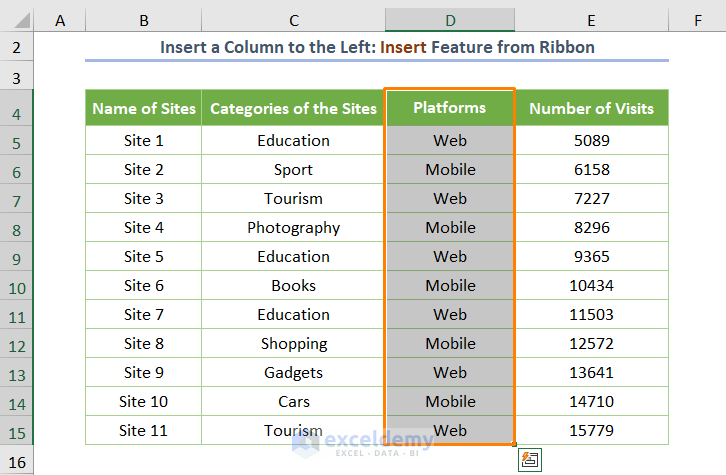
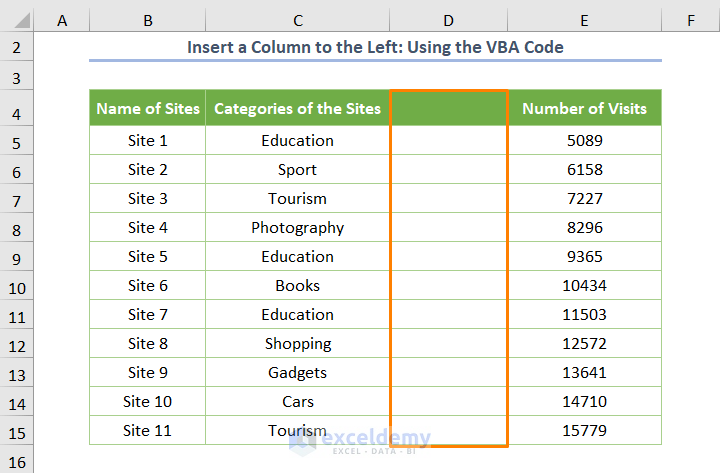
We’ll use a simple dataset where the Number of Visits for each website is provided along with the Names and Categories of the Sites. We want to add a column to the left of the Number of Visits column.
Method 1 – Using the Context Menu to Insert a Column to the Left in Excel
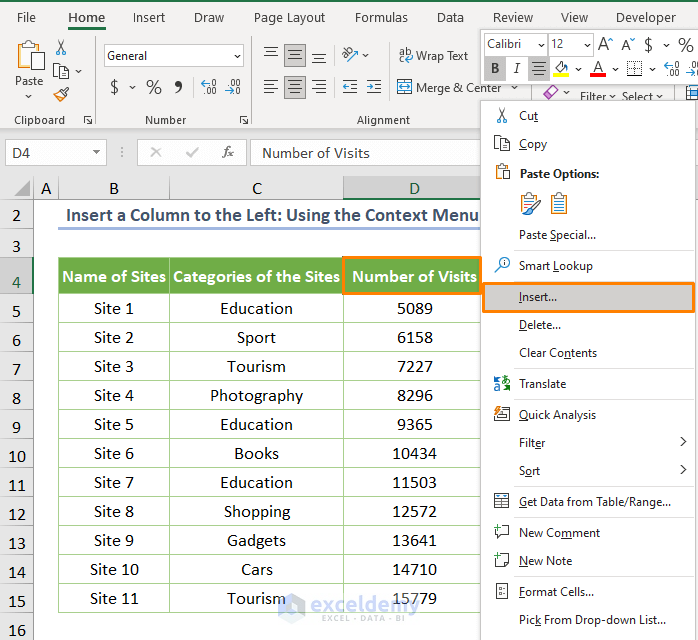
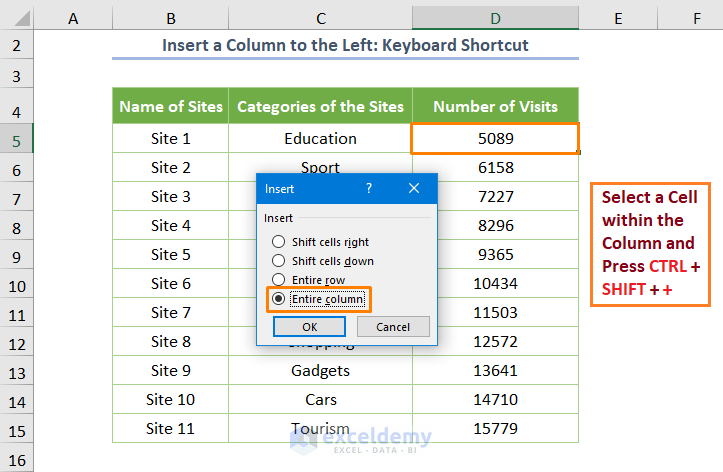
- Select any cell within the column Number of Visits.
- Right-click on it and choose the Insert option from the Context Menu.
- You’ll see a dialog box namely Insert. Check the circle before the Entire Column option.
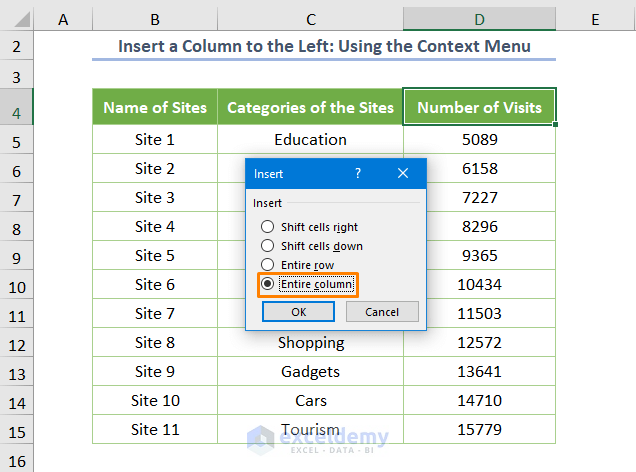
- Press OK, and you’ll get a new column to the left of your specified column.
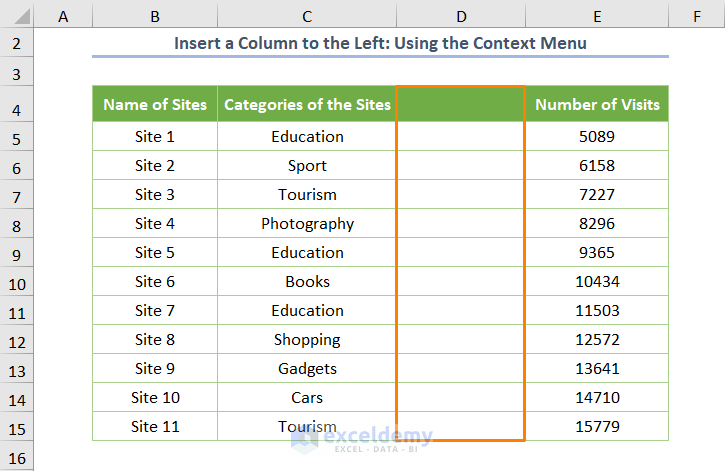
We entered some data.
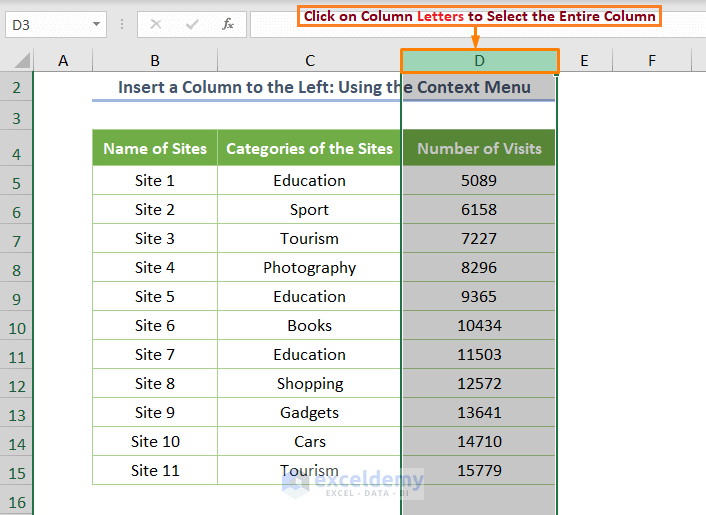
If you want to skip opening the Insert dialog box:
- Right-click on the column letter (e.g. D for the Number of Visits column) of the column where you want to insert to the left.
- Choose the Insert option from the Context Menu.
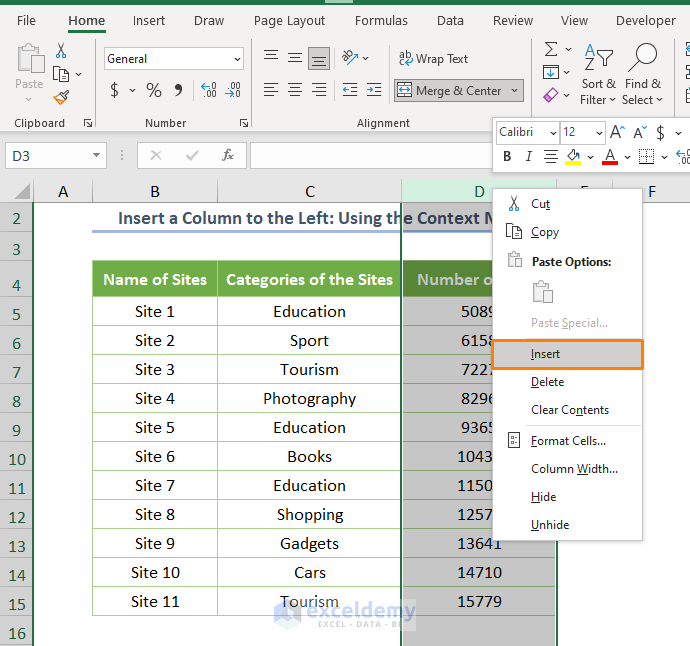
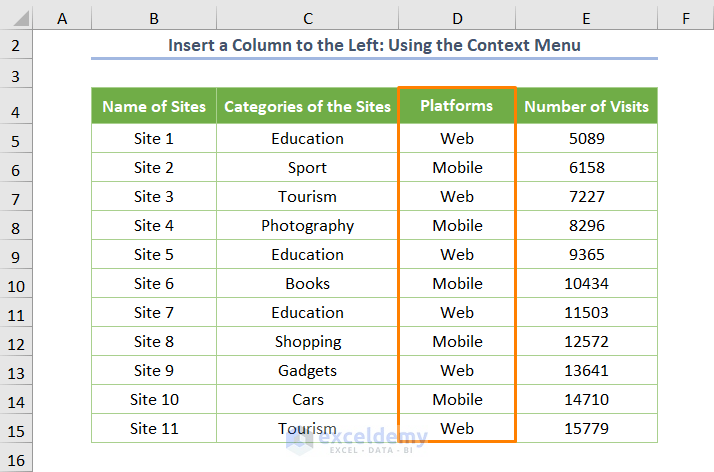
You’ll get the new column. We inserted some values.
Method 2 – Applying a Keyboard Shortcut to Insert a Column to the Left
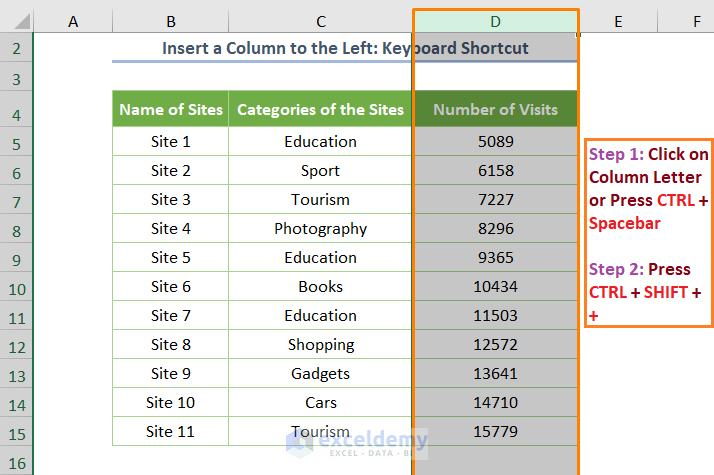
- Select a cell within the column and press Ctrl + Shift + +.
- The Insert dialog box will open. Check the Entire column option and hit OK.
- You can also use Ctrl + Spacebar to select the entire column.
- Pressing Ctrl + Shift + + inserts a column to the left if a column is selected.
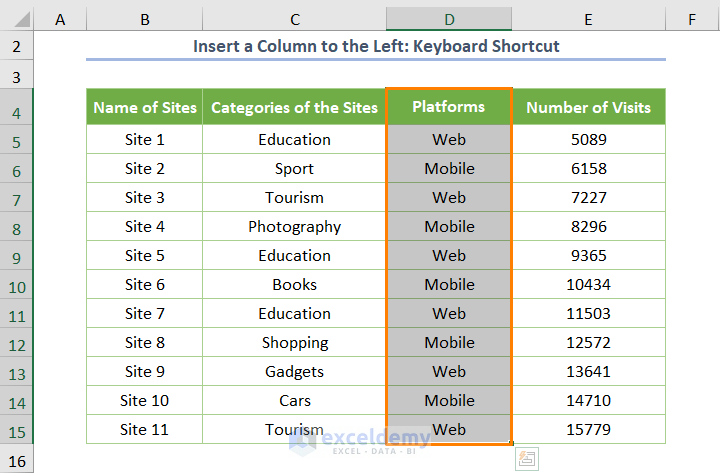
We added some values in the column.
Method 3 – Using the Insert Command to Insert a Column to the Left
- Select a cell within the column and choose the Insert Sheet Columns option from the drop-down list in the Insert option in the Cells group on the Home tab.
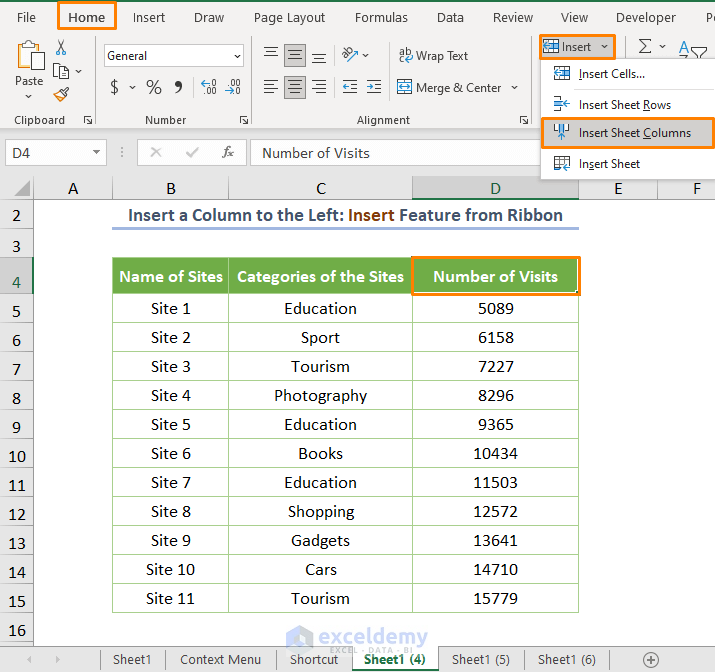
Eventually, you’ll get the following output.
Read More: Insert Column without Affecting Formulas in Excel
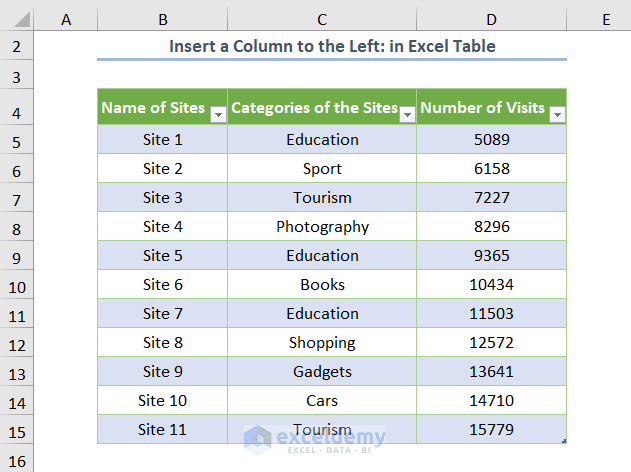
Method 4 – Inserting a Column to the Left in a Table
We converted the dataset to a table.
- Select a cell within the column and pick the Insert Table Columns to the Left option from the drop-down list in the Insert option (in the Home tab).
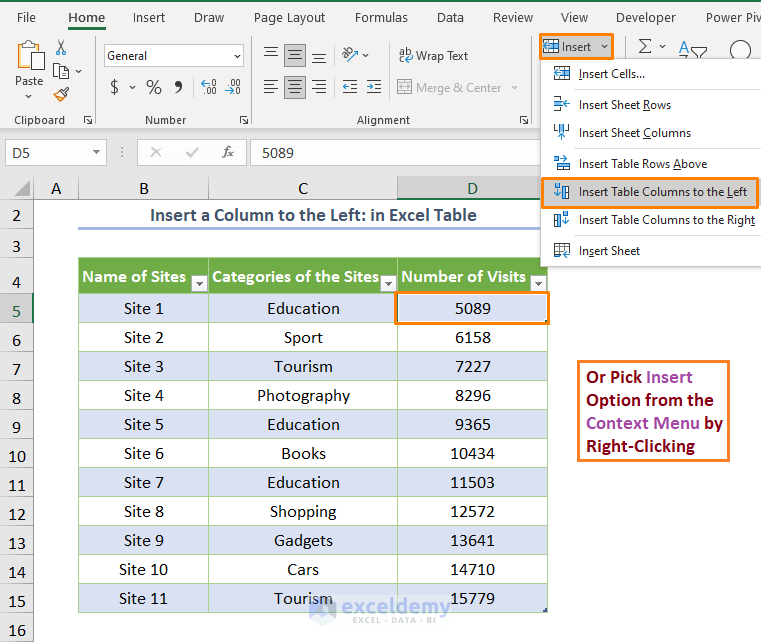
- You can also use the Insert option from the Context Menu to accomplish the same task.
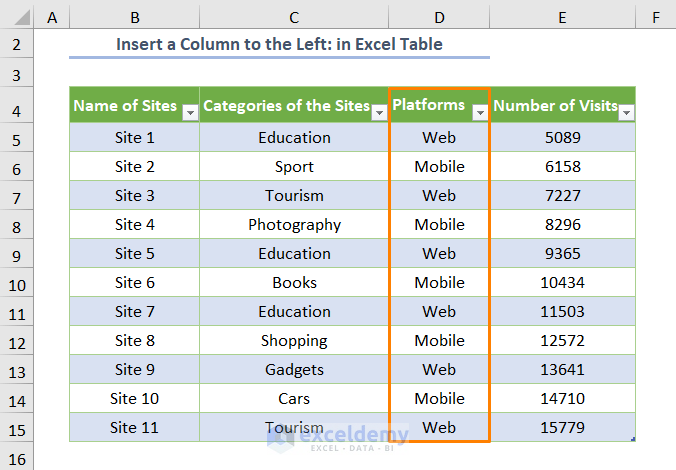
You’ll get the inserted column (insert data as you prefer) in the table as shown below.
Read More: Excel Fix: Insert Column Option Greyed out
Method 5 – Applying VBA Macro to Insert a Column to the Left
- Open a module by going to Developer and selecting Visual Basic (keyboard shortcut: Alt + F11).
- Go to Insert and pick Module.
- Copy the following code and paste it into the module:
Sub Insert_Column()
Columns("D:D").Insert Shift:=xlToLeft
End Sub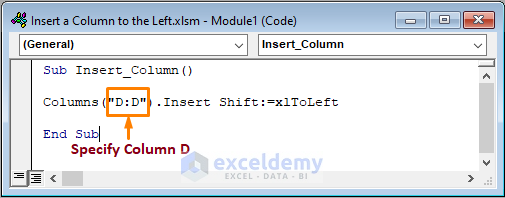
- Run the code (the keyboard shortcut is F5 or Fn + F5). You may need to save the file as an XLSM beforehand.
- Go back to the worksheet.
Read More: Insert a Column Between Every Other Column in Excel
Method 6 – Inserting Multiple Excel Columns to the Left
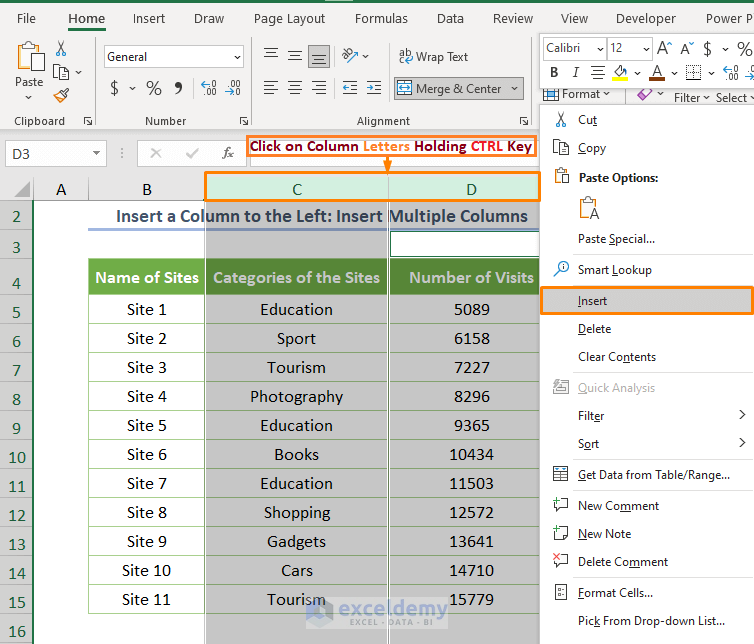
We want to insert a column to the left of the Categories of the Sites and another column to the left of the Number of Visits column.
- Click on the two column letters (e.g. C and D) while holding the CTRL key.
- Right-click over the selection.
- Choose the Insert option from the Context Menu.
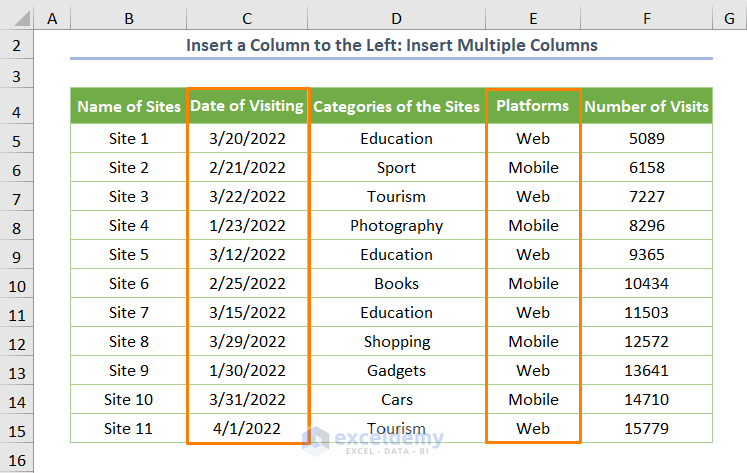
You’ll get two inserted columns as shown in the following screenshot. We inserted some values.
Read More: Cannot Insert Column in Excel
Download the Practice Workbook
<< Go Back to Insert Columns | Learn Excel
Get FREE Advanced Excel Exercises with Solutions!
