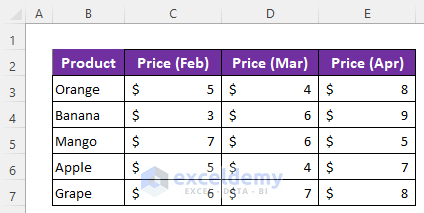
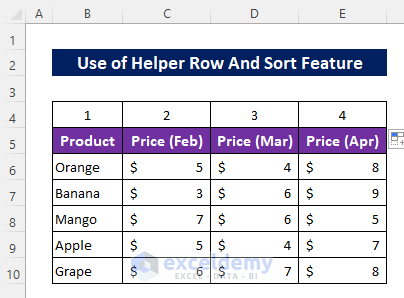
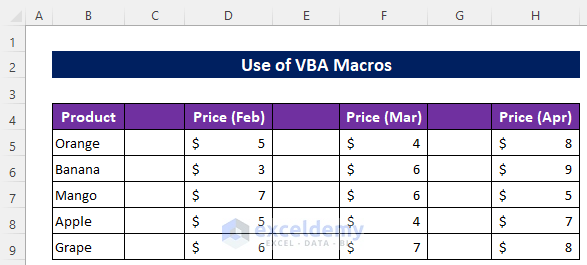
We’ll use the following dataset that represents some fruit prices for three consecutive months.
Method 1 – Use a Keyboard Shortcut to Insert a Blank Column Between Every Other Column in Excel
Steps:
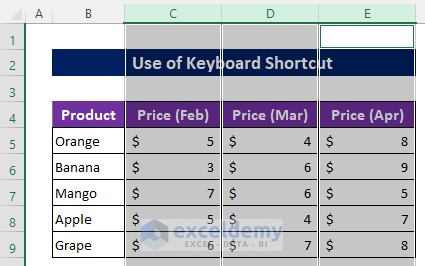
- Select all the columns excluding the first column by holding Ctrl and clicking on the column letters.
- Press Ctrl + Shift + Plus (+).
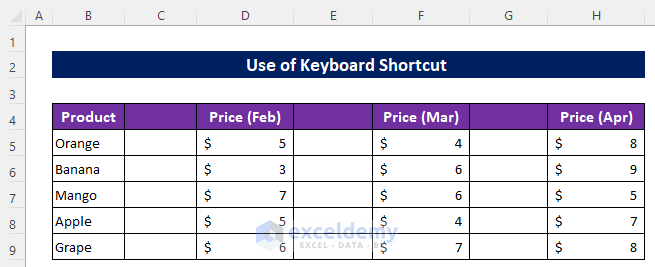
Excel has added a column between every other column.
Read More: How to Insert a Column to the Left in Excel
Method 2 – Using a Helper Row and the Sort Feature to Insert a Blank Column Between Every Other Column
Steps:
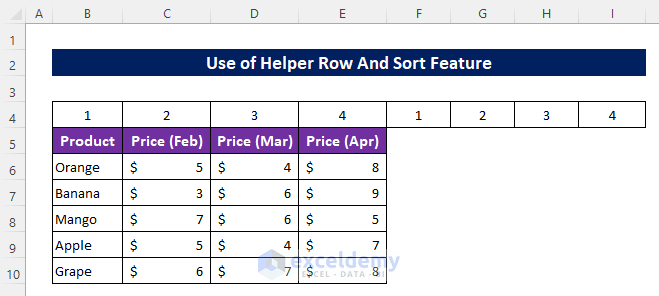
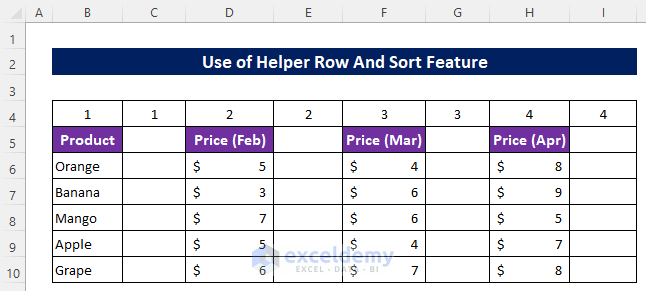
- Insert a new row just right above the dataset.
- Put 1 and 2 in the first two cells in the row.
- Use the Flash Fill tool to extend the values to the rest of the row.
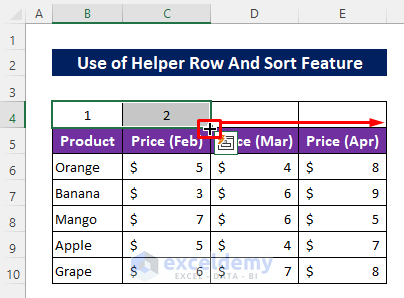
Here’s the result.
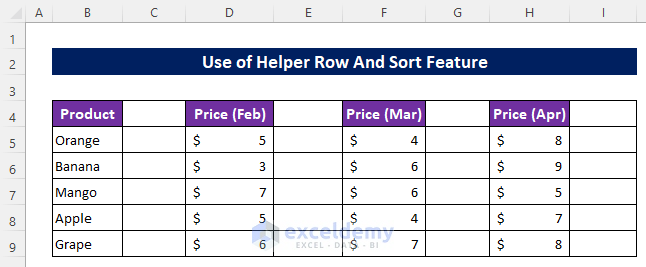
- Copy all the numbered cells and paste them right after the last number in the same row.
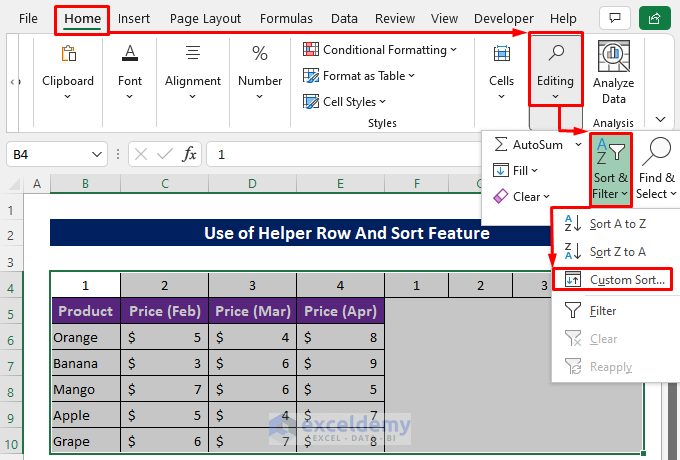
- Select the whole dataset by clicking and dragging.
- In Home, go to Sort & Filter and choose Custom Sort.
A dialog box will open up soon.
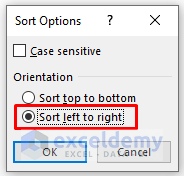
- Click Options.
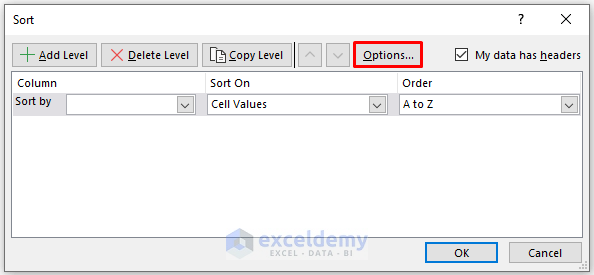
- Mark Sort left to right and press OK.
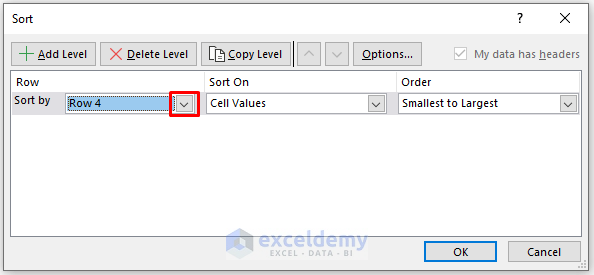
- Click on the drop-down icon from the Sort by box and select the row number of the added row. We selected Row 4.
- Press OK.
This distributes the values, making extra columns between each one.
- Delete the added row.
Method 3 – Embed a VBA Macro to Insert a Blank Column Between Every Other Column in Excel
Steps:
- Press Alt + F11 to open the VBA window.
- Go to Insert and select Module.
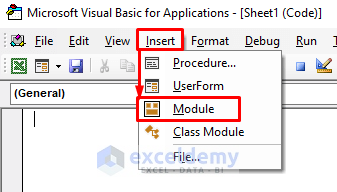
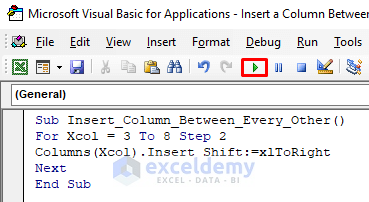
- Insert the following codes in the module:
Sub Insert_Column_Between_Every_Other()
For Xcol = 3 To 8 Step 2
Columns(Xcol).Insert Shift:=xlToRight
Next
End Sub- Click the Run icon.
Code Breakdown
- We created a Sub procedure Insert_Column_Between_Every_Other.
- We used a For loop to identify the adding column number starting from column number 3, and it will skip 2 steps each time the loop executes.
- We used Columns(Xcol).Insert Shift:=xlToRight to insert columns in the right positions.
Here’s the output.
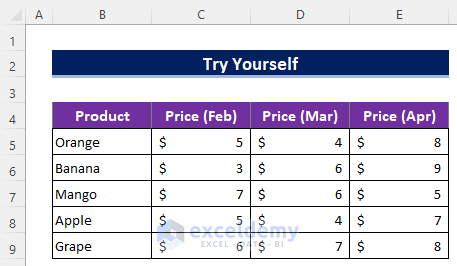
Practice Section
You will get a practice sheet in the Excel file given above to practice the explained methods.
Download the Practice Workbook
Related Articles
- How to Insert Column without Affecting Formulas in Excel
- Cannot Insert Column in Excel
- Excel Fix: Insert Column Option Greyed out
<< Go Back to Insert Columns | Learn Excel
Get FREE Advanced Excel Exercises with Solutions!
