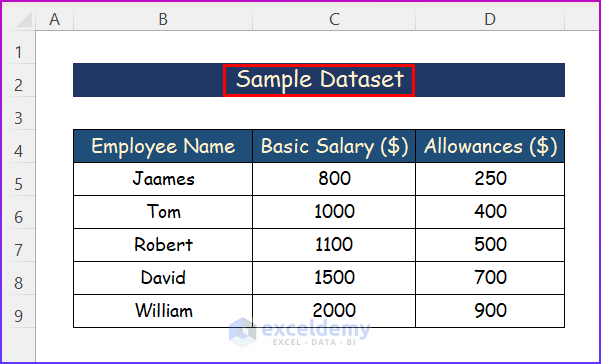
For illustration, we will search for the text “Sample Dataset” in multiple Excel files. One of the file’s texts is shown in the following image.
Method 1 – Utilizing File Explorer to Search Text in Multiple Files
Steps:
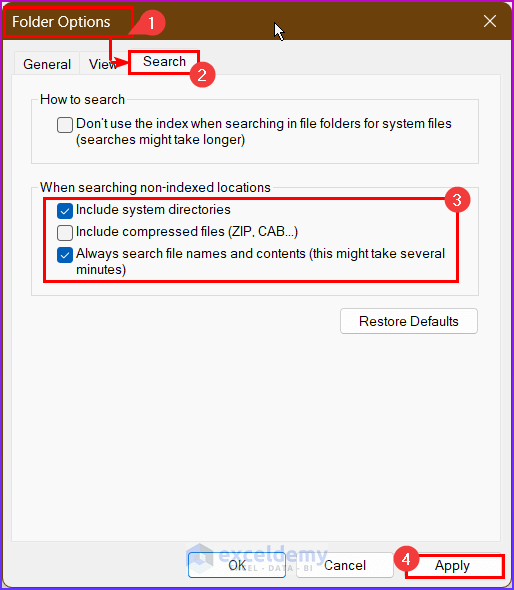
- Navigate to the folder where you want to search for the text.
- Go to Search from the Folder Option and select “Always search file names and contents”.
- Click on the Apply button.
- From the upper right corner of the folder, click on the Search bar.
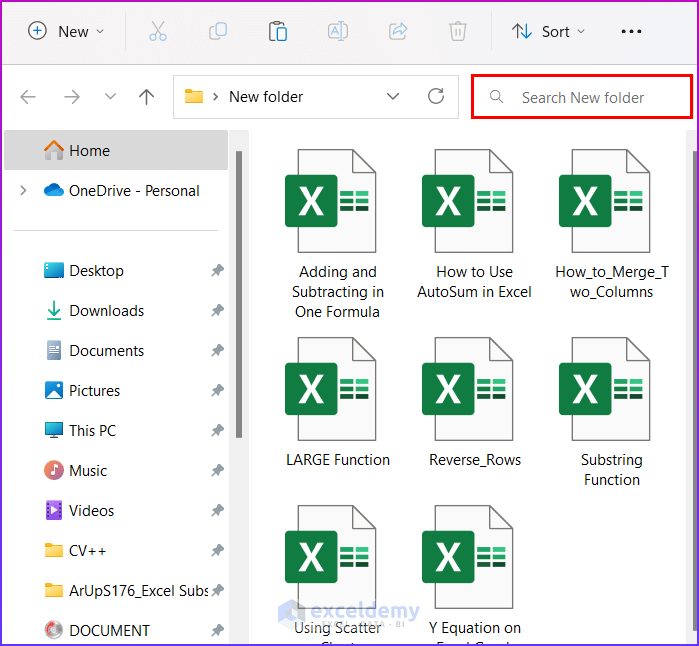
- Write your text in the search bar. For example, we have searched for the text “Sample Dataset” in all the Excel workbooks.
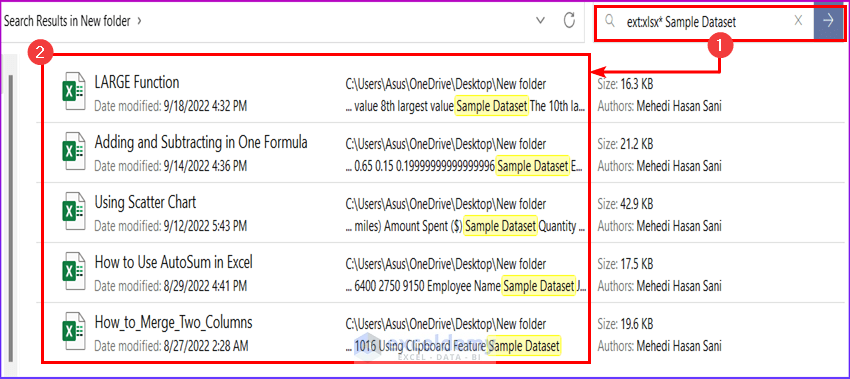
ext:xlsx* Sample Dataset
- This will show all the Excel workbooks containing the text you have searched for.
Method 2 – Applying VBA to Search Text in Multiple Excel Files
Steps:
- Open the worksheet where you want the text to be split.
- Hold the Alt+F11 keys in Excel, which opens the Microsoft Visual Basic Applications window.
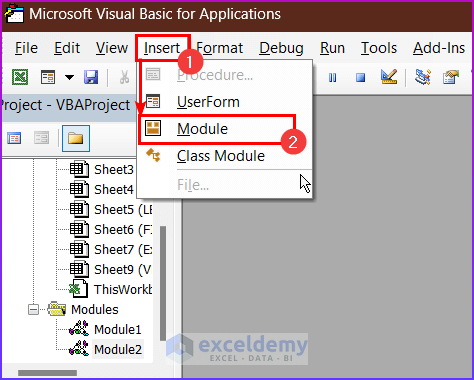
- Click the Insert button.
- Click on Module from the menu to create a module.
- A new window will open. Enter the following VBA macro in the Module window.
Sub SearchFolders()
'ExcelDemy Publications
'Declaring Variables
 Dim xDgl As Object
    Dim xFld As Object
    Dim xBnkSearch As String
    Dim xBnuPath As String
    Dim xGnuPath As String
    Dim xHty As Worksheet
    Dim xTn As Workbook
    Dim xRw As Worksheet
    Dim xVoi As Long
    Dim xGenerate As Range
    Dim xGbrPosition As String
    Dim xNewBox As FileDialog
    Dim xNew As Boolean
    Dim xCalculate As Long
    Dim xJTQ As Workbook
    Dim xJTQStrPath As String
    Dim xBln As Boolean
    Set xJTQ = ActiveWorkbook
    xJTQStrPath = xJTQ.Path & "\" & xJTQ.Name
    On Error GoTo FaultService
    Set xNewBox = Application.FileDialog(msoFileDialogFolderPicker)
    xNewBox.AllowMultiSelect = False
    xNewBox.Title = "Select a Folder"
    If xNewBox.Show = -1 Then
        xBnuPath = xNewBox.SelectedItems(1)
    End If
    If xBnuPath = "" Then Exit Sub
    xBnkSearch = "Sample Dataset"
    xNew = Application.ScreenUpdating
    Application.ScreenUpdating = False
    Set xHty = Worksheets.Add
    xVoi = 4
    With xHty
        .Cells(xVoi, 2) = "Workbook"
        .Cells(xVoi, 3) = "Worksheet"
        .Cells(xVoi, 4) = "Cell"
        .Cells(xVoi, 5) = "Text in Cell"
        Set xDgl = CreateObject("Scripting.FileSystemObject")
        Set xFld = xDgl.GetFolder(xBnuPath)
        xGnuPath = Dir(xBnuPath & "\*.xls*")
        Do While xGnuPath <> ""
            xBln = False
            If (xBnuPath & "\" & xGnuPath) = xJTQStrPath Then
                xBln = True
                Set xTn = xJTQ
            Else
                Set xTn = Workbooks.Open(Filename:=xBnuPath & "\" & xGnuPath, UpdateLinks:=0, ReadOnly:=True, AddToMRU:=False)
            End If
            For Each xRw In xTn.Worksheets
                If xBln And (xRw.Name = .Name) Then
                Else
                Set xGenerate = xRw.UsedRange.Find(xBnkSearch)
                If Not xGenerate Is Nothing Then
                    xGbrPosition = xGenerate.Address
                End If
                Do
                    If xGenerate Is Nothing Then
                        Exit Do
                    Else
                        xCalculate = xCalculate + 1
                        xVoi = xVoi + 1
                        .Cells(xVoi, 2) = xTn.Name
                        .Cells(xVoi, 3) = xRw.Name
                        .Cells(xVoi, 4) = xGenerate.Address
                        .Cells(xVoi, 5) = xGenerate.Value
                    End If
                    Set xGenerate = xRw.Cells.FindNext(After:=xGenerate)
                Loop While xGbrPosition <> xGenerate.Address
                End If
            Next
            If Not xBln Then
            xTn.Close (False)
            End If
            xGnuPath = Dir
        Loop
        .Columns("A:D").EntireColumn.AutoFit
    End With
    MsgBox xCalculate & " cells have been found", , "ExcelDemy for Excel"
ExitHandler:
    Set xHty = Nothing
    Set xRw = Nothing
    Set xTn = Nothing
    Set xFld = Nothing
    Set xDgl = Nothing
    Application.ScreenUpdating = xNew
    Exit Sub
FaultService:
    MsgBox Err.Description, vbExclamation
    Resume ExitHandler
End Sub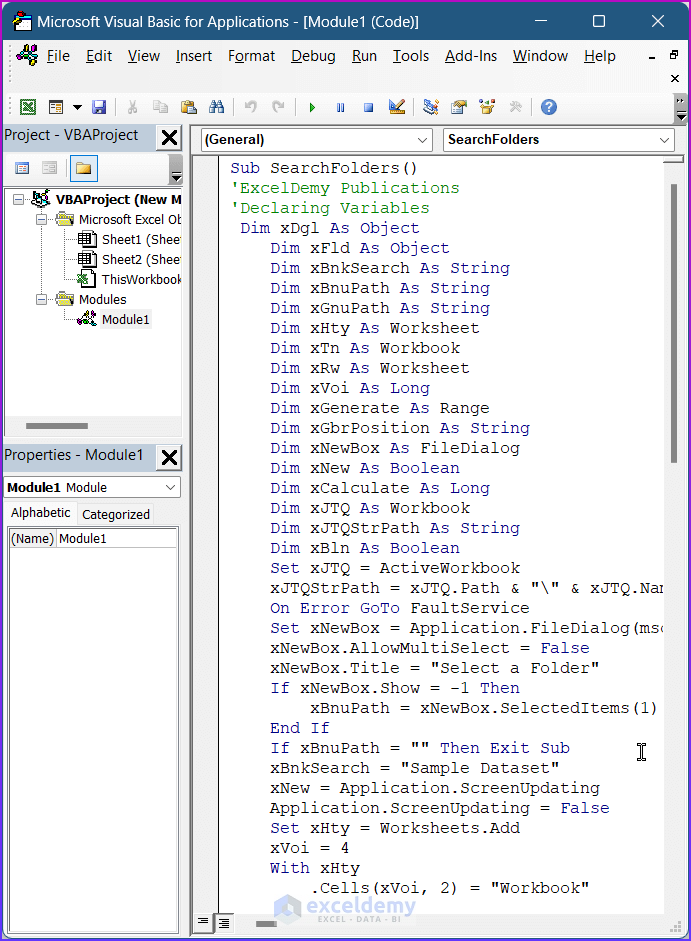
VBA Code Breakdown
- Create a new procedure Sub in the worksheet using the below statement
Sub SearchFolders()- Declare variables as
'Declaring Variables
 Dim xDgl As Object
    Dim xFld As Object
    Dim xBnkSearch As String
    Dim xBnuPath As String
    Dim xGnuPath As String
    Dim xHty As Worksheet
    Dim xTn As Workbook
    Dim xRw As Worksheet
    Dim xVoi As Long
    Dim xGenerate As Range
    Dim xGbrPosition As String
    Dim xNewBox As FileDialog
    Dim xNew As Boolean
    Dim xCalculate As Long
    Dim xJTQ As Workbook
    Dim xJTQStrPath As String
Dim xBln As Boolean- Activate the VBA sheet and set xJTQ, xNewBox to open a dialog box.
    Set xJTQ = ActiveWorkbook
    xJTQStrPath = xJTQ.Path & "\" & xJTQ.Name
    On Error GoTo FaultService
    Set xNewBox = Application.FileDialog(msoFileDialogFolderPicker)
    xNewBox.AllowMultiSelect = False
xNewBox.Title = "Select a Folder"- Apply two if loops. Add the text you want to search for in the xBnuSearch.
    If xNewBox.Show = -1 Then
        xBnuPath = xNewBox.SelectedItems(1)
    End If
    If xBnuPath = "" Then Exit Sub
    xBnkSearch = "Sample Dataset"
    xNew = Application.ScreenUpdating
Application.ScreenUpdating = False- Set xHty, xDgl, xFld, xTn.
    Set xHty = Worksheets.Add
    xVoi = 4
    With xHty
        .Cells(xVoi, 2) = "Workbook"
        .Cells(xVoi, 3) = "Worksheet"
        .Cells(xVoi, 4) = "Cell"
        .Cells(xVoi, 5) = "Text in Cell"
        Set xDgl = CreateObject("Scripting.FileSystemObject")
        Set xFld = xDgl.GetFolder(xBnuPath)
        xGnuPath = Dir(xBnuPath & "\*.xls*")
        Do While xGnuPath <> ""
            xBln = False
            If (xBnuPath & "\" & xGnuPath) = xJTQStrPath Then
                xBln = True
                Set xTn = xJTQ
            Else
Set xTn = Workbooks.Open(Filename:=xBnuPath & "\" & xGnuPath, UpdateLinks:=0, ReadOnly:=True, AddToMRU:=False)- Start an END If function and activate the cells according to the strings to get the result.
            End If
            For Each xRw In xTn.Worksheets
                If xBln And (xRw.Name = .Name) Then
                Else
                Set xGenerate = xRw.UsedRange.Find(xBnkSearch)
                If Not xGenerate Is Nothing Then
                    xGbrPosition = xGenerate.Address
                End If
                Do
                    If xGenerate Is Nothing Then
                        Exit Do
                    Else
                        xCalculate = xCalculate + 1
                        xVoi = xVoi + 1
                        .Cells(xVoi, 2) = xTn.Name
                        .Cells(xVoi, 3) = xRw.Name
                        .Cells(xVoi, 4) = xGenerate.Address
                        .Cells(xVoi, 5) = xGenerate.Value
                    End If
                    Set xGenerate = xRw.Cells.FindNext(After:=xGenerate)
                Loop While xGbrPosition <> xGenerate.Address
End If- End and exit the Sub of the VBA macro as
            Next
            If Not xBln Then
            xTn.Close (False)
            End If
            xGnuPath = Dir
        Loop
        .Columns("A:D").EntireColumn.AutoFit
    End With
    MsgBox xCalculate & " cells have been found", , "ExcelDemy for Excel"
ExitHandler:
    Set xHty = Nothing
    Set xRw = Nothing
    Set xTn = Nothing
    Set xFld = Nothing
    Set xDgl = Nothing
    Application.ScreenUpdating = xNew
    Exit Sub
FaultService:
    MsgBox Err.Description, vbExclamation
    Resume ExitHandler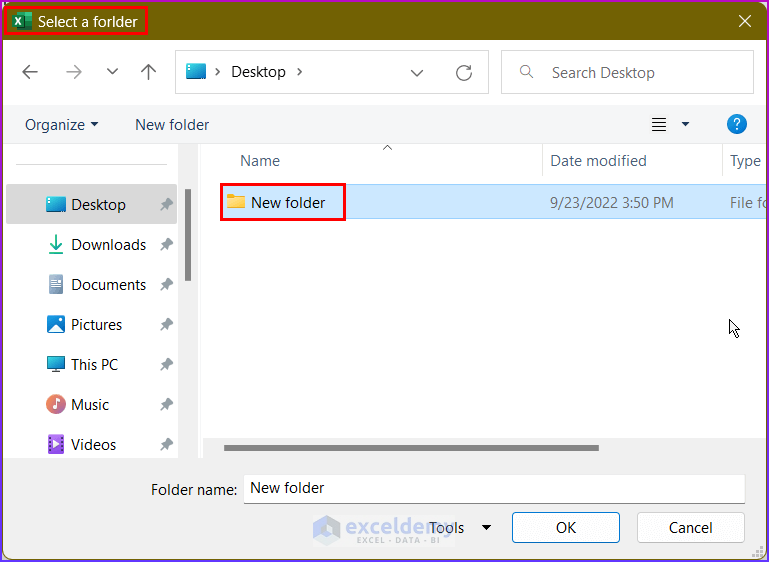
End Sub- Press the F5 key to run the VBA code. A dialog box named Select a Folder will appear.
- Select the folder where you want to search for and press OK.
- Another dialog box will appear showing the number of cells found. Press OK.

- You will find the name of the workbook, sheet number, and cell number of the searched text as in the following image.

Download Practice Workbook
Related Articles
- How to Check If a Value is in List in Excel
- Lookup Value in Column and Return Value of Another Column in Excel
- How to Find Top 5 Values and Names in Excel
- Find Text in Excel Range and Return Cell Reference
- [Solved!] CTRL+F Not Working in Excel
- How to Get Top 10 Values Based on Criteria in Excel
- How to Create Top 10 List with Duplicates in Excel
<< Go Back to Find Value in Range | Excel Range | Learn Excel
Get FREE Advanced Excel Exercises with Solutions!
