Here are 10 simple ways to navigate between sheets in Excel:
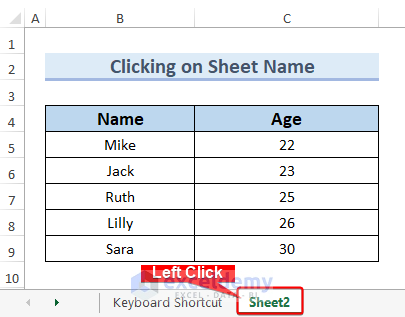
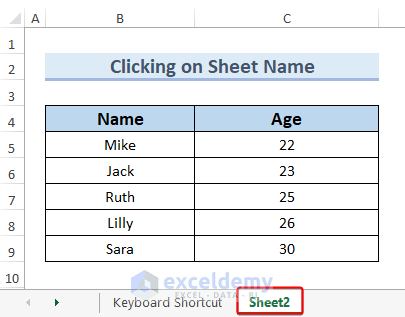
Method 1 – Clicking on the Sheet Name Tab
Simply click on the desired sheet name tab, e.g. Sheet2, and it will become the active sheet.
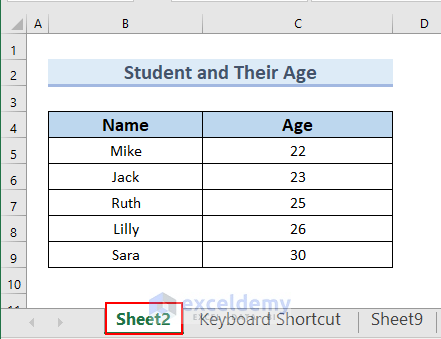
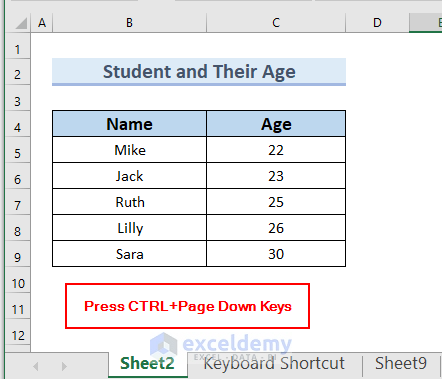
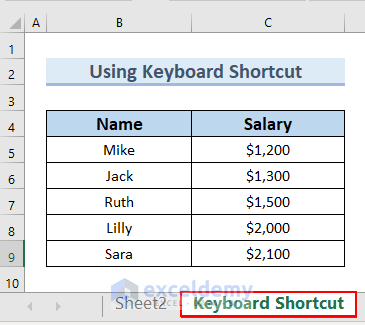
Method 2 – Using Keyboard Shortcut
This method is efficient for navigating to adjacent (previous or next) sheets in Excel.
- If you want to move to the previous sheet (e.g. from the “Keyboard Shortcut” sheet to “Sheet2” sheet), press Ctrl + PgUp.
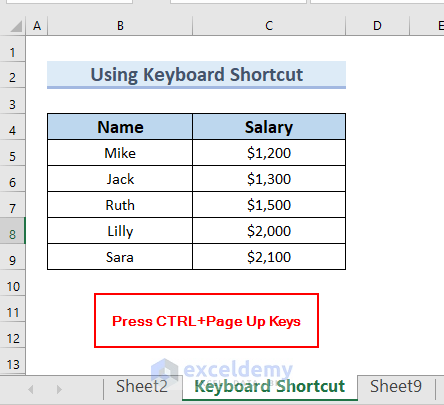
- Press Ctrl + PgDn to move from the “Sheet2” to the next sheet (to the right-hand side).
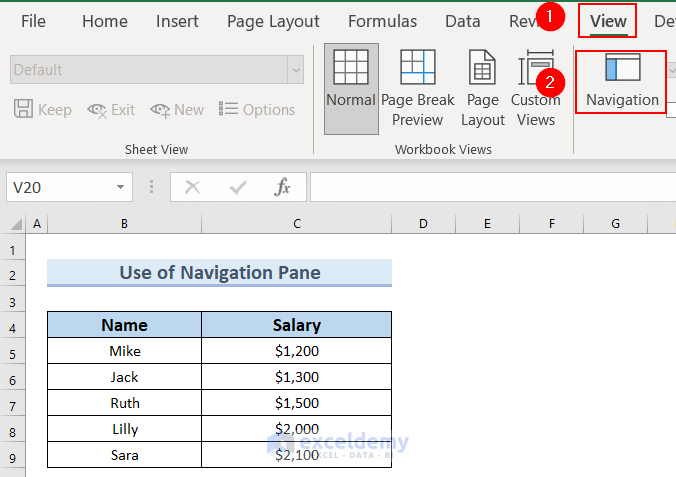
Method 3 – Using Navigation Pane
The Navigation Pane in Excel makes it easy to find and access objects like worksheets, tables, charts, images, and more.
- Go to the View tab.
- Select Navigation.
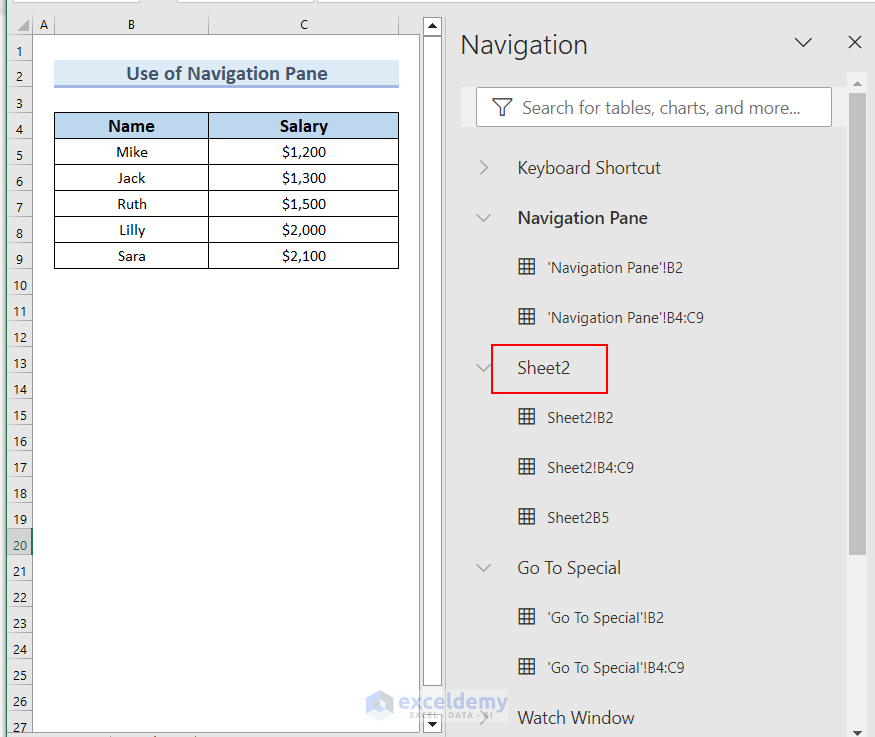
- A list will appear on the right side. Click any sheet name to jump to it (e.g. Sheet2)
Method 4 – Using Go To Dialogue Box
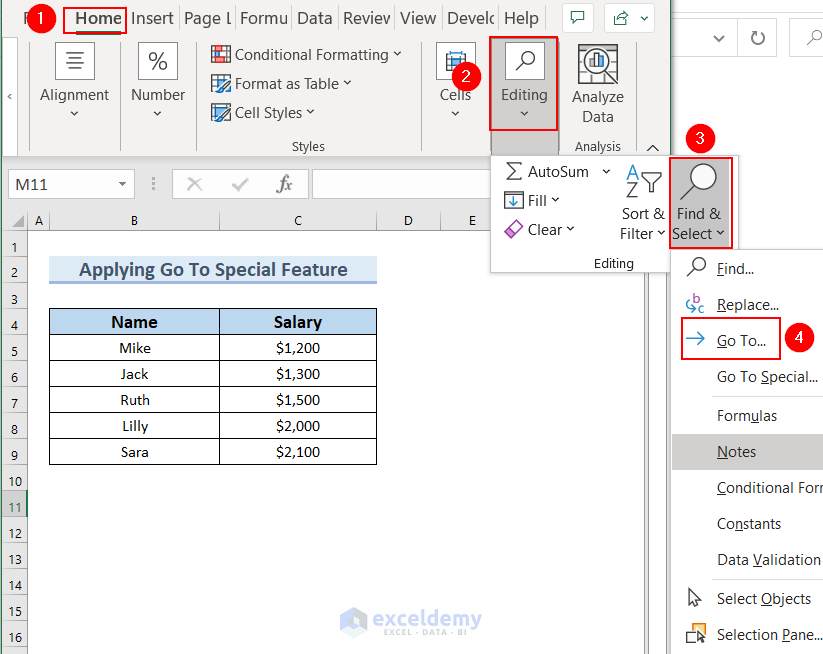
- Go to the Home tab > Editing > Find & Select > click Go To.
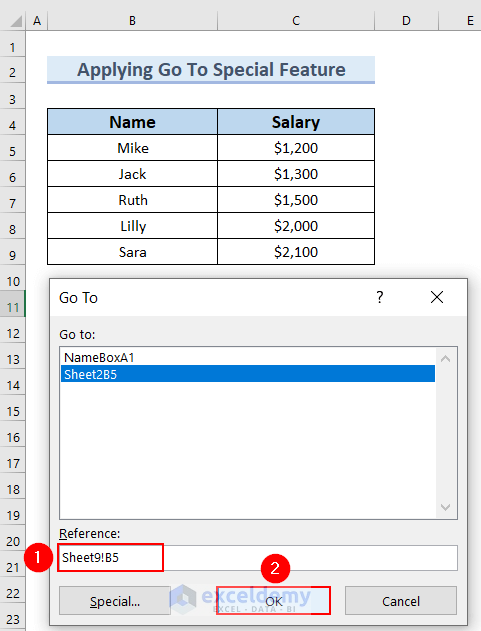
- The Go To dialog box will pop up. In the Reference box, enter the worksheet name followed by an exclamation mark (!) and the cell address. For example, Sheet9!B5.
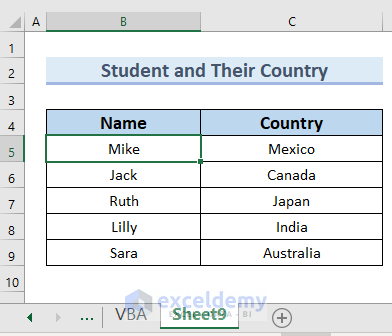
- Click OK to jump to cell B5 of Sheet9.
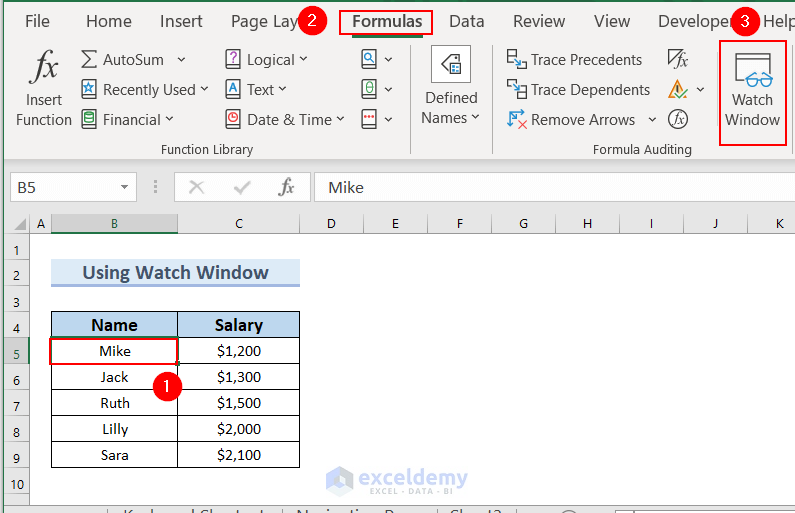
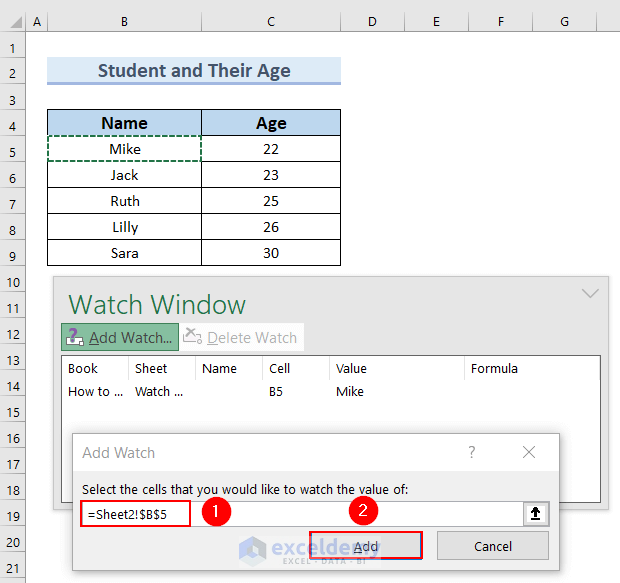
Method 5 – Applying the Watch Window Feature
This method is helpful when your workbook contains a large number of worksheets and you only need to navigate between some specific sheets.
- Select any cell on the sheet you want to navigate.
- Click the Formulas tab > Watch Window.
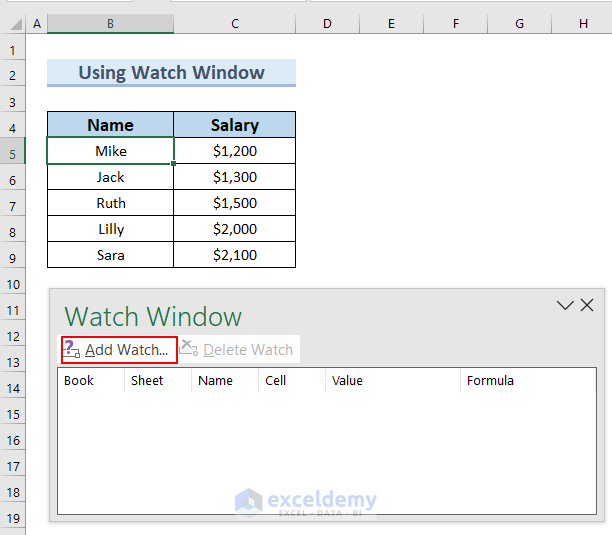
 A Watch Window toolbar will appear.
 - Click on Add Watch.
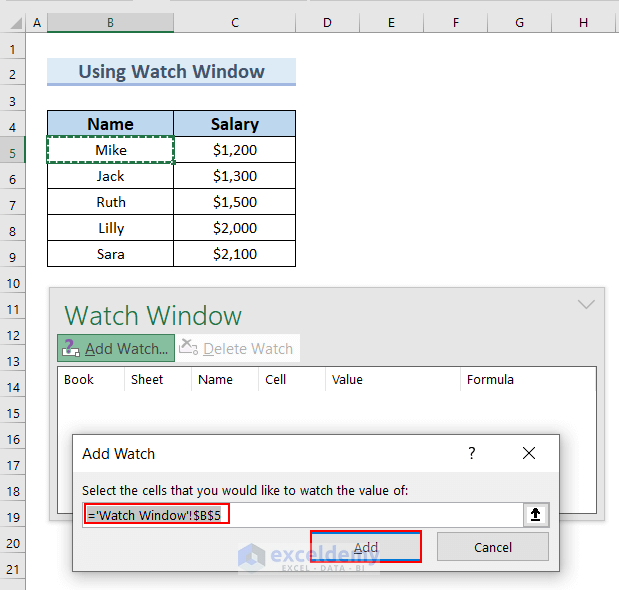
- In the Add Watch dialog box, the reference to the active sheet and the selected cell will appear in the select cells that you would like to watch the value of field.
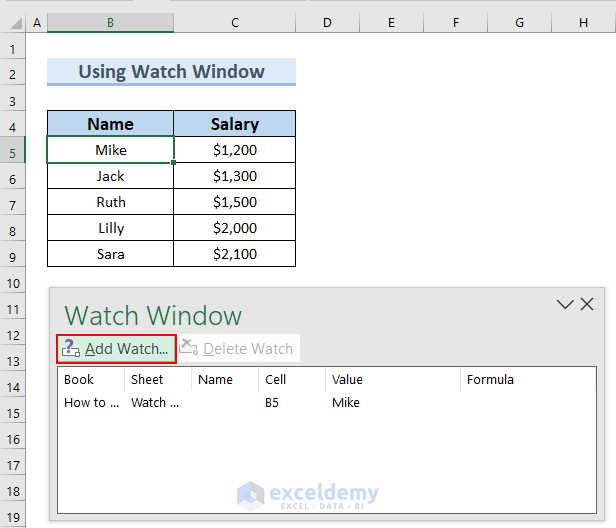
- Click on Add and the sheet and cell will be listed in the Watch Window.
- To add another sheet, click on Add Watch.
- Navigate to another sheet and select any cell.
The reference to that sheet and the selected cell will appear in the select cells that you would like to watch the value of field. - Click the Add button to add it to the list in the Watch Window.
You can add more sheets by following the same steps. - Once the targeted sheets are added in the Watch Window, double-click on any worksheet name to navigate to that sheet.
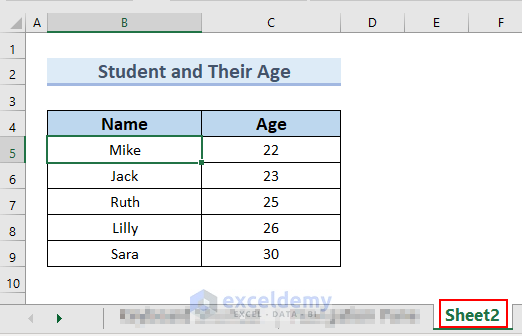
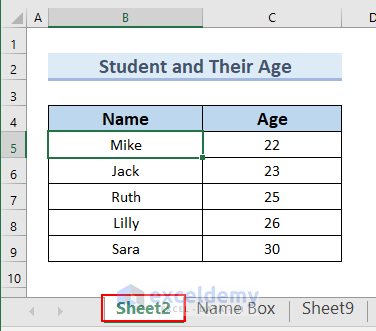
Here, I have double-clicked on the Sheet2 option.

It takes us to cell B5 of “Sheet2“.
Read More: How to Navigate Large Excel Spreadsheets
Method 6 – Using Activate Sheet Option
- Go to the bottom left corner of the sheet.
- Right-click on it

- The Activate dialog box will pop up with a list of the existing sheets of the workbook.
- Select your preferred sheet (e.g. Sheet2) from the list and click OK.
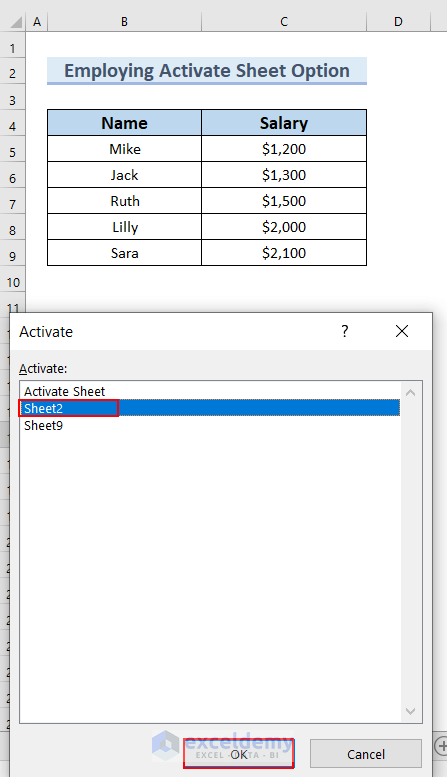
The selected sheet will be activated.

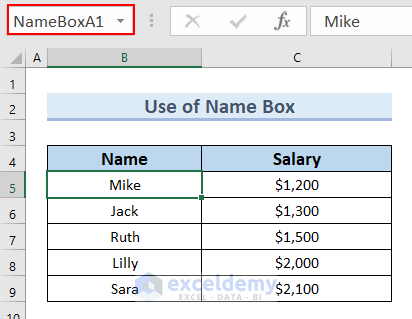
Method 7 – Using Name Box
In this method, we will assign a name to a single cell on each sheet within the Name Box. Then, we will use the Name Box to move between sheets in Excel.
- Select a cell (in this case, cell B5).
- Go to the Name Box and define the name NameBoxA1 in the Name Box.
You can type any name in the Name Box. - Press Enter.
- Go to another sheet (e.g. Sheet2), select a cell (e.g. B5), and type Sheet2B5 in the Name Box.
- Press Enter.

- Click on the drop-down arrow in the Name Box.
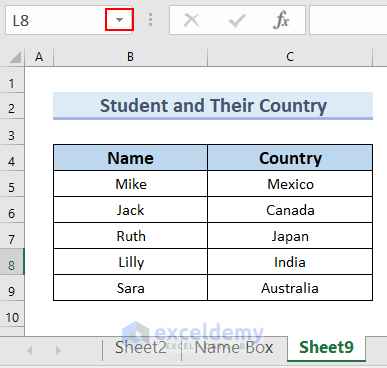
The names of the two reference sheets we named will appear. - Here, we want to navigate to Sheet2, so we select Sheet2B5.
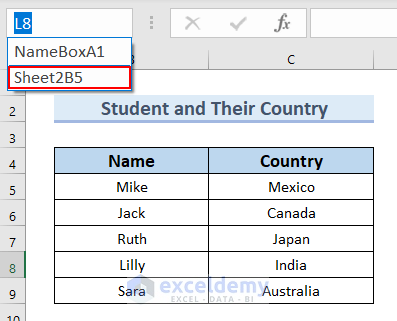
It will take us to “Sheet2“.
Method 8 – Using Hyperlink to Navigate Between Sheets
You can establish a connection between two sheets by linking the cell value of one sheet to the corresponding link of another sheet.
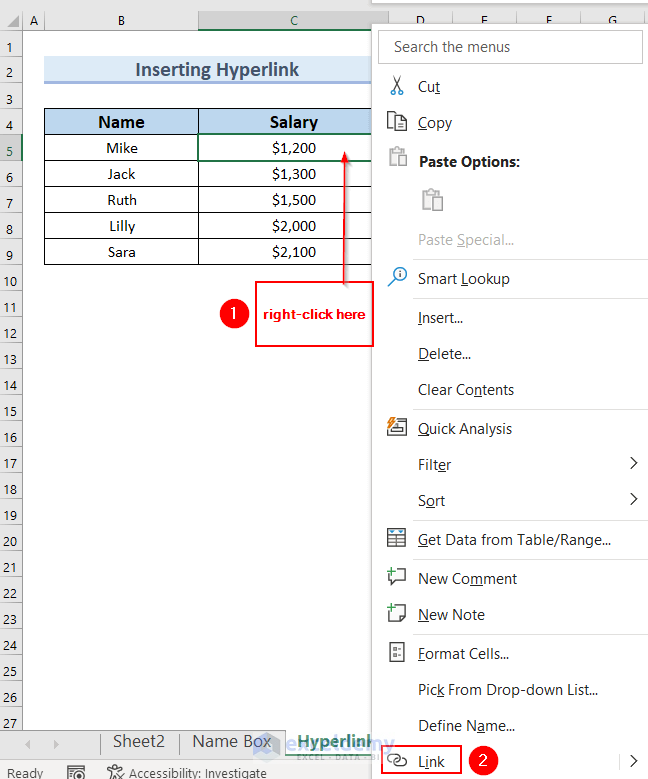
- Select a desired cell (in this case, we have selected the C5 cell) in your worksheet.
- Select Link from the context menu.
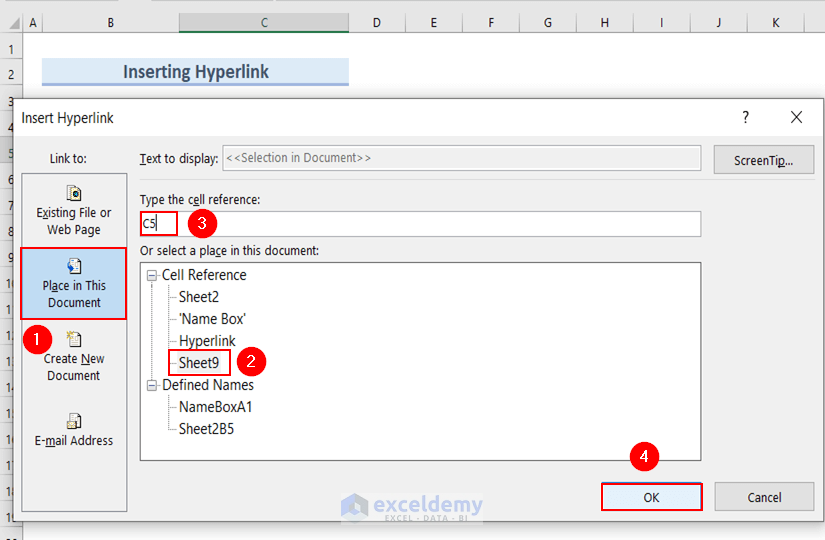
- In the Insert Hyperlink dialog box:
- Go to Place in This Document.
- Enter desired cell (in this case, cell C5) in the Type the cell reference box.
- After that, click on the desired sheet (in this case, the Sheet9) that you want to link.
- Click on OK.
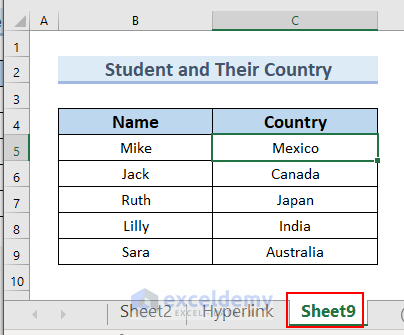
Cell C5 now has a Hyperlink.
- Click on this Hyperlink.

It will navigate to cell C5 in”Sheet9” worksheet.
Method 9 – Using VBA Code to Navigate Between Two Specific Sheets
If you constantly switch between two specific sheets, create a macro and add it as a button in the Quick Access Toolbar.
Step 1: Creating VBA Macro
- Go to the Developer tab and select Visual Basic to open the VBA Editor window. Or, use keyboard shortcut Alt+F11.

- In Visual Basic Editor, click Insert > Module.
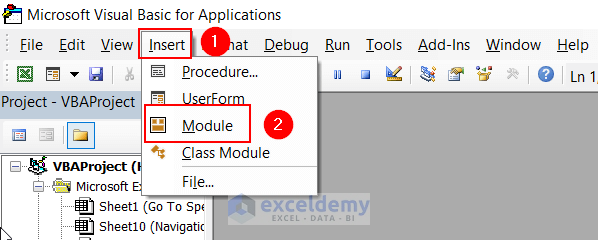
- Paste following code in the Module.
Sub navigate_between_Sheets()
If ActiveSheet.Name = "VBA" Then
Sheets("Sheet9").Activate
Else
Sheets("VBA").Activate
End If
End Sub
Step 2: Add VBA to the Quick Access Toolbar
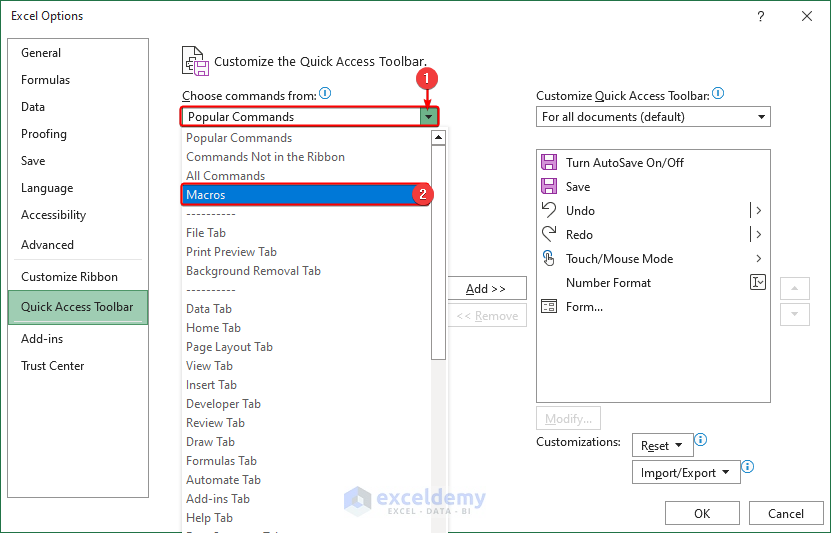
- Go to Quick Access Toolbar and select More Commands option from the drop-down menu.
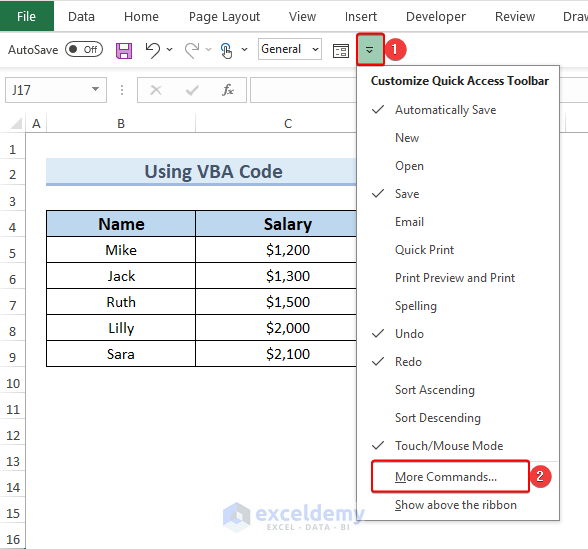
This will open the Excel Options window. - Select the Macros option from the Popular Commands drop-down menu.
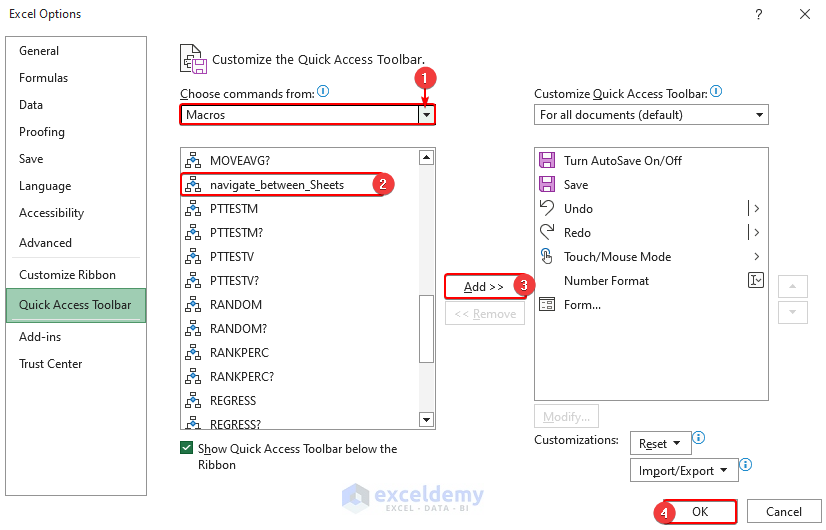
- Select the navigate_between_Sheets macro from the available options in the drop-down menu.
- Click on Add.
- Click OK.
You can see a toggle icon named navigate_between_Sheets has been added to the Quick Access Toolbar.
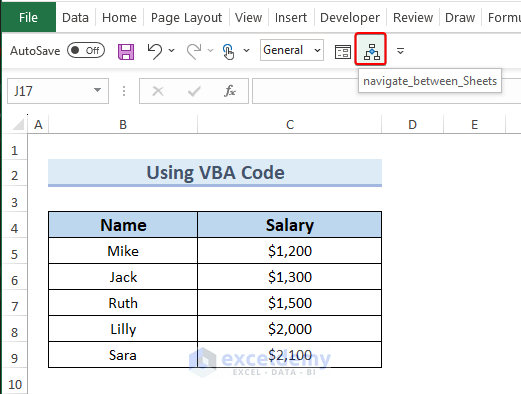
You can click the toggle button to navigate between the two sheets, “VBA” and “Sheet9”.
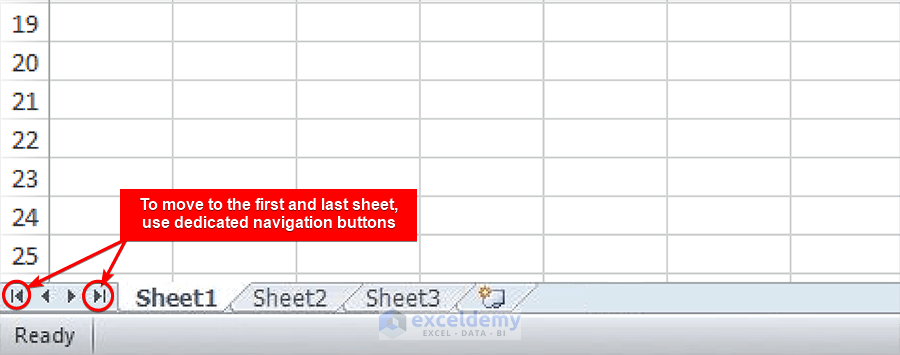
Method 10 – Using Dedicated Navigation Button (Excel 2010 and Earlier Only)
Older versions of Excel (Excel 2010 and earlier) had dedicated navigation buttons for scrolling to the first or last sheet in the workbook.
This feature is no longer available in newer versions of Excel.
However, if you still use Excel 2010 or earlier versions, you can use these buttons to navigate to the first and last worksheet tabs in your workbook.
Download Practice Workbook
Related Articles
- How to Create Navigation Buttons in Excel
- How to Perform Tab Navigation in Excel
- How to Perform Cell Navigation in Excel
- [Fixed] Excel Navigation Arrow Keys Not Working
- How to Use Navigation Keys in Excel
<< Go Back to Navigation in Excel | Learn Excel
Get FREE Advanced Excel Exercises with Solutions!
