Cell navigation in Excel refers to the process of moving around and selecting different cells within a spreadsheet. It’s a fundamental skill for effective data handling. Efficient cell navigation is essential for working with data, performing calculations, and managing information in Excel. Cell navigation saves time, reduces errors, and ensures a smoother workflow, allowing for quicker and more accurate data handling.
In this Excel tutorial, we will present four effective techniques for navigating cells in Excel.
To provide an example, I have demonstrated how to utilize the Name Box to navigate to a particular cell, such as C6, in the following image.
To perform cell navigation in Excel, follow these four methods:
Using Name Box in Excel
The Name Box in Excel provides a convenient way to navigate between cells. You can find it beside the formula bar on the left side. It offers a straightforward and efficient method of moving around. However, it is important to remember the name of the desired cell to make effective use of this feature.
To complete the task correctly, read through the below steps:
- Select the Name Box.
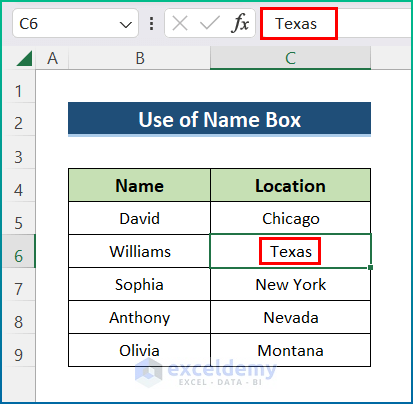
- Then, insert the cell address where you want to navigate.
In this case, we have inserted C6.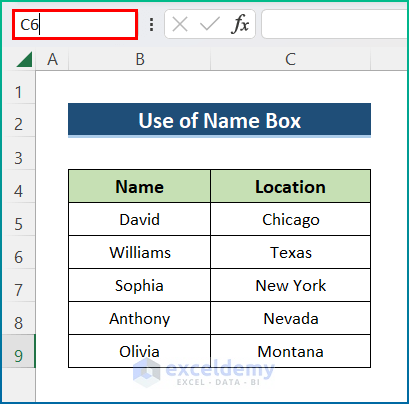
- Press Enter to navigate to the desired cell.
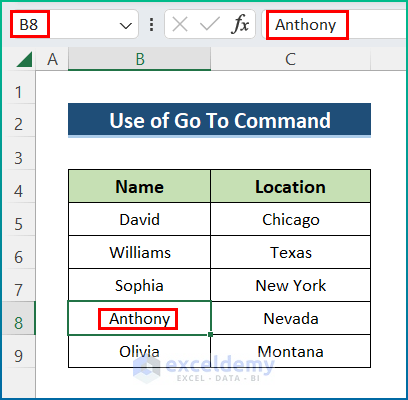
Using Go To Command
In this section, you can navigate to a particular cell or range of cells by using the Go To command. However, it is necessary to remember the cell address to execute this action.
To perform this task, follow the steps mentioned below:
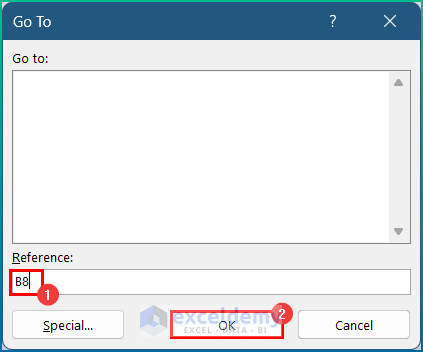
- Press the F5 key to open the Go To dialog box.
- Then, write your desired cell number in the Reference field and press OK.
Now, it will navigate to your expected cell.
Using Keyboard Shortcuts
You can apply keyboard shortcuts for cell navigation. Here, we will focus on the use of navigation keys in Excel. However, Microsoft Excel has plenty of shortcuts, and those shortcuts help us to do work faster and also save time.
Go through the following table to learn the keyboard shortcuts to navigate between cells:
| Keys | Action |
|---|---|
| Left, Right, Up, and Down Arrows | Moves by one cell in the direction of the arrow |
| CTRL+Arrow Key | Moves to the boundary of the dataset |
| SHIFT+Arrow Key | Selects one cell in the direction of the arrow |
| CTRL+SHIFT+Arrow Key | Selects all the non-blank cells in the direction of the arrow |
| Tab | Shifts to the right by one cell |
| Shift+Tab | Shifts to the left by one cell |
| Home | Jumps to the start of the row |
| CTRL+Home | Moves to the first cell (A1) of the worksheet |
| End | Goes to the next blank cell in the row |
| CTRL+End | Proceeds to the last unused cell at the bottom |
| Page Up | Moves up by one page/screen |
| Page Down | Goes down by one page/screen |
| ALT+Page Up | Scrolls to the left by one unit of screen |
| ALT+Page Down | Scrolls to the right by one unit of the screen |
For example, you can navigate to the first cell from any cell by pressing the Ctrl+Home key combination.
Cell Navigation in Excel Through Mouse or Touchpad
You can navigate between cells with the mouse or touchpad, and it is the easiest process of all. As a regular Excel user, it is a must to have smooth scrolling with the mouse wheel in Excel. It is more necessary when you deal with a large dataset. Additionally, it will give you a smooth appearance when scrolling through the whole dataset.
To navigate the cell with the mouse or touchpad, follow the steps below:
- Select any cell either by one tap on the touchpad or by left-clicking on the mouse.
- Then change the position of the mouse or touchpad and navigate to another cell.
Download Practice Workbook
Conclusion
These are all the steps you can follow to perform cell navigation in Excel. We have shown multiple methods with their respective examples, but there can be many other iterations depending on numerous situations. We sincerely hope you learned something and enjoyed this guide. Please let us know in the comments section below if you have any questions or recommendations.
Frequently Asked Questions
How do I enable cell navigation in Excel?
To activate cell navigation in Excel, simply deactivate Scroll Lock by pressing the designated key labeled Scroll Lock or ScrLk on your keyboard. Once pressed, Scroll Lock will be disabled, and you’ll notice its disappearance from the status bar. After this adjustment, your arrow keys will resume their normal function, allowing you to navigate freely between cells in Excel.
How do I navigate a cell range in Excel?
To move to a specific range of cells in Excel, use the Ctrl+G shortcut. Press Ctrl+G, input the desired cell range in the Reference box and then press Enter or click OK. The Go to box conveniently records the ranges you enter, allowing you to revisit any of them later by double-clicking
Why is my cell navigation not working in Excel?
If your arrow keys are not working in Excel, it might be because the scroll lock on your keyboard is turned on. Check if the light on the scroll lock key is lit. If it is, press the scroll lock key to turn it off. Once done, your arrow keys should start working again, allowing you to navigate cells in Excel as usual.
Related Articles
- How to Use Navigation Pane in Excel
- How to Create Navigation Buttons in Excel
- How to Perform Tab Navigation in Excel
- How to Navigate Between Sheets in Excel
- How to Navigate Large Excel Spreadsheets
- [Fixed] Excel Navigation Arrow Keys Not Working
<< Go Back to Navigation in Excel | Learn Excel
Get FREE Advanced Excel Exercises with Solutions!
