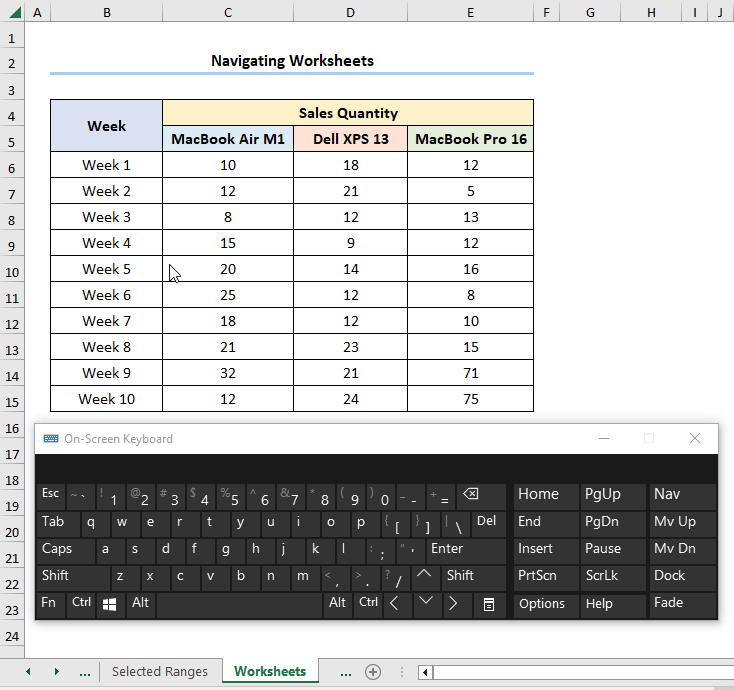
Here’s a simple example of using navigation keys to navigate between worksheets.
6 Examples of Using Navigation Keys in Excel
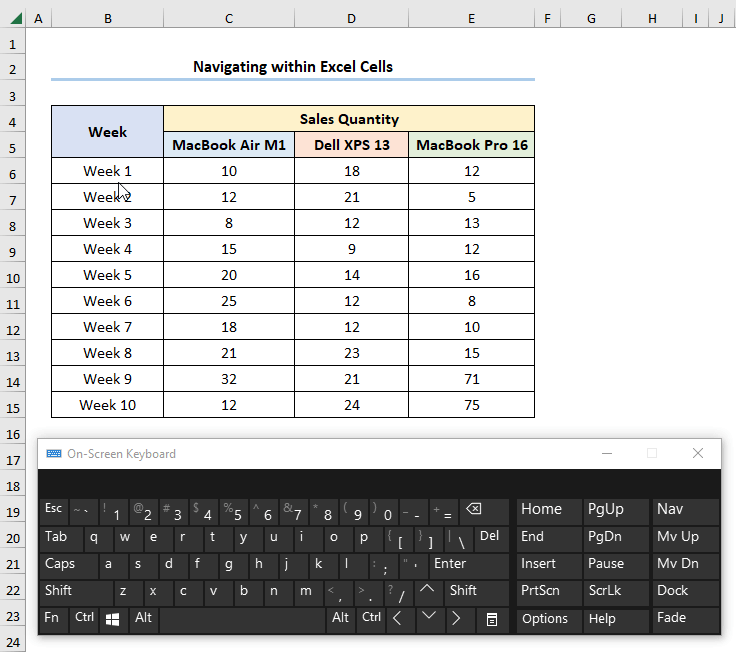
Example 1 – Navigating Within Excel Cells
In Excel, moving around cells is important for doing things quickly. Whether you’re putting in information, looking at data, or organizing your sheet, being good at cell navigation makes using Excel easier.
Here’s a handy list of shortcuts for navigating in the table:
| Keys | Action |
|---|---|
| Left, Right, Up, and Down Arrow | Moves by one cell in the direction of the arrow |
| Ctrl + Arrow Key | Moves to the boundary of the dataset |
| Shift + Arrow Key | Selects one cell in the direction of the arrow |
| Ctrl + Shift + Arrow Key | Selects all the non-blank cells in the direction of the arrow |
| Tab | Shifts to the right by one cell |
| Shift + Tab | Shifts to the left by one cell |
| Home | Jumps to the start of the row |
| Ctrl + Home | Moves to the first cell (A1) of the worksheet |
| End | Goes to the next blank cell in the row |
| Ctrl + End | Proceeds to the last unused cell at the bottom |
| Page Up | Moves up by one page/screen |
| Page Down | Goes down by one page/screen |
| Alt + Page Up | Scrolls to the left by one unit of screen |
| Alt + Page Down | Scrolls to the right by one unit of screen |
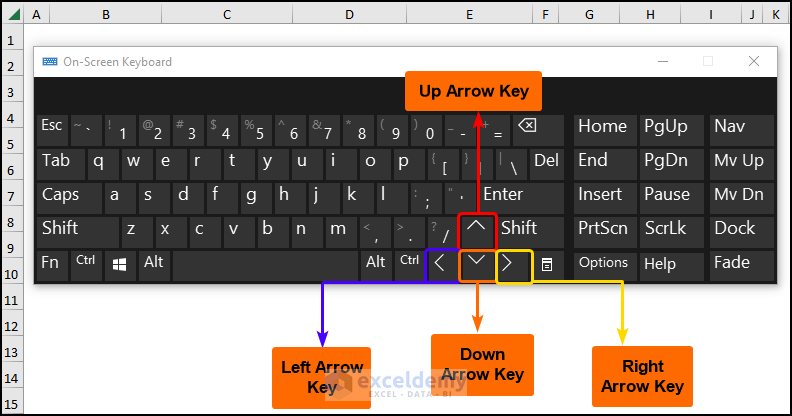
The following image shows the directional Arrow Keys (Up, Down, Left, and Right) that are needed to navigate the cells in the worksheet.
To navigate from the top to the bottom row:
- Select the cell.
- Press Ctrl + Down Arrow ().
Example 2 – Moving Across Selected Ranges
In Excel, after selecting a range of cells, use the arrow keys for precise navigation within that selection.
Additionally, you can navigate across a selection of cells using the keys listed in the table below:
| Keys | Action |
|---|---|
| Tab | Shifts to the right/down by one cell in the selected cells |
| Shift + Tab | Moves to the left/up in the selected range |
| Enter | Proceeds from top to bottom by one cell in the selected cells |
| Shift + Enter | Jumps from bottom to top |
To select a range of cells and then move across them using the shortcuts:
- Navigate to the B5 cell and press Ctrl + Shift + Down Arrow ().
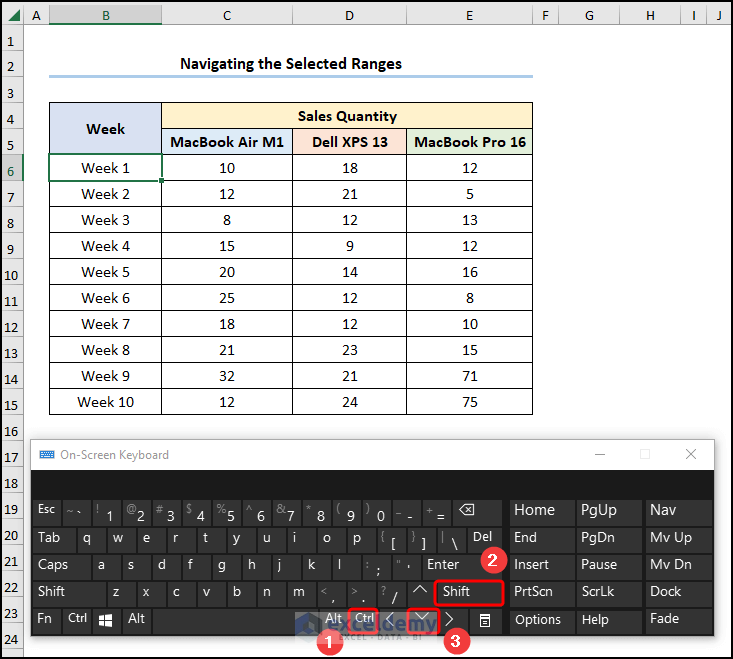
- Hit the Tab key.
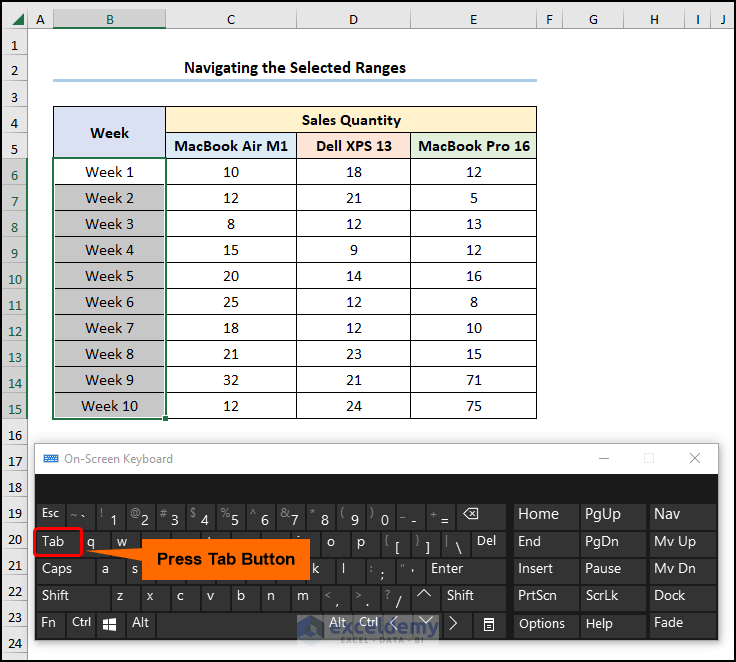 This will move the cursor down by one cell.
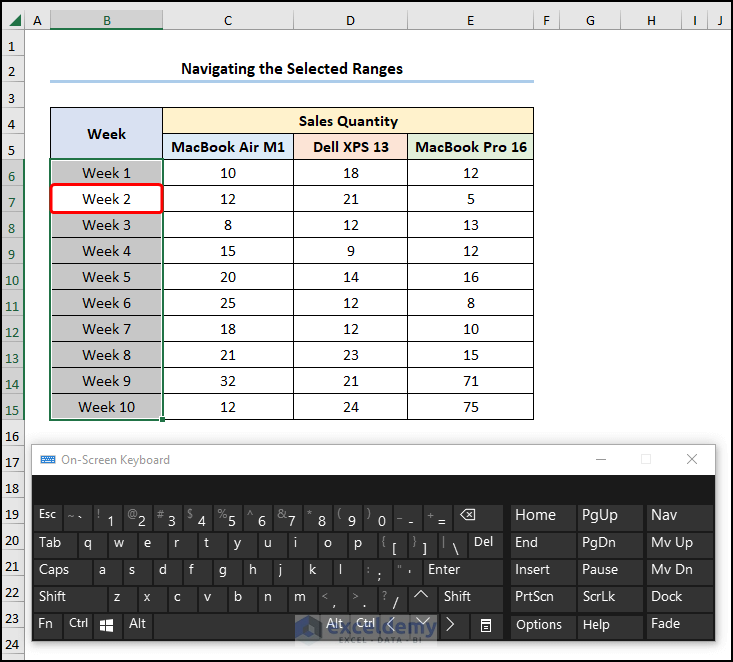
You can observe the steps in real time in the GIF below:
Example 3 – Navigating Throughout Worksheets
Here are shortcuts to switch to the next and previous worksheets:
| Keys | Action |
|---|---|
| Ctrl + Page Down | Navigates to the following worksheet |
| Ctrl + Page Up | Moves to the preceding worksheet |
The following GIF shows how the Ctrl + Page Down and Ctrl + Page Up keys help to switch between the two worksheets:
Example 4 – Using Scroll Lock
The Scroll Lock option allows us to scroll large spreadsheets without having to lose track of the active cell.
The following table contains a list of keys that you can utilize with the Scroll Lock option:
| Keys | Action |
|---|---|
| Scroll Lock, Up/Down Arrow | Shifts up/down by one row |
| Scroll Lock, Left/Right Arrow | Moves left/right by a unit row |
| Scroll Lock, Ctrl + Left/Right Arrow | Navigates left/right by one window |
| Scroll Lock, Ctrl + Arrow Keys | Scrolls across large distances |
If you want to scroll a large worksheet using the Scroll Lock feature:
- Click on the Scroll Lock button to enable this feature.
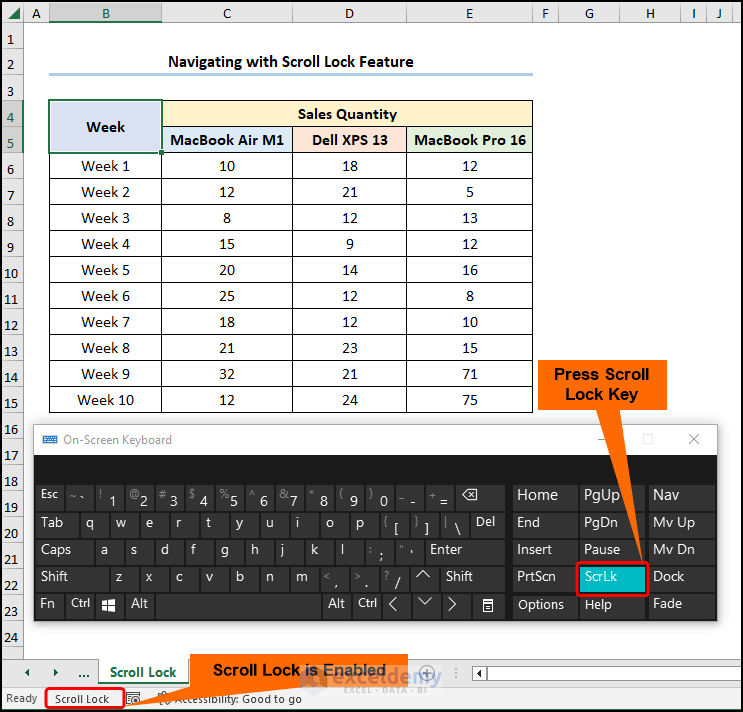
- Press Ctrl + Right Arrow (➡), as shown in the image below.
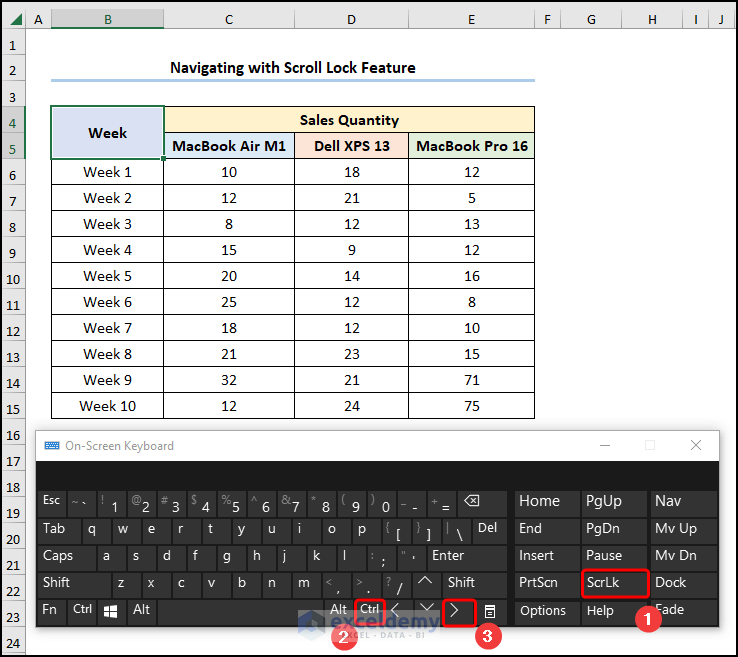 The screen moves to the right side by one page.
You can see the steps in the following GIF for a live demonstration:
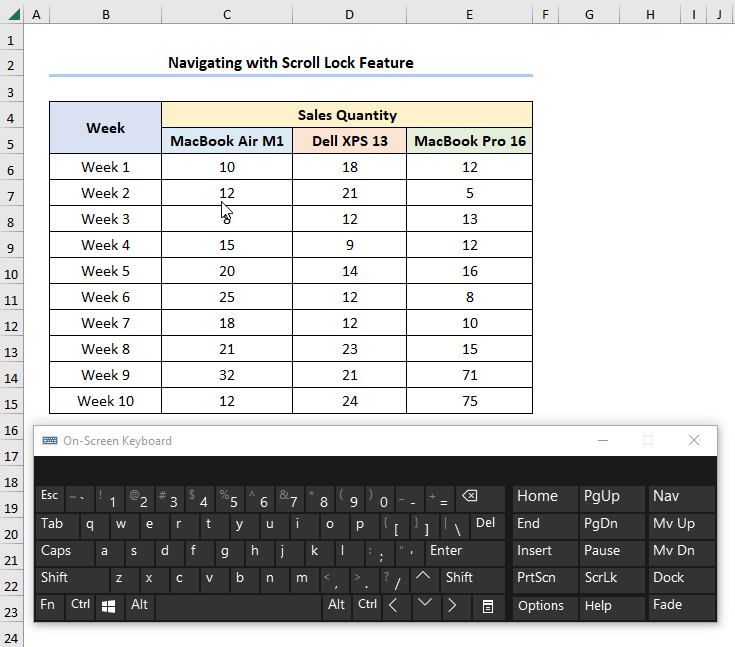
Note: As a note, when Scroll Lock is enabled, the text “Scroll Lock” appears in the Status Bar.
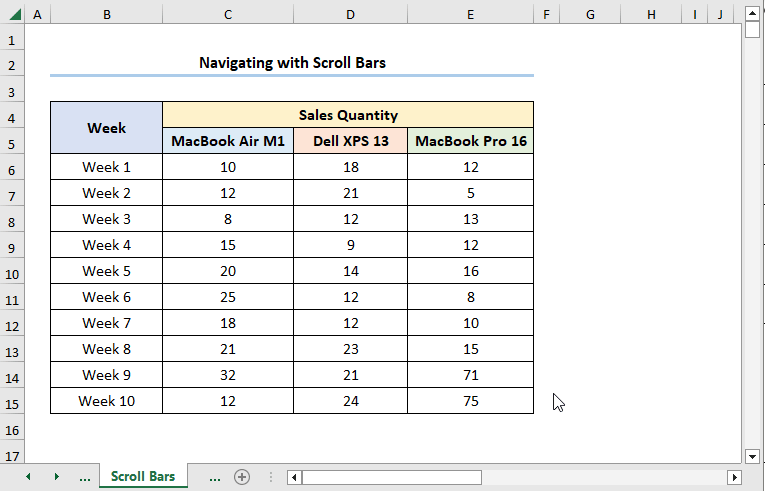
Example 5 – Using the Scroll Bars
Ye can also use the Scroll Bars to navigate through rows and columns in an Excel worksheet. The following table lists the actions performed by the Scroll Bars keys:
| Keys | Action |
|---|---|
| Moves across one column left or right | |
| Shifts through one row up or down | |
| Dragging the horizontal and vertical scroll bars scrolls through large distances | |
| Mouse Wheel | Moving the mouse wheel forward or backward scrolls up or down |
The following GIF shows the actions performed by the Scroll Bars keys:
Example 6 – Using the Mouse Wheel to Scroll and Zoom
You can also control various other aspects of zooming and scrolling in Excel with the help of the Mouse Wheel.
| Keys | Action |
|---|---|
| Ctrl + Shift + Mouse Wheel | Moves the window to the left or right |
| Click Mouse Wheel | Pan across the spreadsheet |
| Ctrl + Mouse Wheel | Zooms in or out of the worksheet |
If you want to scroll and zoom in and out of the worksheet with the Mouse Wheel:
- Hold down the Ctrl button and move the Mouse Wheel forward.
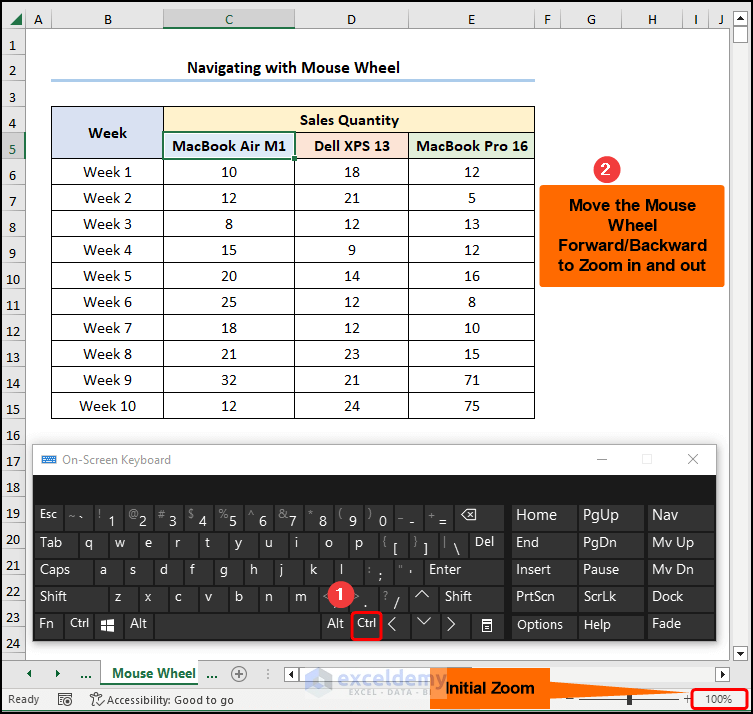 This will increase the zoom to “115%” as shown in the Zoom Indicator.
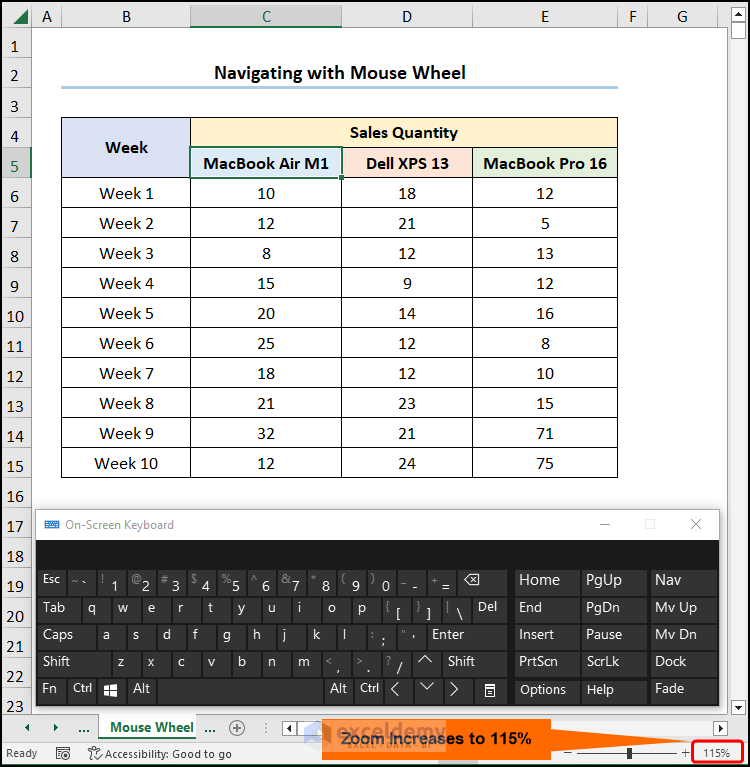
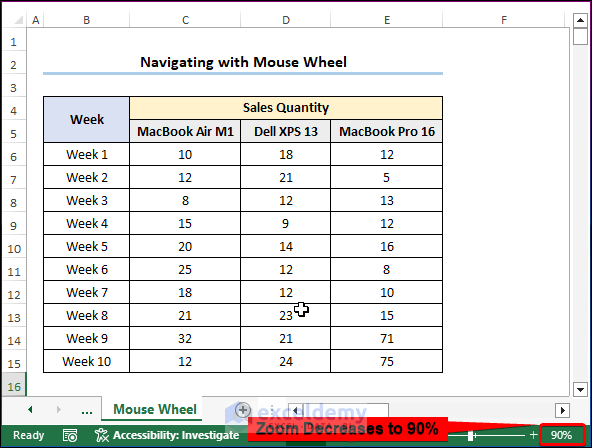
- Hold down the Ctrl button and move the Mouse Wheel backward to zoom out.
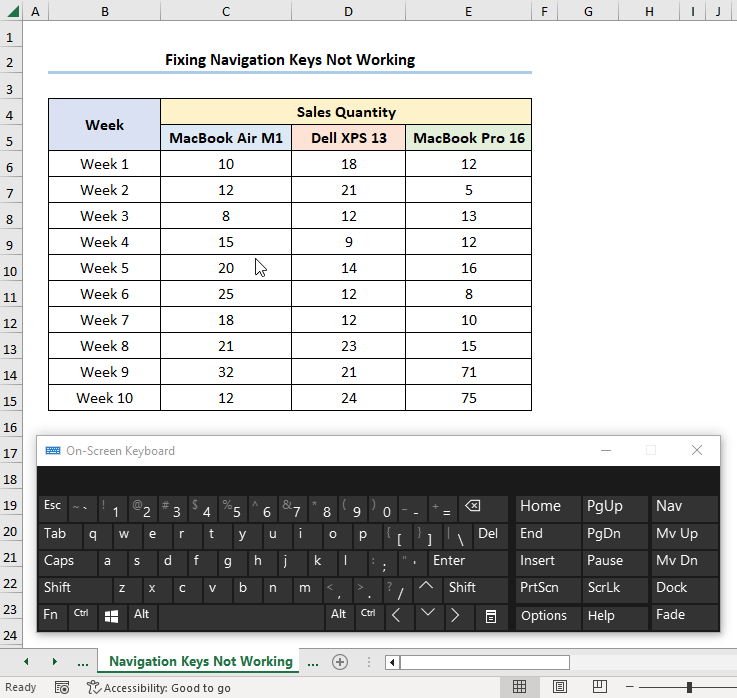
What to Do If Navigation Keys Are Not Working in Excel?
The GIF below shows the problem when the Scroll Lock is on, while switching it off resumes the normal behavior of the navigation keys.
To fix this problem, you can follow the steps below:
- Check whether the Scroll Lock option is active by looking at Excel’s Status Bar.
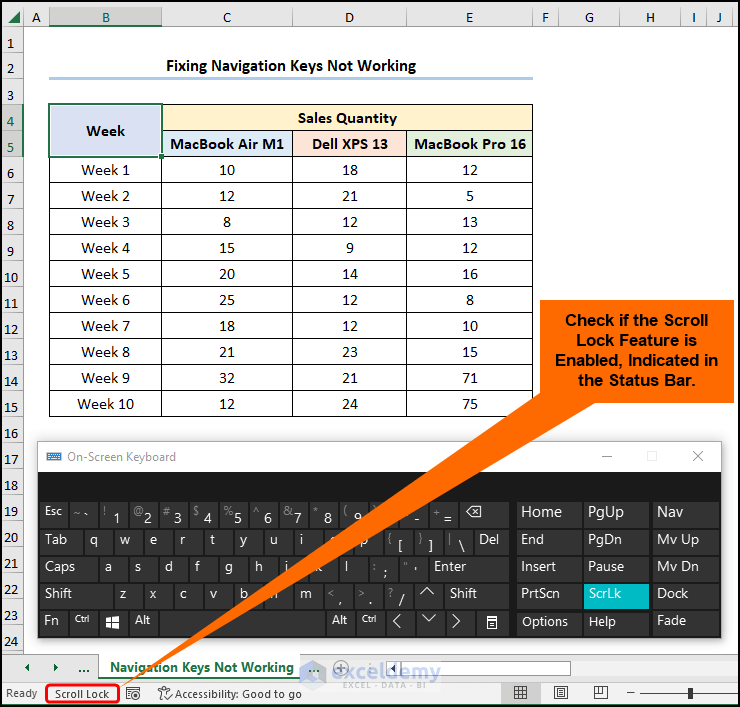
- If the Scroll Lock option is turned on, simply press/click Scroll Lock to turn it off.
Download the Practice Workbook
Frequently Asked Questions
How can I navigate through Excel comments and annotations?
Use shortcuts like Shift + F2 to quickly access and edit cell comments, enhancing your ability to manage and communicate additional information within your spreadsheet.
How do I navigate through Excel’s Find and Replace feature?
Use shortcuts like Ctrl + F to open the Find dialog and Ctrl + H for Replace, streamlining the process of locating and modifying data within your spreadsheet.
Can I create Custom-Named ranges for easy navigation in Excel?
Yes, you can define named ranges to make navigation easier. Go to the Formulas tab and click on Name Manager to create a new named range. Then, you can navigate to that named range by using Ctrl + G and selecting the range from the list.
Related Articles
- How to Use Navigation Pane in Excel
- How to Create Navigation Buttons in Excel
- [Fixed] Excel Navigation Arrow Keys Not Working
- How to Perform Tab Navigation in Excel
- How to Navigate Large Excel Spreadsheets
- Perform Cell Navigation in Excel
- How to Navigate Between Sheets in Excel
<< Go Back to Navigation in Excel | Learn Excel
Get FREE Advanced Excel Exercises with Solutions!
