Method 1 – Creating a Questionnaire Manually in Excel
STEP 1: Insert Keywords of Questions
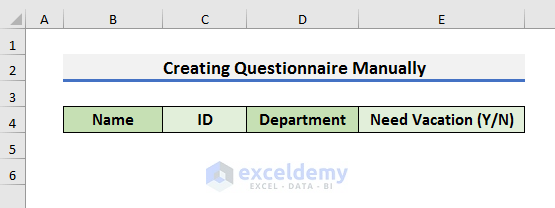
- We need to identify the keywords of the questions and put them as headers, like the picture below.
- For example, “What is your name?” The first column’s header will be Name.
- “What is your ID number?” – The second column’s header will be ID here.
- “What is your department?” – The third column’s header will be Department.
- “Need Vacation (Y/N)” is the fourth column
STEP 2: Create a Table Using Keywords
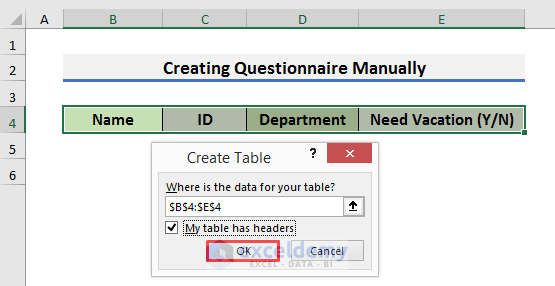
- We will create a table with a shortcut.
- Select the headers.
- Press Ctrl + T.
- A message box will appear.
- Check “My table has headers”.
- Click OK to proceed.
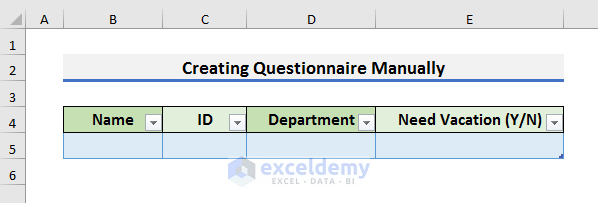
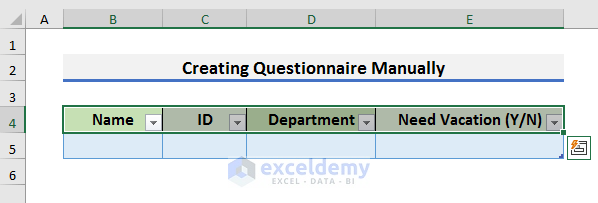
You will see a table like the screenshot below.
STEP 3: Create a New Tab for the Questionnaire
- Select the headers of the table first.
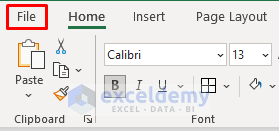
- Click on the File tab.
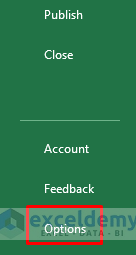
- Select Options. It will open the Excel Options window.
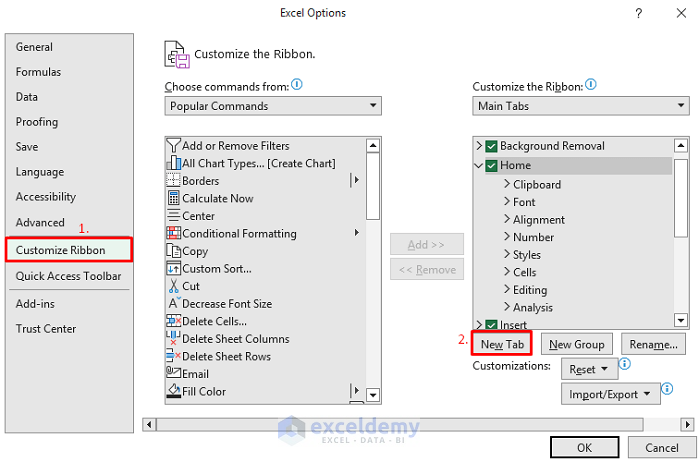
- In the Excel Options window, select Customize Ribbon and select New Tab.
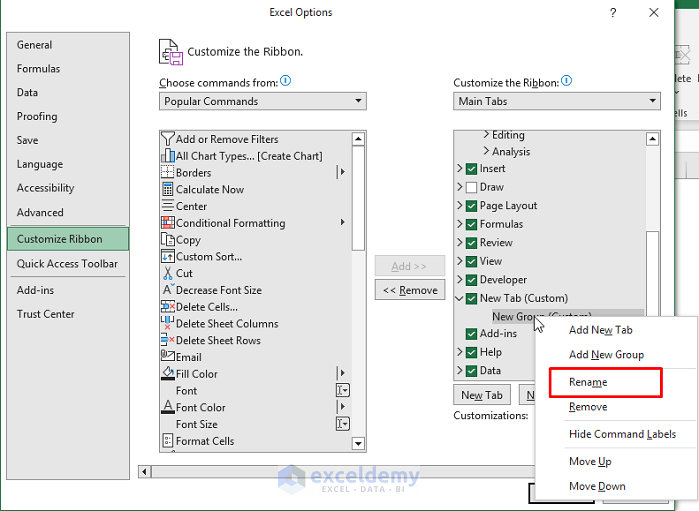
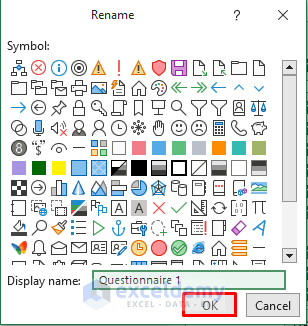
- Rght-click on the New Group and select Rename from the menu.
- A Rename box will appear.
- Type the Display Name and click OK to proceed. We have renamed the new group Questionnaire 1.
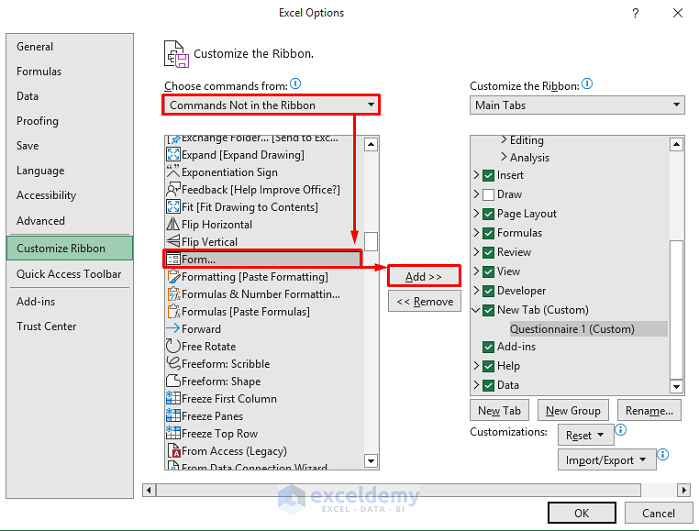
- Select “Commands Not in the Ribbon” in the “Choose commands from” box.
- Select Form and click on the Add option.
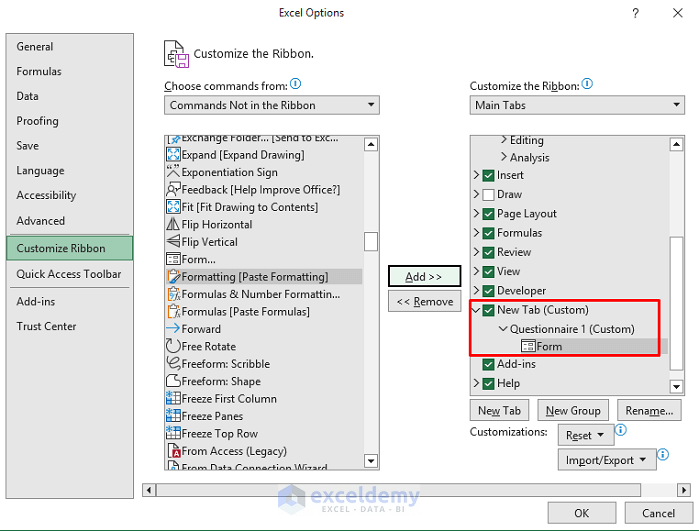
- You will see the Form under the Questionnaire group inside the New Tab.
- Click OK.
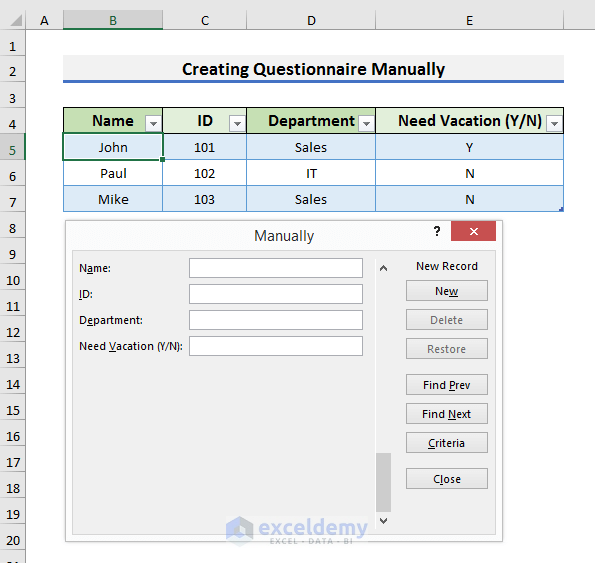
STEP 4: Open the Form to Enter the Data
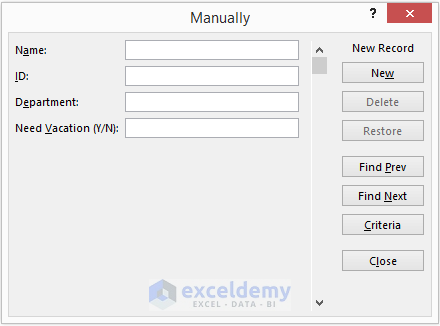
- Go to the New Tab and select Form.

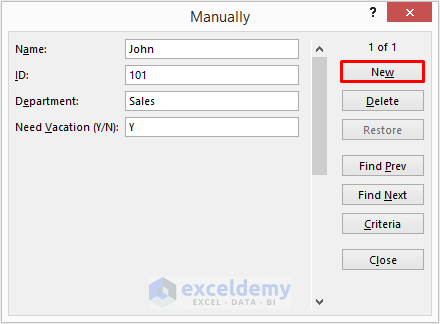
- You will see a form like the picture with the tags of the headers.
- Insert Name, ID, Department, and Need for Vacation one by one.
STEP 5: Enter Data for the Questionnaire
- Insert the answer to the asked questions.
- For example, employee John has inserted his information. To get this information into the worksheet, click on the New option.
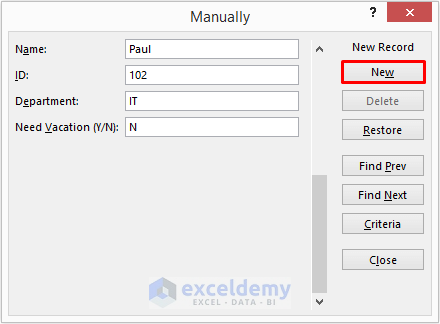
- The information will be available on the worksheet and the form will be ready for taking another response.
- In this case, employee Paul enters his data and clicks on the New option again.
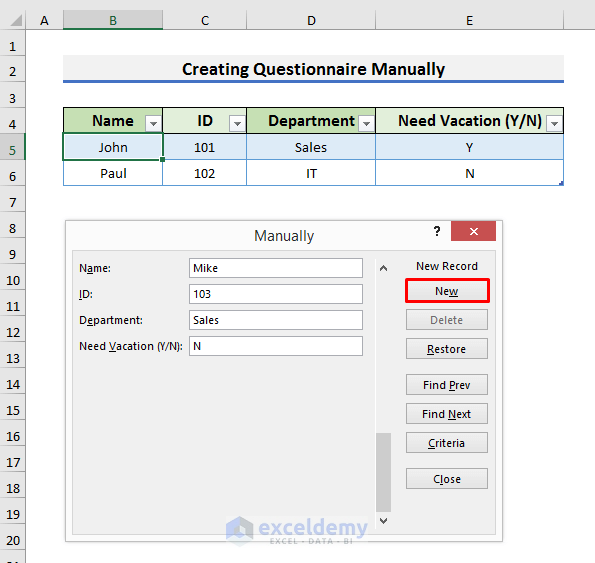
You will see the information in the Excel worksheet.
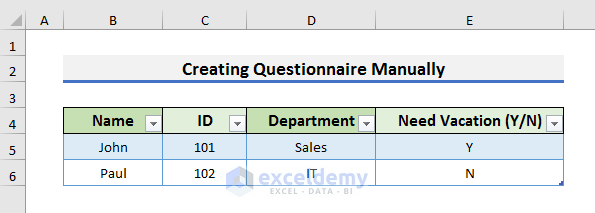
- To enter more data, follow the above steps and click on New.
Method 2 – Applying Excel VBA to Create a Questionnaire
Steps:
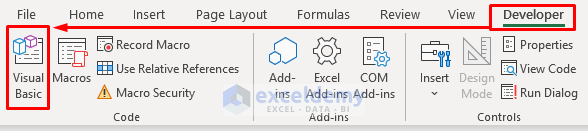
- Go to the Developer tab and select Visual Basic. It will open the Visual Basic window.
- Alternatively, you can press Alt + F11 to open it.
- In the Visual Basic window, select Insert >> Module. It will open the Module window.
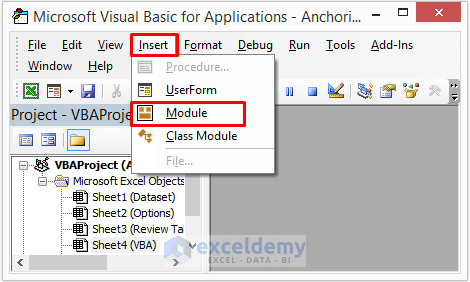
- Enter the following formula into the Module window:
Option Explicit
Sub Create_Questionnaire()
Dim GrupBx As GroupBox
Dim OptnBtn As OptionButton
Dim iMxBtns As Long
Dim icell As Range
Dim iRng As Range
Dim iWks As Worksheet
Dim xCtr As Long
Dim xFrstOptnBtnCel As Range
Dim xNumOfQ As Long
Dim iBorder As Variant
iBorder = Array(xlEdgeLeft, xlEdgeTop, xlEdgeBottom, _
        xlEdgeRight, xlInsideVertical, xlInsideHorizontal)
iMxBtns = 4
xNumOfQ = InputBox("Set the numbers of questions", "Questions", 8)
Set iWks = ActiveSheet
With iWks
Set xFrstOptnBtnCel = .Range("E2")
.Range("A:D").Clear
With xFrstOptnBtnCel.Offset(-1, -1).Resize(1, iMxBtns + 1)
    .Value = Array("Questions", "Option1", "Option2", _
                    "Option3", "Option4")
    .Orientation = 90
    .HorizontalAlignment = xlCenter
End With
Set iRng = xFrstOptnBtnCel.Resize(xNumOfQ, 1)
With iRng.Offset(0, -1)
    .Formula = "=ROW()-" & iRng.Row - 1
    .Value = .Value
End With
iRng.Offset(0, -3).Value = 1
With iRng.Offset(0, -4)
    .FormulaR1C1 = "=IF(RC[2]="""","""",IF(RC[2]=6,""N/A"",RC[1]*(RC[2]-1)))"
End With
.Range("A1").Formula = "=SUM(A2:A" & xNumOfQ + 1 & ")"
With iRng.Offset(0, -4).Resize(, 4)
    For xCtr = LBound(iBorder) To UBound(iBorder)
    With .Borders(iBorder(xCtr))
        .LineStyle = xlContinuous
        .Weight = xlThin
        .ColorIndex = xlAutomatic
    End With
    Next xCtr
    .HorizontalAlignment = xlCenter
    .VerticalAlignment = xlCenter
End With
iRng.EntireRow.RowHeight = 20
iRng.Resize(, iMxBtns).EntireColumn.ColumnWidth = 9
.GroupBoxes.Delete
.OptionButtons.Delete
End With
For Each icell In iRng
With icell.Resize(1, iMxBtns)
    Set GrupBx = iWks.GroupBoxes.Add _
        (Top:=.Top, Left:=.Left, Height:=.Height, _
        Width:=.Width)
    With GrupBx
    .Caption = ""
    .Visible = True
    End With
End With
    For xCtr = 0 To iMxBtns - 1
      With icell.Offset(0, xCtr)
        Set OptnBtn = iWks.OptionButtons.Add _
              (Top:=.Top, Left:=.Left, Height:=.Height, _
               Width:=.Width)
        OptnBtn.Caption = ""
        If xCtr = 0 Then
          With icell.Offset(0, -2)
            OptnBtn.LinkedCell = .Address(external:=True)
          End With
        End If
      End With
    Next xCtr
  Next icell
End Sub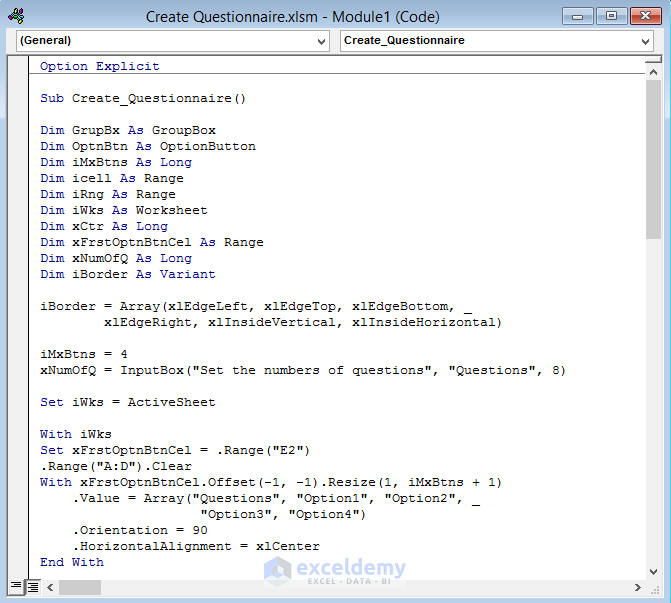
- Press Ctrl + S to save the code.
- Go to the Developer and select Macros. It will open the Macro window.
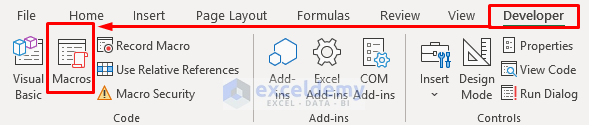
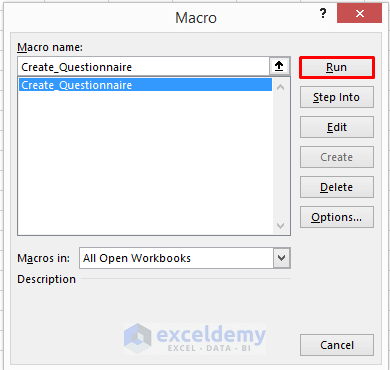
- Select the desired code in the Macro window and Run it.
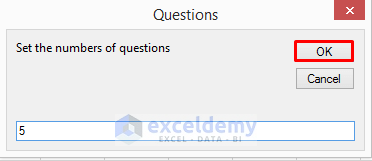
- A message will appear and it will ask you to set the number of questions. We want to ask 5 questions to our respondents. We typed 5.
- Click OK.
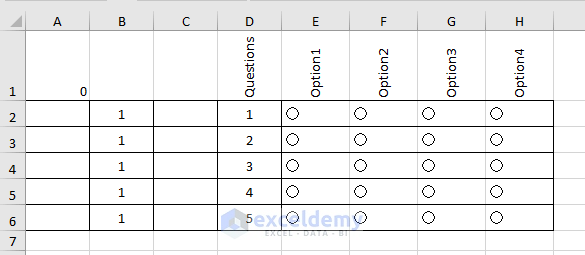
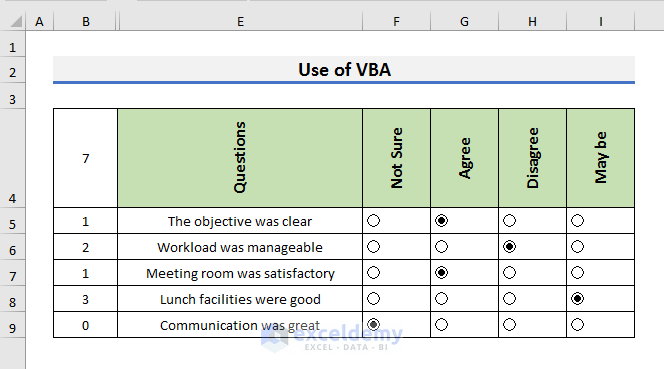
- The results are like the picture in the worksheet.
- You can see Column D is for questions and Columns E, F, G, and H are for the options.
- You need to format the questionnaire according to your preferences and insert questions. We have inserted three rows and a column. So, now range B4:I9 contains the questionnaire.
- We have also hidden Columns C & D.
- We have inserted the questions in the assertive form.
- There are 4 responses for each question, and the responses hold values of 0 to 3.
- Here, Not Sure has a value of 0, Agree has 1, Disagree has 2, and Maybe has 3.
- Here, Cell B4 stores the sum of the range B5:B9.
Download the Practice Workbook
You can download the practice workbook from here.
Related Articles
- How to Tally Survey Results in Excel
- How to Tabulate Data in Excel
- Display Survey Results in Excel
- How to Analyze Satisfaction Survey Data in Excel
- How to Analyze Survey Data in Excel
- How to Encode Survey Data in Excel
- How to Analyze Survey Data with Multiple Responses in Excel
<< Go Back to Survey in Excel | Excel for Statistics | Learn Excel
Get FREE Advanced Excel Exercises with Solutions!
