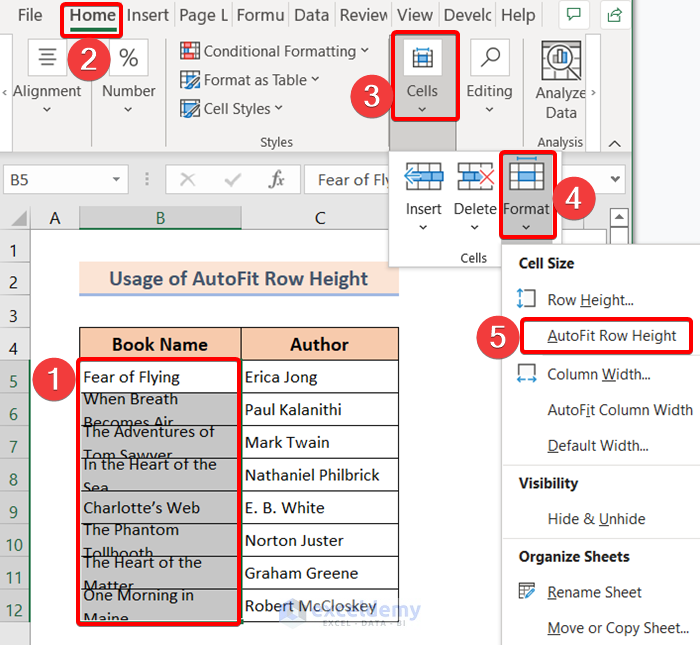
Method 1 – Apply AutoFit Row Height Command to Fix Wrap Text Not Showing All Text
We applied the Wrap Text command in the Book Name column. The texts are not showing up completely.

Apply the AutoFit Row Height to fix the problem.
❶ Select all the texts first. We selected the range B5:B12.
❷ Go to Home >> Cells >> Format >> AutoFit Row Height.
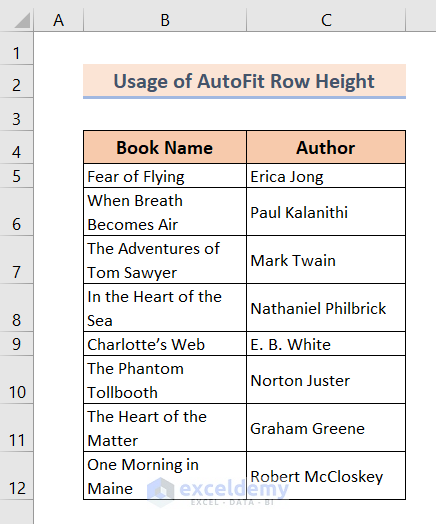
After applying the AutoFit Row Height command, all the wrapped text will be visible.
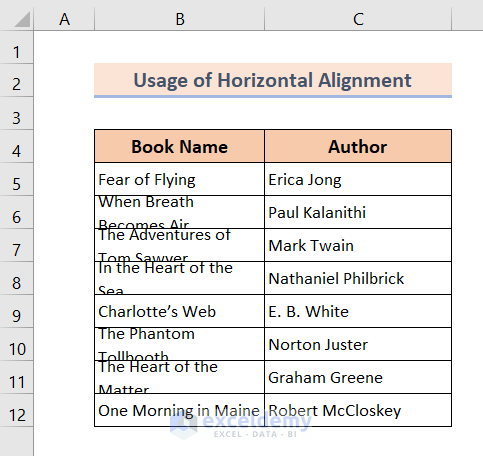
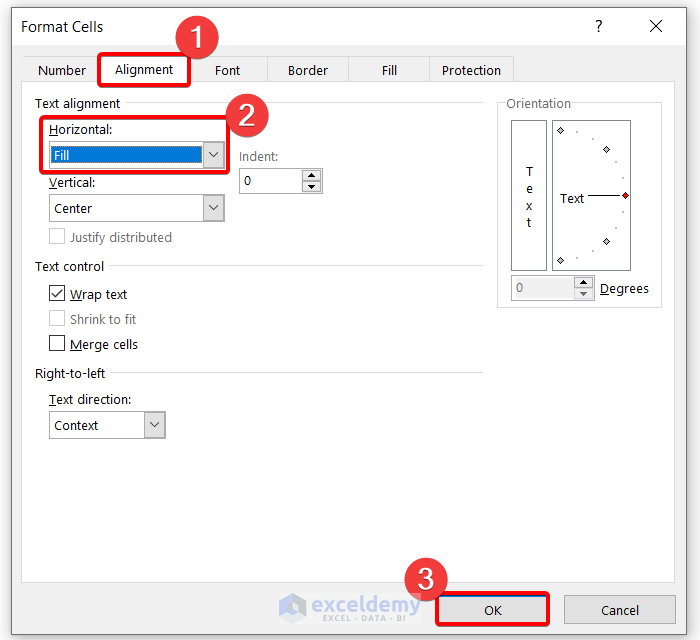
Method 2 – Set Horizontal Alignment to Fix Wrap Text Not Showing All Text in Excel
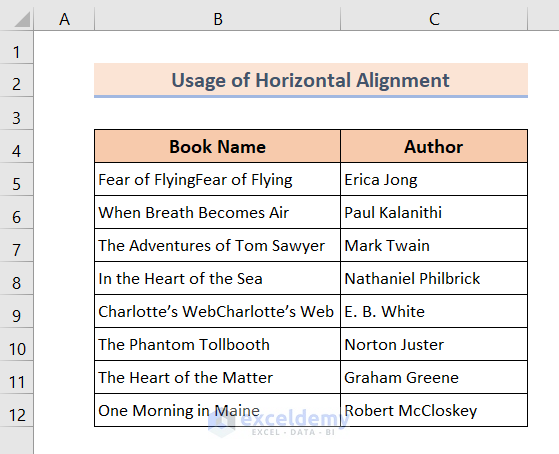
If the Horizontal Alignment is set to Fill in the Format Cells dialog box, then the wrapped texts will not be visible.
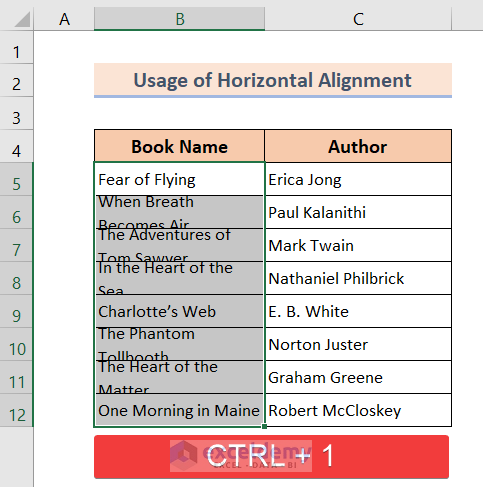
❶ Select all the texts where you’ve applied the Wrap Text command.
❷ Press CTRL + 1 to avail the Format Cells dialog box.
❸ Go to the Alignment tab in the Format Cells dialog box.
❹ Set Fill from the Horizontal drop-down list.
❺ Hit OK.
The issue is gone and all the wrapped texts are visible.
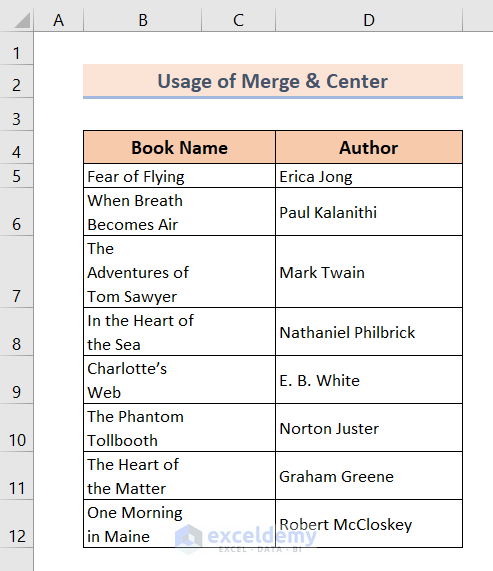
Method 3 – Unmerge the Merged Cells to Display All the Wrapped Text in Excel
After applying the Wrap Text command, apply the AutoFit Row Height command. If you have merged cells, the AutoFit Row Height command won’t be applicable.
Select the texts and then go to Home >> Cells >> Format >> AutoFit Row Height.
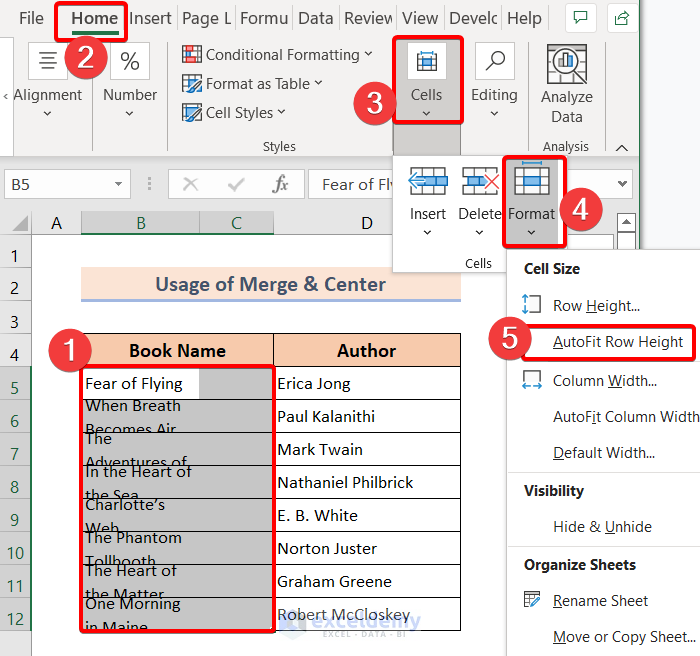
The issue is still there.
You need to unmerge those cells first and apply the AutoFit Row Height command again.
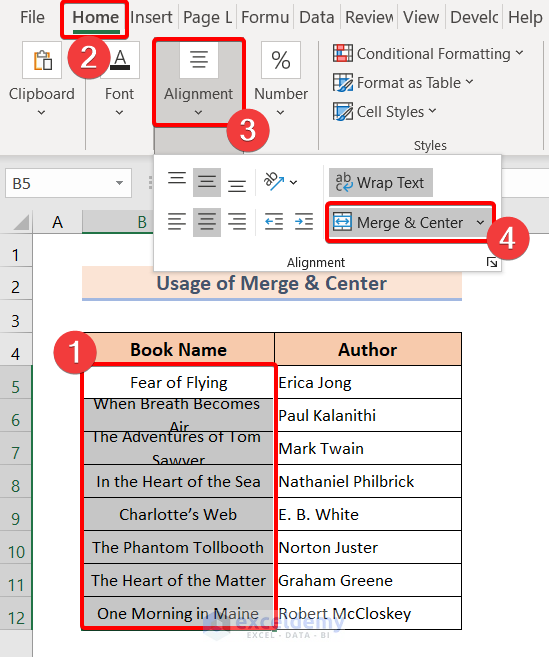
❶ Select all the texts first. We selected the range B5:B12.
❷ Go to Home >> Alignment >> Merge & Center.
This will unmerge all the merged cells.
Apply the AutoFit Row Height command.
❶ Select all the texts again.
❷ Then go along with Home >> Cells >> Format >> AutoFit Row Height.
The command worked. You’ll see all the wrapped texts are visible, as in the picture below:
Method 4 – Manually Resize Cells to Fit Wrapped Text in Excel
We have a small data table where two cells have visibility issues due to applying the Wrap Text command. You will manually fix this issue.
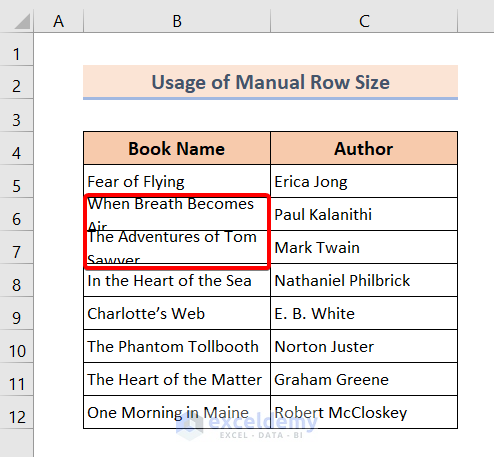
❶ Place your mouse cursor at the line border of the cells with issues.
❷ Press and hold the left mouse button.
❸ Drag the adjustment icon downward until all the texts are visible.
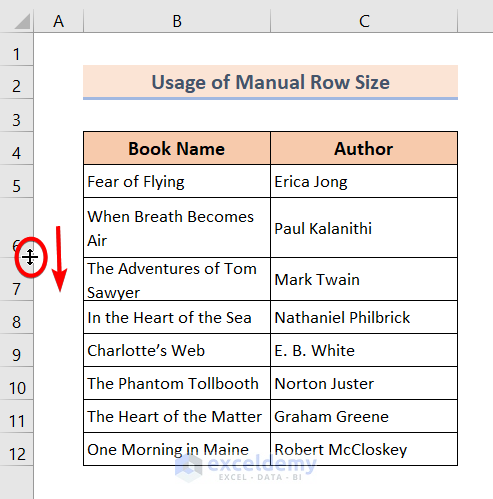
❹ Repeat this process for all the cells having visibility issues.
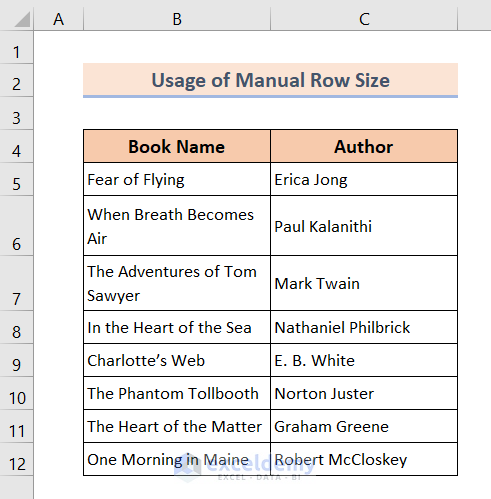
You will get out of the visibility issue by applying the Wrap Text command like the following screenshot.
Download Practice Workbook
You can download the Excel file from the following link and practice along with it.
Related Articles
- How to Wrap Text in Excel Cell
- Wrap Text Shortcut Key in Excel
- How to Make Text Automatically Wrap Around in Excel
- [Fix]: Excel Wrap Text Cutting off Words
- How to Unwrap Text in Excel
<< Go Back to Wrap Text | Text Formatting | Learn Excel
Get FREE Advanced Excel Exercises with Solutions!

