One of the most frequent actions you complete each day while developing your reports, summary tables, dashboards, or even when using spreadsheets solely for data storage or calculation is changing the width of a column in Excel. There are several ways to change the column width in Microsoft Excel. In this article, we will discuss the possible ways to use Excel VBA to set column width based on cell value.
The above video shows an overview of setting column width based on cell value.
How to Open VBA Macro Editor in Excel
VBA is a programming language that may be used for various tasks, and different types of users can use it for those tasks. You can launch the VBA editor using the Alt + F11 keyboard shortcut. In the last section, we will generate VBA code that makes it easy to perform Vlookup with multiple criteria in Excel. Therefore, you can follow the simple steps accordingly to open the VBA editor.
Steps:
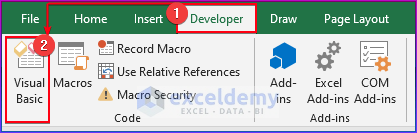
- Firstly, we will open the Developer tab.
- Then, we will select the Visual Basic command.
- Here, the Visual Basic window will open.
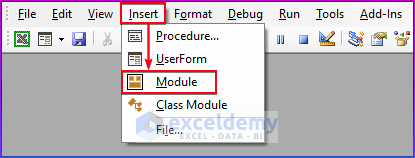
- After that, from the Insert option, we will choose the new Module to write the VBA code.
Excel VBA to Set Column Width Based on Cell Value: 3 Suitable Examples
This article will demonstrate how to set column width based on cell value in Excel VBA by giving 3 practical ways and proper explanations with details and also to AutoFit the column width and then set column width based on points, inches, and centimeters.
1. Set Width of Single Column Based on Cell Value in Excel VBA
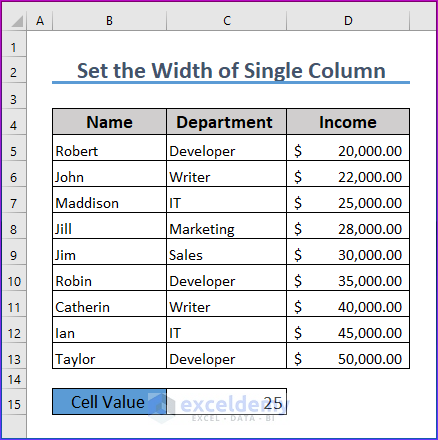
Here, we will set a single column width by using a small VBA macro in Excel. We will use this dataset to increase the width of column B.
We’ll type the code in the Module window.
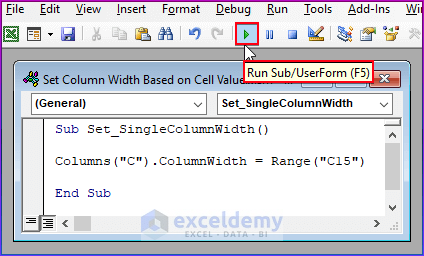
- Press F5 or click the Run button to execute the VBA macro.
Sub Set_SingleColumnWidth()
Columns("C").ColumnWidth = Range("C15")
End Sub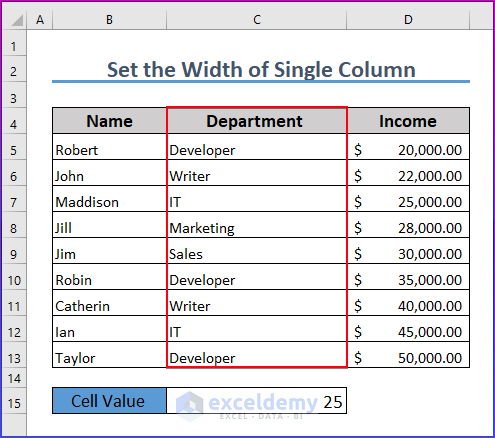
- Only column B’s width has increased to 25 after the aforementioned macro was executed; all other columns’ widths are kept unchanged.
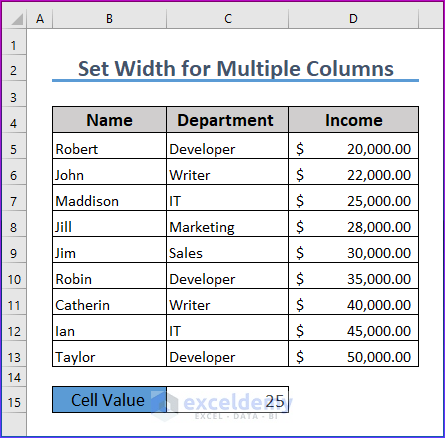
2. Set Width for Multiple Columns Based on Cell Value in Excel VBA
Now, we will set multiple column widths from column B to column D by applying a very convenient way with VBA macro in Excel.
We’ll put the code in the Module window.
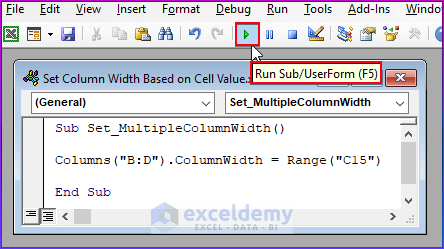
- Press F5 or click the Run button to execute the VBA macro.
Sub Set_MultipleColumnWidth()
Columns("B:D").ColumnWidth = Range("C15")
End Sub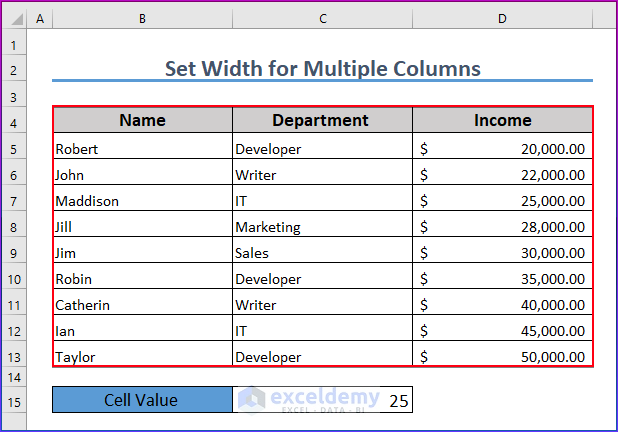
- After running the macro, you can see all other columns’ widths are changed from column B to column D.
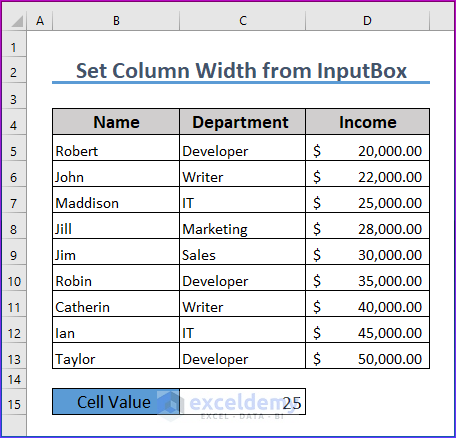
3. Set Column Width from InputBox Based on Cell Value in Excel VBA
In the end, you will learn how to use an Excel VBA code to set column width from InputBox based on any cell value. Here, we want to increase the width of column B.
Here, we’ll type the code in the Module window.
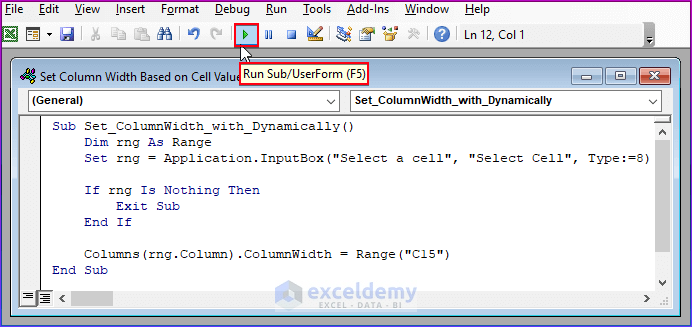
- Press F5 or click the Run button to execute the VBA macro.
Sub Set_ColumnWidth_with_Dynamically()
    Dim rng As Range
    Set rng = Application.InputBox("Select a cell", "Select Cell", Type:=8)
    If rng Is Nothing Then
        Exit Sub
    End If
    Columns(rng.Column).ColumnWidth = Range("C15")
End Sub- The aforementioned macro sets the column width of B from InputBox based on the cell value in Excel. So for a better understanding, you can see the following video.
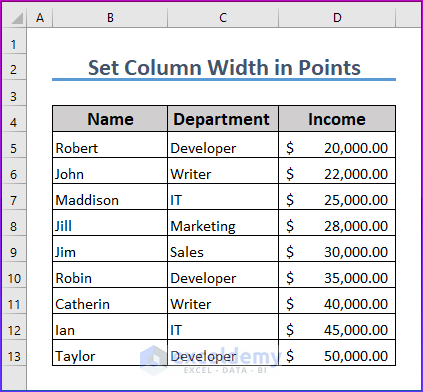
How to Set Column Width in Points with Excel VBA
Here, we will set column width in points based on cell C5 by using a small VBA macro in Excel.
We’ll type the code in the Module window.
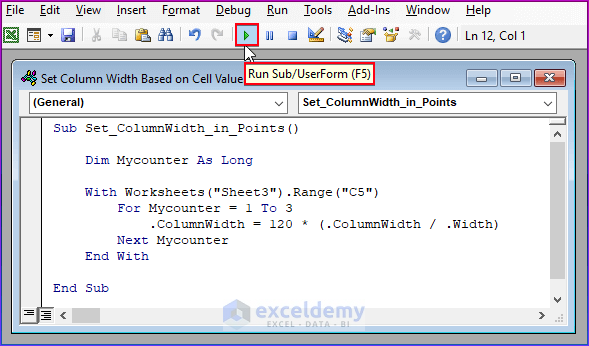
- Press F5 or click the Run button to execute the VBA macro.
Sub Set_ColumnWidth_in_Points()
    Dim Mycounter As Long
    With Worksheets("Sheet3").Range("C5")
        For Mycounter = 1 To 3
            .ColumnWidth = 120 * (.ColumnWidth / .Width)
        Next Mycounter
    End With
End Sub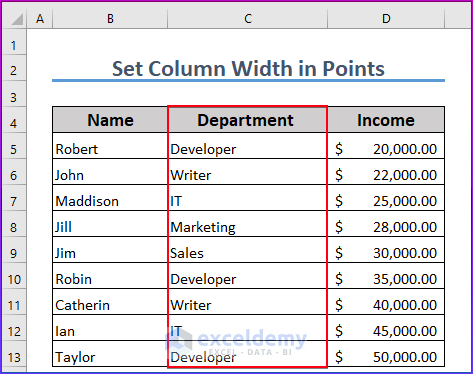
- The previous macro increases column C’s width on the worksheet titled “Sheet3” to 120 points.
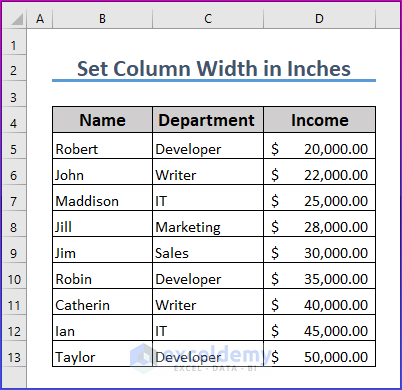
How to Set Column Width in Inches with Excel VBA
In this section, we will set column width in inches based on cell C5 by applying a small VBA macro in Excel.
First type the code in the Module window.
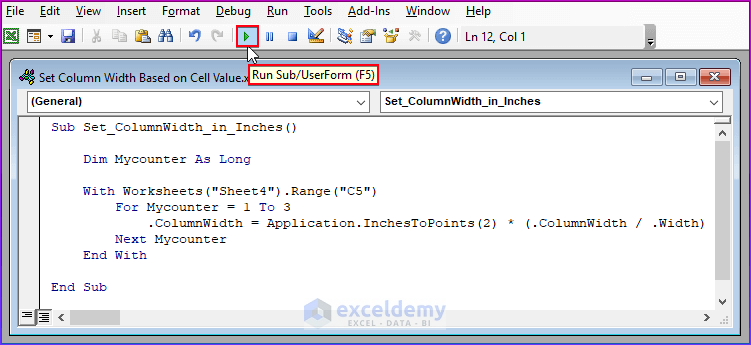
- Press F5 or click the Run button to execute the VBA macro.
Sub Set_ColumnWidth_in_Inches()
    Dim Mycounter As Long
    With Worksheets("Sheet4").Range("C5")
        For Mycounter = 1 To 3
            .ColumnWidth = Application.InchesToPoints(2) * (.ColumnWidth / .Width)
        Next Mycounter
    End With
End Sub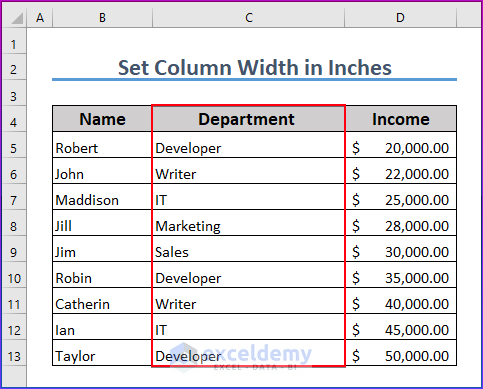
- The aforementioned macro increases column C’s width on the worksheet titled “Sheet4” to 3 inches.
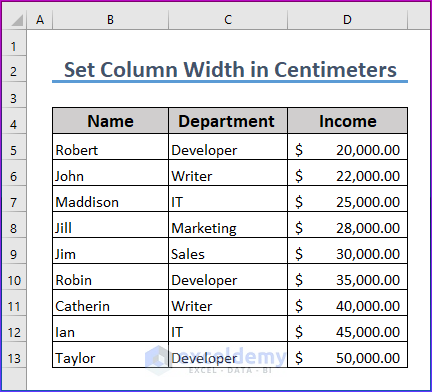
How to Set Column Width in Centimeters with Excel VBA
Here, you will learn how to set column width in centimeters based on cell B5 by using a small VBA macro in Excel.
We’ll type the code in the Module window.
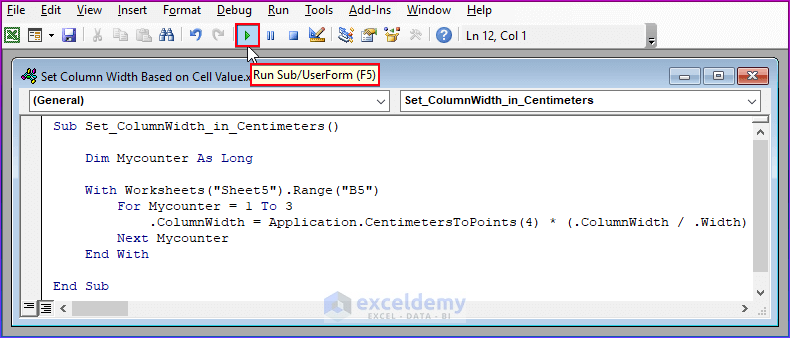
- Press F5 or click the Run button to execute the VBA macro.
Sub Set_ColumnWidth_in_Centimeters()
    Dim Mycounter As Long
    With Worksheets("Sheet5").Range("B5")
        For Mycounter = 1 To 3
            .ColumnWidth = Application.CentimetersToPoints(4) * (.ColumnWidth / .Width)
        Next Mycounter
    End With
End Sub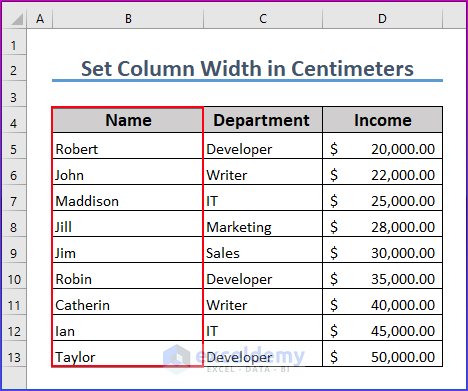
- The aforementioned macro increases column C’s width on the worksheet titled “Sheet5” to 4 centimeters.
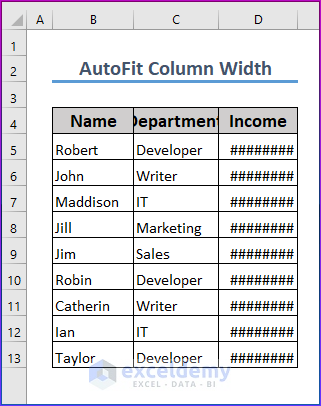
How to AutoFit Column Width in Excel VBA
We will also discuss how to adjust columns with proper formation by using a small VBA macro in Excel. You will see that all the column of the dataset has been unadjusted, so we want to adjust it by using the AutoFit command in VBA.
Now type the code in the Module window.
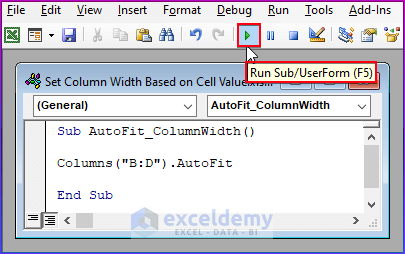
- Press F5 or click the Run button to execute the VBA macro.
Sub AutoFit_ColumnWidth()
Columns("B:D").AutoFit
End Sub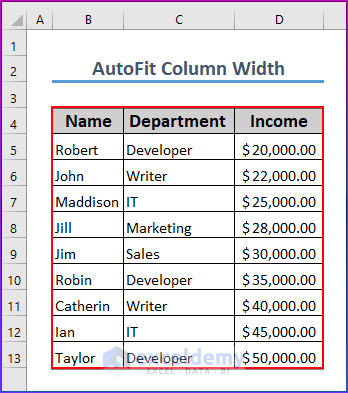
- Finally, you will see all the columns here have been automatically adjusted by using the AutoFit command in Excel VBA.
Download Practice Workbook
You may download the following Excel workbook for better understanding and practice it yourself.
Conclusion
In this article, we’ve covered 3 ways of using Excel VBA to set column width. We sincerely hope you enjoyed and learned a lot from this article. If you have any questions, comments, or recommendations, kindly leave them in the comment section below.
Get FREE Advanced Excel Exercises with Solutions!
