Launching the VBA Macro Editor in Excel
Before running any VBA code, you’ll need to access the VBA Macro Editor. Follow these steps:
- Enable the Developer Tab
- By default, the Developer tab is hidden. To reveal it:
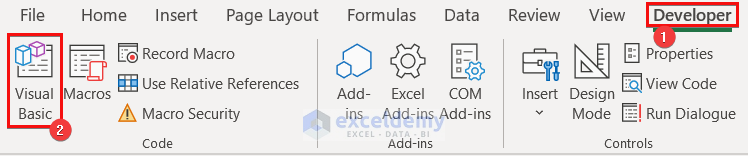
- Go to the Developer tab.
- Click on Visual Basic.
- This opens the Visual Basic window.
- By default, the Developer tab is hidden. To reveal it:
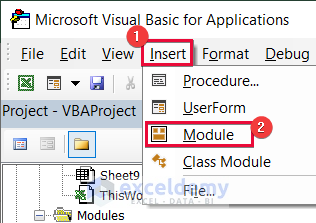
- Insert a Module
- In the macro editor, select Insert and then choose Module.
-
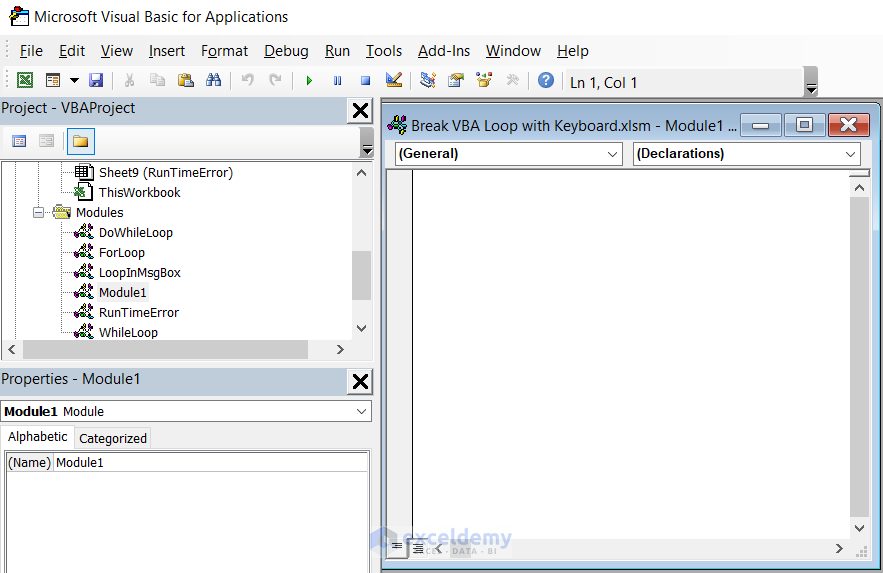
- An empty module will appear where you can insert your code.
- Use the Run icon or press F5 to execute the code.
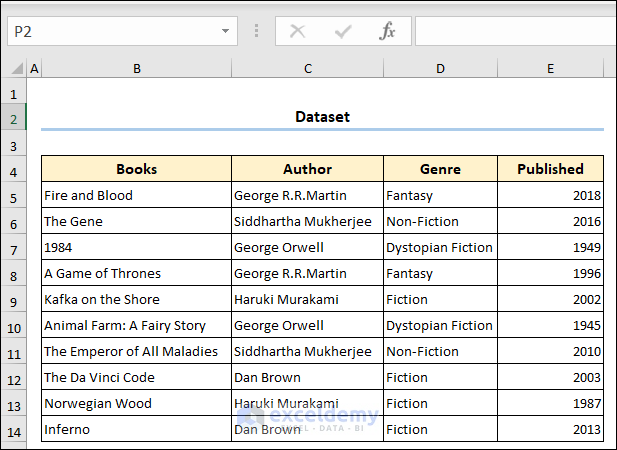
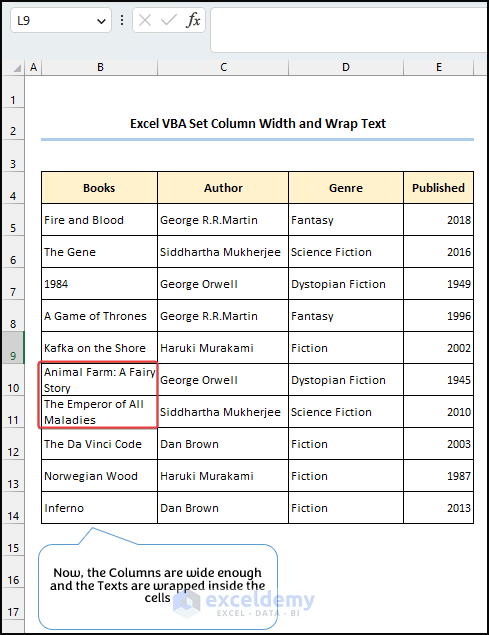
Dataset Overview
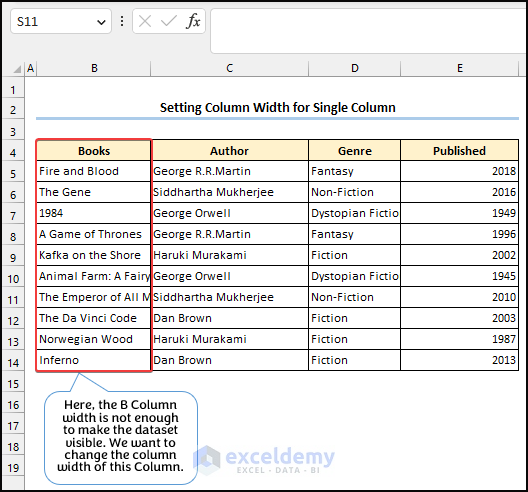
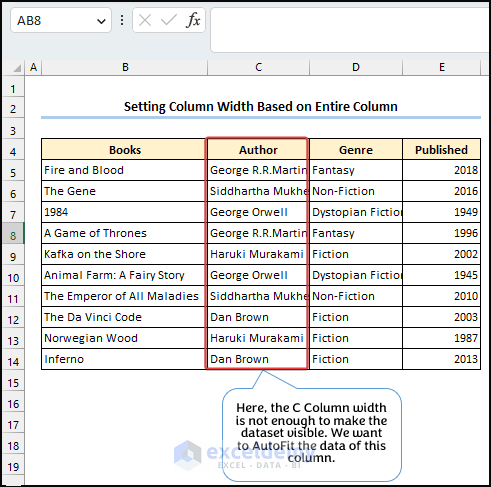
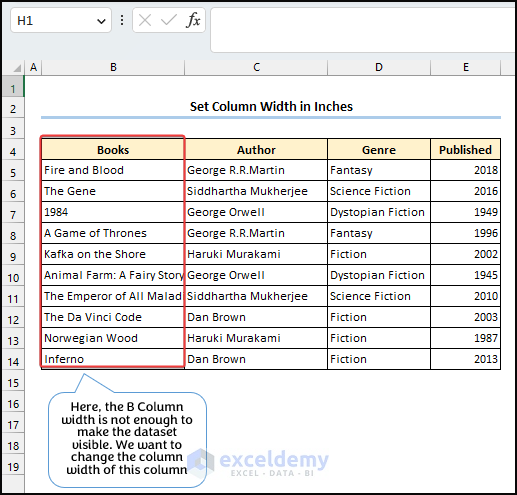
We’ll use a dataset containing the datasets of some books with their authors’ names, genres, and publication years. We will set the column width of the dataset using VBA codes so that the dataset can be seen properly.
Method 1 – Using the Range.ColumnWidth Property
- Users can adjust column widths based on their requirements using the Range.ColumnWidth property.
- Simply specify the cell, range, or column name along with the desired width, and the property will automatically update the width.
1.1 Setting Column Width for a Single Column
Suppose we want to adjust the width of a single column. For instance, consider the Books column, which currently isn’t wide enough to display its content. We can reset the width using the following code:
Sub Single_ColumnWidth()
Worksheets("Single_Column").Range("B4").ColumnWidth = 30
End Sub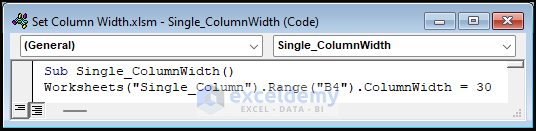
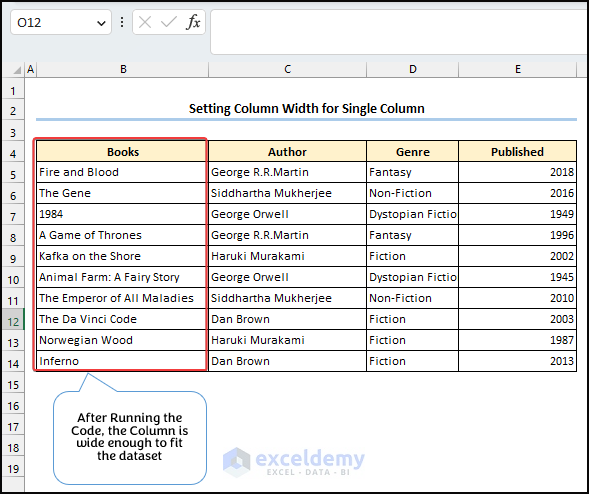
This code selects the Single_Column worksheet, sets the width of cell B4 to 30, and ensures that the content fits properly.
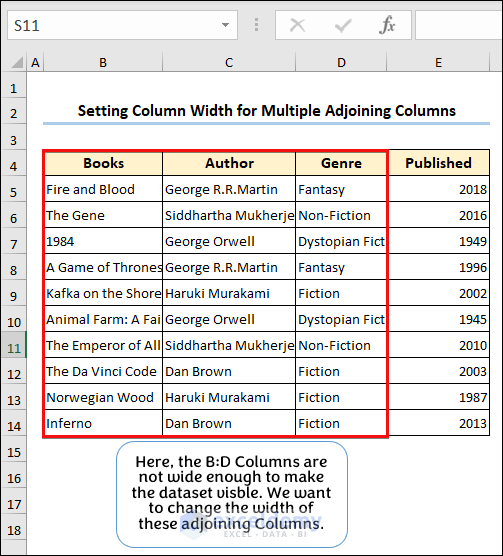
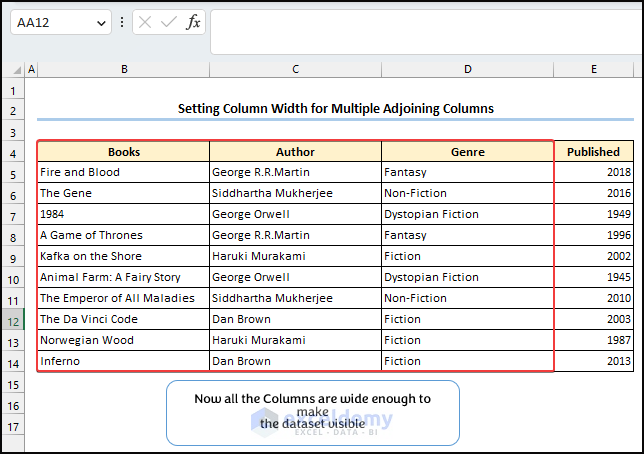
1.2 Setting Column Width for Multiple Contiguous (Adjoining) Columns
To adjust the width of multiple adjacent columns (e.g., B:D), insert the following code:
Sub Multiple_ColumnsWidth()
Worksheets("Multiple_Columns").Range("B:D").ColumnWidth = 30
End Sub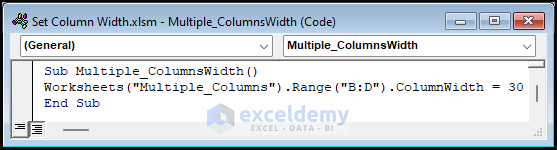
Running this code will reset the width of columns B to D to 30.
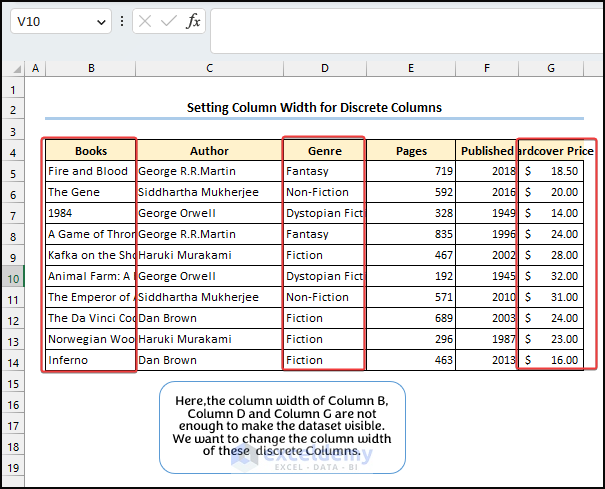
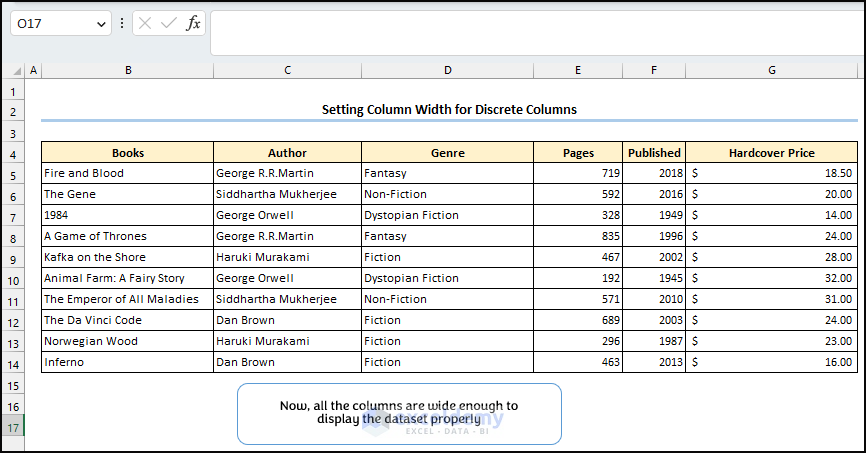
1.3 Setting Column Width for Non-Contiguous (Discrete) Columns
For non-contiguous columns (e.g., B, D, and G), insert the following code:
Sub Discrete_ColumnsWidth()
Worksheets("Discrete_Columns").Range("B:B,D:D, G:G").ColumnWidth = 30
End Sub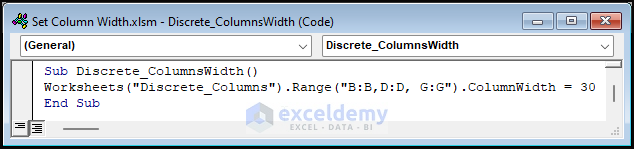
This code adjusts the width of columns B, D, and G in the Discrete_Columns worksheet to 30, ensuring proper data display.
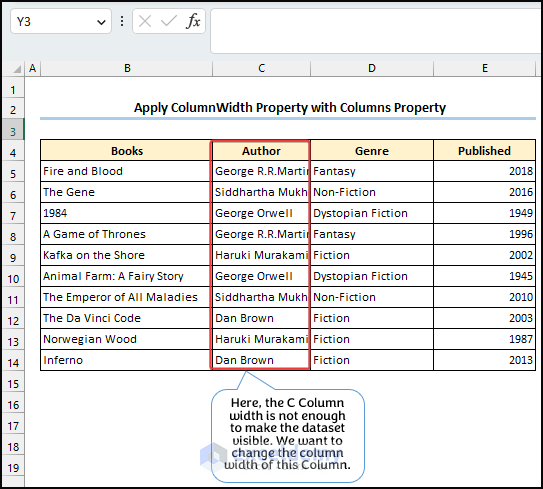
Method 2 – Apply Column Property with ColumnsWidth Property
In scenarios where the column width of the Authors column isn’t sufficient to display data properly, we can utilize the Worksheets.Columns.ColumnsWidth property to reset the column width. Consider the following code snippet:
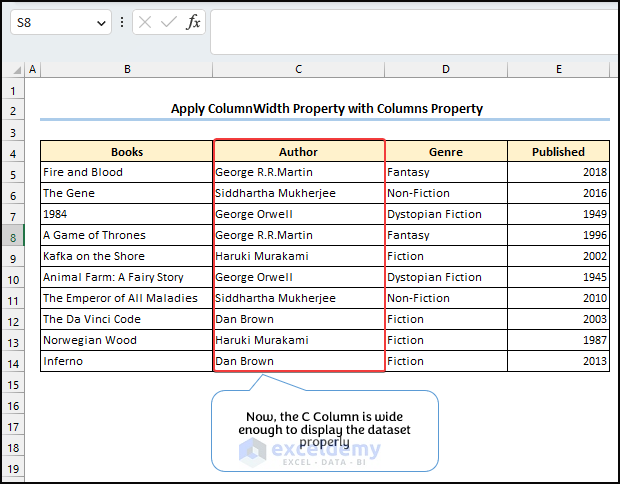
Sub Columns_Property()
Worksheets("Columns_Property").Columns("B").ColumnWidth = 30
End Sub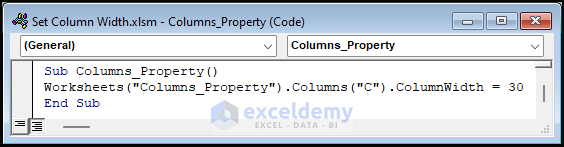
This code sets the column width of column C in the Column_Property worksheet to 30. Running this code will ensure that the data inside the column is clearly visible.
Method 3 – Auto-Fitting Column Width Using Range.AutoFit
The Range.AutoFit property automatically adjusts column width to fit the dataset without requiring a specific width value. Let’s explore two scenarios:
3.1 Entire Column Width Adjustment
When the names of authors in the Authors column aren’t clearly visible due to insufficient width, insert the following code:
Sub Autofit_EntireColumn()
Worksheets("Autofit_EntireColumn").Range("C4").EntireColumn.AutoFit
End Sub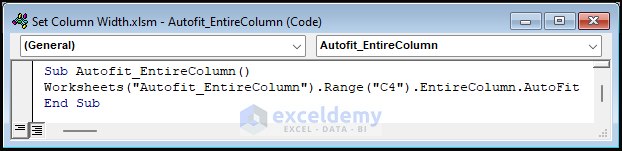
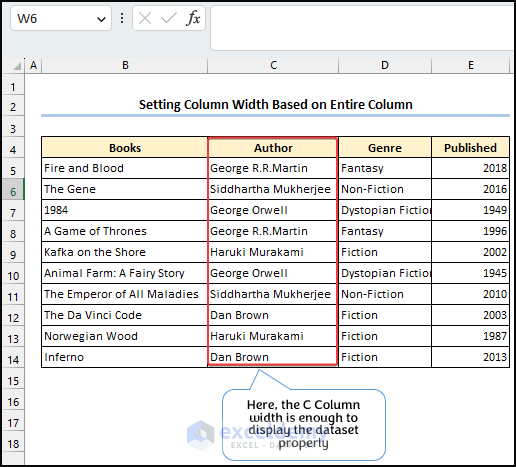
This VBA code dynamically adjusts the width of the entire C column in the Autofit_EntireColumn worksheet to accommodate the content.
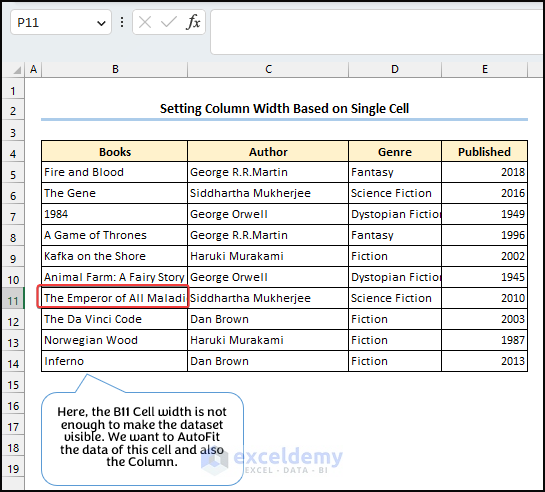
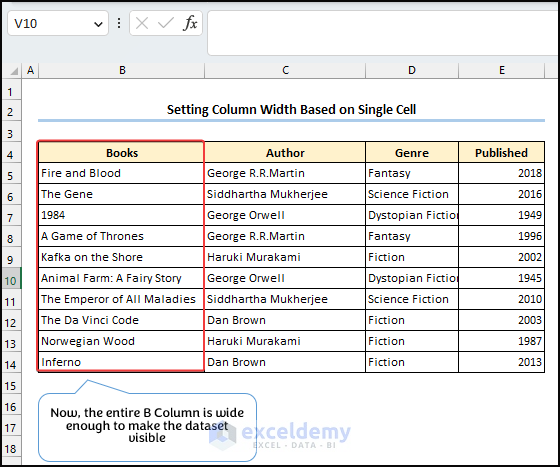
3.2 Single Cell Width Adjustment
Suppose cell B11 lacks sufficient width to display its data clearly. The following code automatically adjusts the width of the B11 cell while maintaining the overall width of column B:
Sub Autofit_SingleCell()
Worksheets("Autofit_SingleCell").Range("B11").Columns.AutoFit
End Sub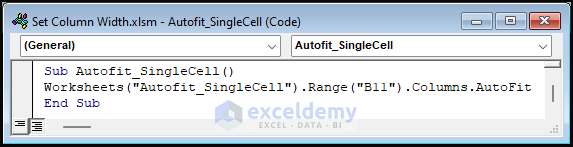
The B11 cell displays its content appropriately.
Read More: Excel VBA to Set Column Width Based on Cell Value
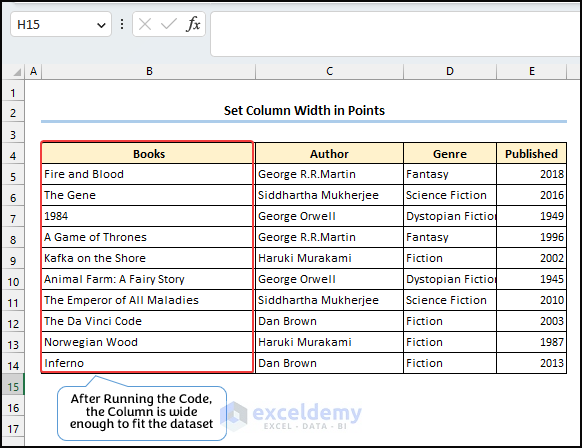
Method 4 – Setting Column Width in Points
Excel uses points as the measurement unit for column widths. One point corresponds to 1/72 of an inch. Unlike row heights, which are based on font size, column widths are determined by the number of zeros that can fit within the column. For example, if the Normal style font is Arial 10, the default width for a column would be approximately 8.43, allowing 8.43 zeros to fit within a cell.
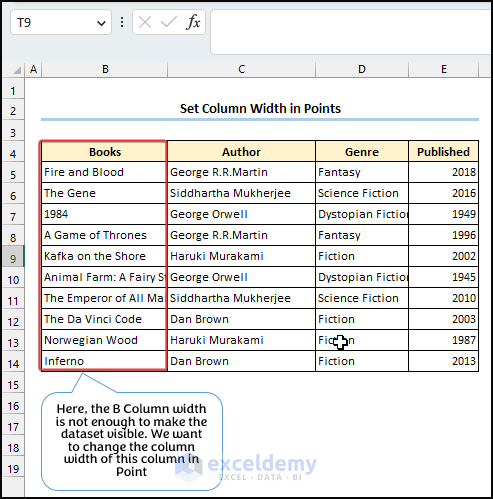
The following code sets the column width of column B to 200:
Sub ColumnsWidth_inPoint()
Dim ws As Worksheet
Set ws = Worksheets("ColumnsWidth_inPoint")
With ws.Range("B:B")
    For iCol = 1 To 3
        .ColumnWidth = 200 * (.ColumnWidth / .Width)
    Next iCol
End With
End Sub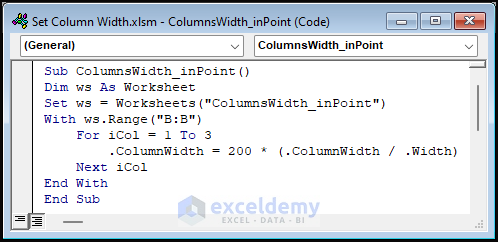
VBA Code Breakdown
- This VBA macro code is designed to modify the column width of column B within the worksheet named ColumnsWidth_inPoint.
- Using the With Statement:
- The With statement allows subsequent statements to apply to a specific range of cells—in this case, column B of the specified worksheet.
- When setting the ColumnWidth property to a specific value, the resulting Width property may not always match the target width precisely. To achieve the desired width, multiple adjustments may be necessary.
- Repeatedly setting the column width can enhance the accuracy of the ratio between ColumnWidth and Width. As the column width approaches the target value (here, 200), this ratio becomes more precise.
- For Loop for Fine-Tuning:
- The For Loop runs three times to fine-tune the column width.
- By repeatedly adjusting the width, we aim to achieve the desired result more accurately.
- Calculation: ColumnWidth = 200 * (.ColumnWidth /.Width)
- This formula ensures that the new column widths are proportional to the original widths.
- It also specifies the new widths in units of points (a standard measurement in Excel).
Now, the Books column width is set to 200 points.
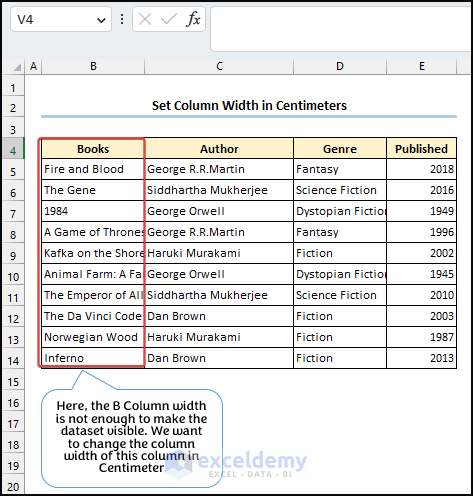
Method 5 – Set Column Width in Centimeters
In the dataset, the Books column isn’t wide enough to display the data clearly. Let’s adjust the column width in centimeters using the following code:
Sub ColumnsWidth_inCentimeters()
Dim ws As Worksheet
Set ws = Worksheets("ColumnsWidth_inCentimeters")
With ws.Range("B:B")
    For iCol = 1 To 3
        .ColumnWidth = Application.CentimetersToPoints(6) * (.ColumnWidth / .Width)
    Next iCol
End With
End Sub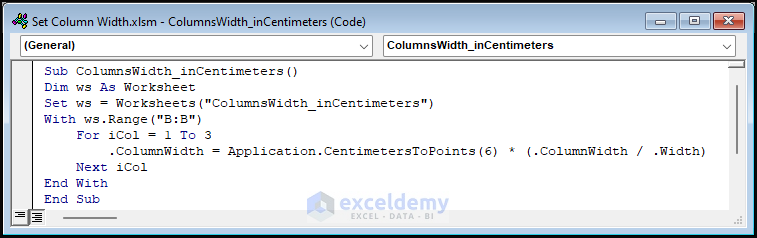
This code iterates three times to fine-tune the width of column B. Unlike the previous code, it converts 6 centimeters to points before setting the column width.
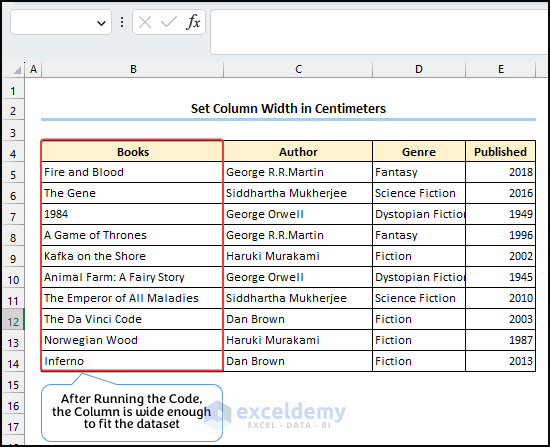
The Books column is wide enough to display the data inside it clearly.
Method 6 – Set Column Width in Inches
Let’s adjust the Books column width in inches using the following code:
Sub ColumnsWidth_inInches()
Dim ws As Worksheet
Set ws = Worksheets("ColumnsWidth_inInches")
With ws.Range("B:B")
    For iCol = 1 To 3
        .ColumnWidth = Application.InchesToPoints(2.5) * (.ColumnWidth / .Width)
    Next iCol
End With
End Sub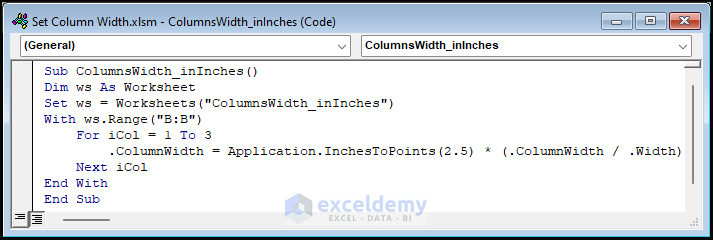
Again, we iterate three times to fine-tune the width of column B. The code converts 2.5 inches to points before setting the column width.
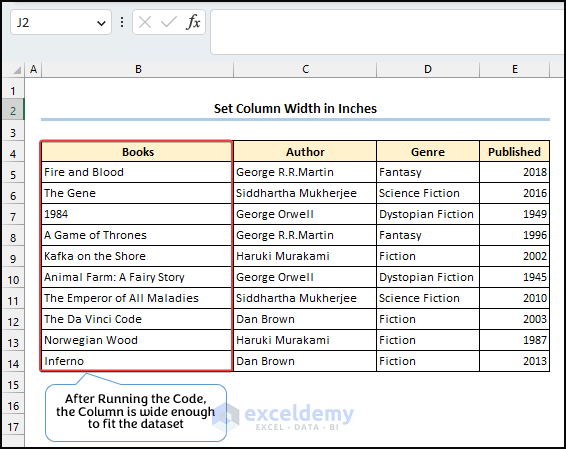
The Books column is wide enough to display the data inside it clearly.
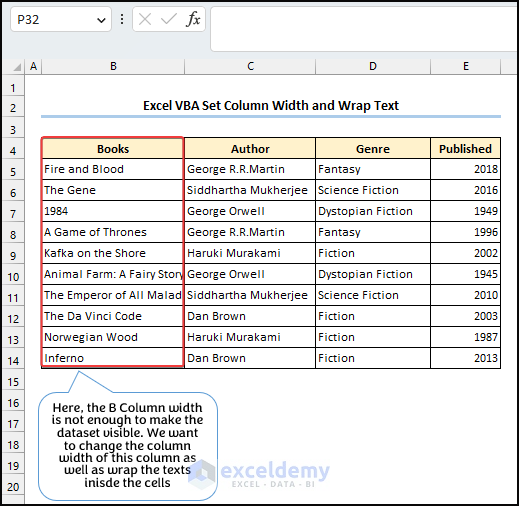
Wrapping Text Within the Column
To enhance readability, we’ll also wrap the text inside the cells of column B:
Sub ColumnWidth_WrapText()
Dim ws As Worksheet
Set ws = Worksheets("ColumnWidth_WrapText")
With ws.Range("B:B")
.ColumnWidth = 20
.RowHeight = 30
.WrapText = True
End With
End Sub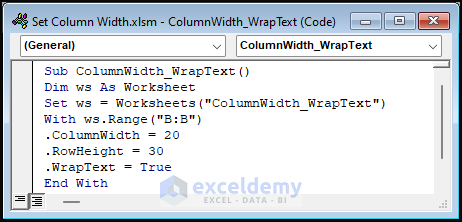
The Books column accommodates both adjusted width and wrapped text, making the data clearer.
Things to Remember
- The minimum column width is 0, and the maximum is 255.
- Excel does not accept negative widths.
- Column width is measured in points (pt), where 1-point equals 1/72 inch or approximately 0.35 millimeters. Regardless of the unit used (inches, centimeters), Excel internally converts values to points.
Download Practice Workbook
You can download the practice book here.
Get FREE Advanced Excel Exercises with Solutions!

