In Microsoft Excel, there is no inbuilt function named RegEx. Rather we have to create it manually in the workbook. This function is required to prohibit the input of any invalid character in your worksheet. It only returns the regular expressions encoded. In this article, let us learn data validation with RegEx in Excel with some easy steps. For a better understanding, we need to know about the RegEx function in detail as well.
What Is RegEx Function?
When your dataset follows certain patterns with special sequences of characters and symbols, it creates a Regular Expression (RegEx). Holding these characters, when we create a function with arguments, it is called the RegEx function. It helps to match any input and validate it according to the encrypted code.
The RegEx function syntax consists of many special characters, quantifiers, operators etc. It is mostly used in programming languages like VBA, and JavaScript.
Components of RegEx Patterns
Any RegEx pattern consists of more than one of the following components:
- Characters: Frequently used patterns that match specified characters (\w, \d, \t etc).
- Qualifiers: It allows you to change the basic pattern specifying the number of times that you want to match (*, ?, {n} etc).
- Anchors: It determines the position of the input string for matching (^, $ etc).
- Look-arounds: It is helpful to match a pattern that is or isn’t followed by any external condition {(?=), (?<=) etc}.
- Grouping: It develops a code to capture any substring along with the main string from the source {(?:pattern), \2 etc}.
Data Validation with RegEx in Excel: Step-by-Step Procedures
So far, we have gone through some detailed understanding of RegEx. It is necessary before operating the process of validation. Now, let’s jump into the steps for data validation with RegEx in Excel.
STEP 1: Prepare Dataset with Pattern
For validating with RegEx, we need a create a sample dataset.
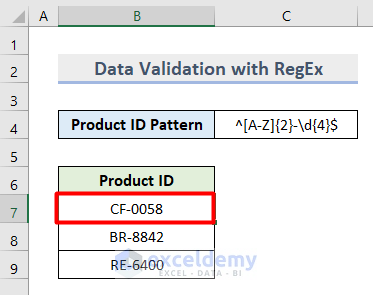
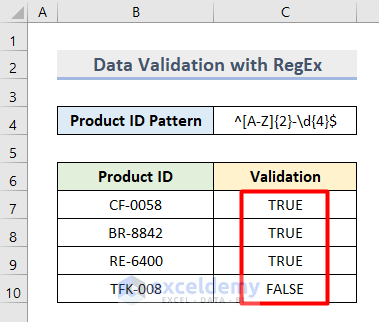
- First, insert the below Product ID Pattern in Cell C4 as per your requirement.
^[A-Z]{2}-\d{4}$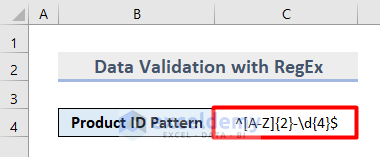
From the pattern, we can get the information that, it consists of two groups of characters. The first one is 2 lettered alphabets and the second one is 4 numerical values. Both of them are separated with a Hyphen (–). To restrict it from additional pattern input, it is anchored in the beginning and in the end with these (^, $) symbols.
- Then, type some Product IDs in the Cell range B7:B9 following the pattern that we developed initially.

Read More: How to Perform Pattern Matching in Excel
STEP 2: Create RegEx Function with VBA
This is the most important part of the article. Here, we will develop a VBA code that will generate the RegEx function. To do the task, follow the steps below.
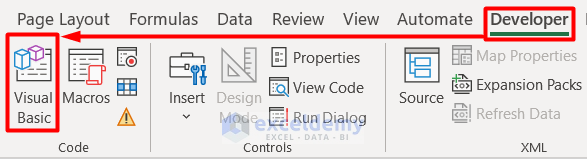
- First, go to the Developer tab and select Visual Basic from the Code section.
- Then, select Module from the Insert tab in the Microsoft Visual Basics for Applications window.

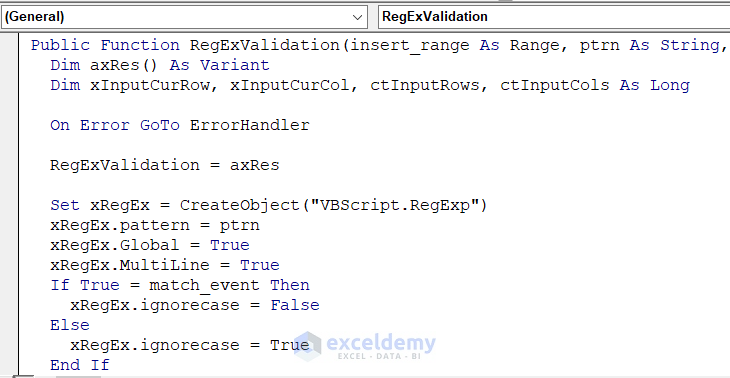
- Next, insert this code in the blank page.
Public Function RegExValidation(insert_range As Range, ptrn As String, Optional match_event As Boolean = True) As Variant
  Dim axRes() As Variant
  Dim xInputCurRow, xInputCurCol, ctInputRows, ctInputCols As Long
  On Error GoTo ErrorHandler
  RegExValidation = axRes
  Set xRegEx = CreateObject("VBScript.RegExp")
  xRegEx.pattern = ptrn
  xRegEx.Global = True
  xRegEx.MultiLine = True
  If True = match_event Then
    xRegEx.ignorecase = False
  Else
    xRegEx.ignorecase = True
  End If
  ctInputRows = insert_range.Rows.Count
  ctInputCols = insert_range.Columns.Count
  ReDim axRes(1 To ctInputRows, 1 To ctInputCols)
  For xInputCurRow = 1 To ctInputRows
    For xInputCurCol = 1 To ctInputCols
      axRes(xInputCurRow, xInputCurCol) = RegEx.Test(insert_range.Cells(xInputCurRow, xInputCurCol).Value)
    Next
  Next
  RegExValidation = axRes
  Exit Function
ErrorHandler:
    RegExValidation = CVErr(xlErrorValue)
End Function
- After this, save the code by pressing Ctrl + S and then, close the window.
- As a result, you will get the RegExValidation function with this syntax:
Here the arguments are as follows:
Text: One or multiple strings to search.
Insert_range: The regular expression for matching with the string.
Match_event: It is an optional argument that can be either True or False based on case-sensitive matching.
Read More: How to Use REGEX without VBA in Excel
STEP 3: Name New Formula
Now, as we have our function, we will create a formula and name it to establish in the workbook. To do this, follow the steps below.
- In the beginning, select any cell in your dataset. For example, we selected Cell B4.
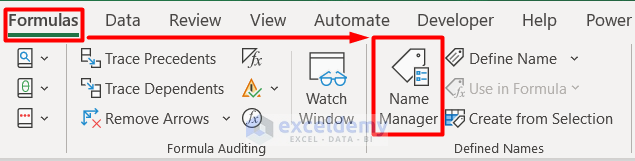
- Then, go to the Formulas tab and click on Name Manager in the Defined Names section.
- You can also press Ctrl + F3 to open it.
- Next, select New in the Name Manager dialogue box.

- Afterward, enter any name according to your preference for the formula in the Name box.
- Along with it, insert this formula in the Refers to box and press OK.
=RegExValidation(Data Validation with RegEx!C4, Data Validation with RegEx!$C$4)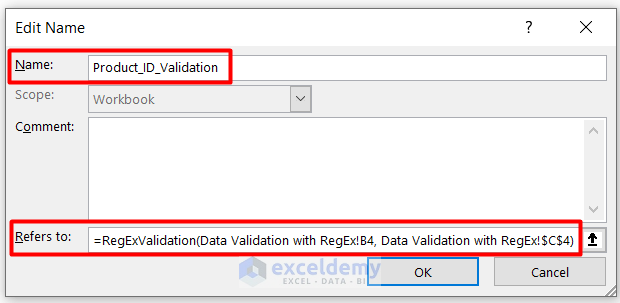
- Now, you will see the formula is named and listed.
- Following this, press Close to turn off the window.

STEP 4: Create Custom Data Validation Rule
As we have encrypted the formula for this workbook, now let us apply a data validation rule based on the formula.
- First, select Cell B7 as it is the first cell of our dataset.
- Then, select Data Validation under the Data Tools group in the Data tab.

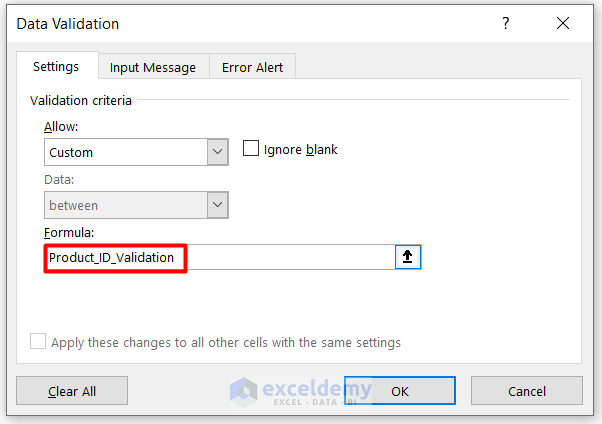
- In the Data Validation window, select Custom in the Allow box.
- Also, mark unchecked the Ignore blank box.

- Along with it, insert the name of the formula in the Formula box that we created earlier in Step 3.
- In addition to this, you can create an Error message with a Title in the Error Alert tab.

STEP 5: Copy Data Validation
In this stage, we will copy the data validation rule into other cells of the workbook.
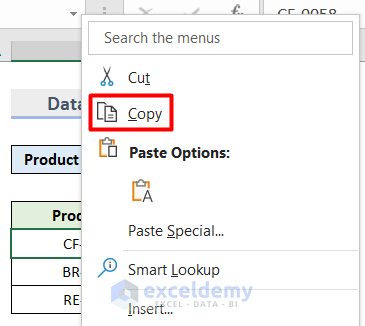
- In the beginning, right-click on Cell B7 and select Copy.
- Then, select any number of cells where you want to apply the Data Validation rule.
- Afterward, right-click on them and select Paste Special.

- Next, select Validation in the Paste Special window and press OK.

STEP 6: Proof Checking
Finally, we have successfully validated RegEx in the workbook. To check if it working properly or not, you can try any of the following options.
Option 1: Proof Checking with Error Message
An error message will prove the success in this case.
- To do this, type a new Product ID in Cell B10.

- Afterward, press Enter and you will get this error message.

- It shows that the text is not matching with the RegEx pattern that we validated.
Option 2: Proof Checking with Formula
Another way is to check with the RegEx formula that we created earlier. This process is applicable when you do not copy the Data Validation rule to other cells.
- To do this, type this formula in Cell C7.
=RegExValidation(B7,$C$4,TRUE)
- Then, press Enter > Autofill.
- As a result, it will determine whether the text is matching or not with the RegEx pattern as TRUE or FALSE like this.
Read More: How to Use REGEX to Match Patterns in Excel
What to Do When RegEx Validation Is Not Working in Excel?
One of the following reasons might be responsible for RegEx validation not working.
1. Wrong Cell Reference
During naming the formula in Step 3, if you provide any other cell than the active cell as a Relative Reference, the validation will not work.
You can check and correct it in the Name Manager window.
2. Ignore Blank Option Enabled
During applying the Data Validation rule, sometimes people may forget to mark uncheck the Ignore Blank option. As a result, it returns a blank cell and is ignored when a match is not found. Therefore, you can type this formula instead in the Name Manager window if you enable the option.
=RegExValidation(Data Validation with RegEx!C4, Data Validation with RegEx!$C$4)=TrueDownload Practice Workbook
Get this sample file to practice by yourself.
Conclusion
Finally, we are concluding our long article. We tried to illustrate the process of Data Validation with Regular Expression or RegEx in Excel through some simple steps. I hope you will find it helpful.
Related Articles
- How to Filter Using RegEx in Excel
- How to Find & Replace Text Using Regex in Excel
- How to Find and Replace RegEx Patterns in Excel
- How to Count Regex with COUNTIF in Excel
- How to Find RegEx Patterns in Excel
<< Go Back to RegEx in Excel | String Manipulation | Learn Excel
Get FREE Advanced Excel Exercises with Solutions!
