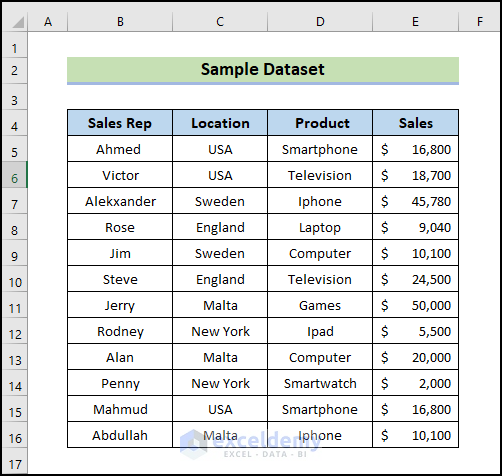
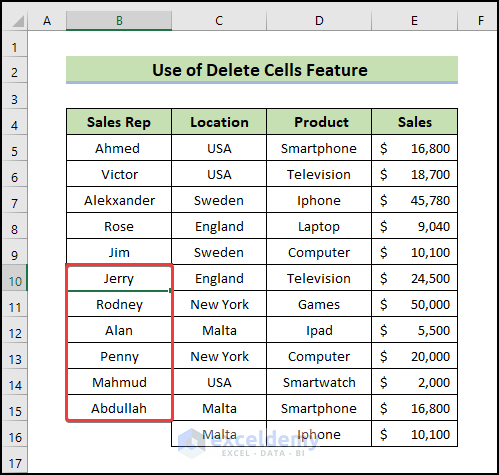
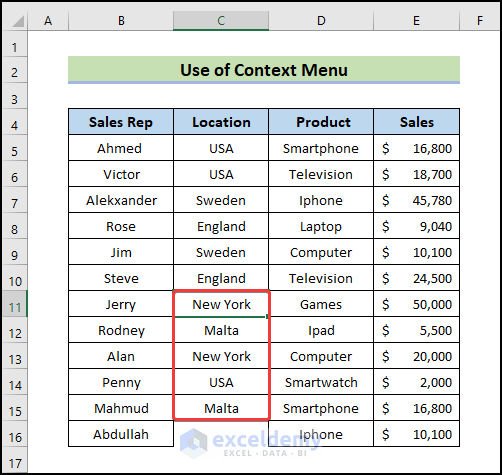
We are going to use a datasheet with four columns containing sales information for some sales representatives. This table represents sales information for different locations. The columns are Sales Rep, Location, Product, and Sales.
Method 1 – Using the Delete Cells Feature in the Home Tab to Delete a Cell in Excel
Steps:
- To delete a cell using the ribbon, select the cell you want to delete.
- Open the Home tab >> Go to Cells >> From Delete, select Delete Cells. Here, we select cell B10.

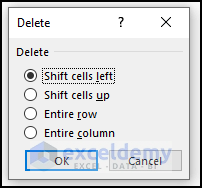
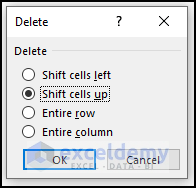
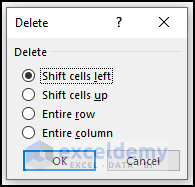
- A dialog box will pop up, showing 4 Delete options.
- Select Shift cells left.
- Click OK.
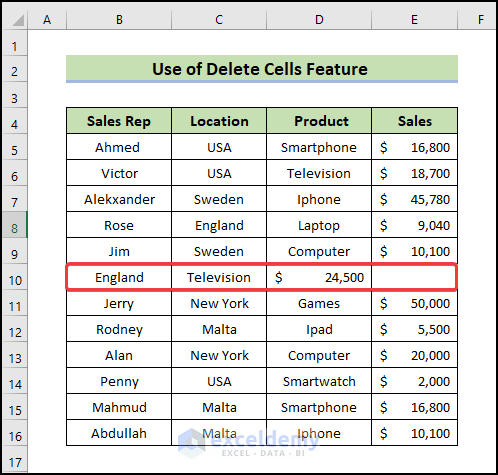
The Delete option Shift cells left will delete the selected B10 cell also it will shift the rest of the adjacent cells C10, D10, and E10 of the Location, Product, and Sales column to the left.
- To delete a cell using the ribbon, select the cell you want to delete.
- Open the Home tab >> Go to Cells >> From Delete, select Delete Cells. Here, we selected cell B10.
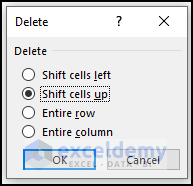
- A dialog box will pop up that will show some Delete options.
- Select Shift cells up.
- Click OK.
- The Delete option, which shifts cells up, deletes the selected B10 cell and shifts the rest of the Sales Rep’s cells (B10:B15) upward.
Method 2 – Deleting a Cell Through the Context Menu
Steps:
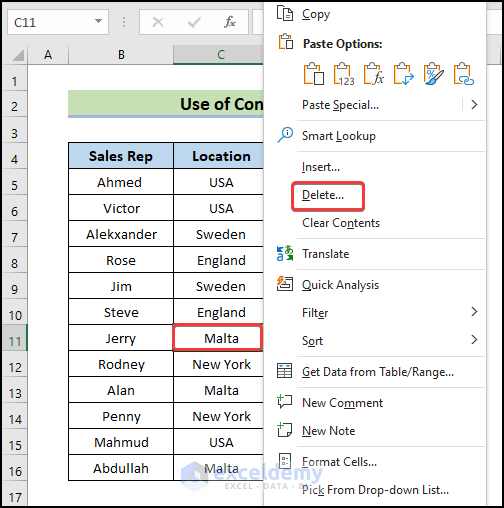
- Select the cell, right-click on the right side of the mouse, and select Delete. Here, we selected cell C11.
- A dialog box will pop up, showing 4 Delete options.
- Select Shift cells left.
- Click OK.

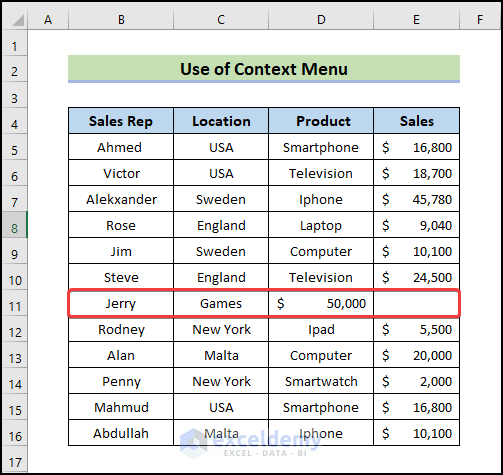
The Delete option (Shift cells left) will delete the selected C11 cell. It will also move the rest of the adjacent cells, D11 and E11, of the Product and Sales column to the left.
- Select the cell, right-click on the right side of the mouse, and select Delete. Here, we selected cell C11.

- A dialog box will pop up, showing 4 Delete options.
- Select Shift cells up.
- Click OK.
The Delete option Shift cells up will delete the selected C11 cell and shift the rest of the adjacent cells (C11:C15) of the Location column upward.
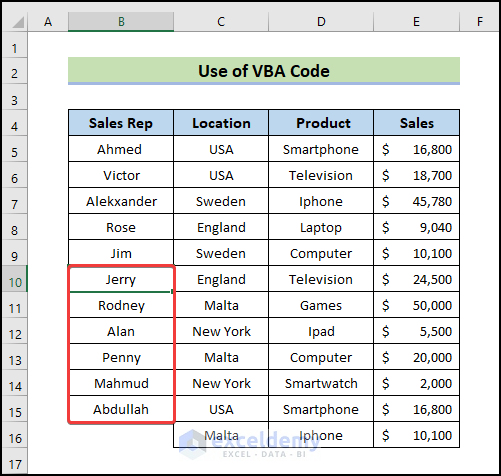
Method 3 – Using Excel VBA to Delete a Cell
Steps:
- Insert the code in the VBA window.
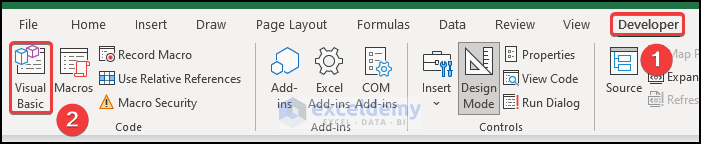
- To open the VBA window, click the Developer tab on your ribbon.
- Select Visual Basic from the Code group.
- A new window of Microsoft Visual Basic for Applications will appear.
- Open Insert >> Select Module.
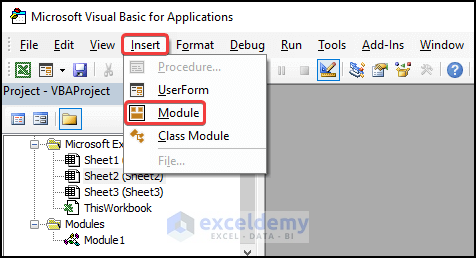
- Enter the code in the module:
Sub Delete_Cells()
Range("b9").Delete
End Sub- Close the Visual Basic window.
- Press Alt+F8.
- When the Macro dialogue box opens, select the following macro in the Macro name.
- Click on Run.

It will delete the selected cell and shift the rest of the cells in the Sales Rep column upward.
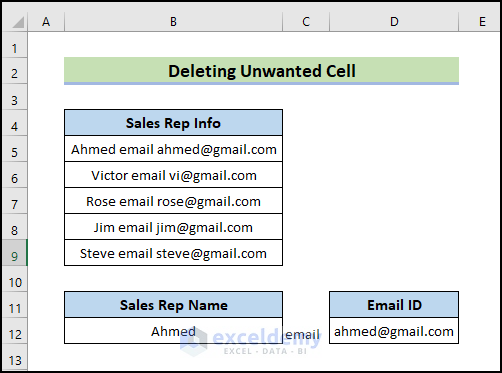
Method 4 – Removing an Unwanted Cell in Excel
Steps:
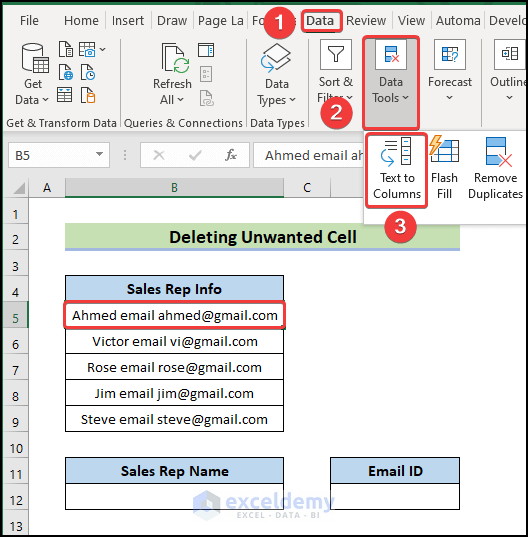
- Select the row in which you want to separate text.
- Open the Data tab >> go to Data Tools >> Select Text to Columns.
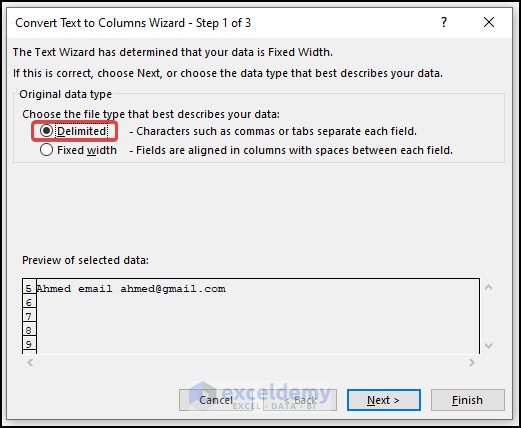
- A dialog box called Convert Text to Columns Wizard will pop up.
- Select the Delimited file type.
- Click Next.
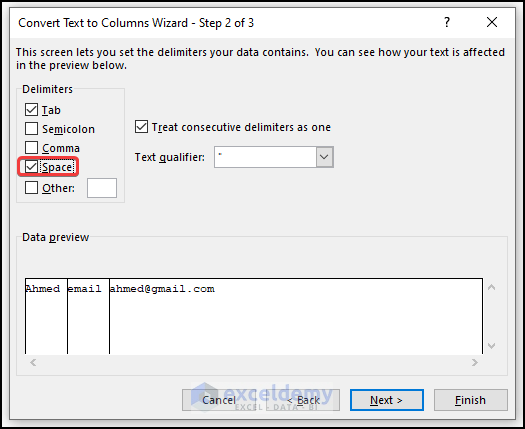
- Select the Delimiters Space.
- Click Next.
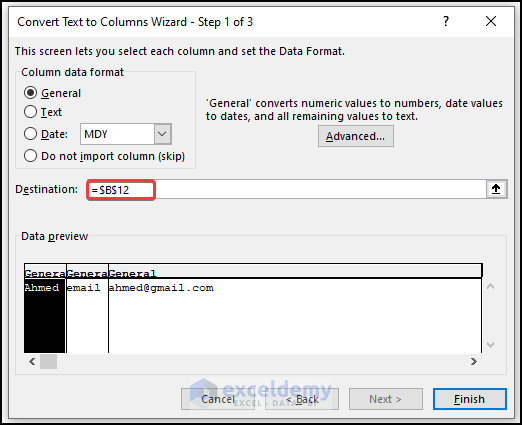
- Select the Destination where you want to place your converted text.
- We made two new columns, which are Sales Rep Name and Email ID.
- As we want to place my converted text in these columns we have chosen the Destination of these columns.
- Click Finish.
You will see the converted text in the new columns.
As we want to keep the Sales Rep Name and Email ID columns text so we will remove the C11 and C12 cells.
- Select the cell you want to delete.
- Open the Home tab >> Go to Cells >> From Delete, select Delete Cells.
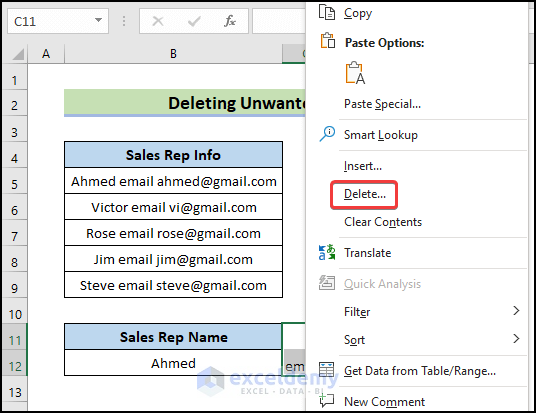
- A pop-up dialog box will appear with 4 Delete options.
- Select Shift cells left because we want to show these two columns as adjacent.
- Click OK.

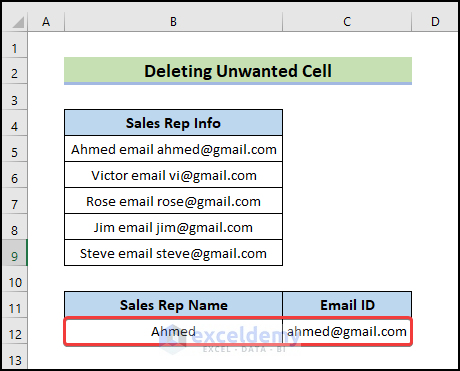
You will get the following output.
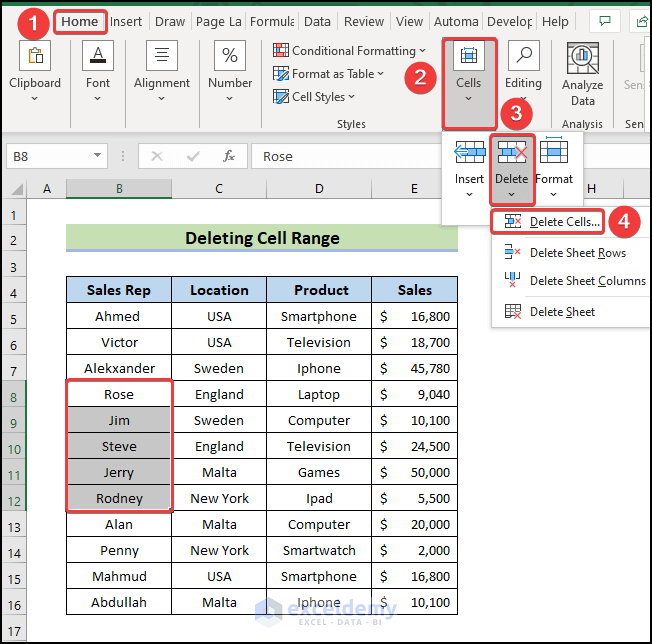
How to Delete a Cell Range in Excel
Steps:
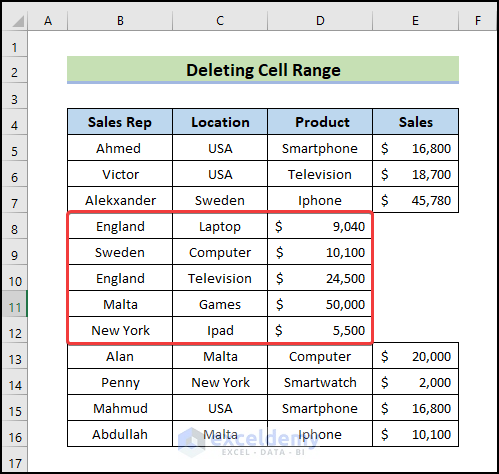
- To delete a cell range, select the cell range you want to delete.
- Open the Home tab >> Go to Cells >> From Delete, select Delete Cells.
- Select the range (B8:B12) cell.
- A pop-up dialog box will open showing 4 Delete options.
- Select Shift cells left.
- Click OK.
The Delete option Shift cells left will delete the selected range (B8:B12) cell; also, it will shift the rest of the adjacent cells of range (B8:B12) to the left.
- Open the Home tab >> go to Cells >> from Delete select Delete Cells.
- Select the range (B8:B12) cell.
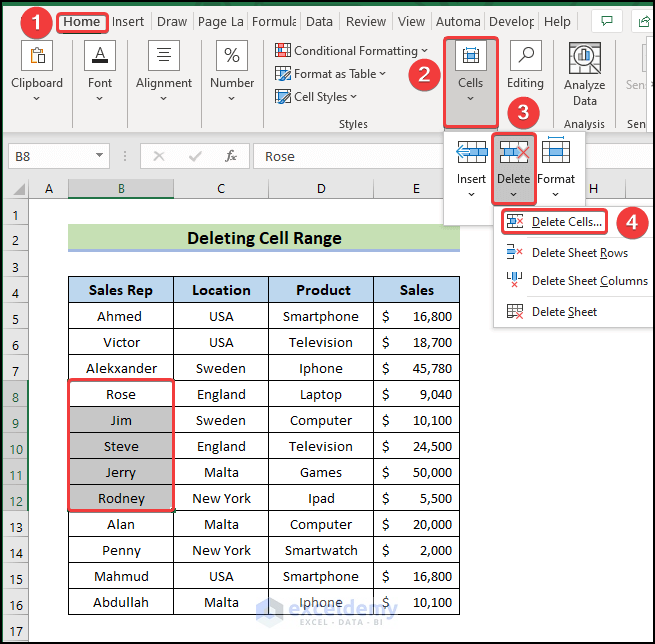
- Select the Shift cells up option from the Delete.
- Click OK.

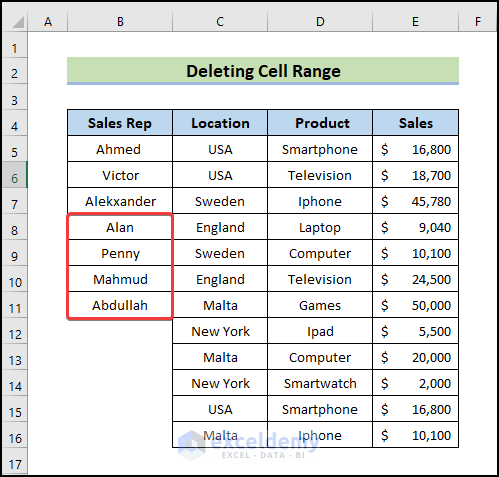
The Delete option, which shifts cells up, deletes the selected cell range (B8: B12) and shifts the rest of the Sales Rep’s cell range (B8: B12) upward.
Download the Practice Workbook
Download this workbook to practice.
Related Articles
- What Is an Active Cell in Excel
- How to Show All Text in an Excel Cell
- How to Grey Out Unused Cells in Excel
<< Go Back to Excel Cells | Learn Excel
Get FREE Advanced Excel Exercises with Solutions!
