As in real time it happens a lot, we tend to update our original data source a lot, during that period, we may alter the column Header a bit inside the Power and Query. But the Power Query will show an error when you change the Header. If you are curious about how you can deal with this issue, this article may come in handy for you. Dealing with tables with changing Headers in Power Query is discussed here with elaborate explanations.
The Problem of Changing Headers in Power Query
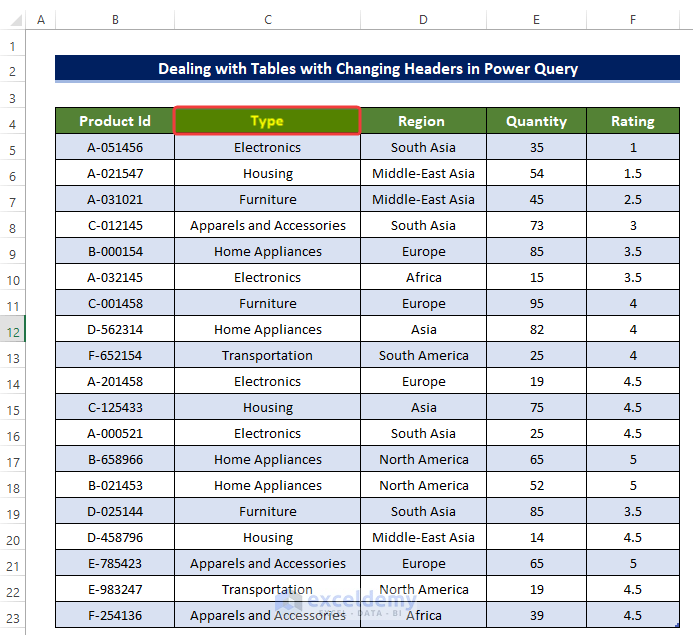
We usually have traditional data sources with column Headers. When we create a Power Query out of it, it usually takes the column Headers of the table as the column Header of the Power Query table. If any kind of data insertion occurs, the data is updated with the column Header.
But in some cases, when you manually change your column Header inside the Power Query, and then after some time the main data source itself changes, it can show an error sign. This is a major issue, and there is a reason behind this.
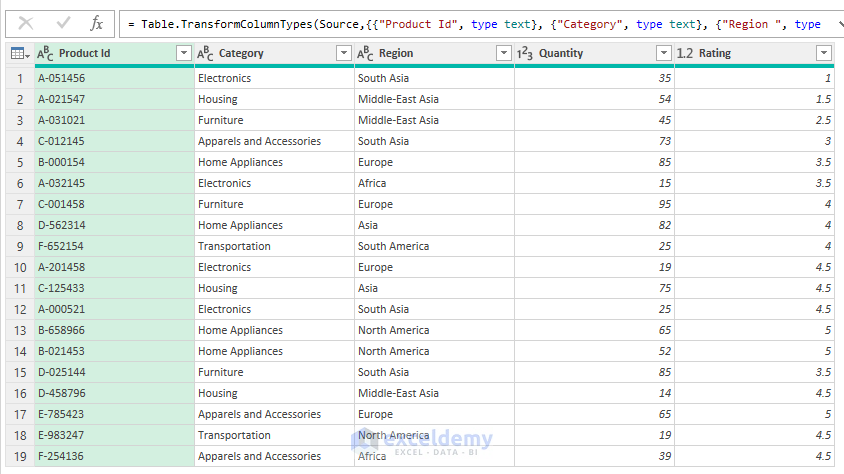
For example, consider the below example. We created a sample Power Query from a data source. There the second column Header is Category. Now inside the Power Query, we changed the Category to Type. And then load the table into a new worksheet.
Now we head into our problem territory. Change the Header name in the table from Category to Type and try refreshing the Power Query table.
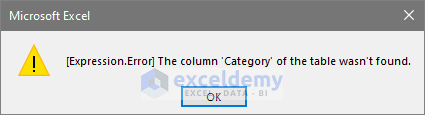
- After you try to refresh the source data, there will be an error sign.
- The reason behind this is the M code, that was generated during the Header name change phase. The code is shown below.
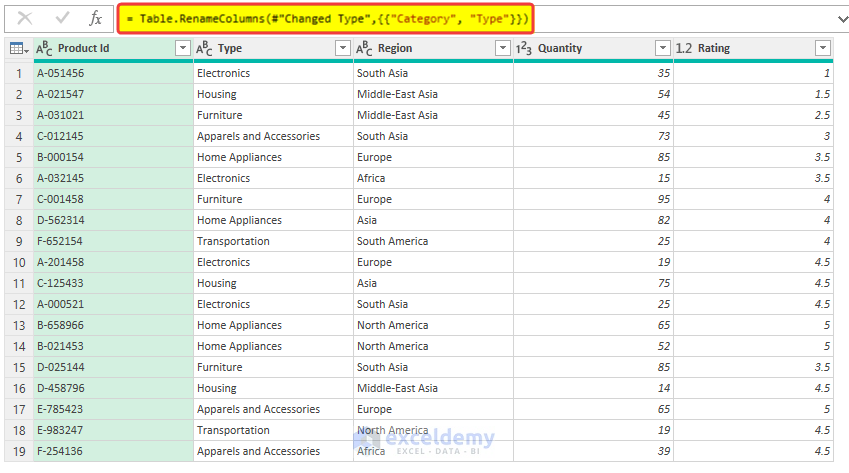
- If you notice carefully, then you will see that the Category word, is completely hardcoded. Meaning it will search for the Category, and then replace that with the Type.
- But as we changed the column Header name in the later stage, so this code obviously won’t find the Category in column Headers. Hence, we got the error.
In this article, we will try to eliminate the impact of the column Header names in the source dataset. Users will have the freedom of choosing their Header title in the Power Query. Even if there is any change in the column Header name, there would be no more errors.
Dealing with Table with Changing Headers in Power Query: with Quick Steps
We discussed elaborately how you can avoid the warning mentioned earlier. The warning prevents us from updating the original data source. Following this article, you can update your dataset with the column Header of your choice.
Step 1: Create Power Query Table
Before we delve into solving the issue, we need to create a Power Query table first.
- At first, we need to produce a new Power Query table from a data set.
- To do this, at first select the range of cells B4:F23, and then from the Data tab, click on From Table/Range.
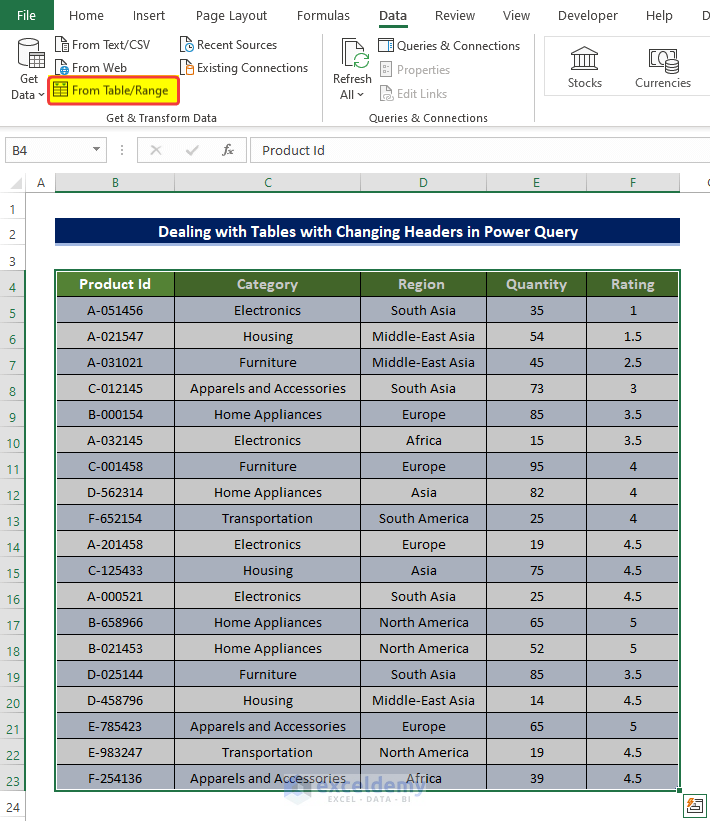
- Right after clicking From Table/Range, you will notice that there is a new window with a Power Query table.
- That Power Query table has all the column Header just like the original data source.
- And the M code is also visible on the top bar.
Step 2: Change Header Name and Load Table
Now we will change the Header name and load the table in a new sheet.
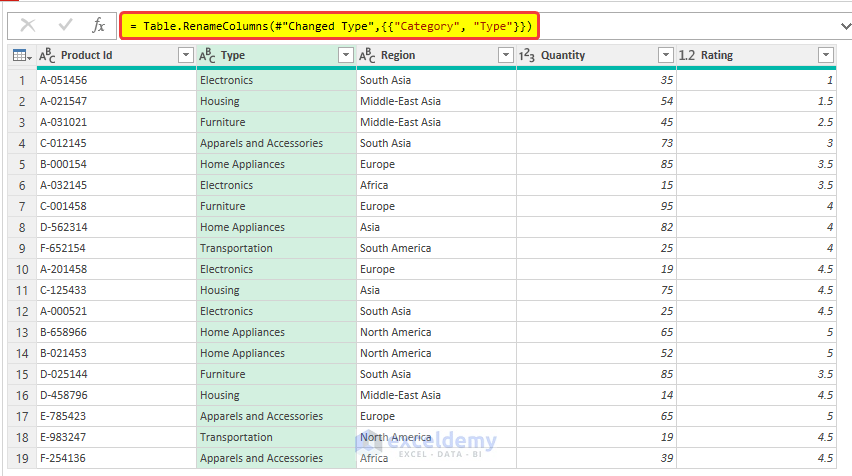
- Now we double-click on the Category column Header and in the editing window, enter “Type”.
- At the same time, you will notice that the M code is also changed here.
- The M code here denotes that it will search for the word Category in the Column Headers. Then it will replace it with the Type.
- This whole procedure is also recorded in steps. You can observe that in the Renamed Columns.
- Then click on the Close and Load in the Home tab.
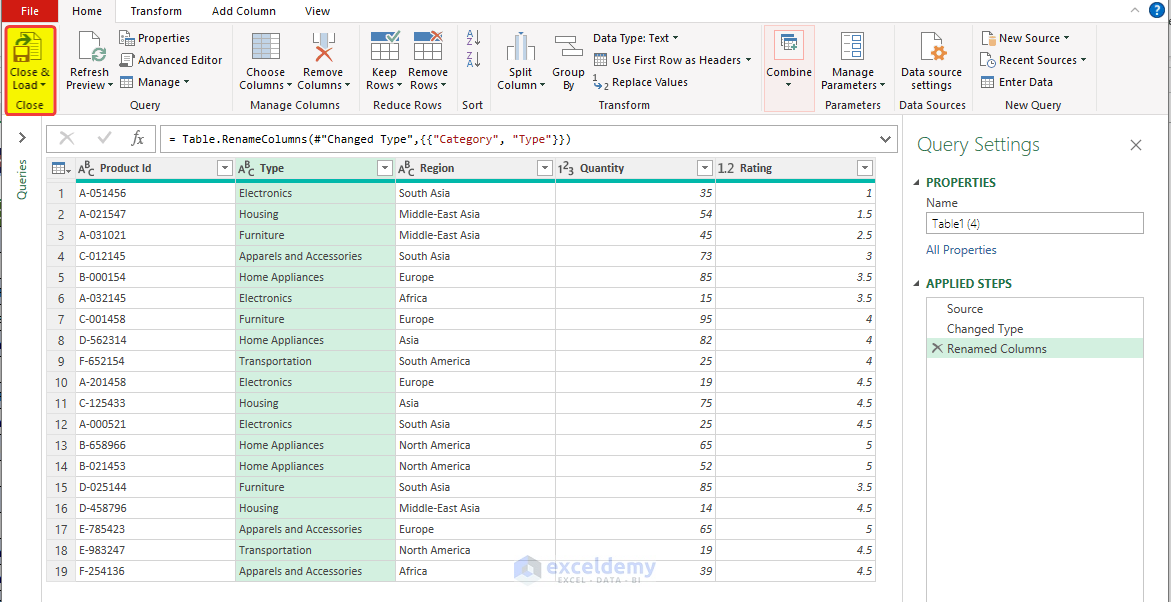
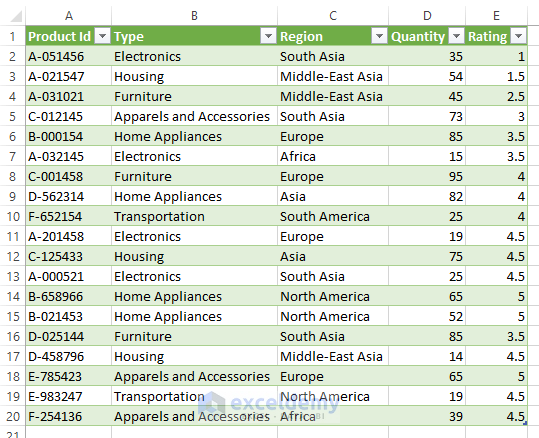
- After some time, you will notice that your Power Query table is now loaded into a new sheet. With the changed Header name.
Step 3: Demote Top Row and Rename First Row
We already discussed what will happen if we try to change the Header name in the original source and then try to refresh the table. It will return an error.
- Input Type in the place of Category in the source dataset.
- Then try to refresh the table from the Power Query from the Refresh command in the Query tab.
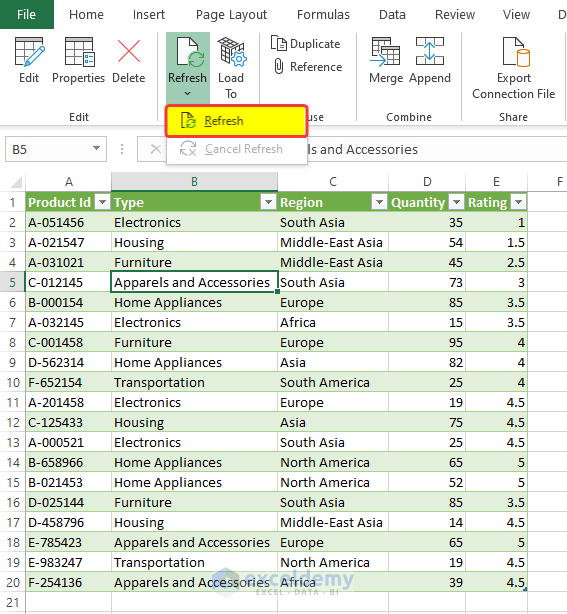
- Then there will be a warning pop-up window.
- Click OK.
- To avoid this, we will now demote the top row of the table.
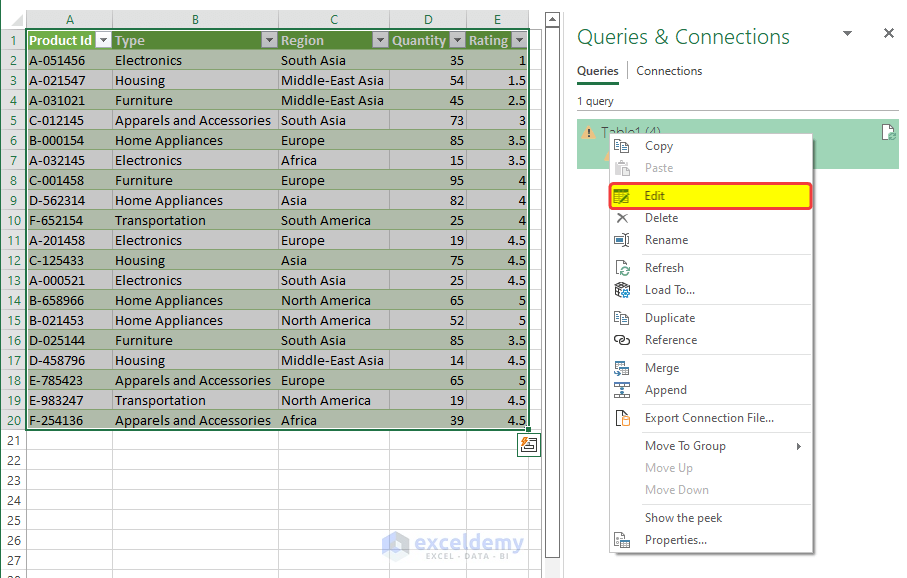
- Click on the table and from the Queries and Connections windows, there will be a warning sign.
- Right-click on that warning sign and then click on Edit.
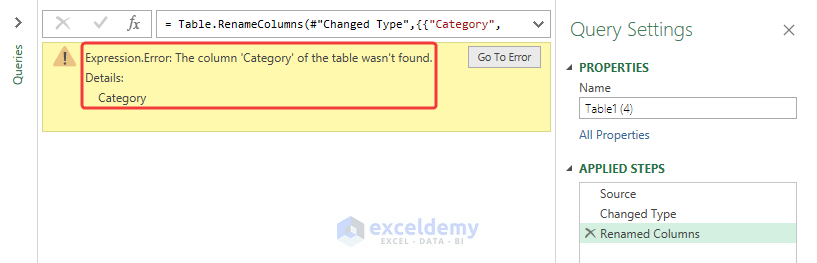
- Then you will be taken to the Power Query table once again and there you can see the yellow box stating the issue.
- On the APPLIED STEPS on the right side of the window, click on the Source.
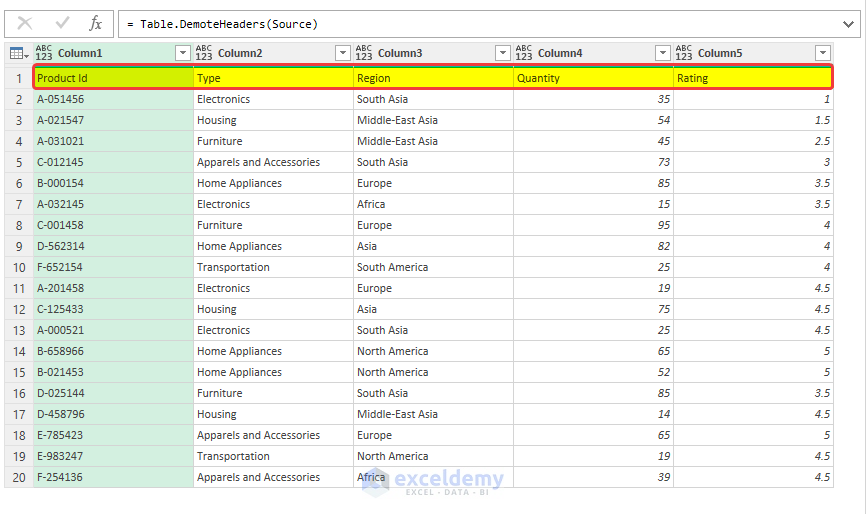
- Then in the main Power Query source data, go to Transform tab > Use First Row as Headers.
- Then from the drop-down menu, click on the Use Headers as First Row.

- There will be a warning box as Insert Step, in that window, click on the Insert.

- Then you will notice that the top rows now shifted downward.
- Then double-click on each of the column Headers like Column 1, Column 2, …etc.
- And then rename them exactly like the main data source.
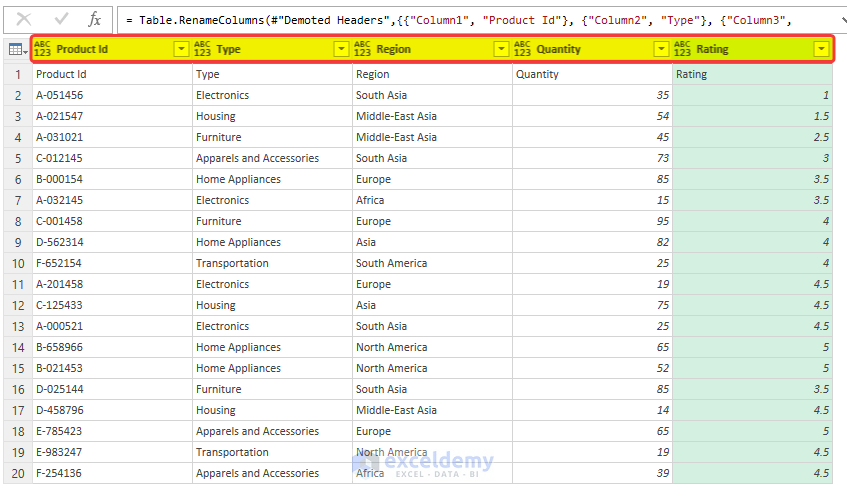
- Now as we have the column Header name in the top row, we don’t need the column Headers in the second row.
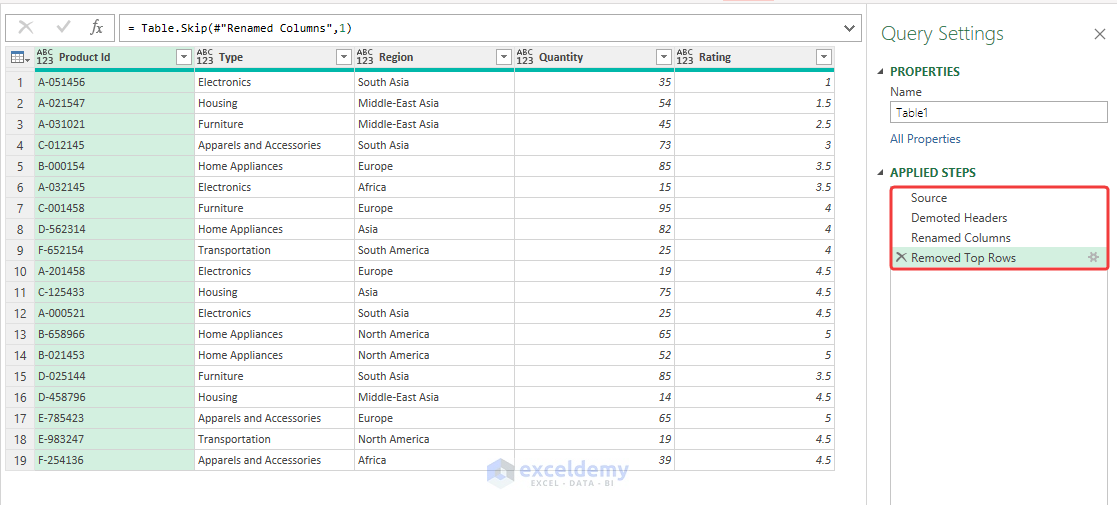
- To delete those rows, go to the Home tab > Remove Rows.
- Then click on the Remove Top Rows.

- There will be another warning sign, click Insert.

- Then those previous column Headers went.
- Delete all the other types of steps in the APPLIED STEPS, especially the Changed Type step.
- Then close and load the Power Query as usual.
Step 4: Verify Your Power Query Table
Now as we did demote and delete the parent Column Headers, we can now test whether this warning shows again.
💬 Note
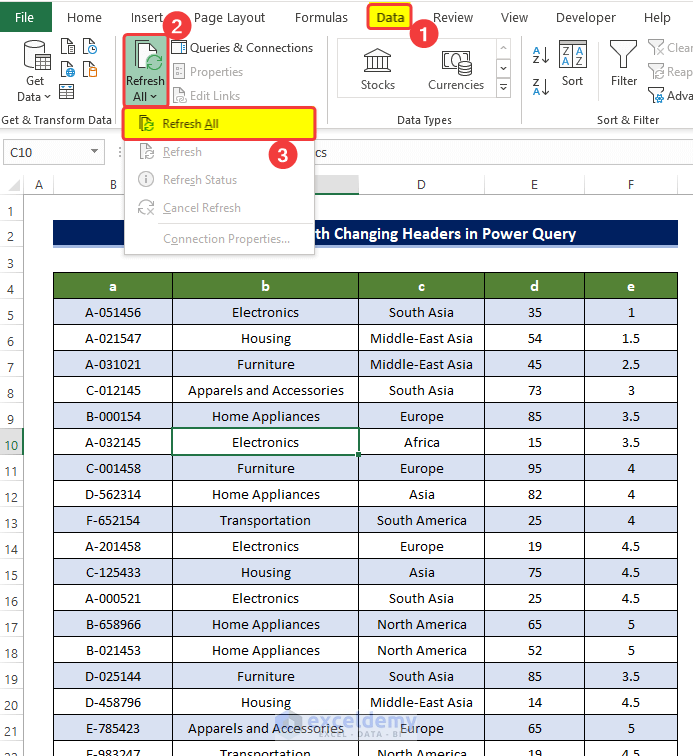
- Here, just for demonstration purposes, we change the column Header to a, b, c, d to see whether there is any impact on the table. Users are free to add a column Header of their choice.
- You can also refresh the Power Query table from the Data tab.
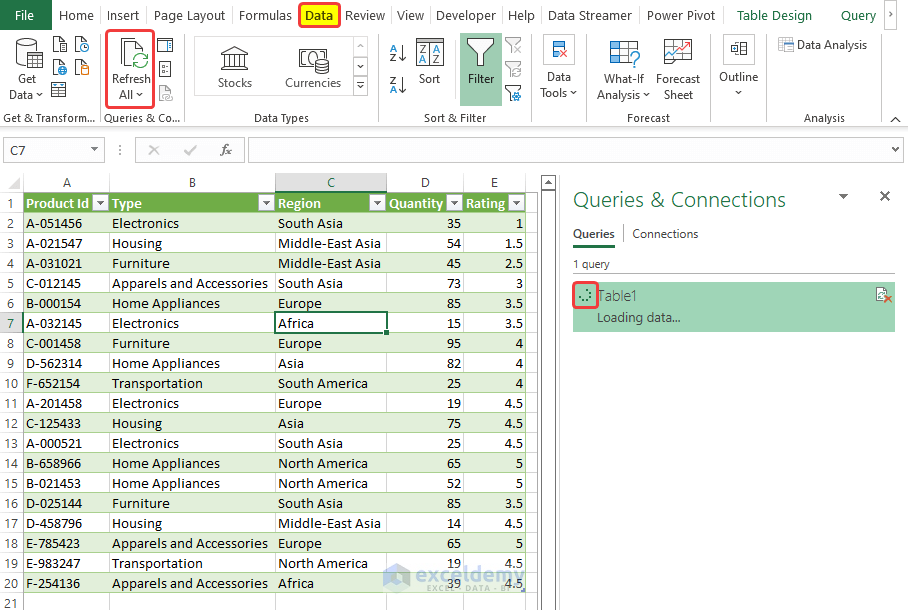
- Select the Power Query table, and then click on the Refresh All command.
- You will notice that there is a slight loading animation on the Queries and Connections.
- After the loading, you will notice that there is no more warning sign showing up.
- You can also try changing the column Headers as you wish, and then Refresh to see the impact.
And this is how we are done dealing with Tables with Changing Headers in Power Query.
Download Practice Workbook
Download this practice workbook below.
Conclusion
Here, we presented the solution to the issue of dealing with Table with Changing Headers in Power Query with elaborate explanations.
For this problem, a workbook is available for download where you can practice these methods.
Feel free to ask any questions or feedback through the comment section. Any suggestion will be highly appreciated.
Related Articles
<< Go Back to Power Query Examples | Power Query Excel | Learn Excel
Get FREE Advanced Excel Exercises with Solutions!
