In our daily professional life, we are changing negative values to positive values. Using Microsoft Excel, we can do such in multiple ways within the blink of an eye. In this article, we are going to demonstrate 9 different approaches for changing negative to positive in Excel. If you are also curious about it, download our practice workbook and follow us.
Changing Negative Numbers to Positive in Excel: 9 Suitable Examples
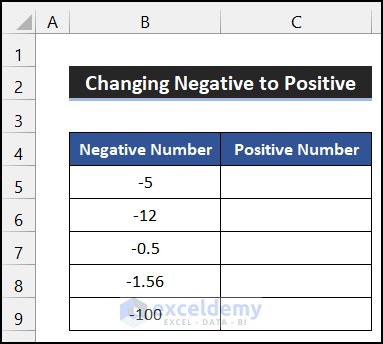
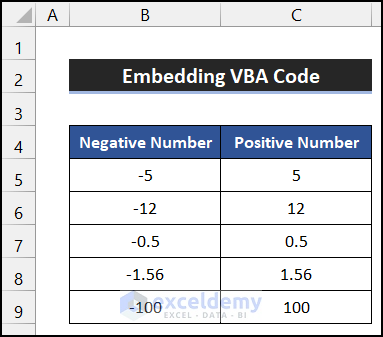
To demonstrate the approaches, we consider a dataset of 5 random negative numbers in the range of cells B5:B9. We are going to show the results in the range of cells C5:C9.
📚 Note:
All the operations of this article are accomplished by using Microsoft Office 365 application.
1. Applying ABS Function
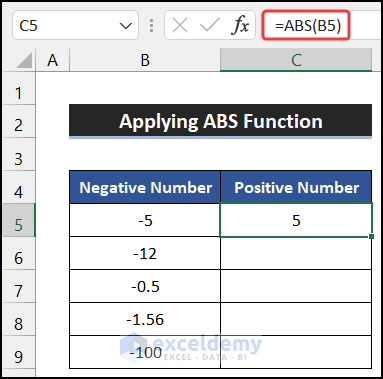
In this method, we are going to use the ABS function for changing negative to positive in Excel. The steps of this process are given below:
📌 Steps:
- First of all. Select cell C5.
- Now, write down the following formula into the cell.
=ABS(B5)
- Press Enter.
- Then, double-click on the Fill Handle icon to copy the formula up to cell C9.
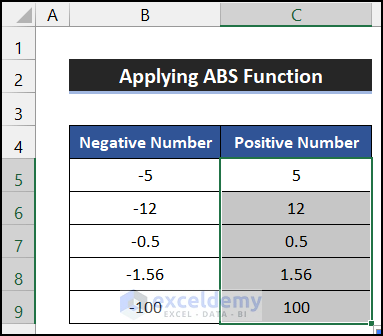
- You will see all the negative values changing into positive values.

Thus, we can say that our formula works perfectly, and we are capable of changing negative to positive in Excel.
Similar Readings
2. Using IF Function
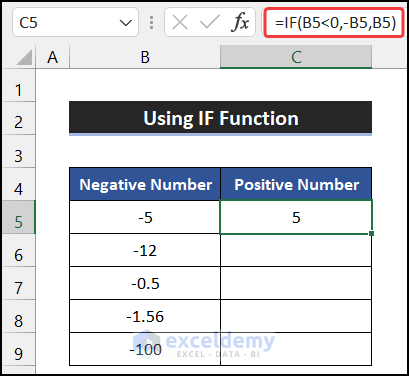
In this process, we will use the IF function for changing negative to positive in Excel. The steps of this process are given as follows:
📌 Steps:
- Select cell C5.
- After that, write down the following formula into the cell.
=IF(B5<0,-B5,B5)
- Then, press Enter.
- Now, double-click on the Fill Handle icon to copy the formula up to cell C9.
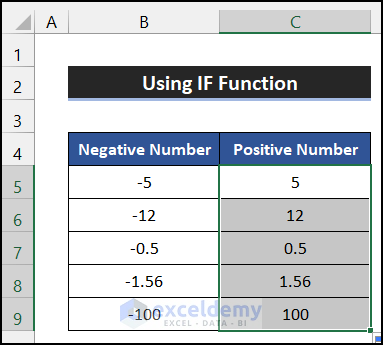
- You will see all the negative values changing into positive values.
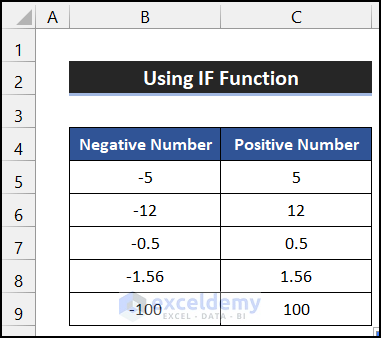
Hence, we can say that our formula works effectively, and we are capable of changing negative to positive in Excel.
Read More: How to Make All Numbers Positive in Excel
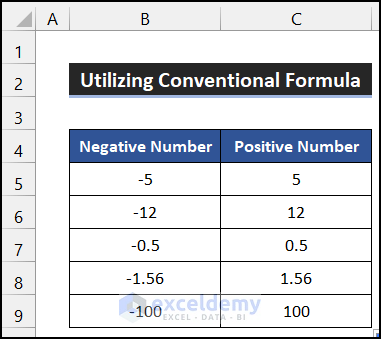
3. Utilizing Conventional Formula
In this approach, we are going to use a conventional formula for changing negative to positive in Excel. The steps of this method are given as follows:
📌 Steps:
- At first. Select cell C5.
- Afterward, write down the following formula into the cell.
=B5*(-1)
- Next, press Enter.
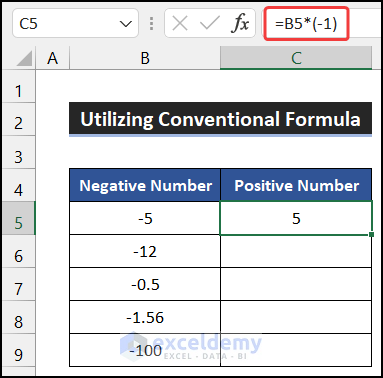
- Then, double-click on the Fill Handle icon to copy the formula up to cell C9.
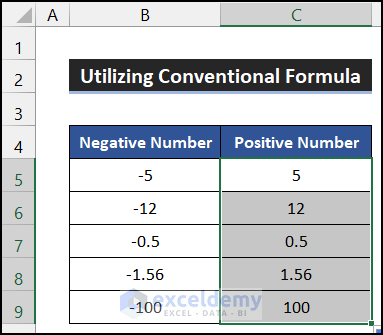
- You will see all the negative values changing into positive values.
So, we can say that our formula works precisely, and we are capable of changing negative to positive in Excel.
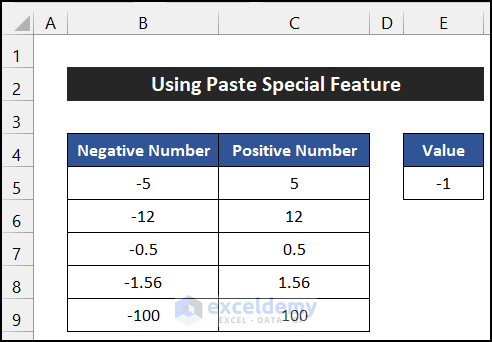
4. Using Paste Special Feature
In the following method, we will use the Excel built-in Paste Special option for changing negative to positive. The steps of this procedure are described below:
📌 Steps:
- Firstly, select the range of cells B5:B9 and copy the data in the range of cells C5:C9. This step is not mandatory, but it helps you to preserve the original dataset.
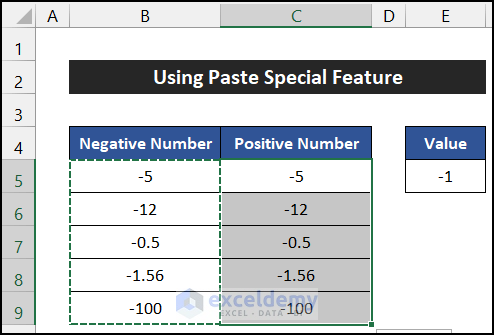
- Now, select cell E5 which has a value of -1.
- Press ‘Ctrl+C’ to copy the data.
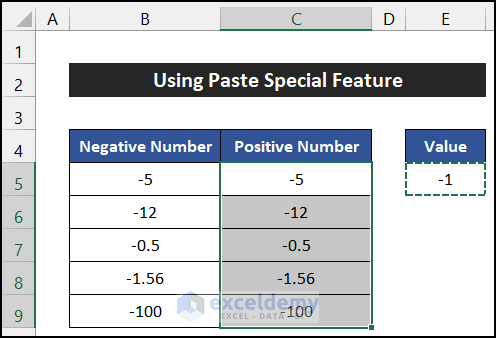
- Then, select the range of cells C5:C9.
- After that, in the Home tab, click on the drop-down arrow of the Paste > Paste Special option from the Clipboard option.
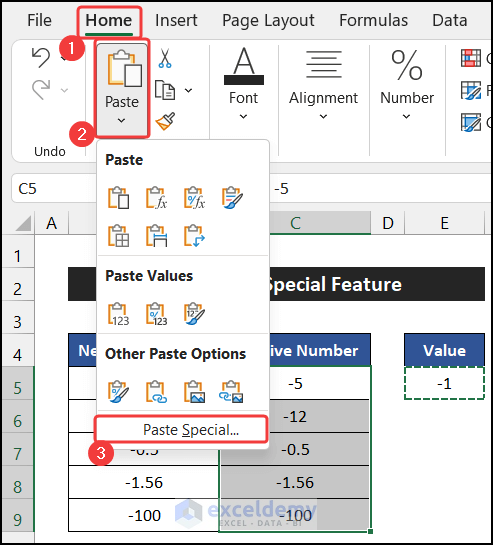
- As a result, a small dialog box called Paste Special will appear.
- In the Paste section, choose the Values option, and in the Operation section, choose the Multiply option.
- Finally, click OK.

- You will notice all the negative values changing into positive values.
Therefore, we can say that our method works perfectly, and we are capable of changing negative to positive in Excel.
5. Applying Flash Fill Feature
In the following approach, we are going to use the Flash Fill option for changing negative to positive. The procedure of this step is shown below:
📌 Steps:
- In the beginning, select cell C5.
- Now, write down the value of B5 in that cell. For our case, we write down 5.

- After that, drag on the Fill Handle icon up to cell C9.
- Then, click on the Auto Fill Option and choose the Flash Fill option.
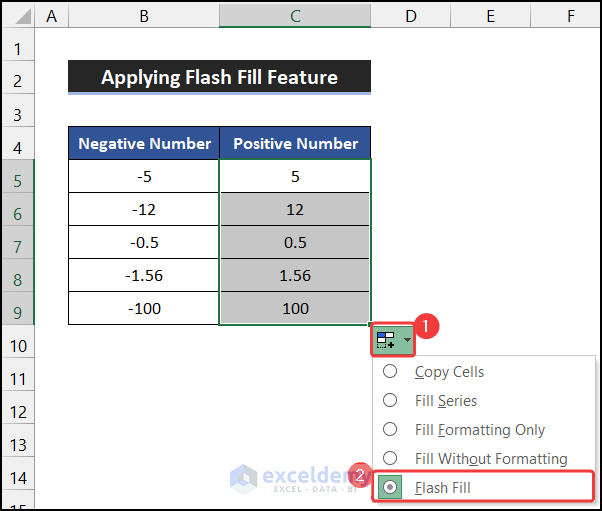
- You will figure out that all the negative values change into positive values.
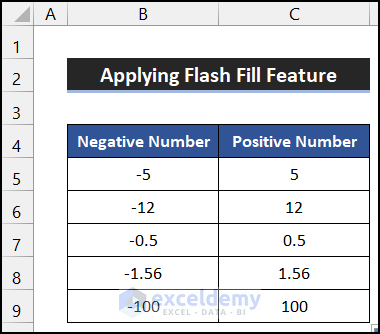
At last, we can say that our approach works precisely, and we are capable of changing negative to positive in Excel.
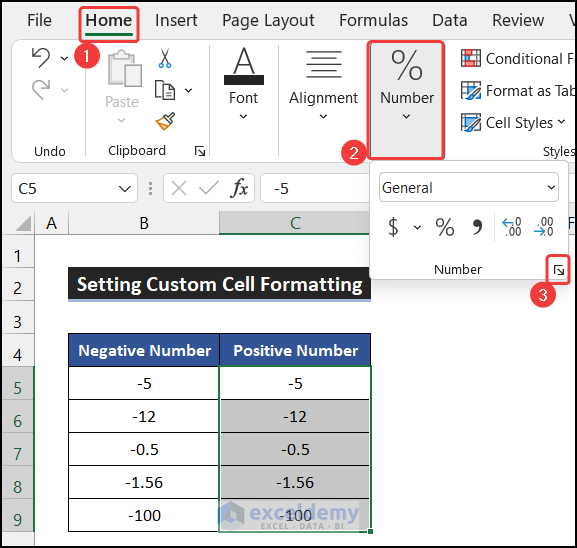
6. Setting Custom Cell Formatting
We can also set a custom formatting of our cell for changing negative to positive in Excel. The steps of this process are explained below:
📌 Steps:
- First of all, select the range of cells B5:B9 and copy the data in the range of cells C5:C9. This step is not mandatory, but it helps you to preserve the original dataset.

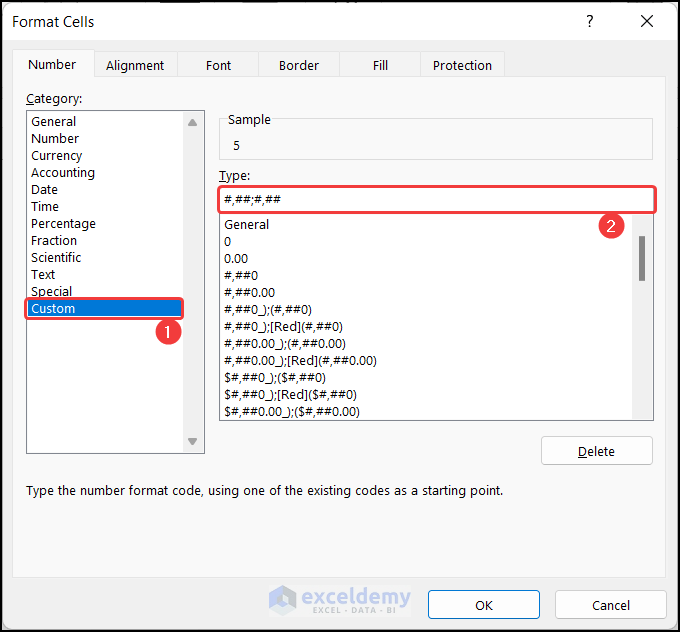
- Now, in the Number group, click on the Format Cells dialog box launcher.
- Then, click on the Custom option.
- Next, in the empty box, write down the following formatting.
#,##;#,##
- Finally, click OK.
- You will see that all the negative values change into positive values.

In the end, we can say that our method works effectively, and we are capable of changing negative to positive in Excel.
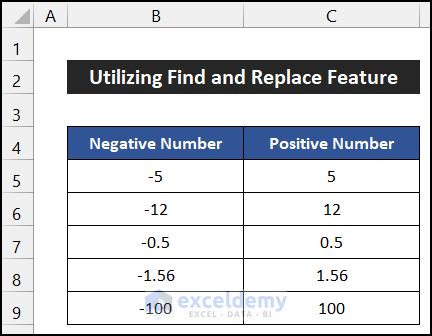
7. Utilizing Find and Replace Feature
You can also use the Find and Replace feature of Excel for changing negative to positive in Excel. The steps of this procedure are explained as follows:
📌 Steps:
- First, select the range of cells B5:B9 and copy the data in the range of cells C5:C9. This step is not mandatory, but it helps you to preserve the original dataset.

- Then, select the range of cells C5:C9.
- After that, press ‘Ctrl+F’.
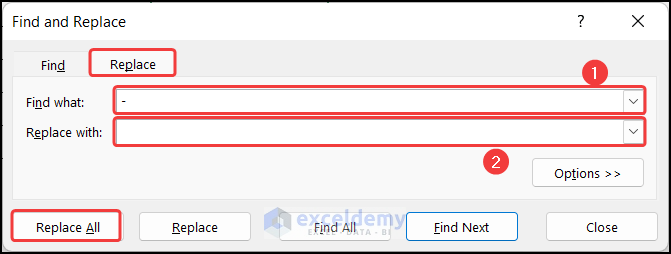
- As a result, the Find and Replace dialog box will appear.
- Now, in the Replace tab, write down ‘-’ in the Find what field, and in the Replace with field, write down ‘ ‘.
- Finally, click on Replace All.
- Excel will show you the number of replacing items.
- Click OK to close the message box.

- At last, click Close.
- You will figure out the result.
Thus, we can say that our method works successfully, and we are capable of changing negative to positive in Excel.
8. Using Power Query
In this case, we are going to use the Power Query method. The step-by-step procedure of this process is given as follows:
📌 Steps:
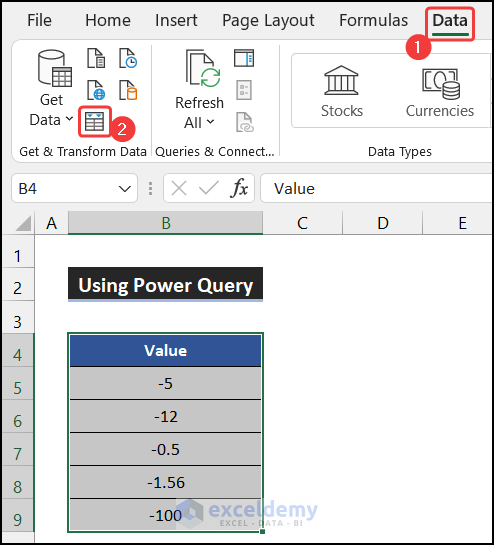
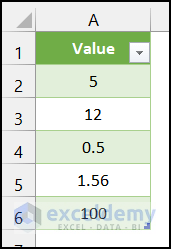
- At first, select the range of cells B5:B9.
- Now, in the Data tab, select the From Table/Range option from the Get & Transform Data.
- As a result, a small dialog box called Create Table will appear.
- After that, check the My table has headers option and click OK.

- Another dialog box called Power Query Editor will appear.
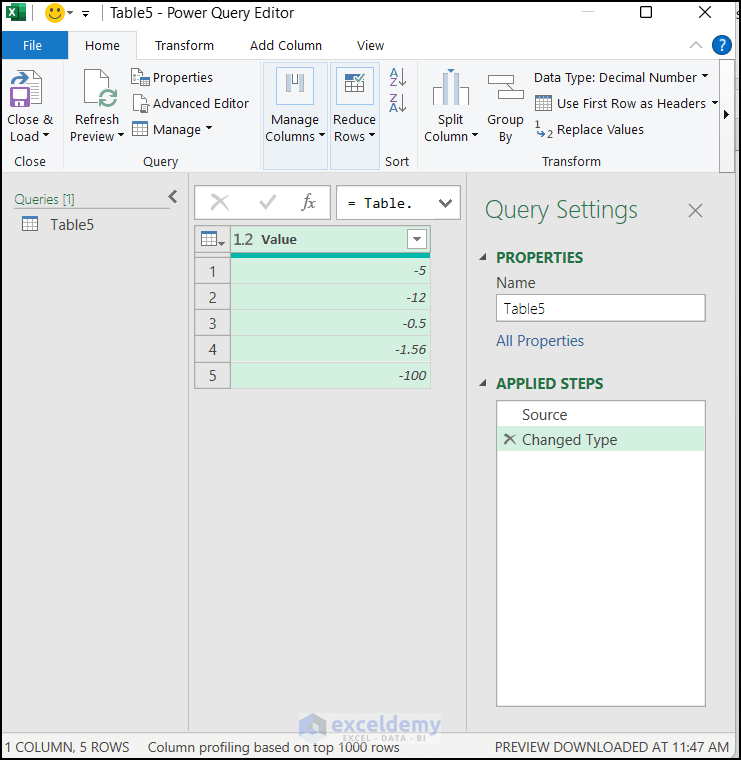
- Then, right-click on the table heading.
- Now, click on the Transform > Absolute Value option from the Context Menu.

- You will see the positive value in the editor tab.
- Finally, click on the Close & Load option.

- You will see that a new sheet will appear with the positive value of the dataset.
Hence, we can say that our procedure works properly, and we are capable of changing negative to positive in Excel.
Read More: How to Sum Absolute Value in Excel
9. Embedding VBA Code
Writing a VBA code can also help you for changing the negative to positive in Excel. Here, we are going to show three different VBA codes to convert the negative into positive.
9.1 Using VBA Abs Function
In the VBA first process, we will use the VBA Abs function for changing the negative value to the positive value. The steps of this process are given as follows:
📌 Steps:
- To start the approach, go to the Developer tab and click on Visual Basic. If you don’t have that, you have to enable the Developer tab. Or You can also press ‘Alt+F11’ for opening the Visual Basic Editor.
- A dialog box will appear.

- Now, in the Insert tab on that box, click the Module option.

- Then, write down the following visual code in that empty editor box.

Sub Negative_to_Positive()
Dim A As Range
For Each A In Selection
    If A.Value <> "" Then
        If IsNumeric(A.Value) Then
        A.Value = Abs(A.Value)
        End If
    End If
Next A
End Sub- Afterward, press ‘Ctrl+S’ to save the code.
- Close the Editor tab.
- Select the range of cells C5:C9.

- After that, in the Developer tab, click on Macros from the Code group.

- As a result, a small dialog box titled Macro will appear.
- Select the Negative_to_Positive option and click the Run button to run the code.

- You will see that all the negative values change into positive values.
Therefore, we can say that our visual code works perfectly, and we are capable of changing negative to positive in Excel.
9.2 Use of Range.Value Property
In the second approach, we are going to use the VBA Range.Value property for changing the negative value to the positive value. The steps of this procedure are explained below:
📌 Steps:
- Firstly, go to the Developer tab and click on Visual Basic. If you don’t have that, you have to enable the Developer tab. Or You can also press ‘Alt+F11’ for opening the Visual Basic Editor.
- A dialog box will appear.
- After that, in the Insert tab on that box, click the Module option.
- Write down the following visual code in that empty editor box.
Sub Convert_Negative_to_Positive()
For Each cell In Selection
    If cell.Value < 0 Then
        cell.Value = -cell.Value
    End If
Next cell
End Sub- Next, press ‘Ctrl+S’ to save the code.
- Close the Editor tab.
- Now, select the range of cells C5:C9.
- Then, in the Developer tab, click on Macros from the Code group.
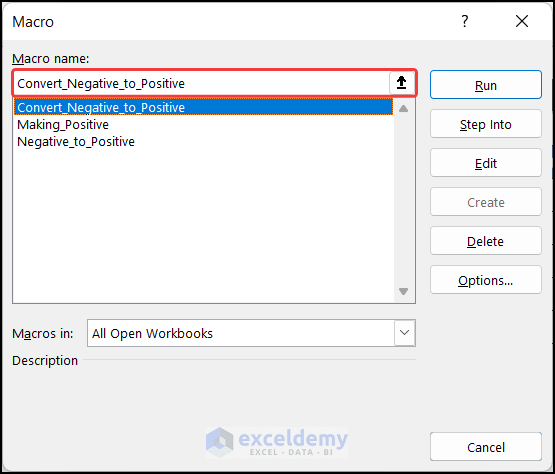
- As a result, a small dialog box titled Macro will appear.
- Select the Convert_Negative_to_Positive option and click the Run.
- You will notice all the negative values change into positive values.
So, we can say that our visual code works effectively, and we are capable of changing negative to positive in Excel.
9.3 Applying VBA If Statement
In the final procedure, we will use the VBA If statement for changing the negative value to the positive value. The steps of this method are given as follows:
📌 Steps:
- First of all, go to the Developer tab and click on Visual Basic. If you don’t have that, you have to enable the Developer tab. Or You can also press ‘Alt+F11’ for opening the Visual Basic Editor.
- A dialog box will appear.
- Afterward, in the Insert tab on that box, click the Module option.
- Now, write down the following visual code in that empty editor box.
Sub Making_Positive()
Dim WS As Worksheet
Dim Rng As Range
Dim A As Range
Set WS = Application.ActiveSheet
Set Rng = Application.Selection
For Each cell In Rng
 If cell.Value < 0 Then
 cell.Value = cell.Value * -1
 End If
Next
End Sub- Press ‘Ctrl+S’ to save the code.
- Then, close the Editor tab.
- After that, select the range of cells C5:C9.
- In the Developer tab, click on Macros from the Code group.
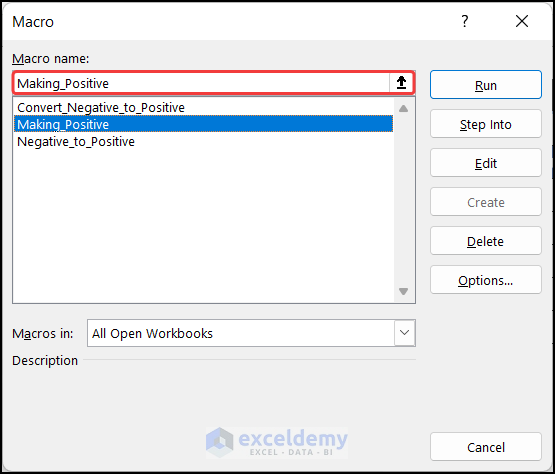
- As a result, a small dialog box titled Macro will appear.
- Select the Making_Positive option.
- At last, click the Run button to run the code.
- You will figure out that all the negative values change into positive values.
Finally, we can say that our visual code works Successfully, and we are capable of changing negative to positive in Excel.
Download Practice Workbook
Download this practice workbook for practice while you are reading this article.
Conclusion
That’s the end of this article. I hope that this article will be helpful for you and you will be capable of changing negative to positive in Excel. Please share any further queries or recommendations with us in the comments section below if you have any further questions or recommendations. Keep learning new methods and keep growing!
Related Articles
- Calculate Absolute Percentage Error with Excel Function
- How to Calculate Absolute Difference between Two Numbers in Excel
<< Go Back to Excel ABS Function | Excel Functions | Learn Excel
Get FREE Advanced Excel Exercises with Solutions!
