To demonstrate how to assign a macro to a button, we’ll use a simple dataset containing student information. We’ll sort this data according to the age of the students, by creating a VBA macro called SortData and attaching it to a button.
Method 1 – Using Excel Command Buttons
Case 1.1 – Using Form Control
Steps:
- Go to the Developer tab > Insert tab > Form Controls.
- Click on the Command Button icon.
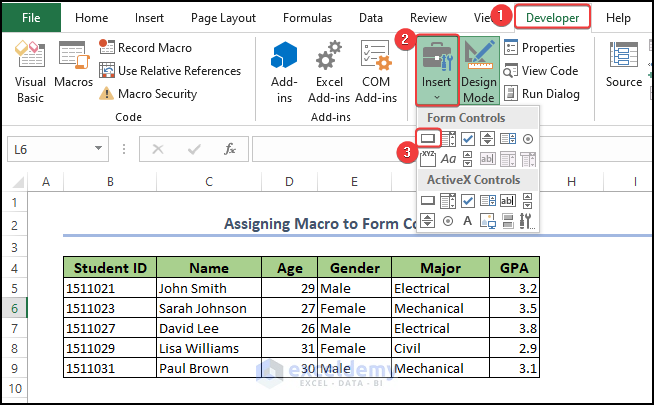
- Draw the button on the worksheet.
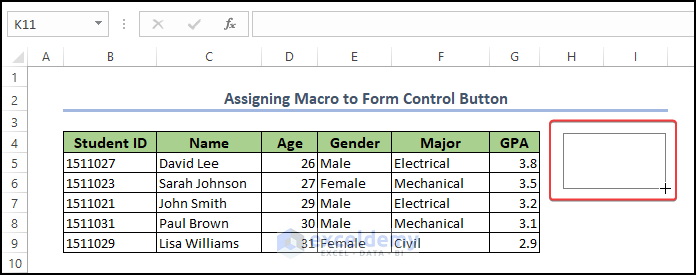
The command button should look like this:
- To sort the data with VBA, go to the Developer tab > Visual Basic.

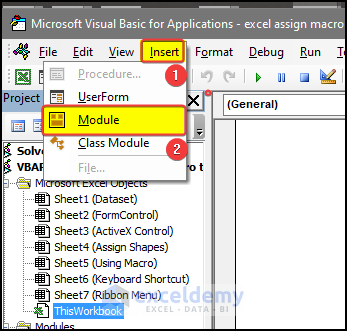
- Go to Insert > Module.
- In the code editor window that opens, enter the following code:
Sub SortData()
Dim sortRange As Range
Set sortRange = Range("B5:G9")
sortRange.Sort key1:=Range("D5"), _
order1:=xlAscending, _
Header:=xlNo, _
Orientation:=xlSortColumns
End Sub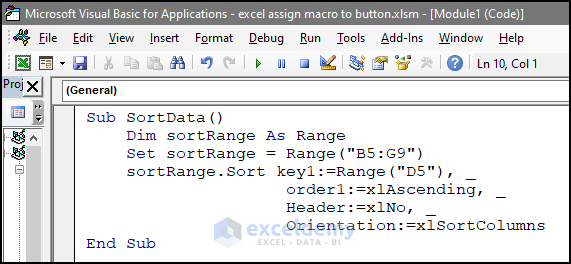
- Save the code and close the code editor.
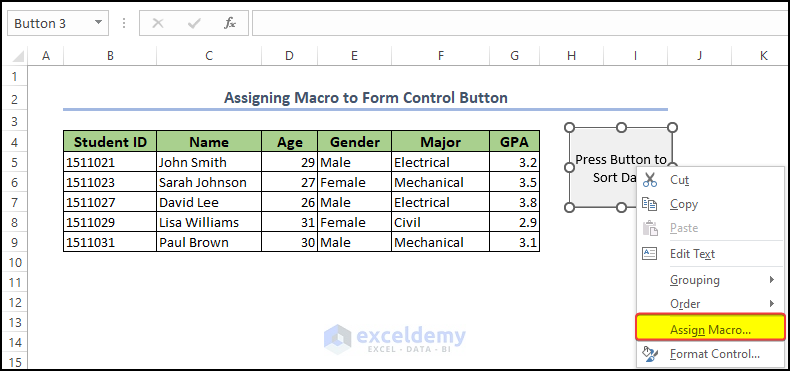
- Go back to the worksheet and right-click on the button created earlier.
- From the context menu, click on Assign Macro.
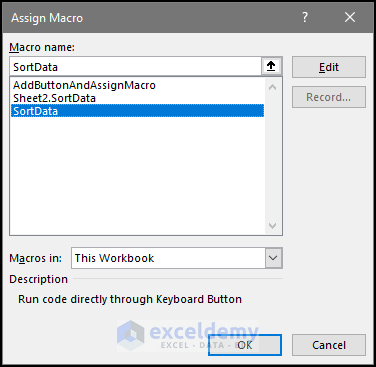
- In the Assign Macro window, select SortData.
- Click OK.
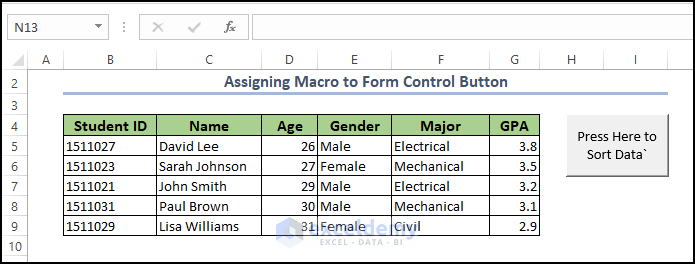
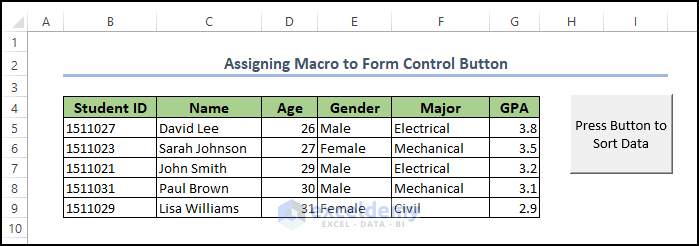
The macro will be attached to this Form Control button. Pressing the button triggers the code, which sorts the data based on the Age column.
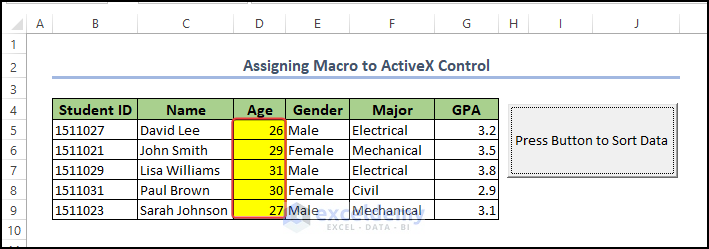
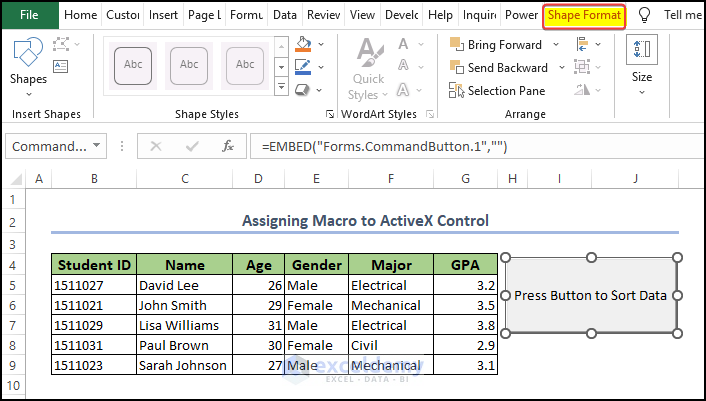
Case 1.2 – Using ActiveX Control
Steps:
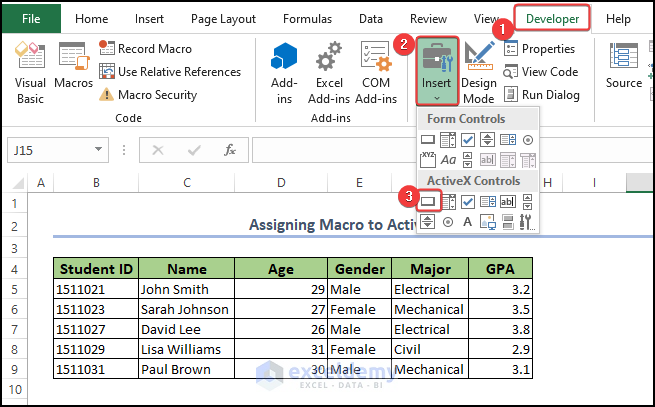
- To add an ActiveX Control button, go to the Developer tab > Insert tab > ActiveX Control.
- Click on the Command Button icon.
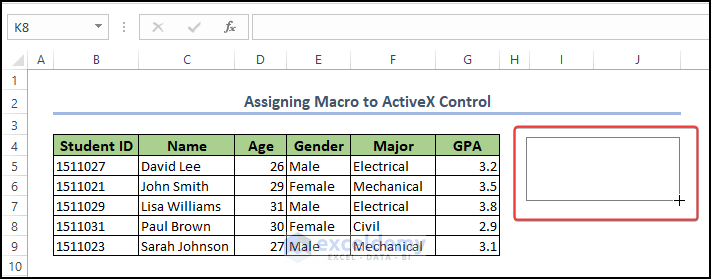
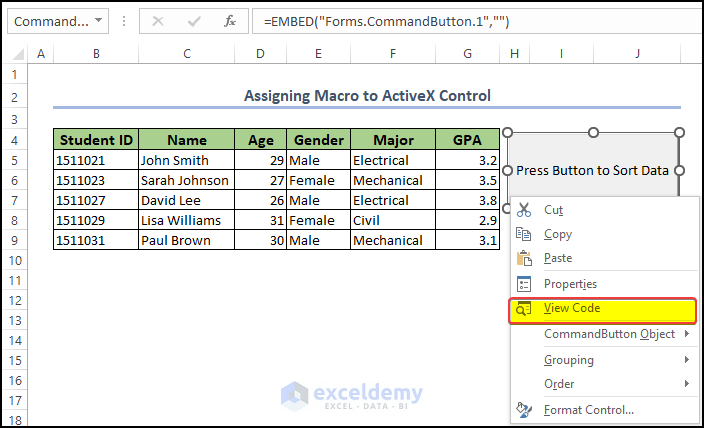
- Draw the button in the worksheet and right-click on it.
- From the context menu, click on View Code.
- Copy the code below and paste it into the code editor:
Private Sub CommandButton1_Click()
Dim sortRange As Range
Set sortRange = Range("B5:D9")
sortRange.Sort key1:=Range("C4"), _
order1:=xlAscending, _
Header:=xlNo, _
Orientation:=xlSortColumns
End Sub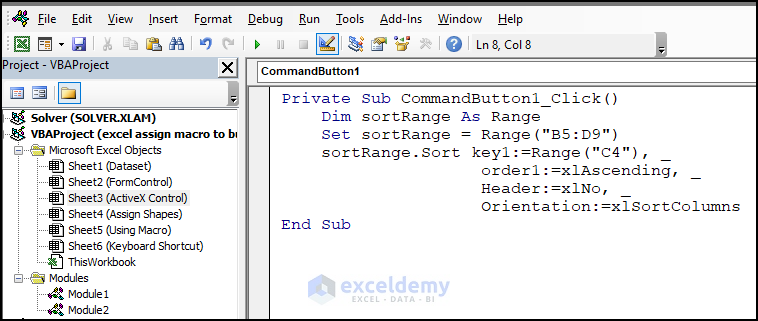
- Click on Save and close the editor.
The macro will be assigned to the button. Press the button to execute the code, and the dataset is sorted based on the Age column.
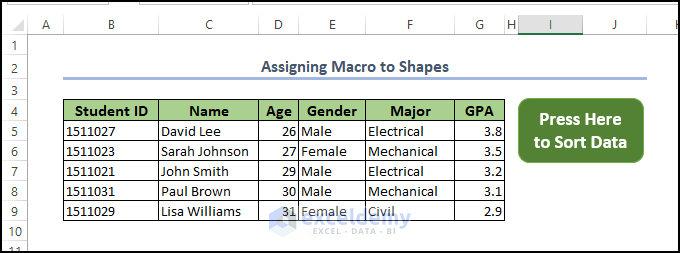
Method 2 – Creating a Shape as a Button
Steps:
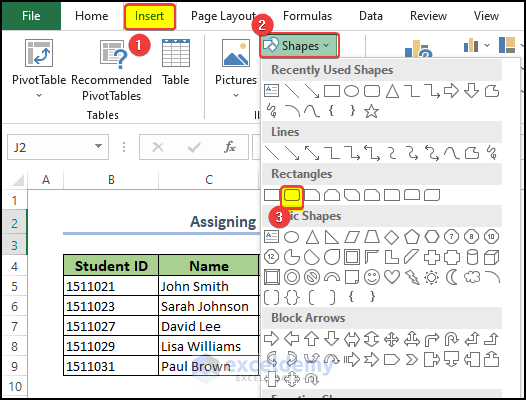
- Go to the Insert tab > Shapes > Rectangle.
- Pick the round-edged rectangular box shape.
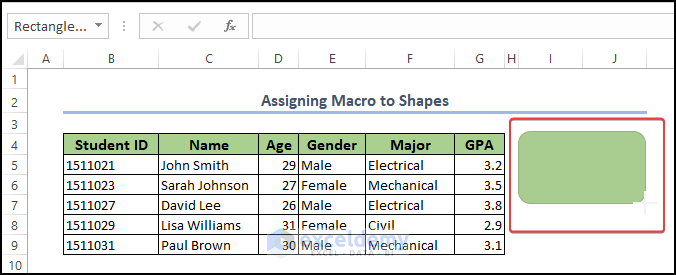
- Draw the shape on the worksheet.
- To add the code to sort the data, go to the Developer tab > Visual Basic.
- In the Visual Basic window that opens, go to Insert > Module.
- In the code editor window, enter the following code:
Sub SortData()
Dim sortRange As Range
Set sortRange = Range("B5:G9")
sortRange.Sort key1:=Range("D5"), _
order1:=xlAscending, _
Header:=xlNo, _
Orientation:=xlSortColumns
End Sub
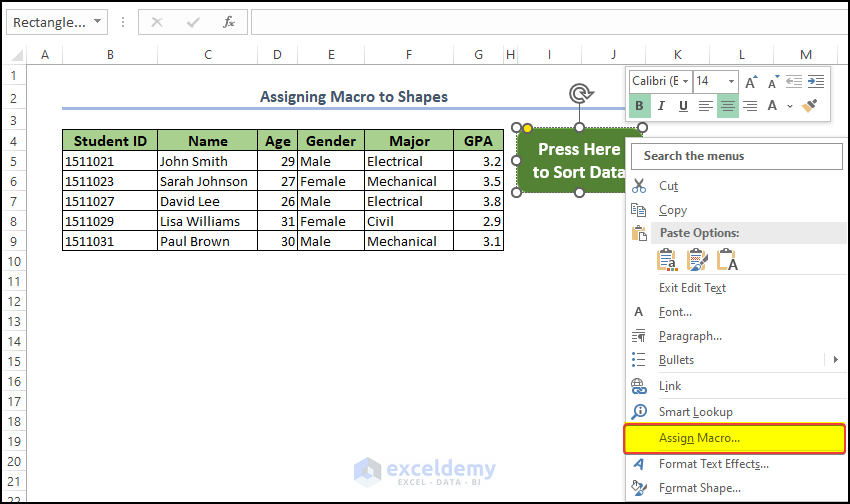
- In the dataset, select the shape, right-click on it, and from the context menu, click on Assign Macro.
- In the Assign Macro window, select SortData.
- Click on OK.
- Click on the Shape.
The code executes and the dataset in the range B5:G9 is sorted according to the Age column.
Method 3 – Using VBA Macro to Create an Excel Button and Assign Another Macro
Instead of making the button manually as in the methods above, this macro will create a macro button in the worksheet and assign the desired code to it automatically.
- Open the VBA editor window using the procedure above.
- Enter the following code in the code editor and click on Run:
Sub AddButtonAndAssignMacro()
Dim btn As Button
Dim rng As Range
Set rng = Range("I4:J5")
Set btn = ActiveSheet.Buttons.Add(rng.Left, rng.Top, rng.Width, rng.Height)
btn.OnAction = "SortData"
btn.Caption = "Sort Data"
End Sub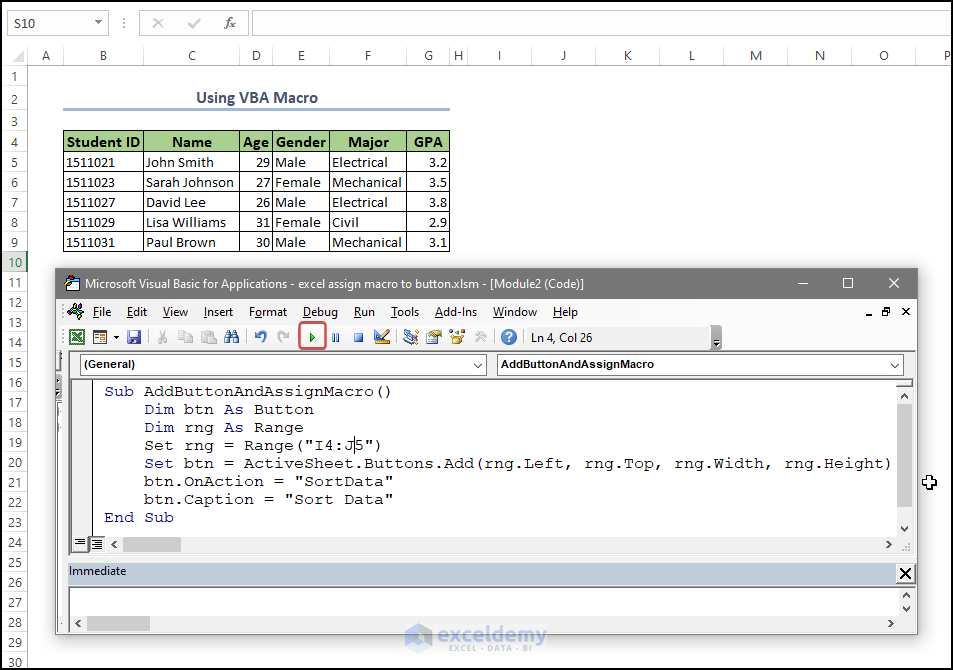
A command button appears in the worksheet with the SortData macro already assigned to it.
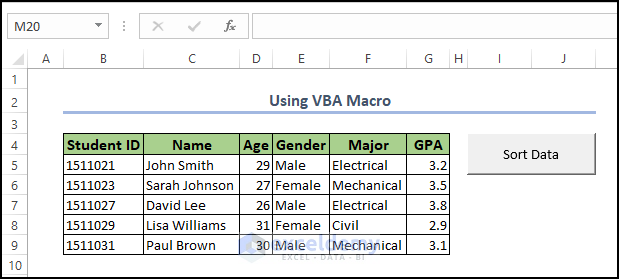
- Click the button.
The data in the range B5:G9 is sorted by Age.

How to Assign a Macro to a Keyboard Shortcut Button in Excel
Steps:
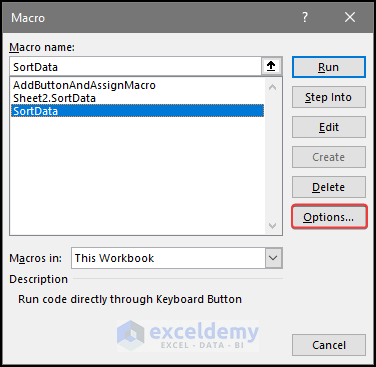
- Go to the Developer tab > Macros.
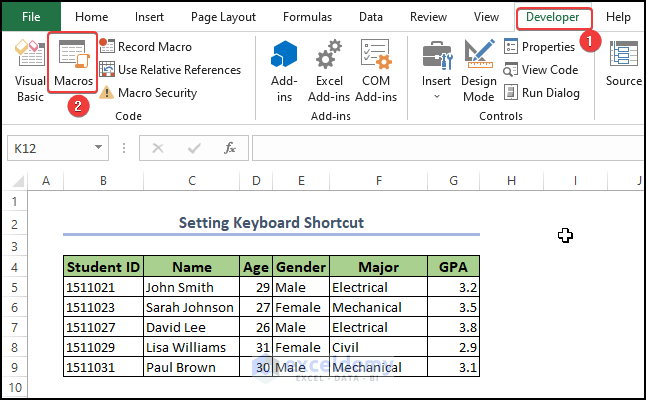
The list of saved macros in the worksheet is displayed. We will assign the SortData macro to a keyboard shortcut.
- Select the macro and click on Options.
- In the Shortcut key: box, press Ctrl + Shift + R.
- Click OK.
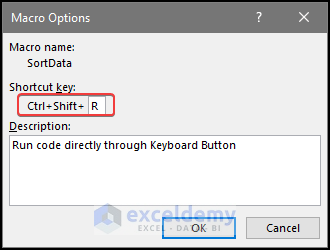
The data stored in the range B5:G9 is now sorted according to Age.

How to Insert Macro Buttons into the Excel Ribbon
Example 1 – Add a Macro Button to the Quick Access Toolbar
Steps:
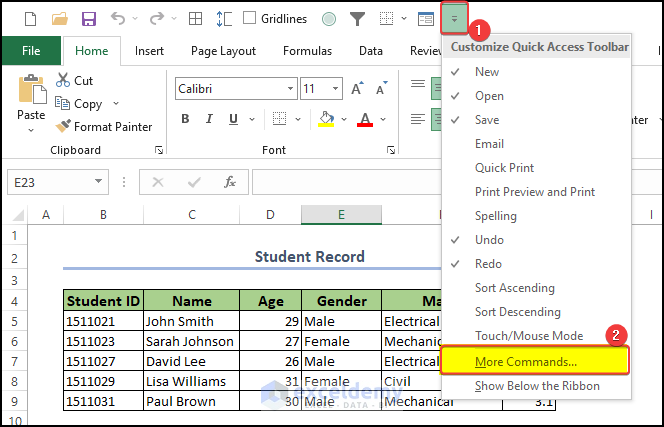
- Right-click on the ribbon menu and select “Customize Quick Access Toolbar” or click on the small drop-down arrow to the right of the Quick Access Toolbar and select “More Commands.“
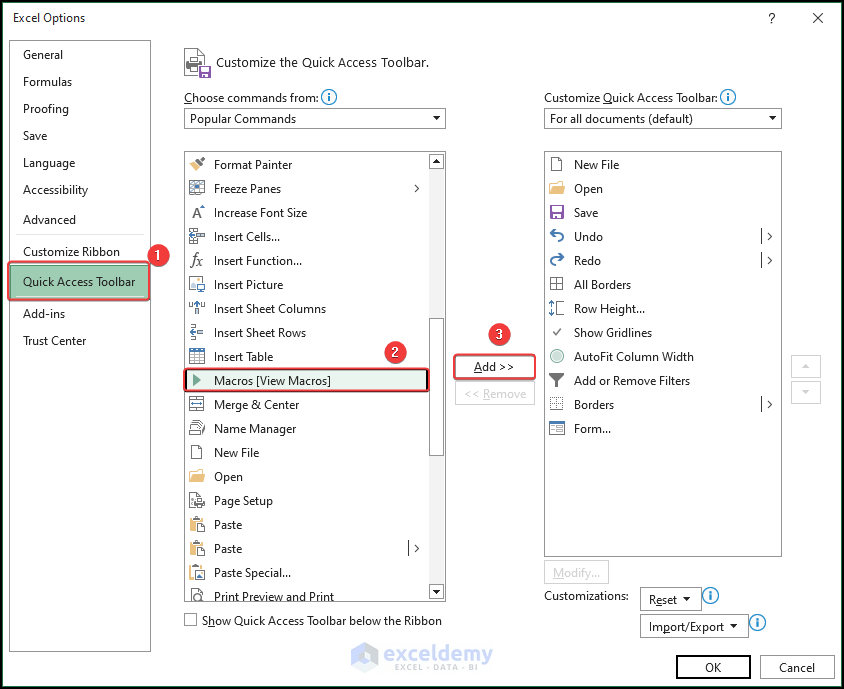
- The Excel Options window opens.
- From the Quick Access Toolbar menu, select Macros from Popular Commands.
- Click on Add.

The Macros are now in the right panel.
- Click OK.
The Macro button is now attached to the ribbon.
Example 2 – Add a Macro Button to Your Own Group on the Ribbon or Toolbar
We can add a dedicated macro button to an Excel ribbon custom tab and run the macro directly from there.
Steps:
- Right-click on the ribbon menu and select Customize the Ribbon.
- From the Excel Options window that opens, go to Quick Access Toolbar.
- Click on New Tab in Customize the Ribbon.
- Rename the Tab and the Group underneath it.
- From the Choose commands from drop-down menu, select Macros.
A list of macros stored in the worksheet will be presented.
- Select SortData, then click on Add.
The SortData macro is added to the Group.
- Click OK.
There is a new tab in the ribbon, containing the SortData macro button within another Group.
Pressing the SortData button will trigger the macro, and the dataset in the range B5:G9 will be sorted based on the Age column.
Things to Remember
- Choose a descriptive name: Give your macro a descriptive name that explains what it does, so it’s easy to understand and identify later.
- Test the macro: Before assigning the macro to a button, make sure it works correctly and does what you want it to do.
- Consider security: Be cautious when running macros, as they can potentially contain harmful code. Make sure that you trust the source of the macro and have enabled macros in your Office program.
- Choose an appropriate button location: Choose a button location that makes sense and is easy to access. The Quick Access Toolbar, Ribbon, or your own custom group on the Ribbon or Toolbar are good options.
- Use a clear icon or image: If you choose to use an icon or image for your macro button, make sure it’s clear and easy to understand.
- Organize your macros: If you have multiple macros, consider organizing them into groups or categories to make them easier to find and access.
- Document your macros: If you’re sharing your macros with others, be sure to document them thoroughly, including what they do and any specific instructions for running them.
Frequently Asked Questions
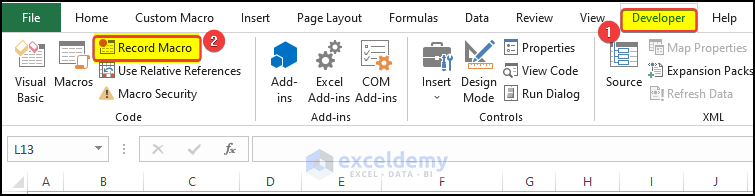
How do I record a macro with a button?
We can record a macro easily by clicking the Record Macro option on the Developer tab.
After clicking it, whatever action you take will be recorded and can be repeated in the same process.
How do I run a macro in Excel when clicking a specific cell?
Say you have a macro named MyMacro. To run this code upon clicking a specific cell, enter the following code in the worksheet and save it:
Private Sub Worksheet_SelectionChange(ByVal Target As Range)
If Target.Address = "$A$1" Then
Call MyMacro
End If
End Sub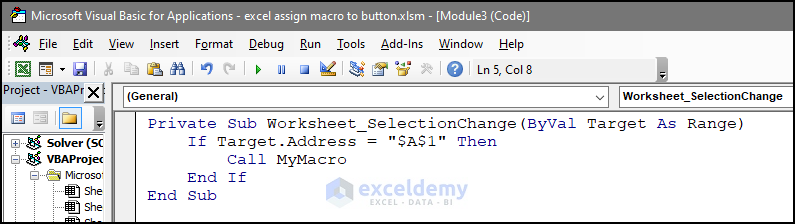
Now, whenever you click on a cell, it will run MyMacro. Modify the code according to your own needs.
How do I edit a macro button?
Simply right-click the button, and another tab called Shape Format appears on the ribbon, with numerous options to modify the appearance of the button.
Download the Practice Workbook
Get FREE Advanced Excel Exercises with Solutions!
