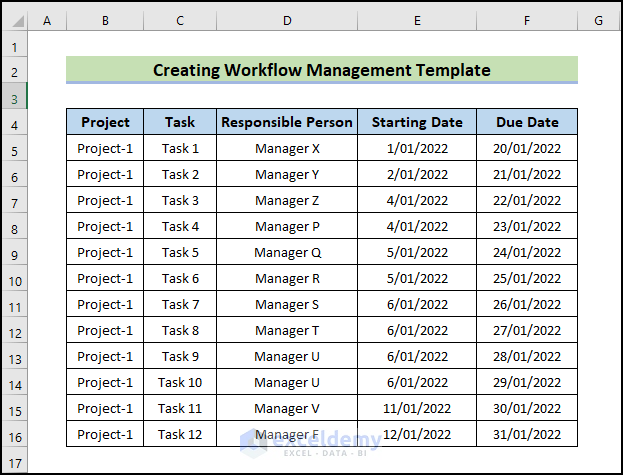
Step 1 – Prepare the Work Plan Timeline
- Enter the data Headlines.
- Enter the Project name and the tasks.
- Enter the names of the workers responsible for each task.
- Enter the Starting Date of each task.
- Enter the Due Date of each task.
Step 2 – Create the Workflow Layout in Excel
- Enter the days spent on each task.
- Calculate the days to be spent, using the following formula in H2.
=F5-E5
- Press Enter.
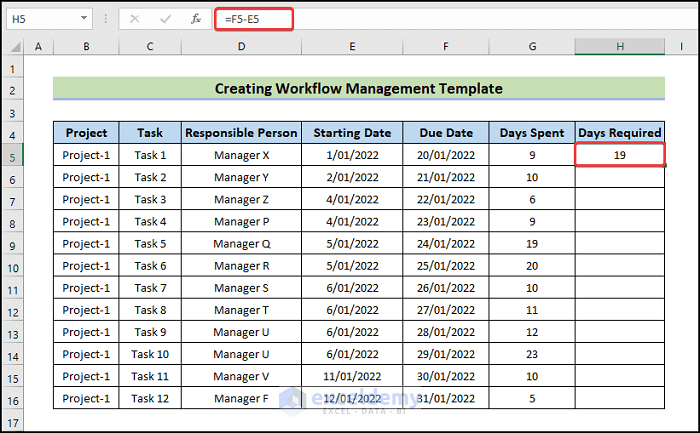
- Drag down the Fill handle.
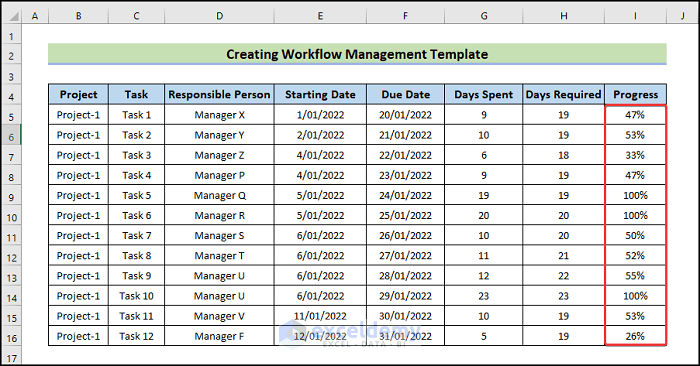
- Calculate the Progress by using the following formula in I2.
=G5/H5
- Press Enter.
- To convert the data into percentages, click Percentage.

- Drag down the Fill Handle.
This is the output.
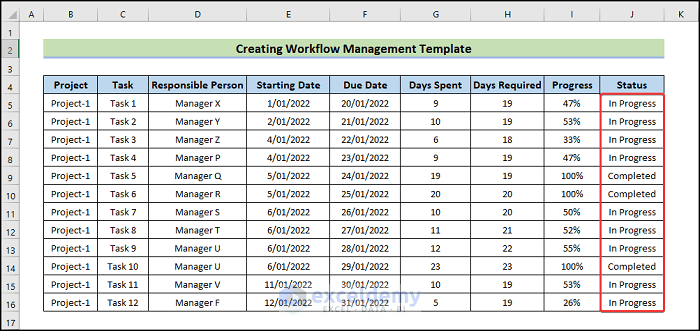
- Enter the progress status in the Status column.
This is the output.
Step 3 – Create a Tracker List
- Press ‘Ctrl+C’ to copy the columns.
- Go to a new sheet and press ‘Crl+V’.
- In the Remaining column, use the following formula.
=1-E5
- Press Enter.
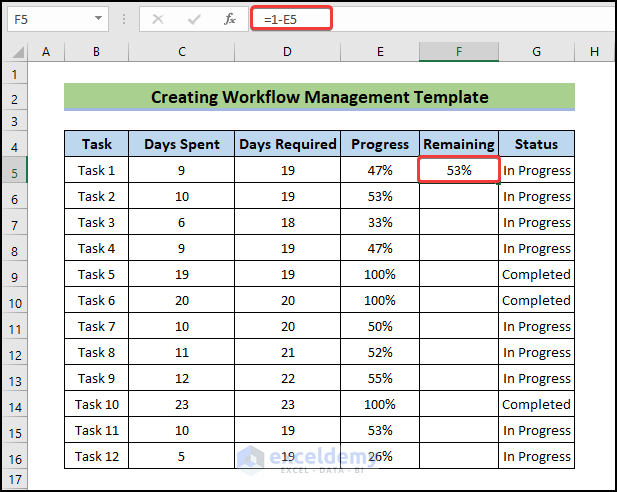
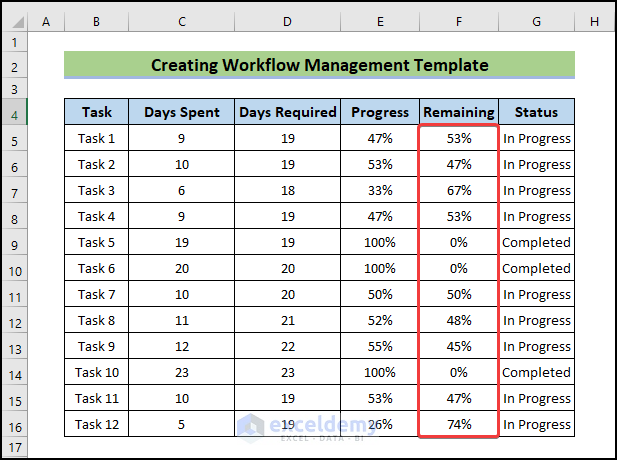
- Drag down the Fill Handle to see the result in the rest of the cells.
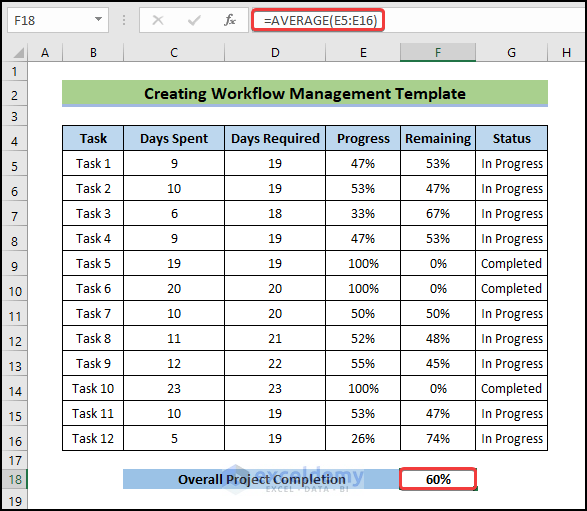
- To calculate the overall project completion, use the following formula.
=AVERAGE(E5:E16)
- Press Enter.
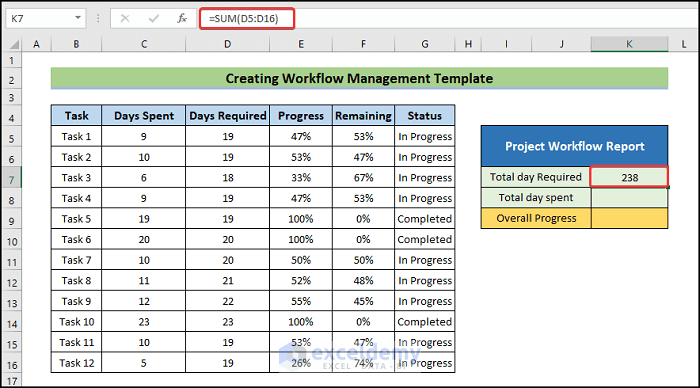
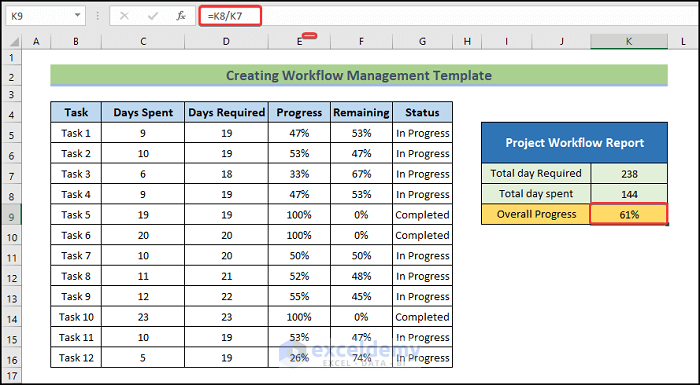
Step 4 – Create a Project Workflow Report
- To calculate the total days needed to complete the project, use the following formula.
=SUM(D5:D16)
- Press Enter.
- To calculate the total days spent, use the following formula.
=SUM(C5:C16)
- Press Enter.

- To calculate the overall project progress, use the following formula.
=K8/K7
- Press Enter.
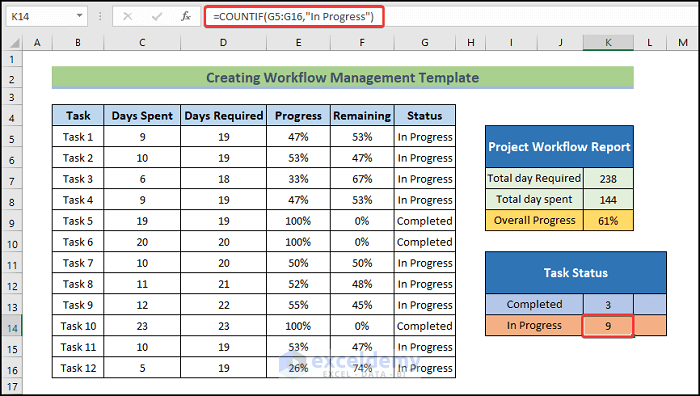
- To create a dynamic summary (Task Status with tasks completed and in progress), use the following formula.
=COUNTIF(G5:G16,"Completed")
- Press Enter.

- Use the following formula in K14.
=COUNTIF(G5:G16,"In Progress")
- Press Enter.
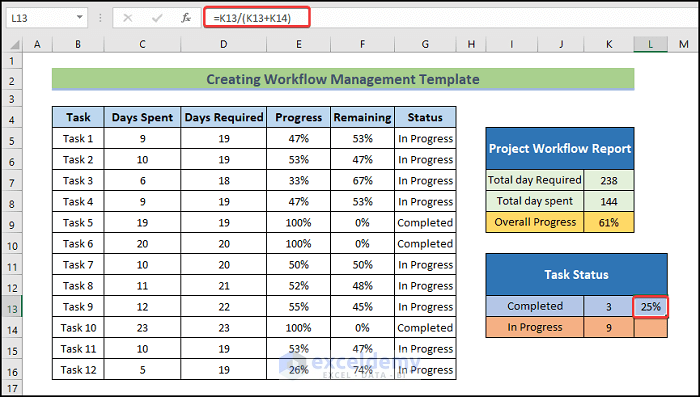
- To calculate the percentage of completed tasks, use the following formula in L13.
=K13/(K13+K14)
- Press Enter.
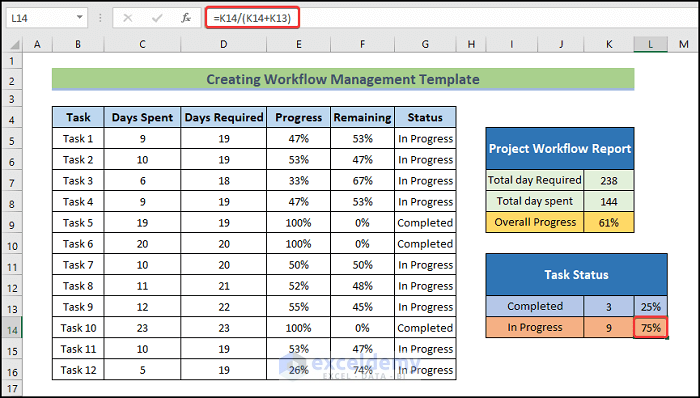
- To calculate the percentage of tasks In Progress, use the following formula in L14.
=K14/(K14+K13)
- Press Enter.
This is the output.
Read More: How to Create a Workflow Tracker in Excel
Step 5 – Insert Charts
- Select the data range and go to the Insert tab.
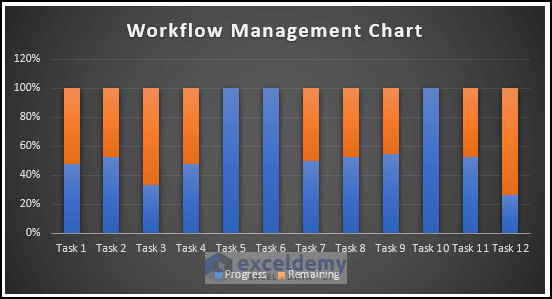
- Select Stacked Column.
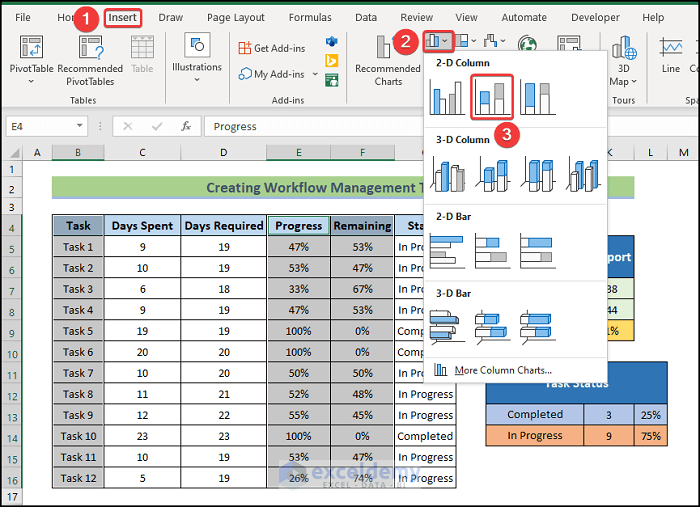
- Select Chart Design and choose a style in Chart Styles. Here, Style 8.
This is the output.
- To create a Pie Chart, select the data range.
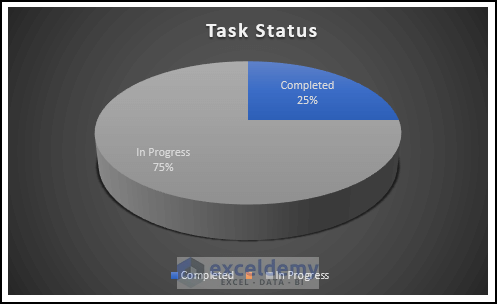
- Go to the Insert tab and select 3-D Pie.
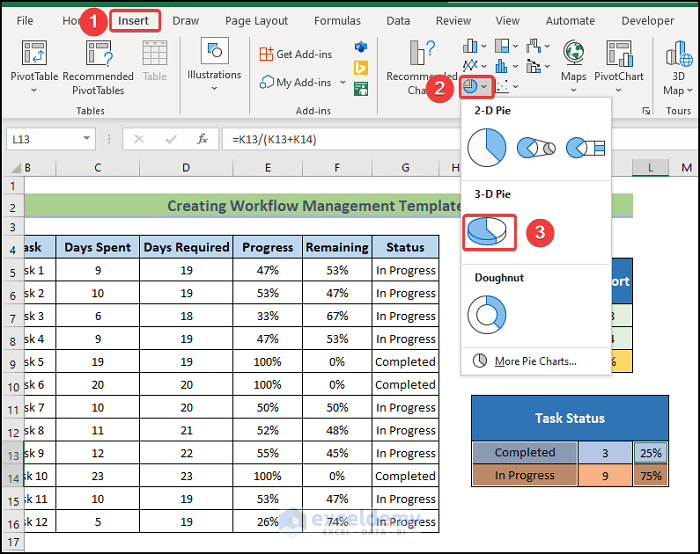
This is the output.
- To create a Doughnut chart, select the data range and go to the Insert tab.
- Choose Doughnut.
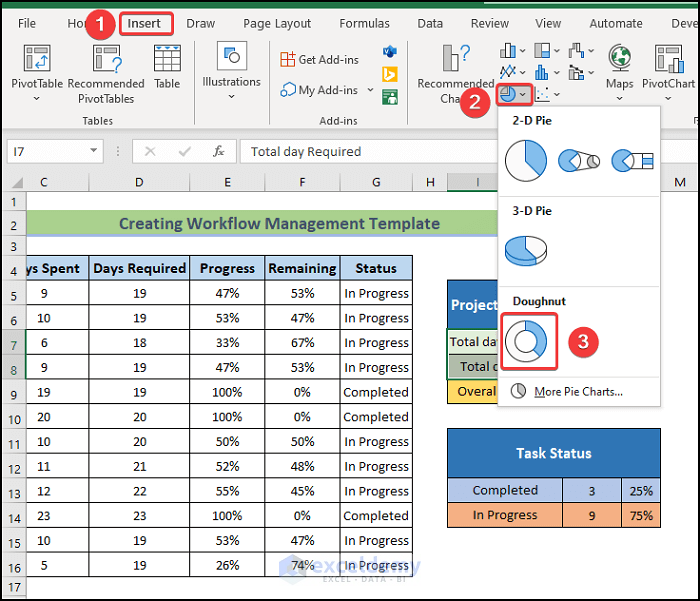
This is the output.

Read More: How to Create Workflow Chart in Excel
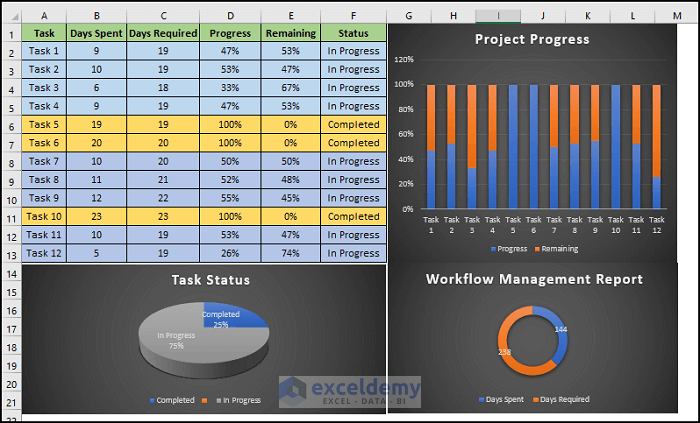
Step 6 – Generate the Workflow Management Summary
- Open a new sheet and name it Final Output.
- Copy the charts by pressing ‘Ctrl+C’.
- Press ‘Crl+V’ to paste them.
This is the output.
Download Practice Workbook
Download the practice workbook.
Related Article
- How to Perform Workflow Automation in Excel
- How to Create a Workflow in Excel
- How to Create Approval Workflow in Excel
<< Go Back to Workflow in Excel | SmartArt in Excel | Learn Excel
Get FREE Advanced Excel Exercises with Solutions!
