Microsoft Excel is one of the leading data organizing and analyzing programs. But to analyze data in Excel, you need to input data first. Data can be of different types. Based on the data types, there are different techniques to insert them in Microsoft Excel. In this article, I will discuss various types of data entry in Excel.
Types of Data in Excel
Data is the heart of MS Excel. It deals with data and generates an output. You will find 4 types of data in Excel. They are,
- Text
- Value
- Date
- Formula
Text Type Data: They are alphanumeric mostly. This means both the alphabet and numbers include this data type. Examples: Alexi Laiho, Area 51, etc.
Value Type Data: The Value type data completely refers to the numerals data. Examples: 5, 7, 343.556, etc.
Date Type Data: They can be a short date as well as a long date format. Example: 6/13/2022, Monday, May 23, 2016, etc.
Formula Type Data: Values, Functions, and Operators create formulas. Example: =SUM(A2:H2)+92.
Types of Data Entry in Excel: A Quick Overview
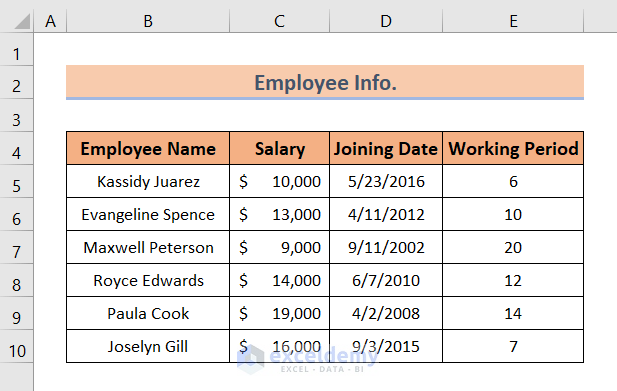
Just look at the following dataset. Here, I used all 4 types of data available in Excel.
Throughout the article, I will show you the ways and rules regarding these 4 types of data entry in Excel.
1. Text Type Data Entry
Text-type data consists of both numbers as well as values. A single cell in Excel supports up to 32,000 characters.
When you want to insert letters, you don’t need to think about anything. But when you want to insert values as texts, you have to insert an apostrophe before the numbers.
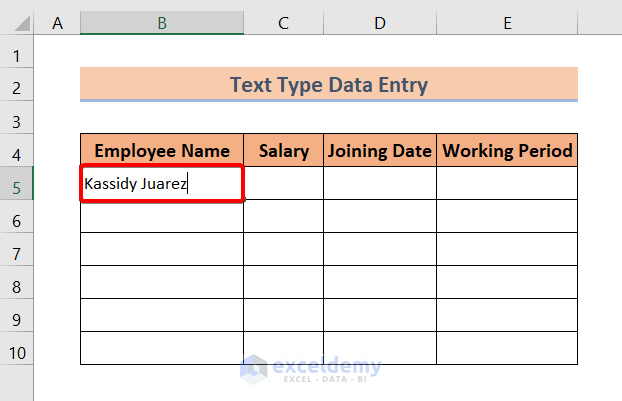
Let me show you how to insert text-type data first.
❶ Click on a cell, then press F2 to enable editing.
Or, just double-click on a cell to enable editing.
❷ Then type the text data.
❸ After that, press the ENTER button to insert the Text type data.
To insert the numeric values as a Text type data,
Just use an apostrophe (‘) before the number and press ENTER.
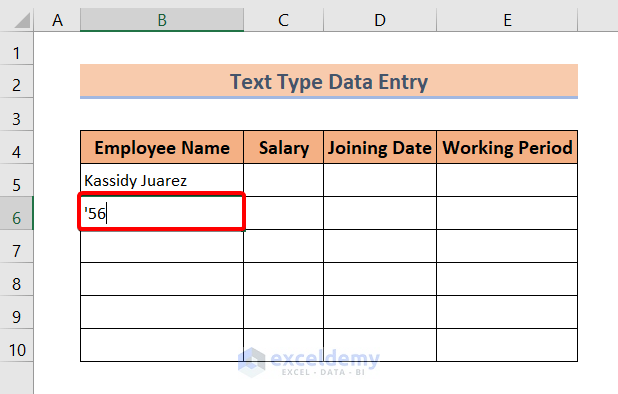
Excel will automatically format the value as text-type data.
The apostrophe doesn’t appear in the cell.
If you click on the cell, an error icon appears. Click on the error drop-down icon, and it will show ‘The number in this cell is formatted as text or preceded by an apostrophe.’

To ignore the error, click on the error drop-down icon. Then select Ignore Error.

Read More: How to Check for Data Entry Errors in Excel
2. Value Type Data Entry
The entry method of value-type data is as same as that of text-type data.
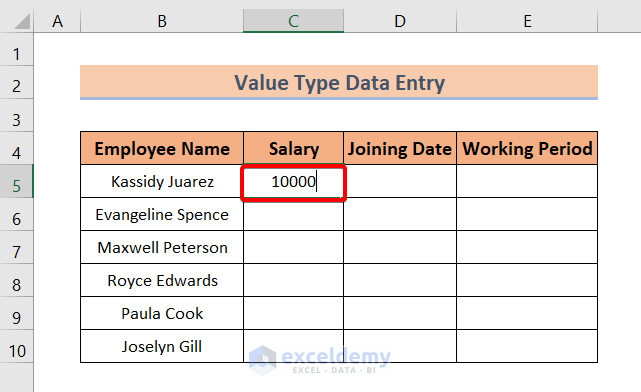
Yet, I’m showing you how to insert the value type data.
❶ Click on a cell, then press F2 to enable editing.
Or, just double-click on a cell to enable editing.
❷ Then type the values inside the cell.
❸ After that, just press the ENTER button to insert the data into the cell.
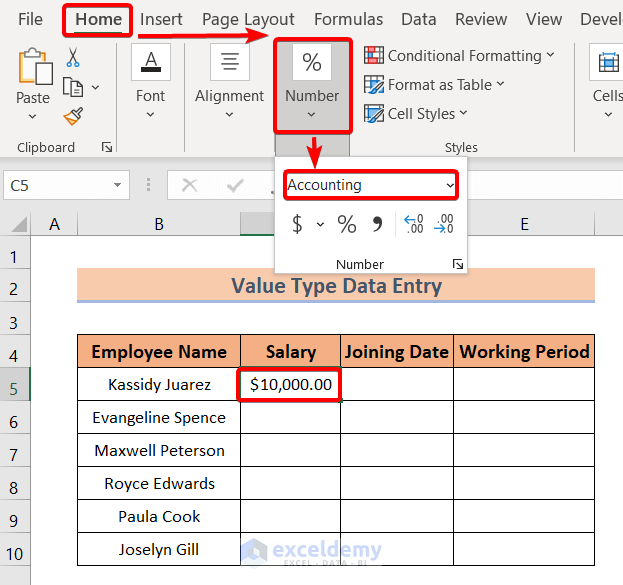
To format the values, select the cell first.
Then go to Home ➤ Number.
After that, choose any formatting type from the Number group.
For this instance, I’m selecting the Accounting type format.
You can also autofill the value-type data using the Fill Handle.
Just keep the mouse cursor at the bottom-right corner of the cell where you’ve inserted the value-type data.
The cursor will turn into a plus icon ‘+’.
Press and hold the left mouse button. Then drag it down all the way.

It will autofill the rest of the cells of the same column.

3. Date Type Data Entry
Excel stores the date-type data as decimal values. That’s why date can be used inside functions and formulas.
To insert date-type data,
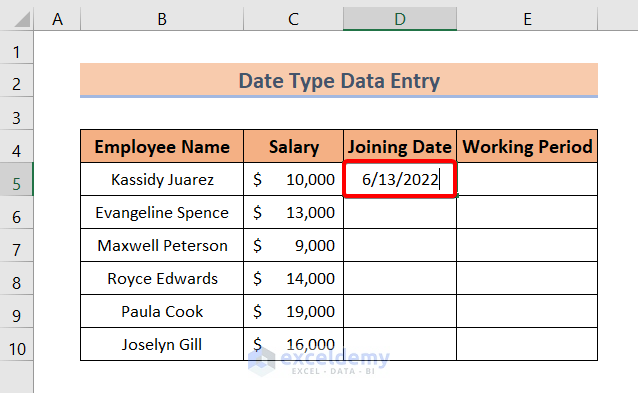
❶ Click on a cell, then press F2 to enable editing.
Or, just double-click on a cell to enable editing.
❷ Then type a date inside the cell.
❸ To insert the date into the cell, press ENTER.
To add more formats to the date, press CTRL + 1 with the data selected.
The Format Cells will appear.
- Now go to Number ➤ Date.
- From the Type section, select any format that you want.
- Then click OK to apply.

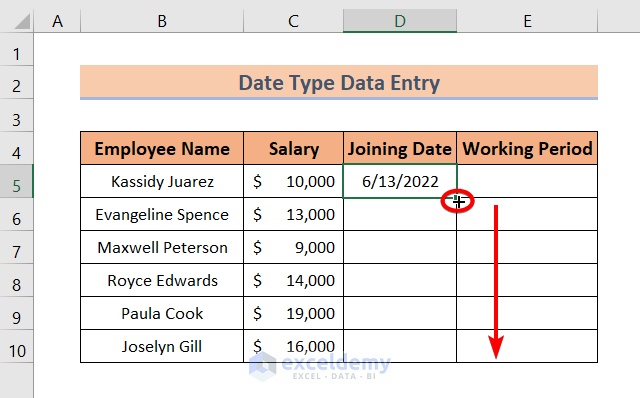
You can also autofill the date-type data using the Fill Handle.
Just keep the mouse cursor at the bottom-right corner of the cell where you’ve inserted the date-type data.
The cursor will turn into a plus icon ‘+’.
Press and hold the left mouse button. Then drag it down all the way.
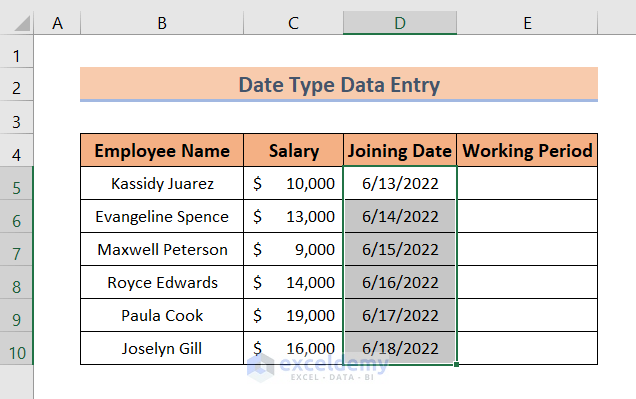
Excel will automatically fill up the rest of the cells with a sequence of dates.
Read More: How to Automate Data Entry in Excel
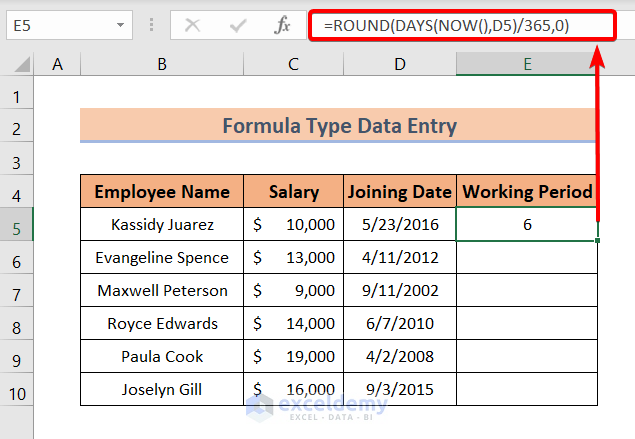
4. Excel Formula Type Data Entry
Formula-type data comprises Functions, values, and operators.
To insert formula-type date,
❶ Click on a cell, then press F2 to enable editing.
Or, just double-click on a cell to enable editing.
❷ Then type the formula.
For this instance, I’ve used the following formula having the ROUND, DAYS, & NOW functions.
=ROUND(DAYS(NOW(),D5)/365,0)This formula calculates the total working period from the jointing date of each employee.
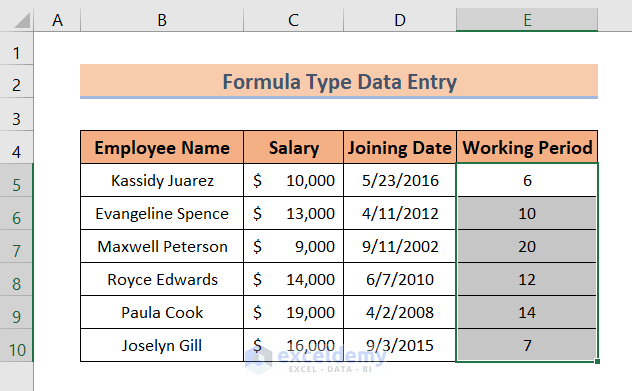
You can also autofill the formula-type data using the Fill Handle.
Just keep the mouse cursor at the bottom-right corner of the cell where you’ve inserted the formula-type data.
The cursor will turn into a plus icon ‘+’.
Press and hold the left mouse button. Then drag it down all the way.

The Fill Handle will copy down the formula all the way. And you will see the formula result like this:
You can also do so many things with the formulas.
For example, you can add text and formula at the same time using the CONCAT function.
=CONCAT(ROUND(DAYS(NOW(),D5)/365,0), " Years")
Formulas are not restricted to these, Excel provides many Text, Math, Date & Time, and many more.
Read More: How to Automatically Insert Timestamp Data Entries in Excel
Things to Remember
- The value-type data supports only the following characters: 1 2 3 4 5 6 7 8 9 0 + – ( ) , / $ % . E e.
- To insert a date in Excel, make sure you insert the month first, followed by the day and year respectively.
Download Practice Workbook
You can download the Excel file from the following link and practice along with it.
Conclusion
To sum up, we have discussed types of data entry in Excel. And don’t hesitate to ask any questions in the comment section below. We will try to respond to all the relevant queries asap.
Related Articles
- How to Restrict Data Entry in Excel Cell
- How to Create a Data Log in Excel
- Excel Data Entry Practice Exercises PDF
- How to Record Time of Data Entry in Excel
<< Go Back to Data Entry in Excel | Learn Excel
Get FREE Advanced Excel Exercises with Solutions!

Such Blogs are useful to enthusiastic persons. I am benefited as a novice.
Dear Paresh Kanti Paul,
We are glad to hear that.
Regards
ExcelDemy